Learn how to build these simple and inexpensive DIY planked wood frames with free plans and an easy to follow tutorial!
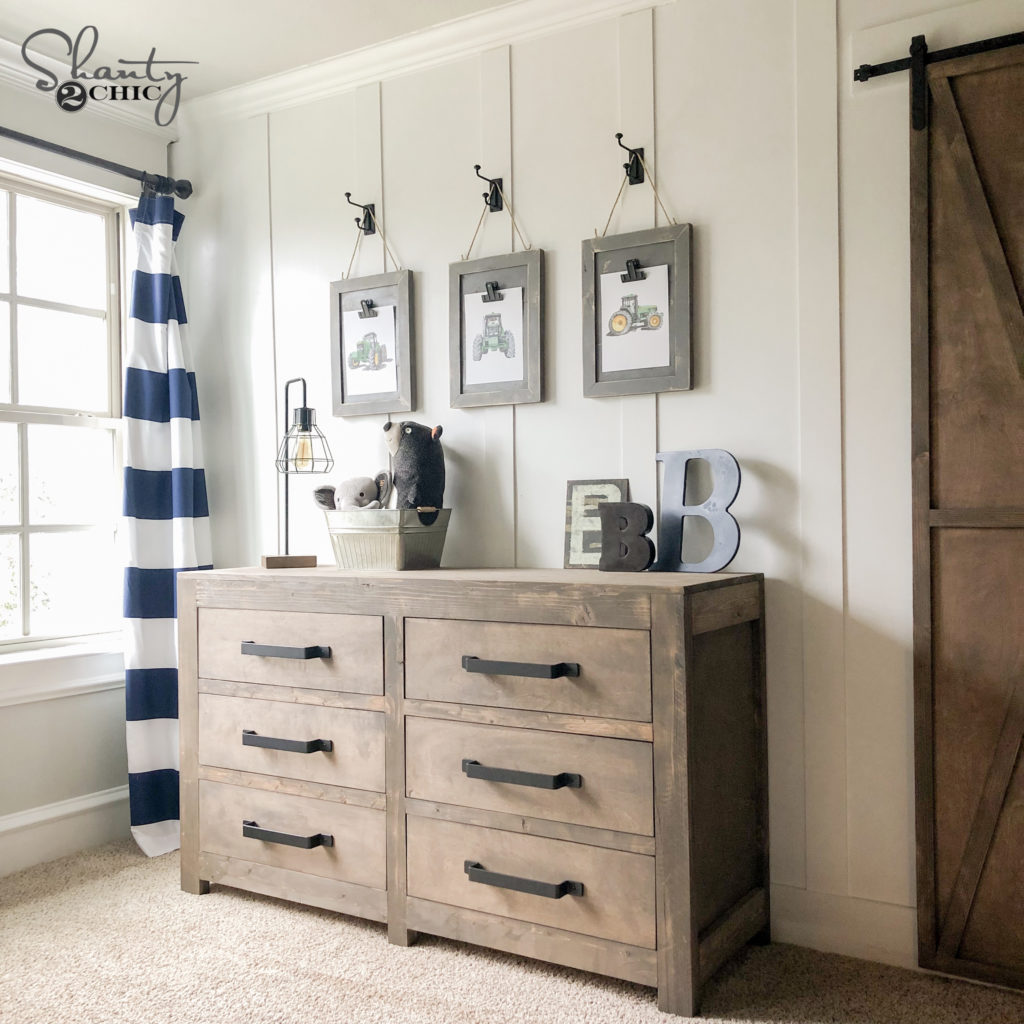
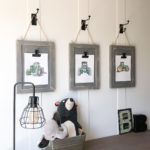
I recently built one my middle little guy a new dresser. I wanted some fun artwork for above the dresser that didn’t break the bank! This boy LOVES farming with his dad, and I thought it would be a fun spot to highlight just that! These are such a simple beginner project, and they can be easily modified for any space in your house!
Check out the video tutorial we made on these frames by clicking the play button below!
Table of Contents
Supplies
Each frame uses the supplies listed here. This is the supply list for 1 frame. Keep in mind that if you are making multiples, you will be able to get more frames out of the boards! This is a great scrap project!

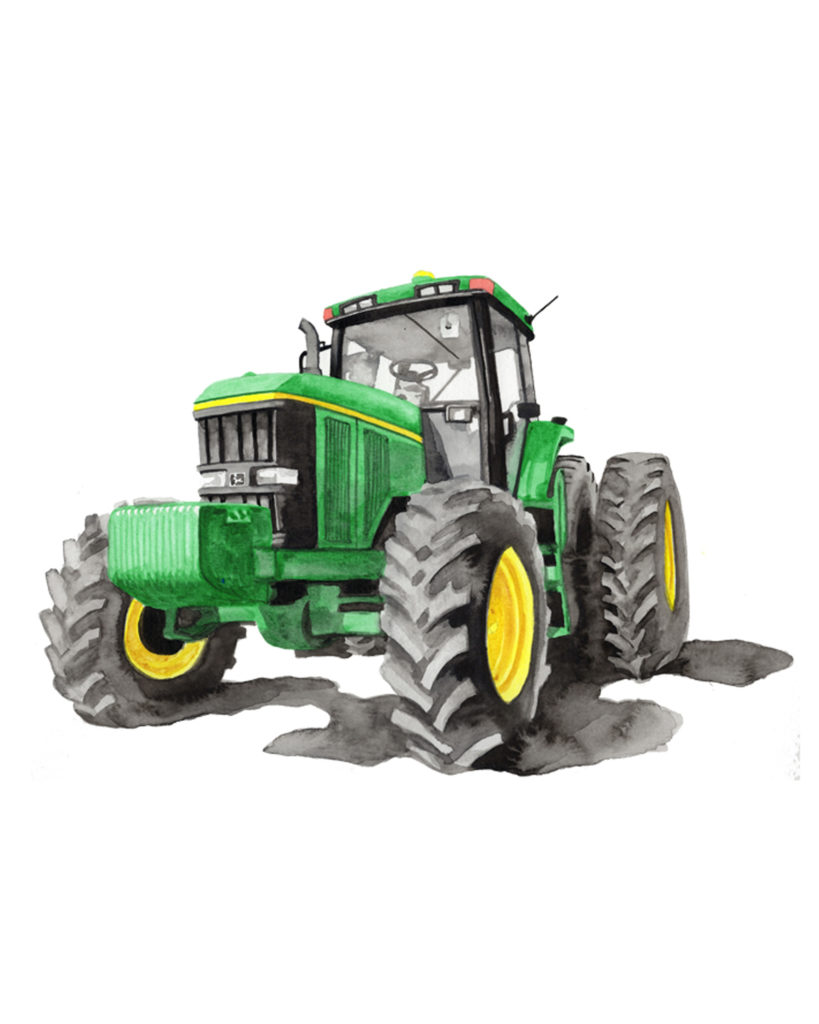
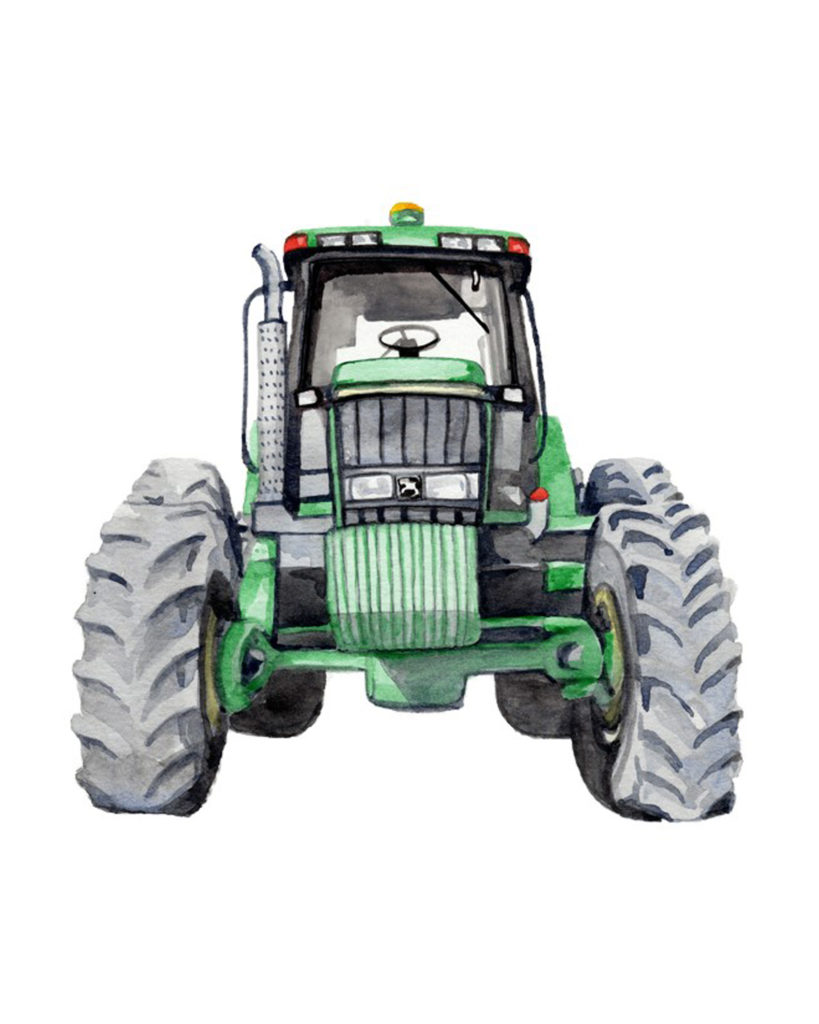
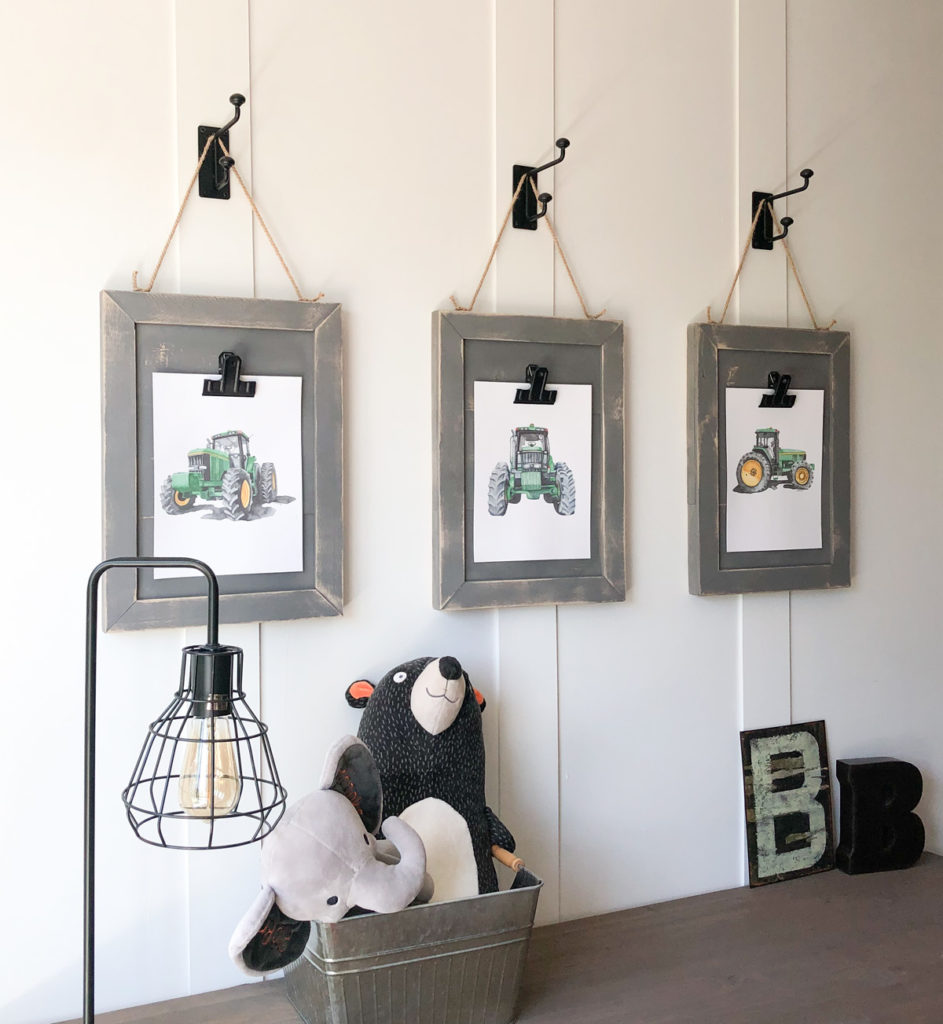
Tractor Printables
I found the tractor printables HERE! You can click on each picture below as well. I LOVE THESE! They are a great price and by far the best I found.

Cuts
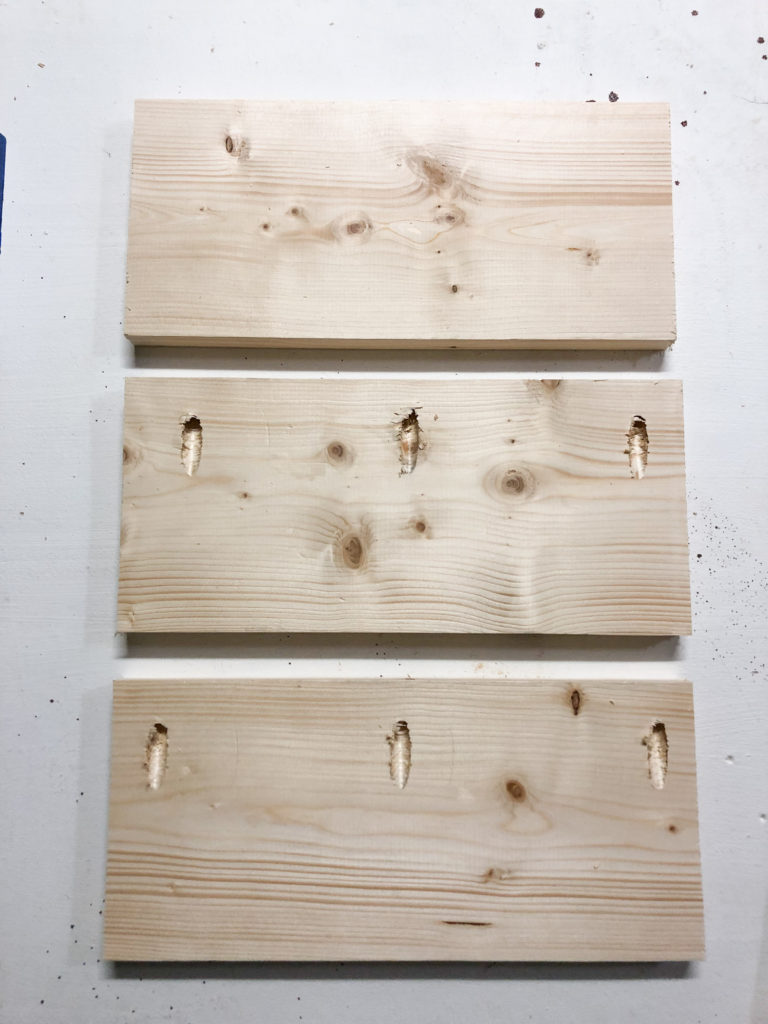
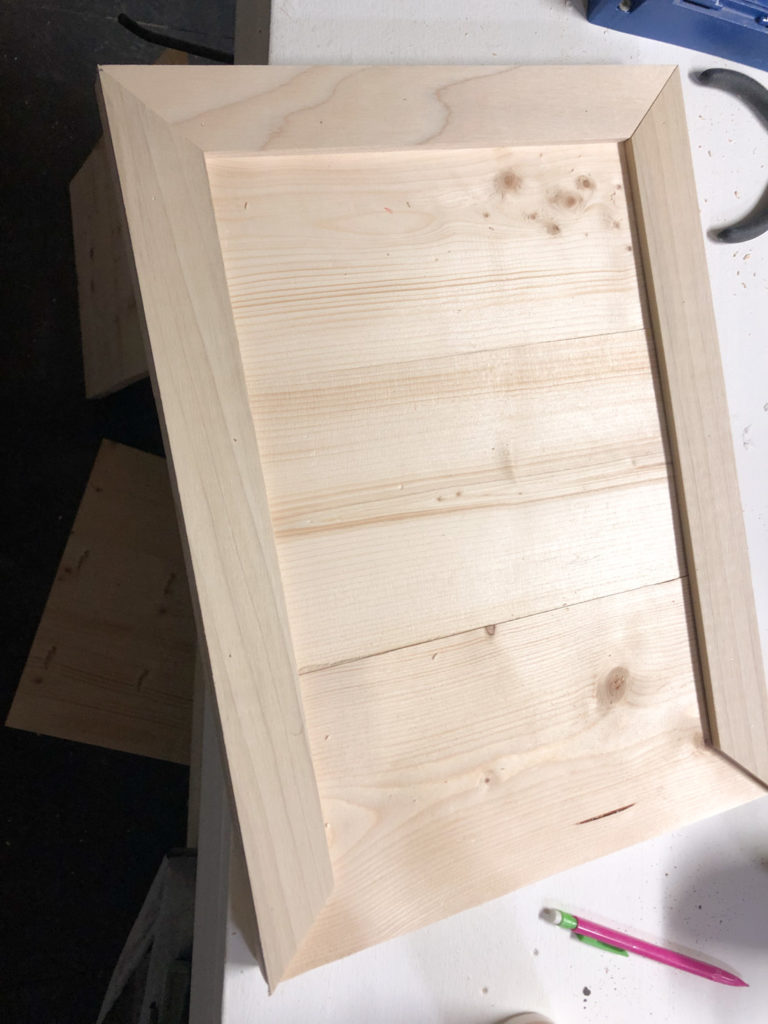
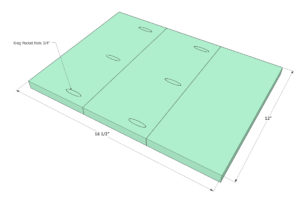
Make all of the cuts for the planks first. Once the planks are assembled, you can measure and cut for the angle pieces to ensure a perfect fit!

Steps
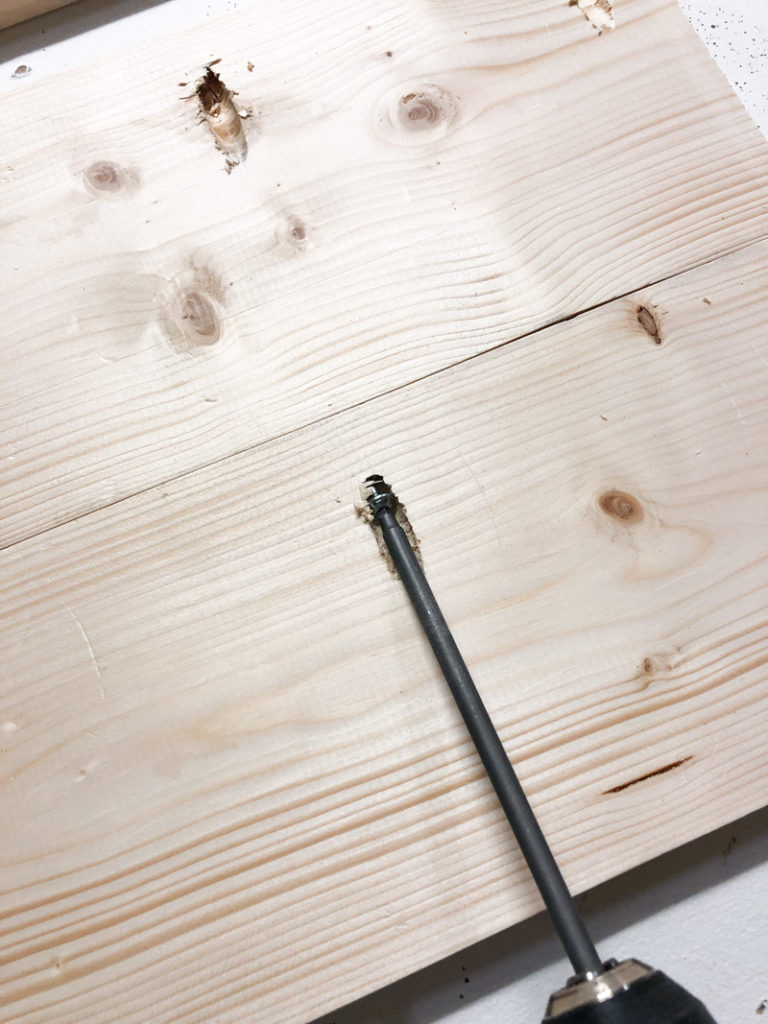
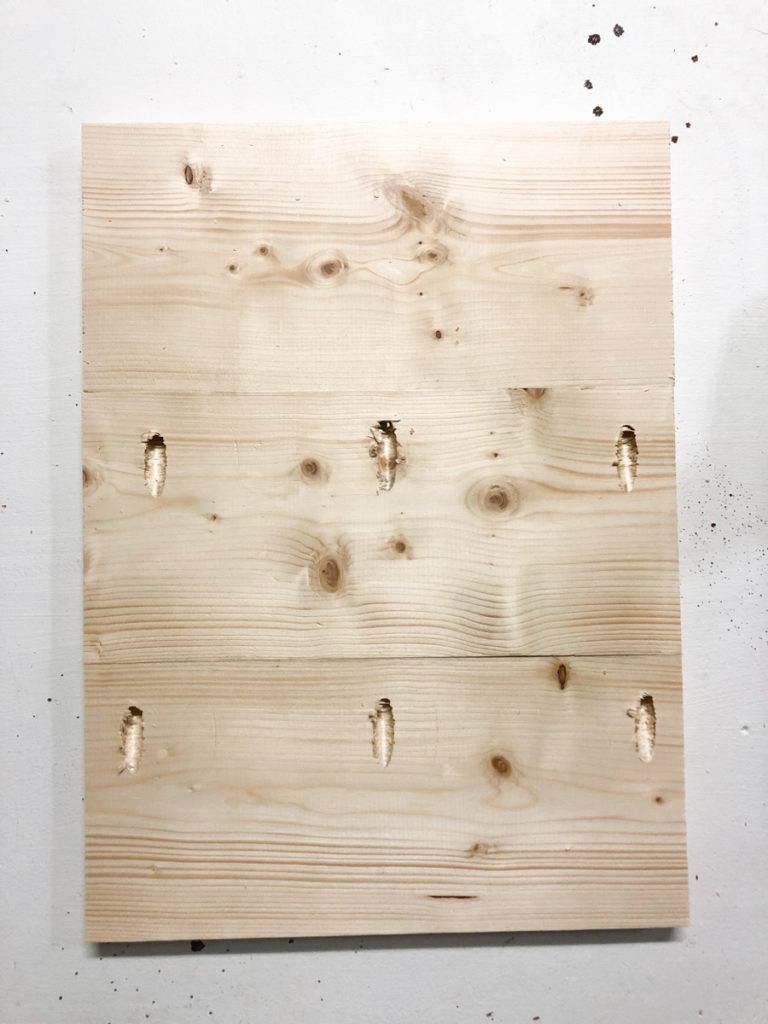
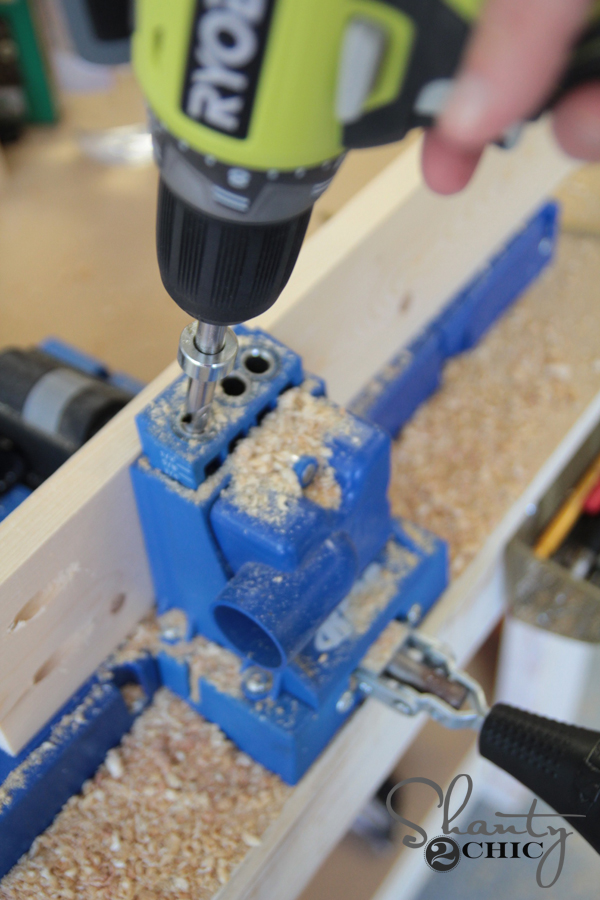
Start by making the cuts for the planks of the frame. These are 1×6 board and you will cut each to 16.5”. Add 3/4” pocket holes to 2 of the 3 boards. Attach the boards together using 1.25” pocket hole screws.
You can see our FAV model of the Kreg Jig HERE! This is the model we used for this project!

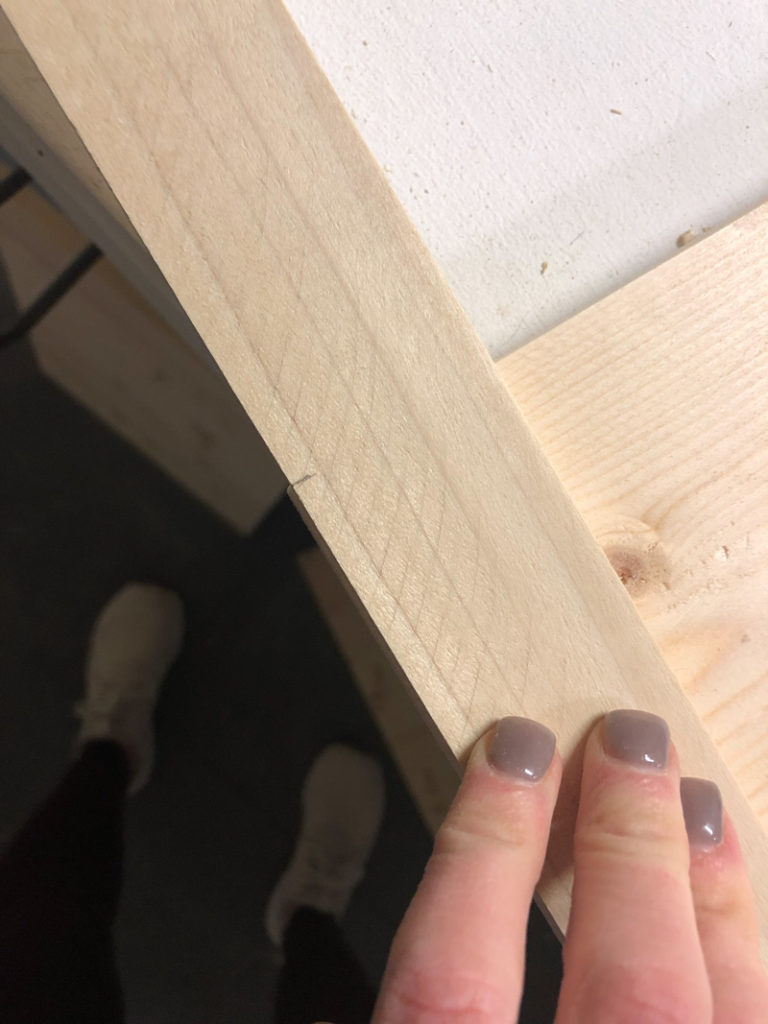
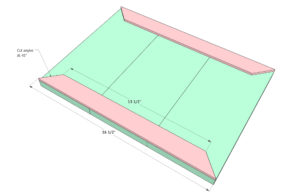
Add the vertical trim next. These are 1’4” thick by 1.5” wide craft boards. Cut the ends of each board at a 45˚ angle. Attach the trim boards using wood glue and 3/4” brad or pin nails.
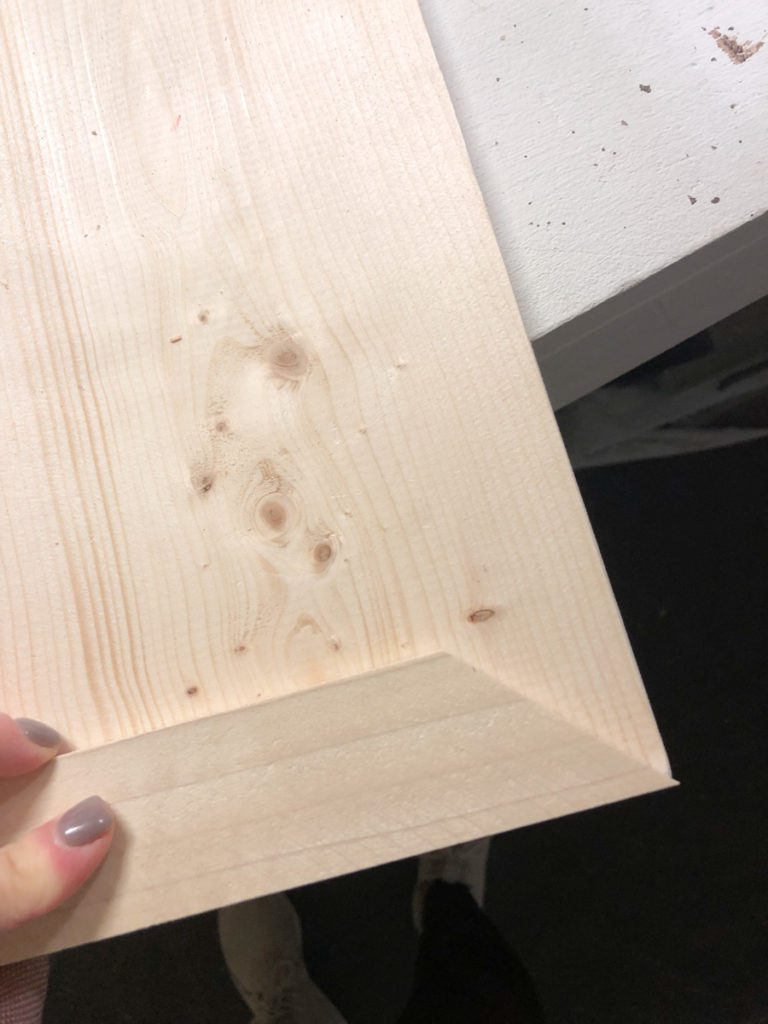

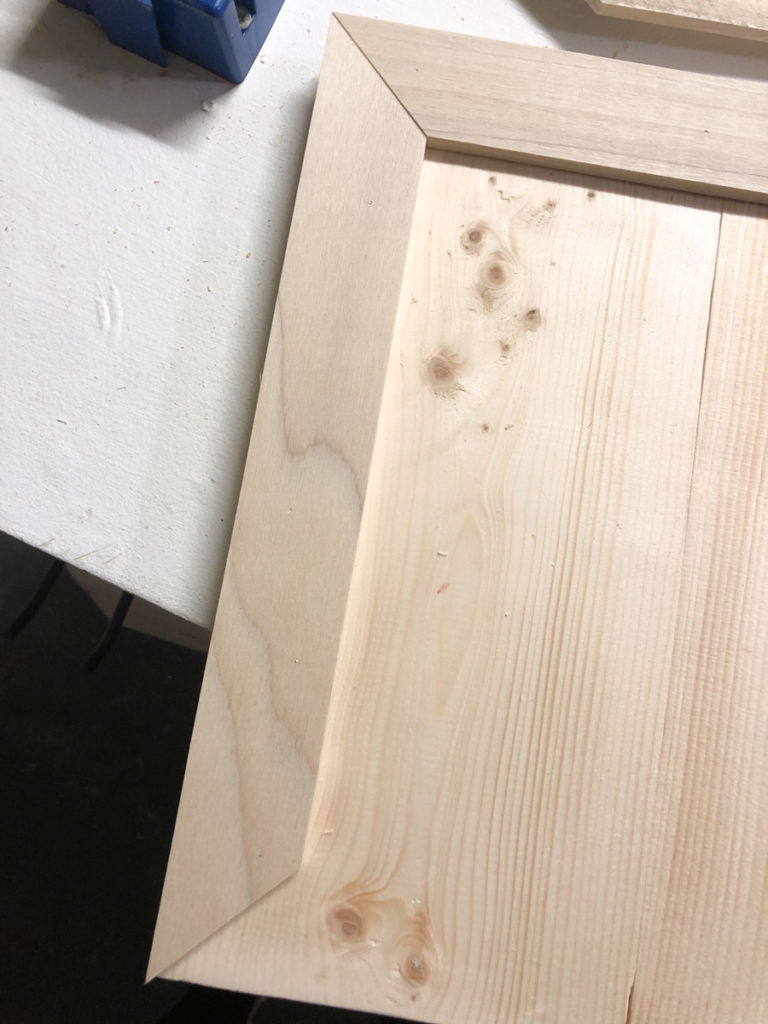
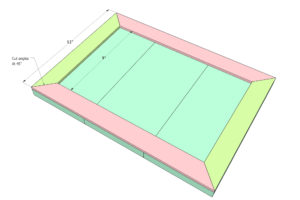
Last step is adding the horizontal trim. Cut each end at a 45˚ angle. Attach these pieces the same as the others using wood glue and 3/4” nails.

Step 4
We finished our frames using THIS SPRAY PAINT! After it dried, we used THIS SANDING BLOCK to lightly distress each frame.
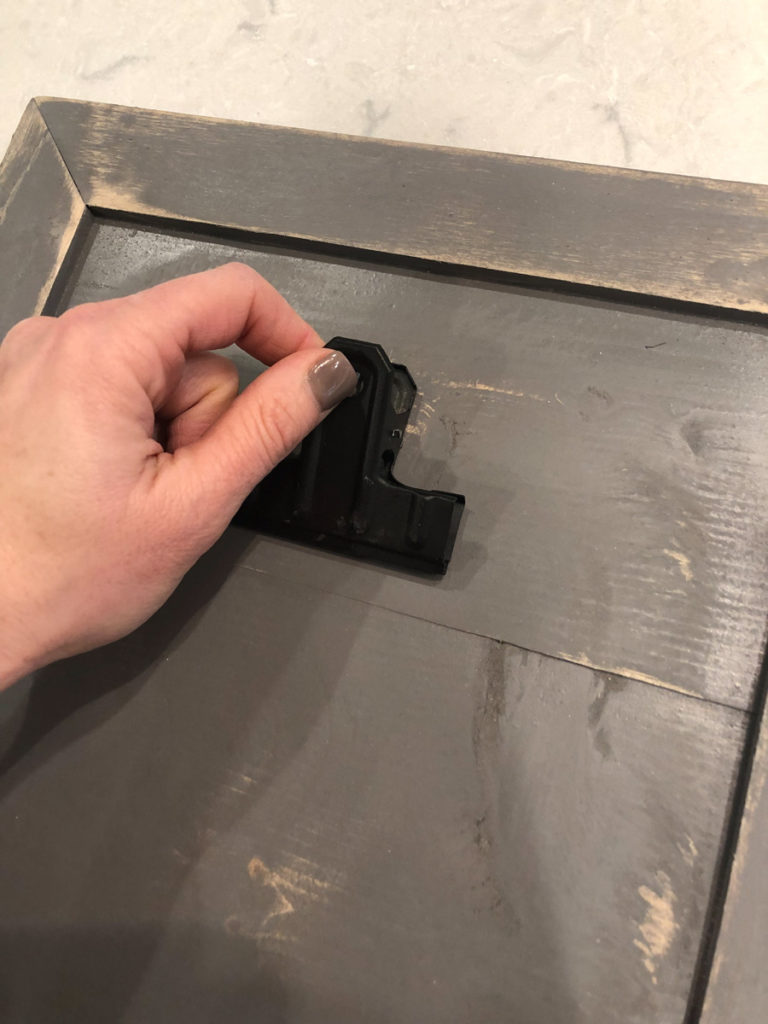
We used THESE CLIPS that we found on Amazon to hold our photos! We attached ours using hot glue, but you can also use a more permanent adhesive as well.
Look how cute!
How cute did these turn out??
DIY Plank Picture Frames
Instructions
- Start by making the cuts for the planks of the frame. These are 1×6 board and you will cut each to 16.5”. Add 3/4” pocket holes to 2 of the 3 boards. Attach the boards together using 1.25” pocket hole screws.

- Add the vertical trim next. These are 1’4” thick by 1.5” wide craft boards. Cut the ends of each board at a 45˚ angle. Attach the trim boards using wood glue and 3/4” brad or pin nails.

- Last step is adding the horizontal trim. Cut each end at a 45˚ angle. Attach these pieces the same as the others using wood glue and 3/4” nails.

- You can PRINT THESE PLANS HERE!

There is a legend that at 12:37 p.m. if you play the suika game, you will have a lot of fun in arranging fruits. The game seems simple but requires a lot of tactical elements.
Awesome Project! Love to have these on weekend i will follow the instructions thank you for sharing
This is the missing piece on my DIY wine basket. Be a part of our wine club to get a 25% discount.
What a life saver! I couldn’t find the small size in stores so I had to put my thinking cap on, and found this article. Thank you!
Where can I find those hooks?
You want the best hardwood lumber to build your woodworking projects? Walnut, cherry, maple, and all fine exotic woods are right here with easy online our sustainable wood is perfect for wood supply for furniture.
How do you attach the string to hang? And where can you order the corner brackets ?
Thanks for the post! Is there anything to be aware of if we want to scale this to be larger?
Great simple project! What size are the tractor pictures?