Happy Fall guys! Fall is hands down my favorite season of the year, and decorating for it is one of my favorite things to do! I recently built a new entryway table and I wanted to find a fun way to display a wreath. With the cost of lumber up so high, I decided to make the whole thing out of scraps… My kind of project! I love the way it turned out! I teamed up with Purdy to build this DIY Farmhouse Wreath Display, and look how cute it is!

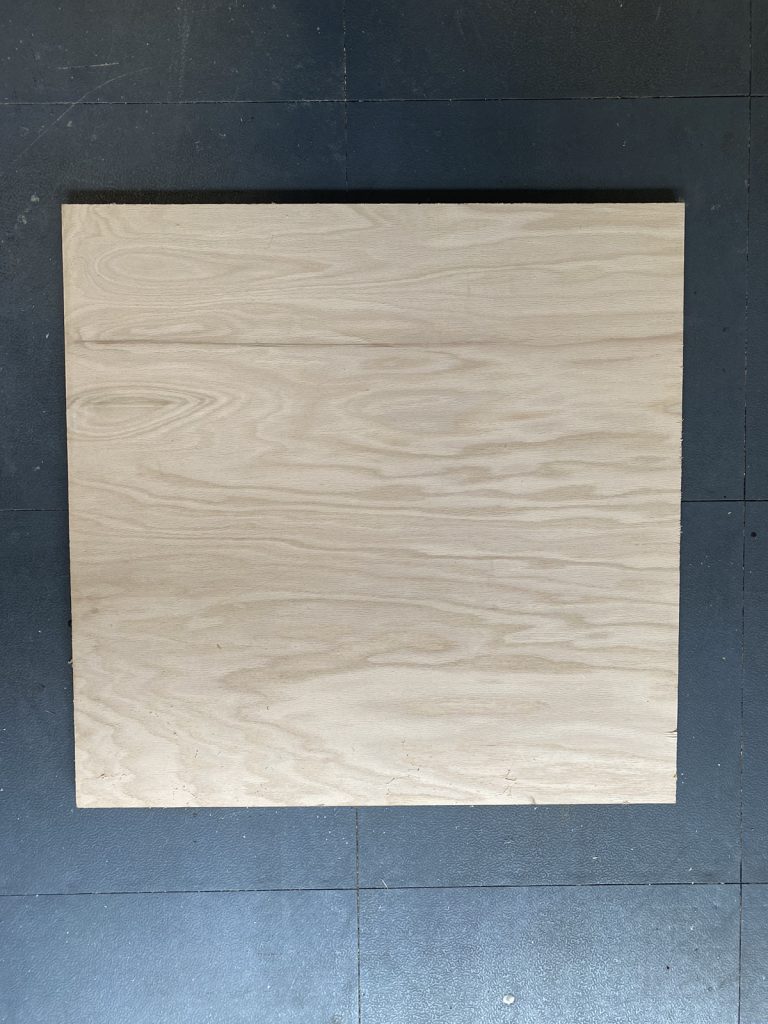
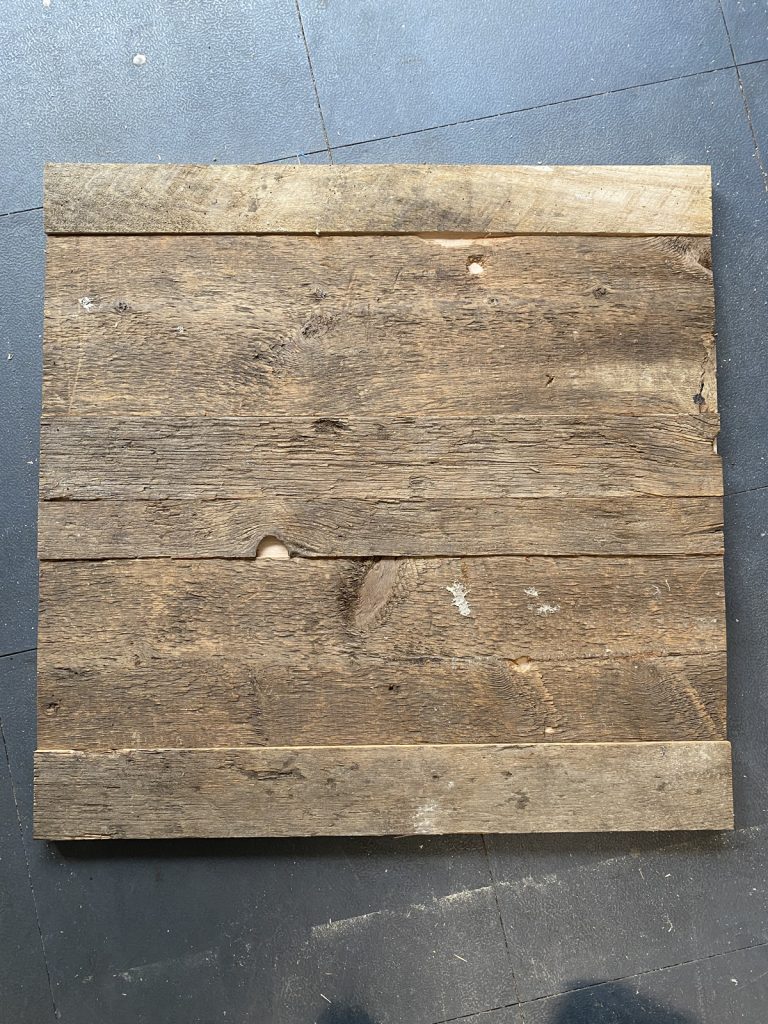
This is a super simple project to build, and a great way to use up the scrap pile! I started with a scrap of plywood. This is 3/4″ thick plywood, but 1/2″ would work great as well. Mine was 27″ x 27″, but you can cut yours to fit the space you need.
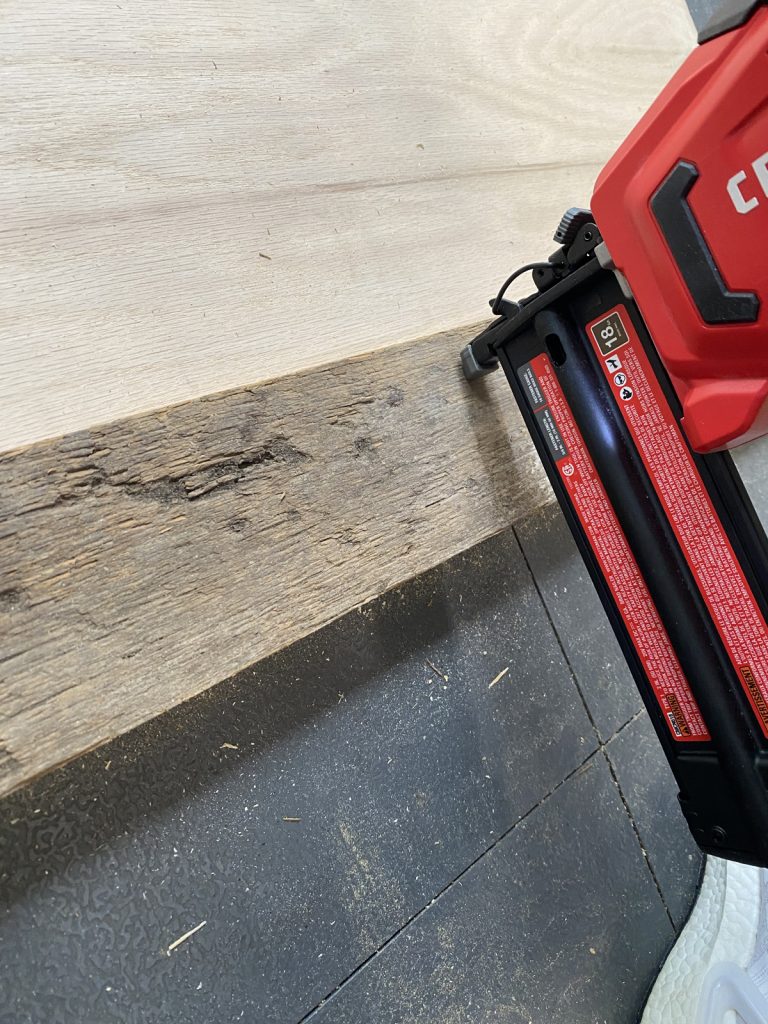
I used scrap barn wood for my display. You can buy barn wood online and at the hardware stores as well. I cut several pieces to 27″ width. I started at the bottom of the plywood flush and attached each piece using wood glue and 1″ brad nails. I attached the first board and then worked my way up.
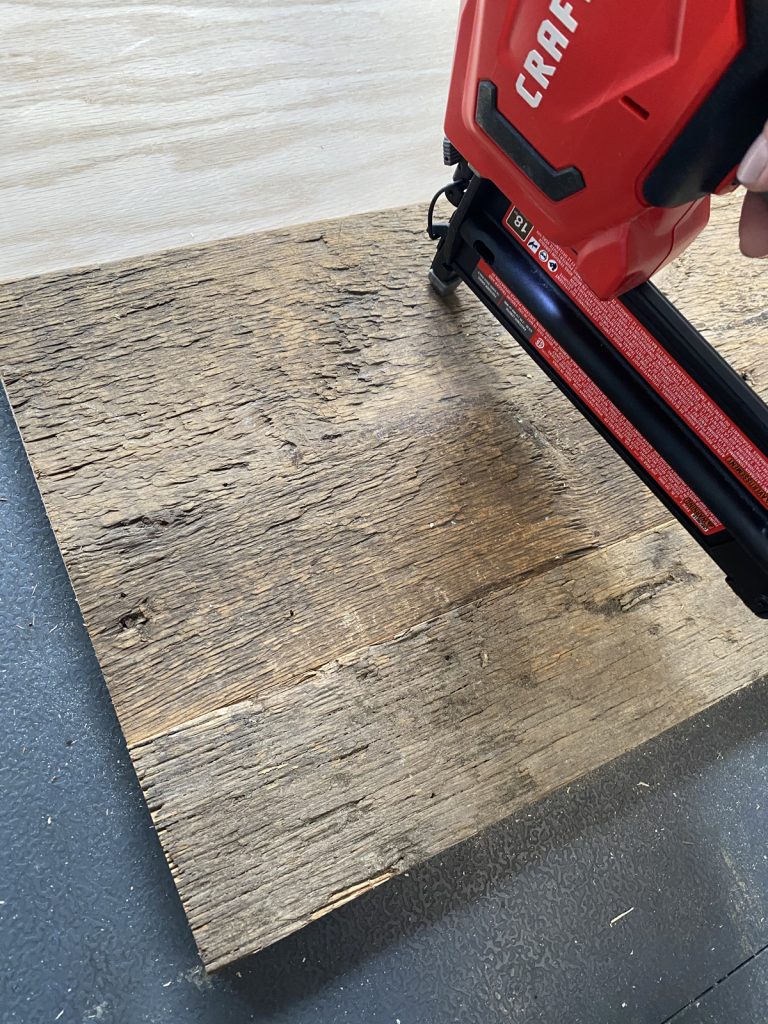
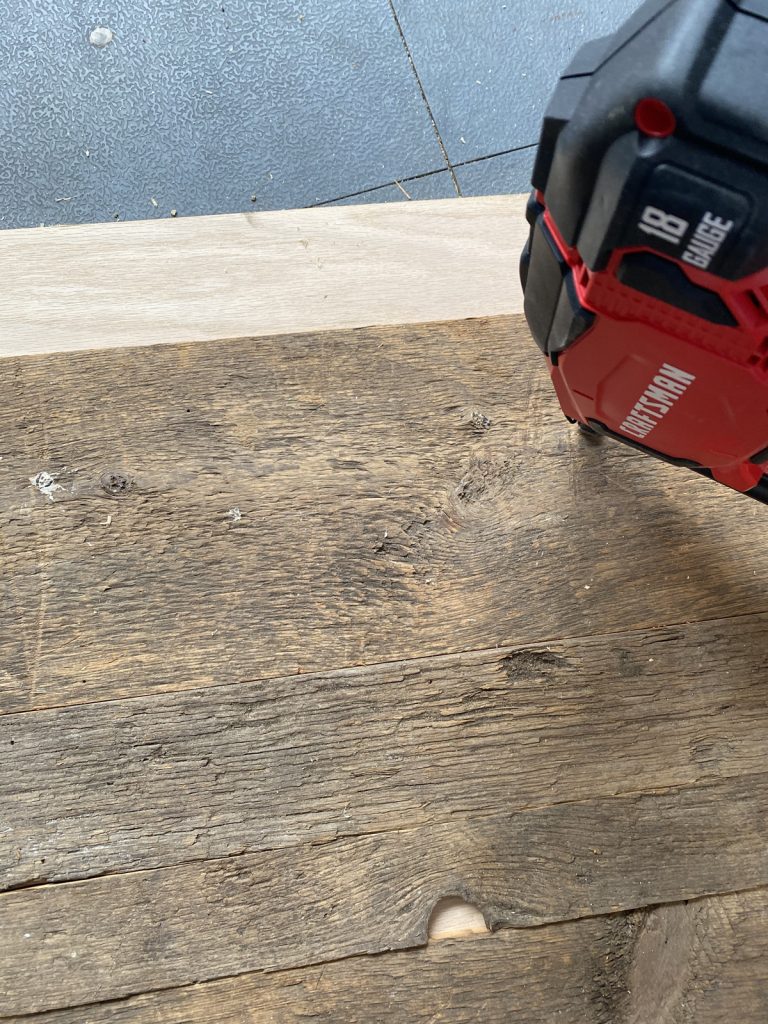
I worked my way all the way up to cover the entire piece of plywood. If your top piece isn’t the same width as the space, you can use a jigsaw or table saw to rip it to the correct width.
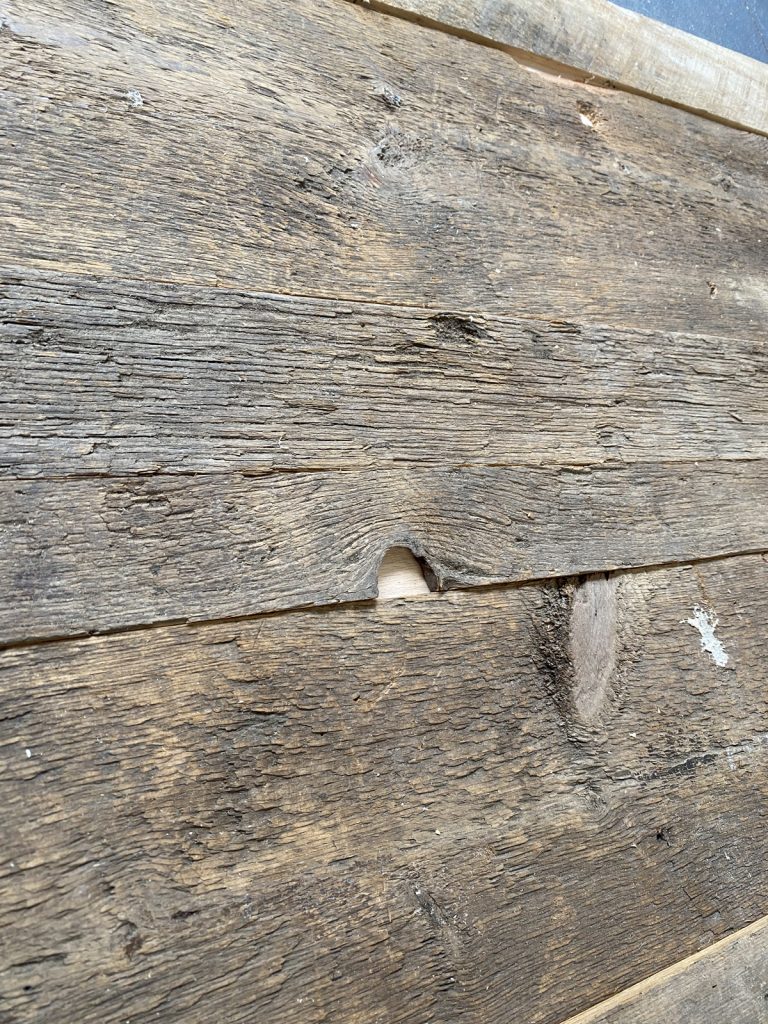
At this point I was ready for paint. I had a very uneven surface, and I knew I wanted to cover it well.
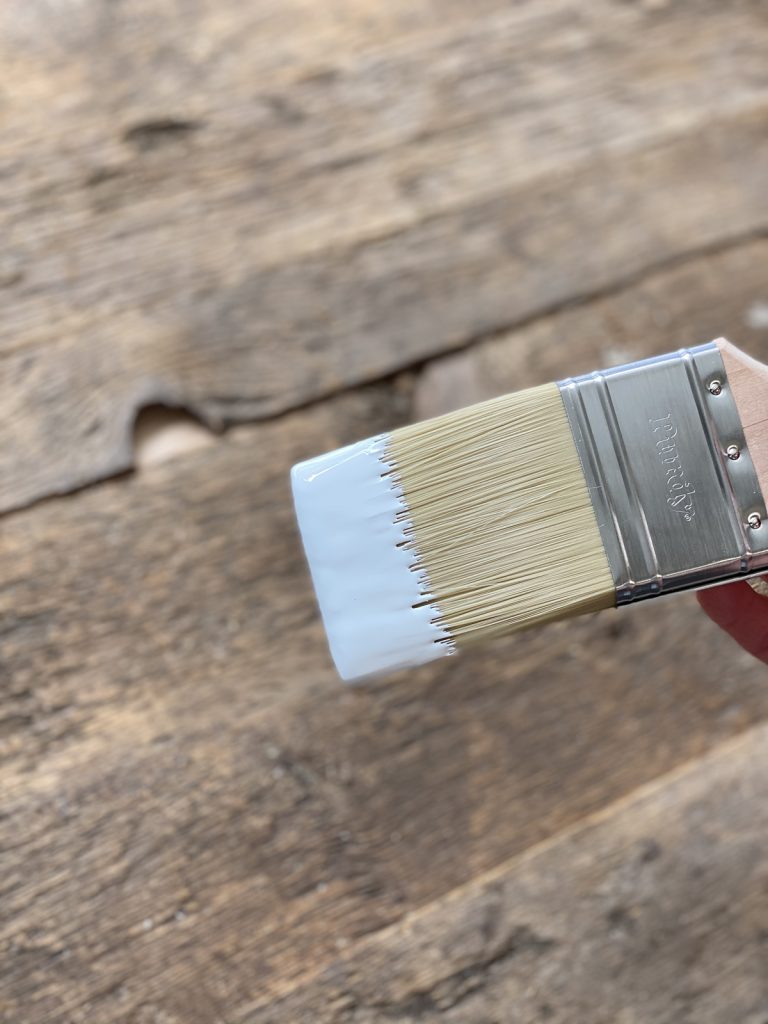
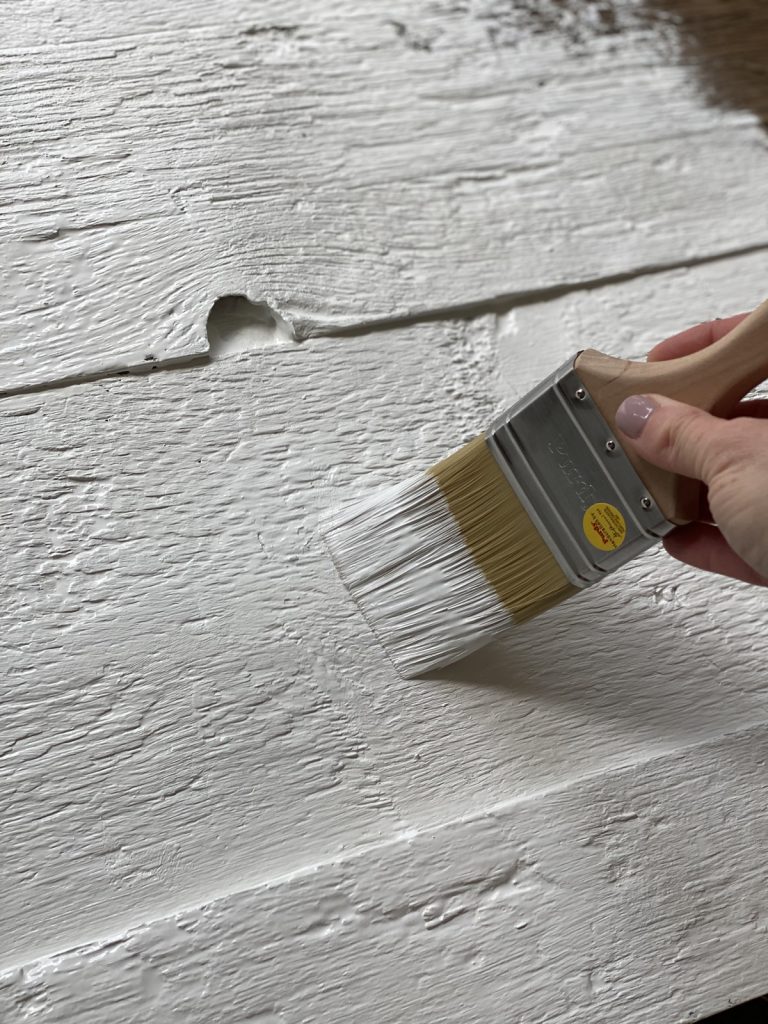
I decided to use some of my favorite Purdy tools to get this part done quick! I chose to use my Purdy Chinex Elite brush to paint the surface of my display. With the uneven surface, this brush is perfect because it is designed with stiff bristles.
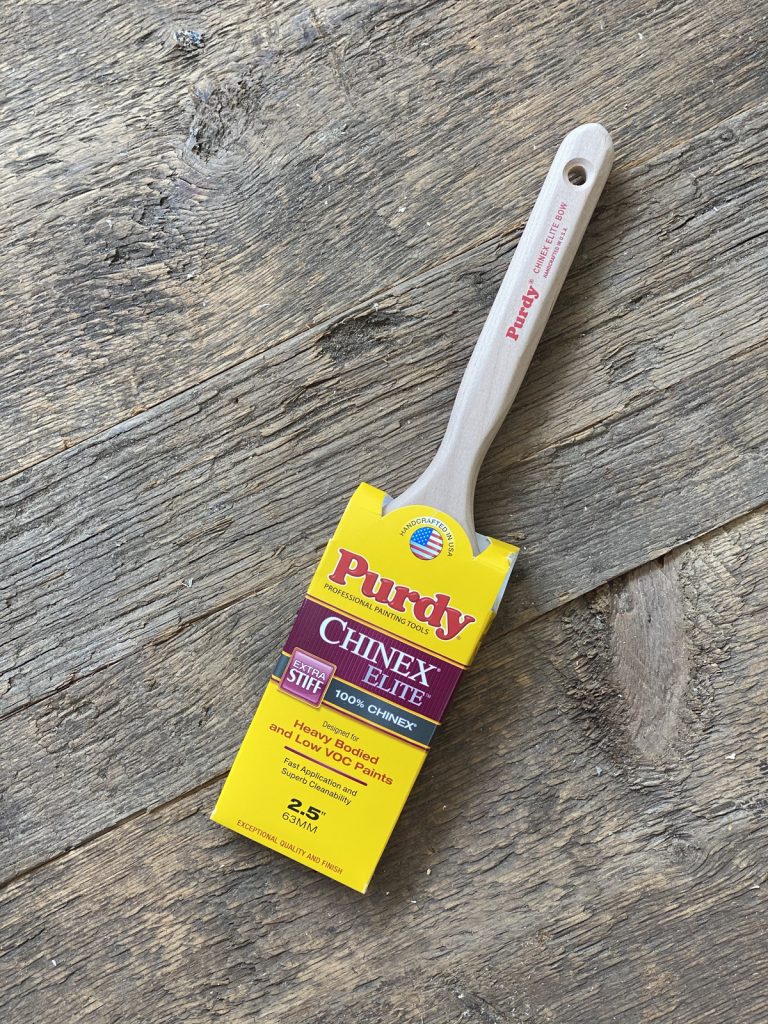
With the uneven surface, this brush is perfect because of it’s stiff and durable filaments. These brushes stand up to rough surfaces like this wood. The filaments are also pre-flagged, sort of like split ends of hair, which allows them to pick up more paint and apply it more smoothly. These the bristles are split, which allows them to pick up more paint and apply it more smoothly.
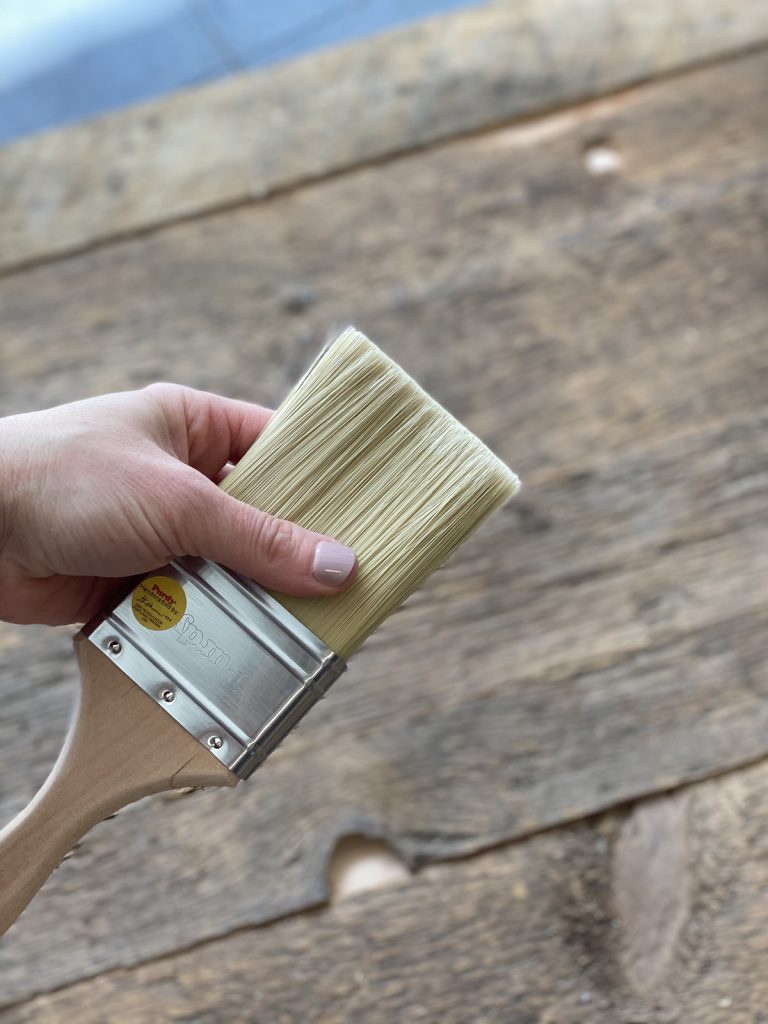
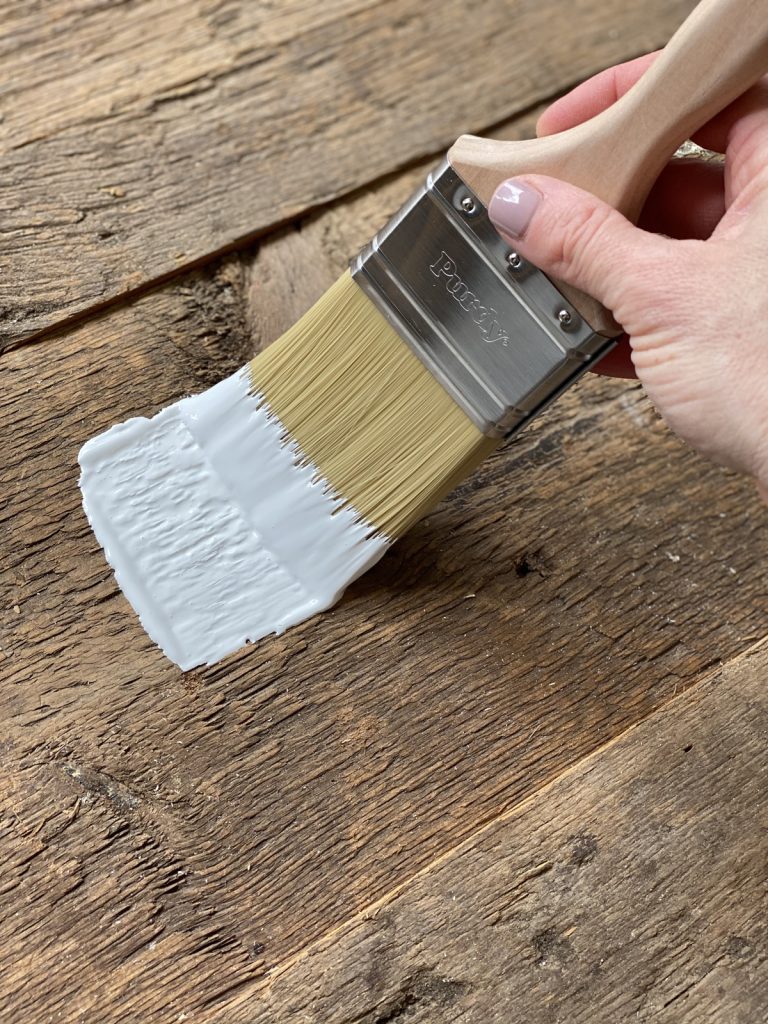
It applies the paint smoothly and thick which allowed me to get it painted quickly!
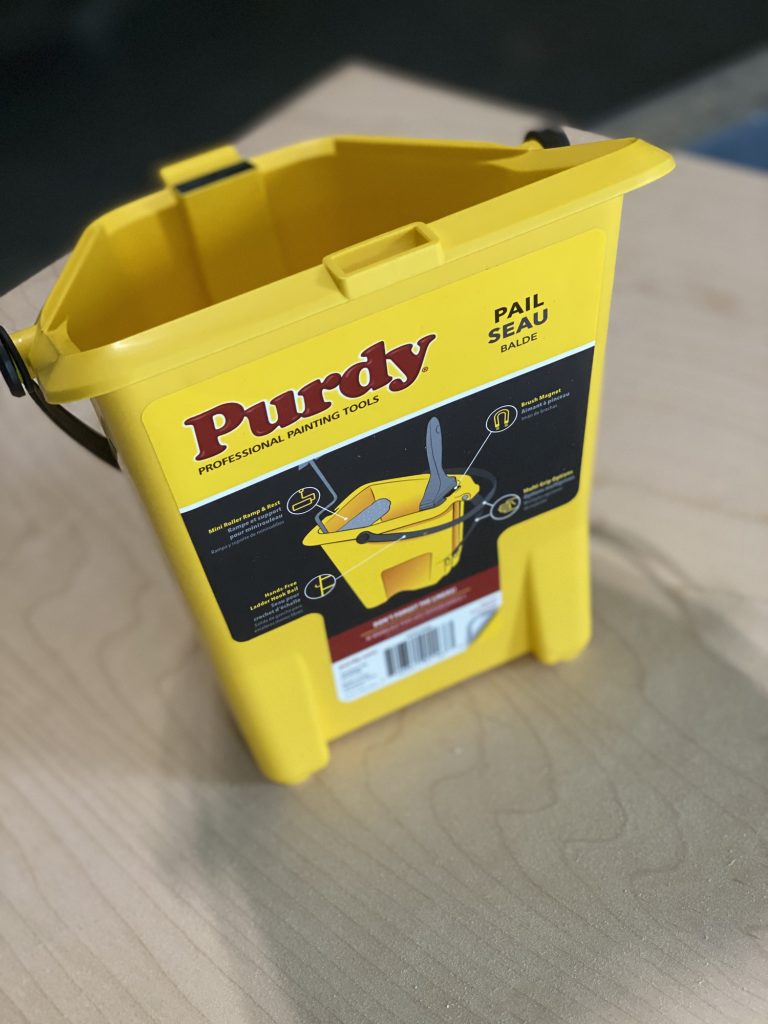
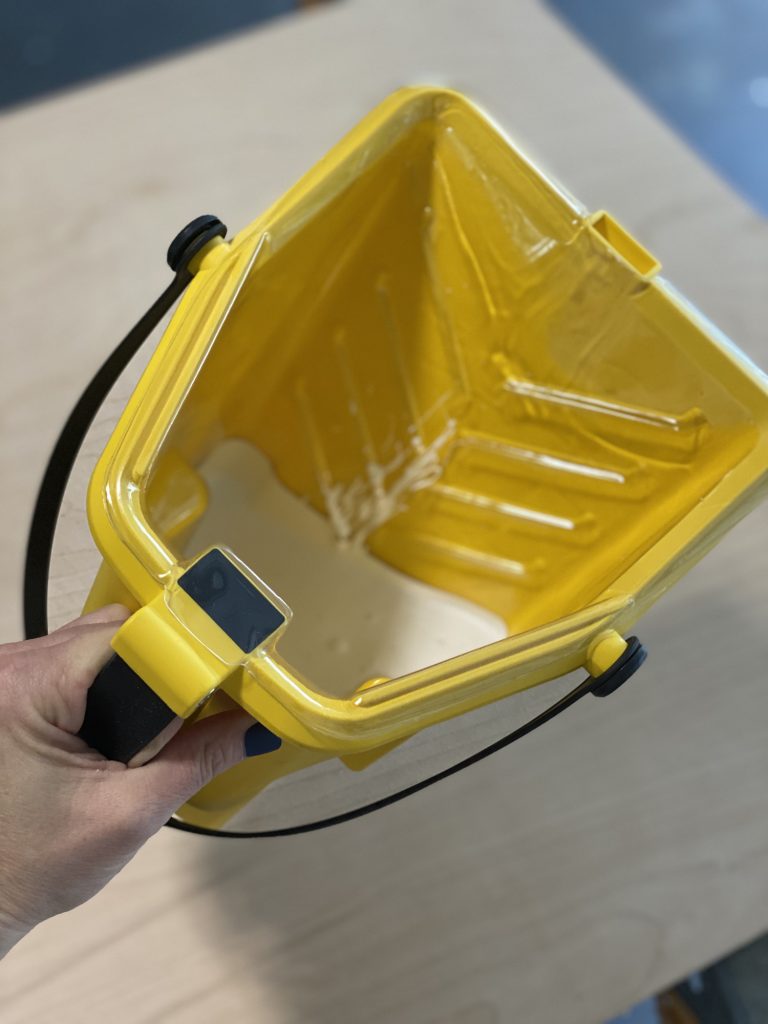
I also used my Purdy Pail on this project to save time. I LOVE this thing. I use it on both big and small projects. I love the liners that can easily be changed and tossed making cleanup so much faster as well.
You can find these products and see all of their other great products by visiting Purdy’s website HERE!
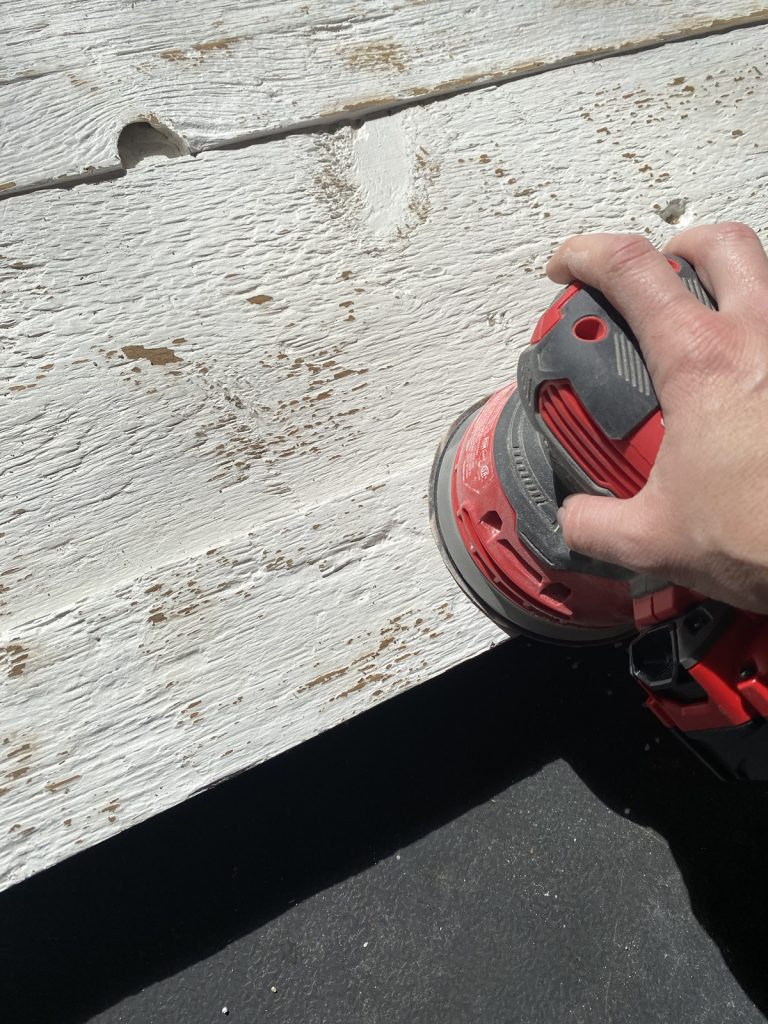
I covered the entire surface with one thick coat of Sherwin-Williams paint in my fav white color… Pure White. I let that sit and dry.
Once the surface was dry, I used my sander with 120 grit to sand just a small amount of paint off the top to reveal the wood beneath.
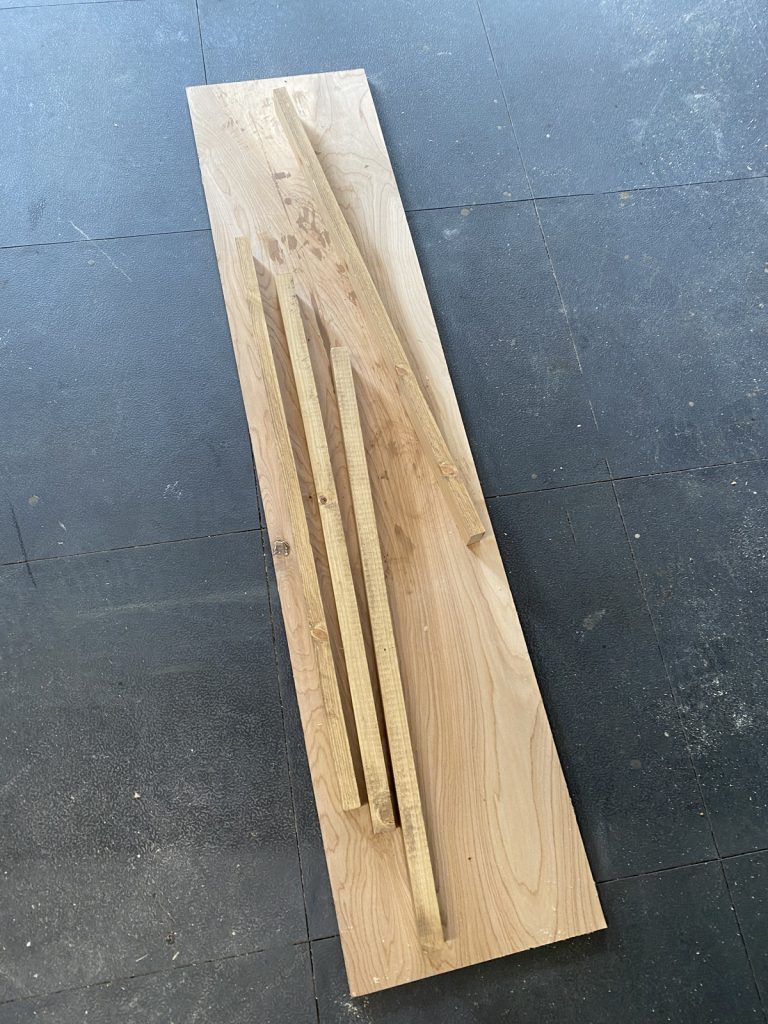
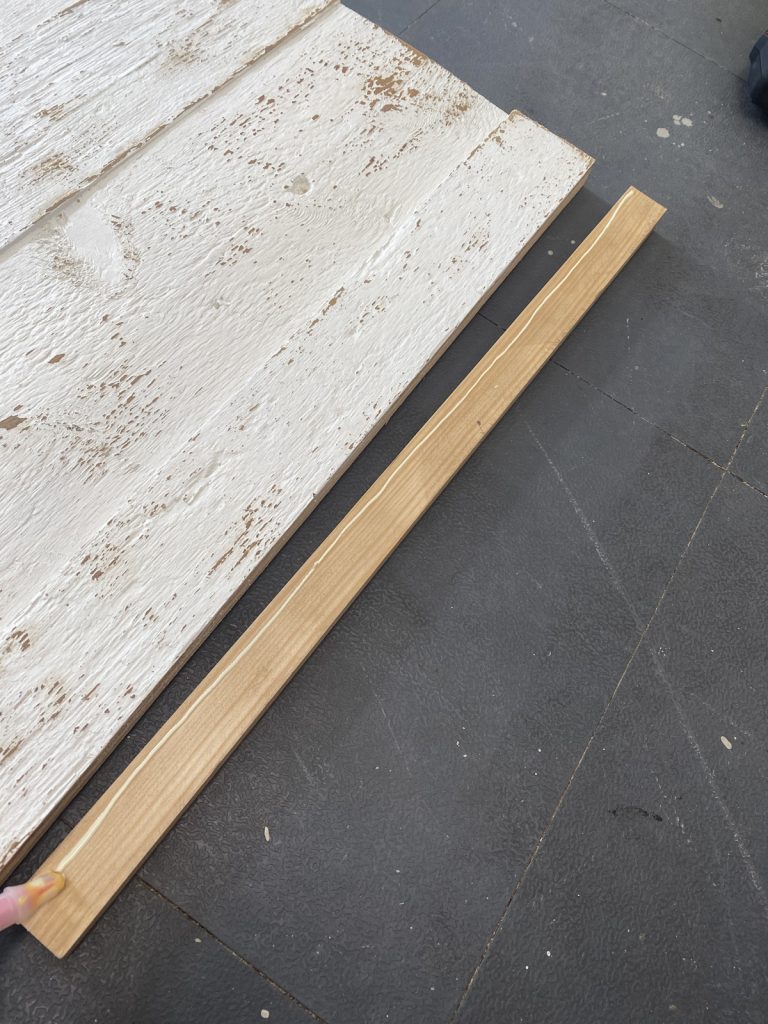
I used 1×2 boards for the frame. First, I measured each board to size and cut, and then I stained each board and let them dry.
Then, I used wood glue and 1.25″ brad nails to attach each board to the plywood piece.
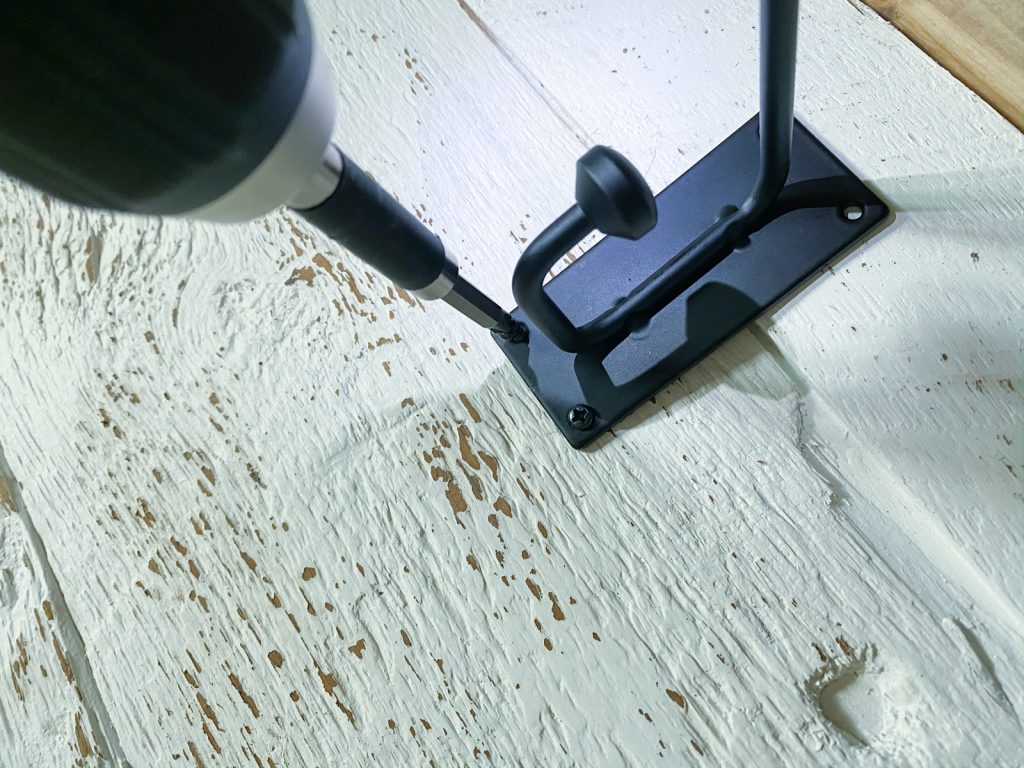
My final step was adding my hook. You can use any hook for this part to fit the style you are going for. I found mine at Hobby Lobby. I used my drill to attach the hook to the center and top of the display.
I love how it turned out!

I hope you love it as much as I do! I love that I can switch out the wreaths here in a few weeks for Christmas!
You can find the Purdy Pail at Sherwin-Williams stores. And don’t forget your liners! Get lots ? You will thank me!
You can find the Purdy Chinex Elite brushes at all Purdy retailers.
This project was sponsored by Purdy, but all opinions and words are entirely my own.
To learn more about The Purdy Difference and Purdy products, CLICK HERE!
To find the right Purdy tool for your next project CLICK HERE!


BitLife is a text-based life simulation game that allows players to live out a virtual life from birth to death.
Love this project. Is a hanger needed on the back, or is it leaning on a wall?
What stain did you use for the edge pieces and what size wreath is this ideal for?