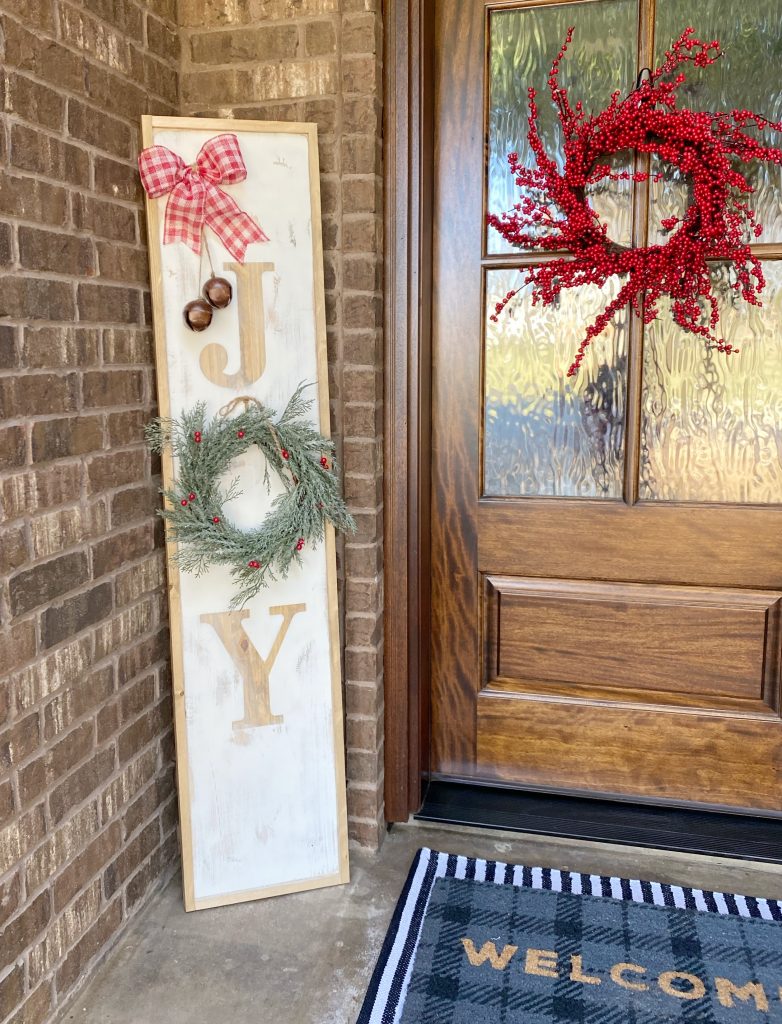
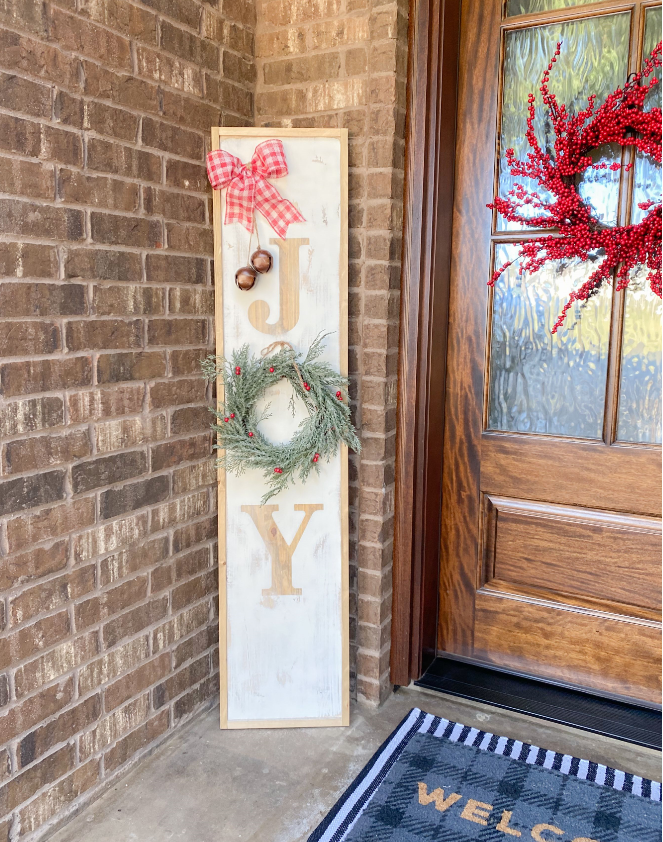
Hey friends! I have been getting my house dressed up for Christmas and I wanted to share a super simple and fun project I made. It’s been a few years since I made a porch sign, and I decided it was time for a new one! Look how cute this turned out!
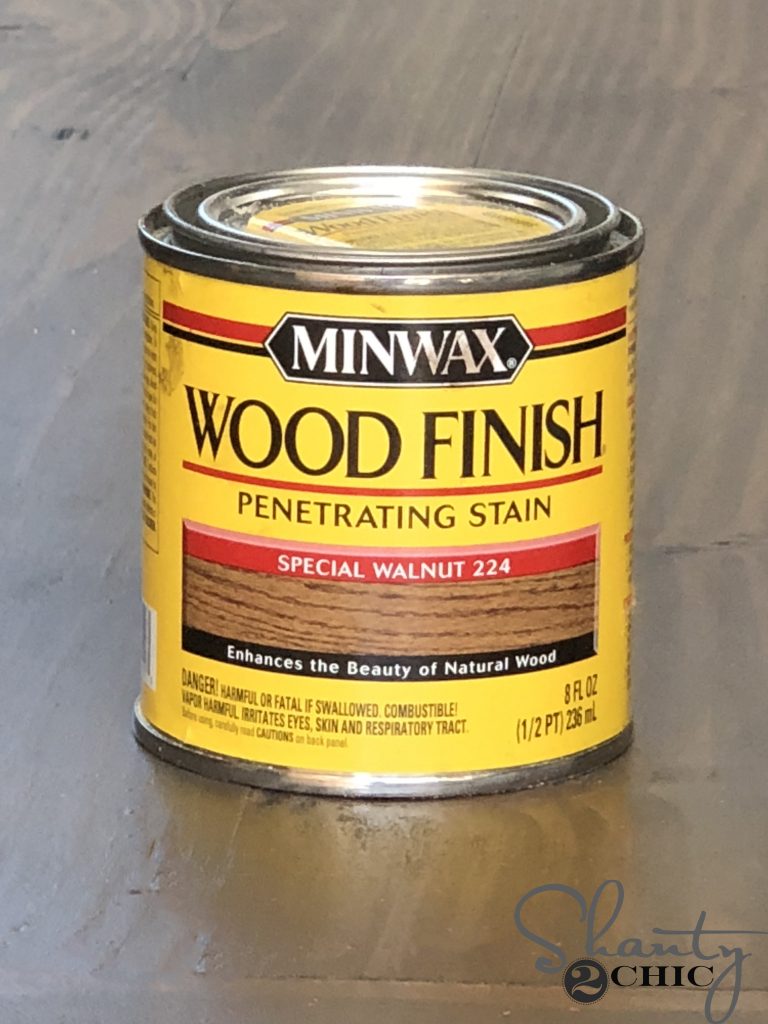
I teamed up with Minwax on this project! I love the contrast of the stain against the white paint. I just think it adds so much to the piece. Let me show you how easy this is to build!
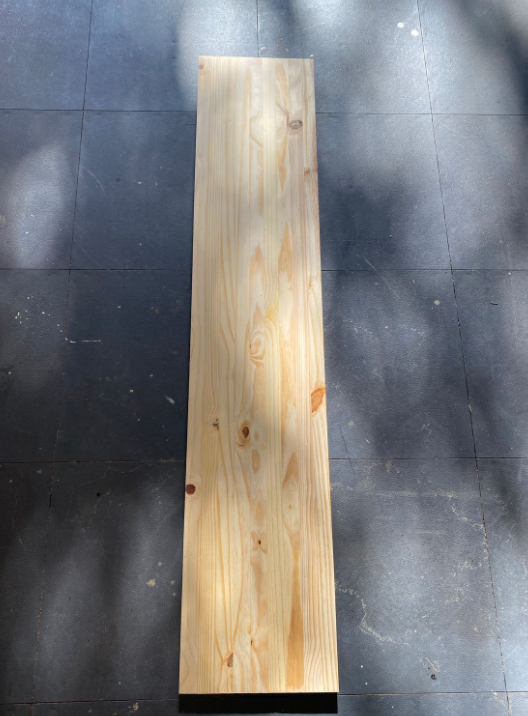
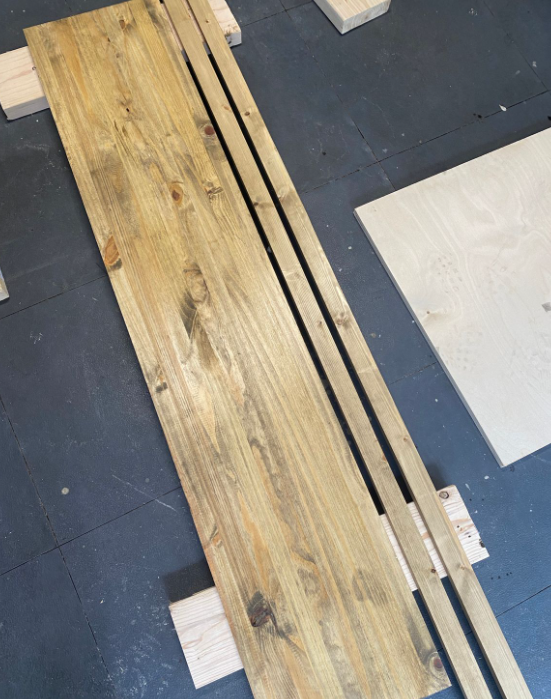
For lumber on this project, all you will need is a piece of plywood or scrap wood and two 1×2 boards. Lots of you probably have enough scrap pieces to do this without even buying any! I started by cutting my plywood to 12” by 60”.
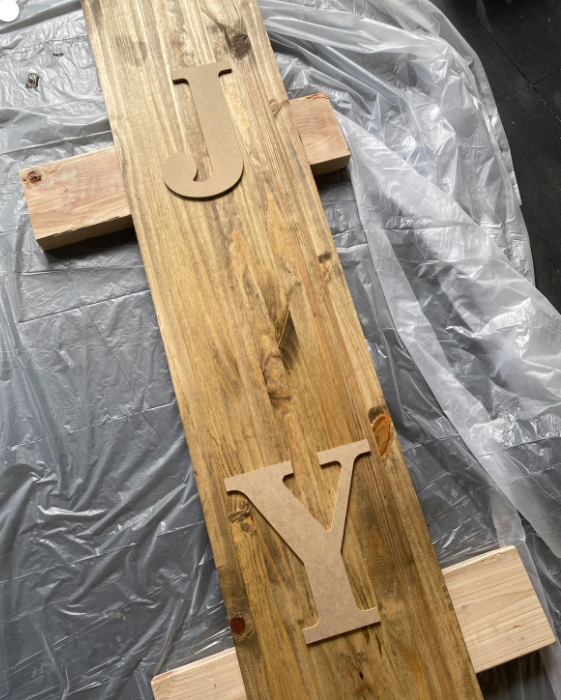
I stained this board using one of my favs!
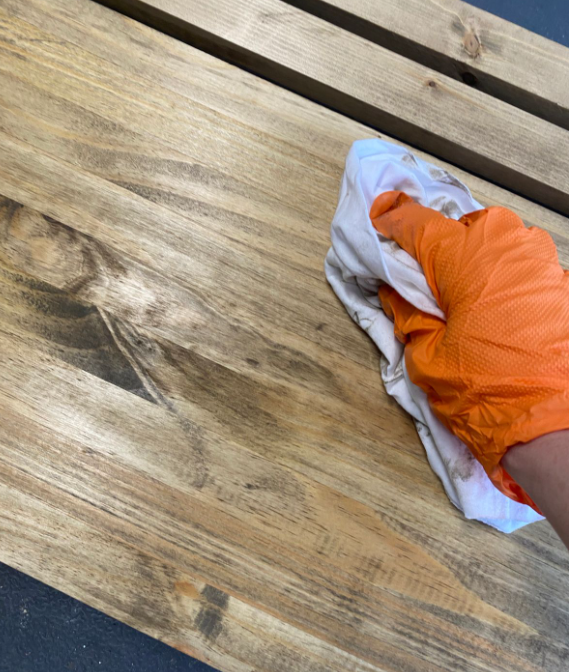
Because this was a small piece to stain, I applied my stain with a wiping rag. You need to sand, pre-stain and then stain/wipe the excess stain off. I used another wiping rag to wipe away the excess. I cut the 1×2 boards to size , and I used these rags to stain them as well. They will be attached in a later step. The 1×2 boards will be the size of your plywood board, so measure and cut that amount.
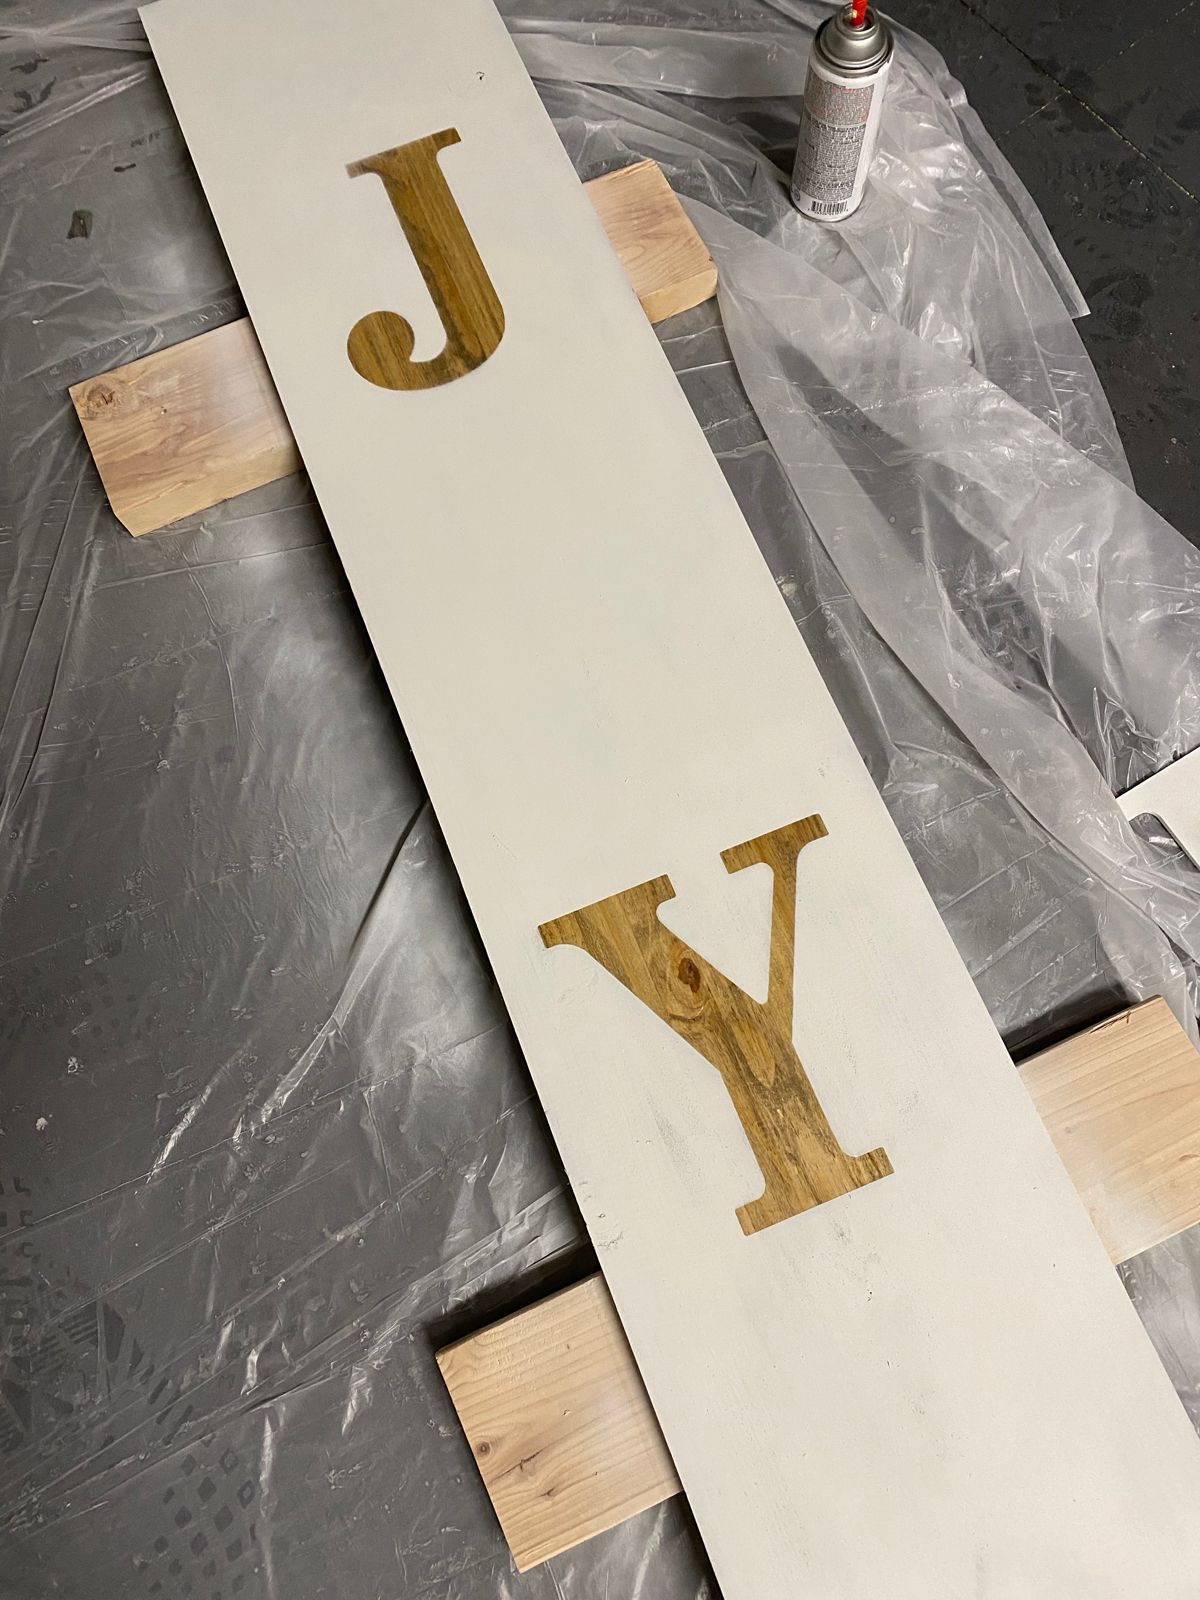
I found some cute wood letters at my local craft store. I bought the letter J and Y and positioned them on my plywood once the stain was dry.
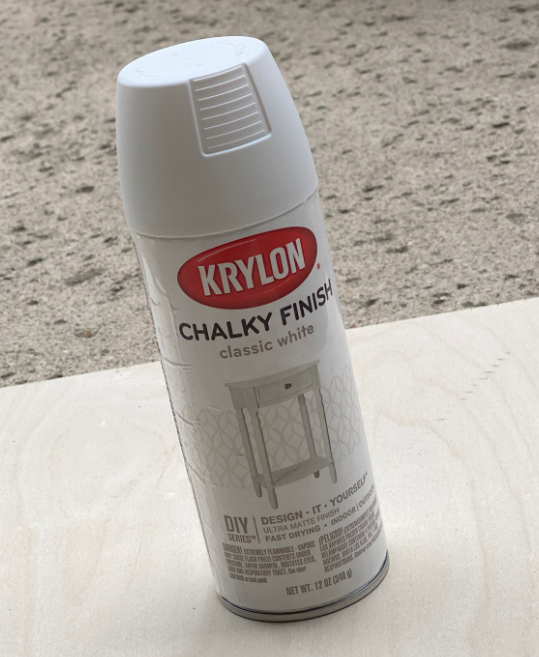
I sprayed the entire board and letters using white chalk paint.
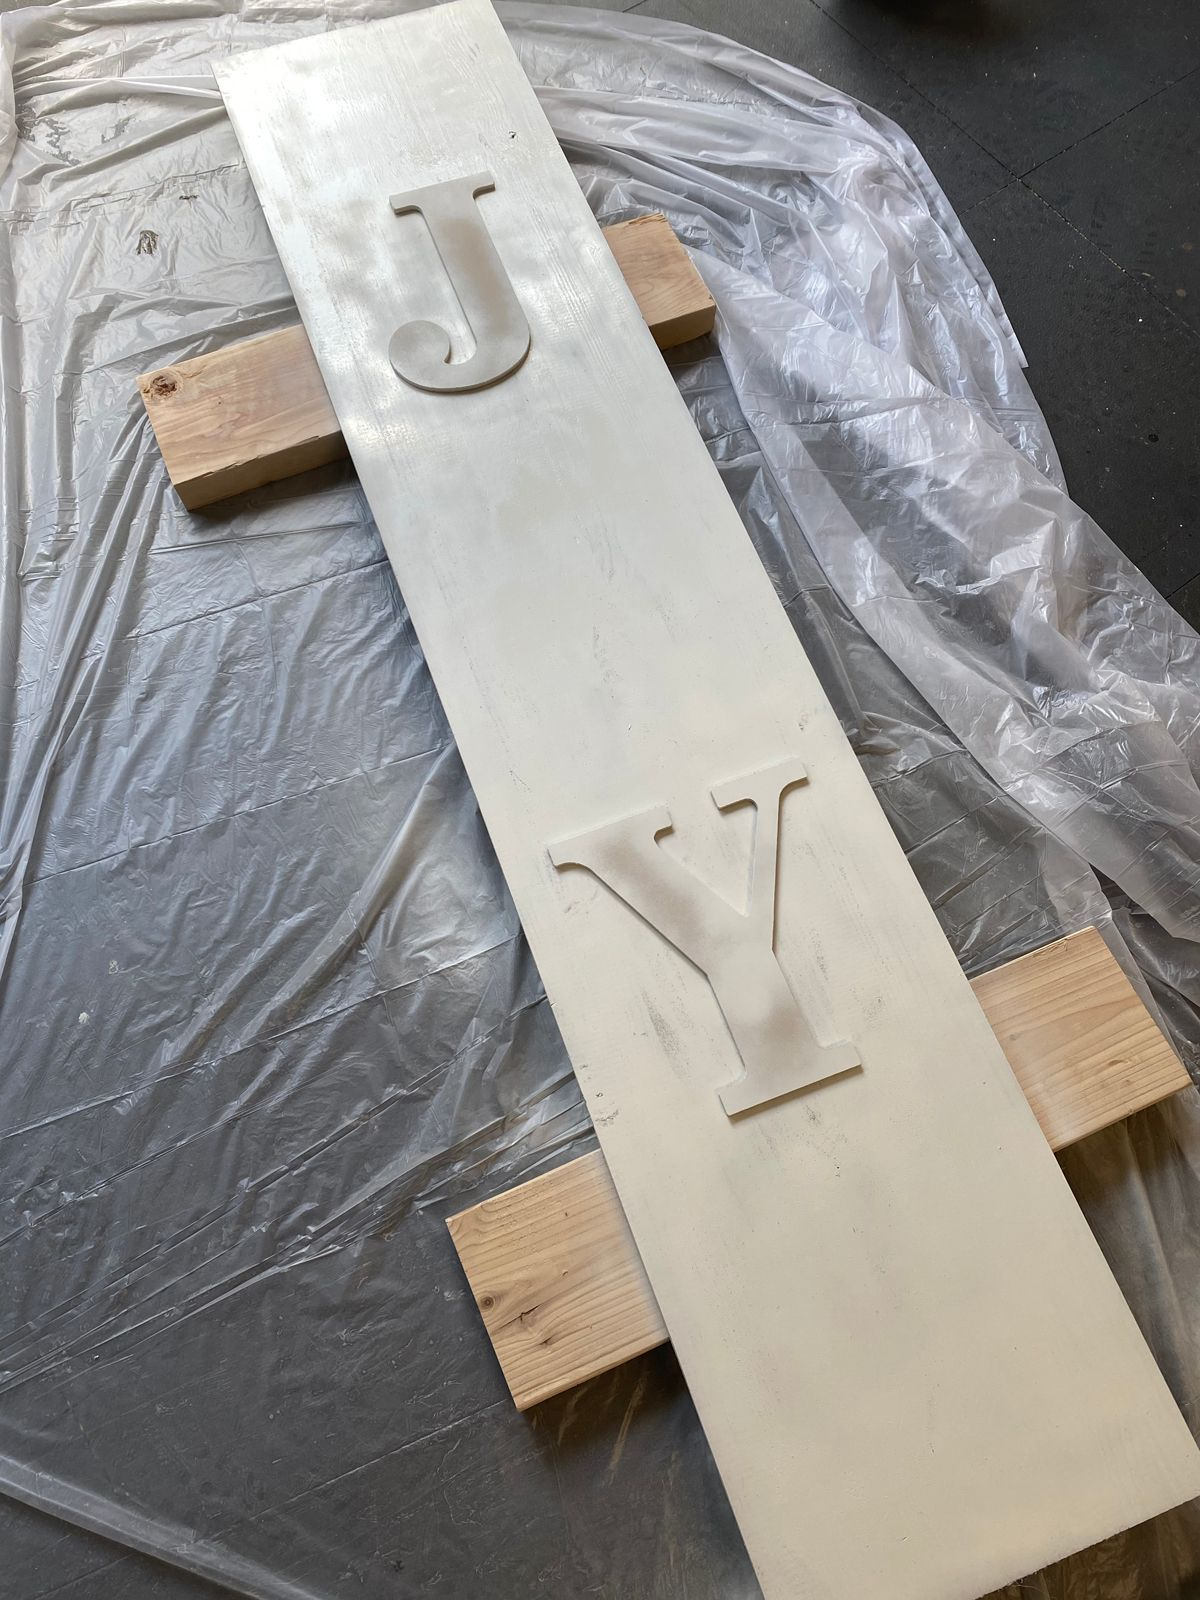
Once the paint was dry, I picked up my wood letters to reveal the stained wood beneath…. LOVE.
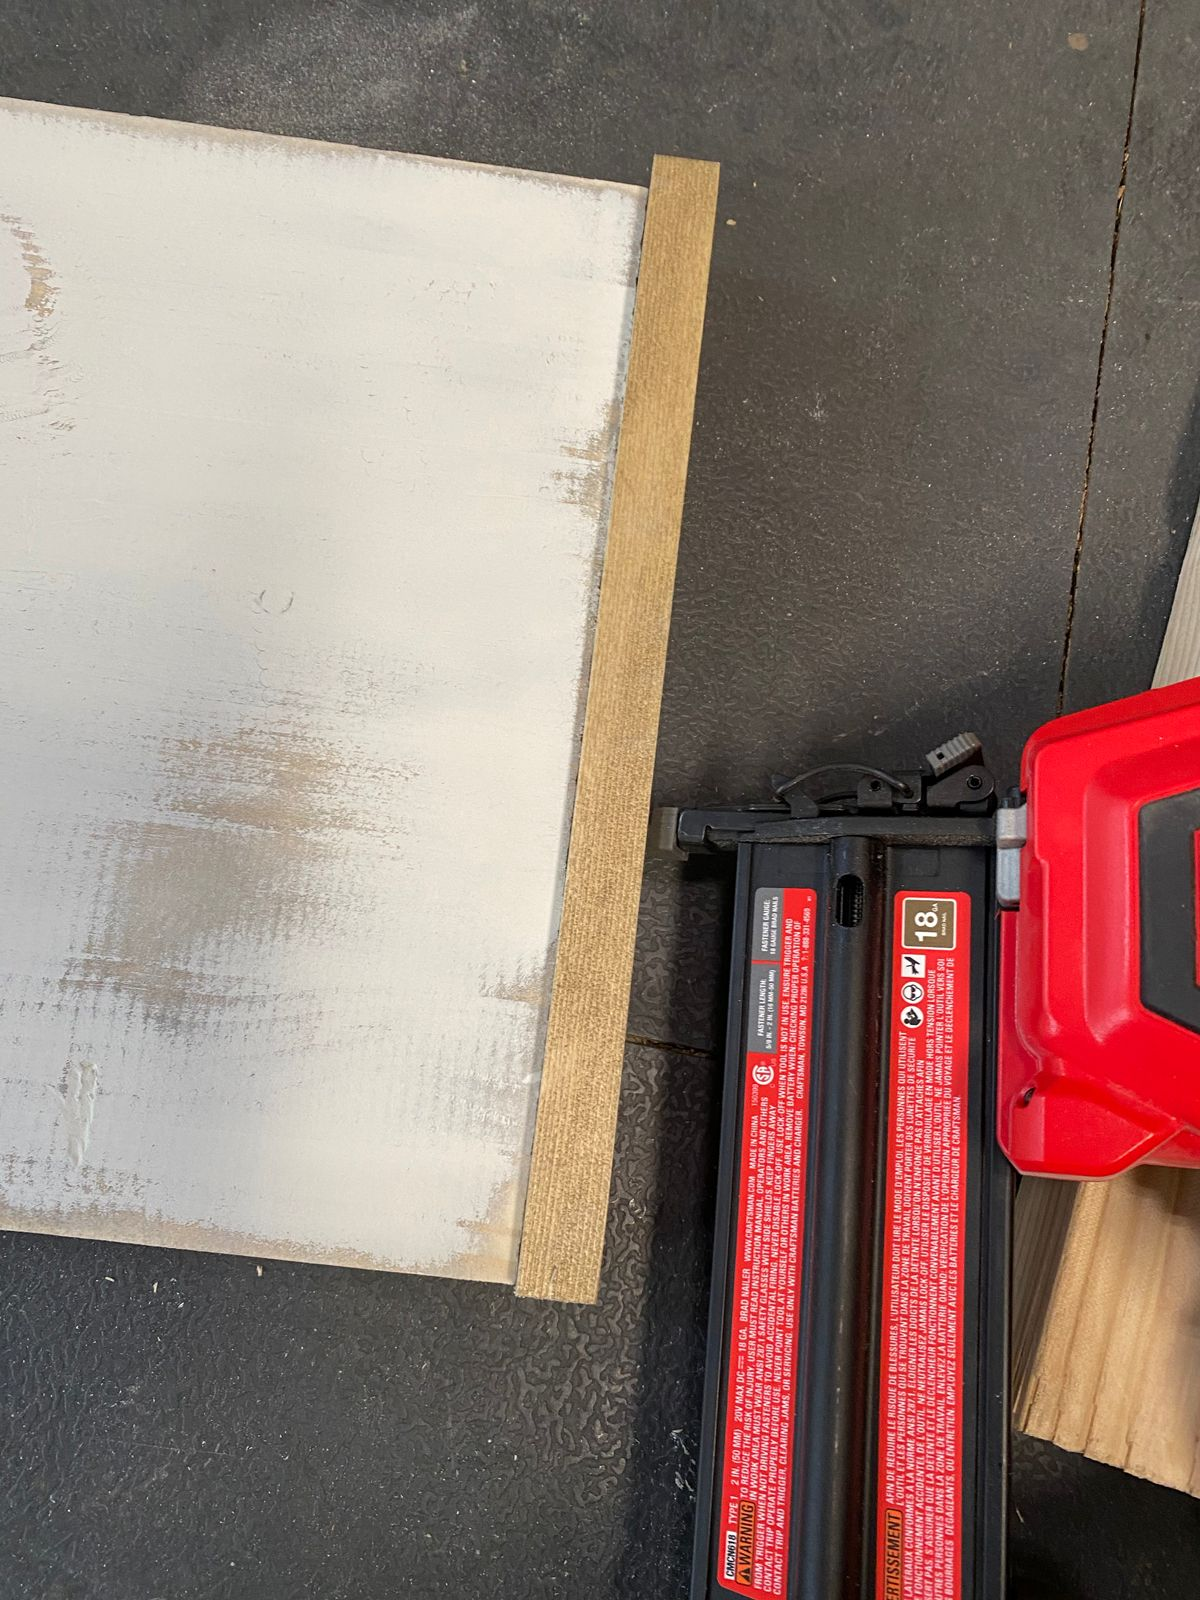
Next, I used 120 grit sandpaper to rough up the painted areas to expose even more of the stained board underneath. I love how it gave it a rustic feel.

I added the stained trim boards next, starting with my shorter two boards and then attaching the longer ones. These are all going to be attached using wood glue and 1.25” brad nails.
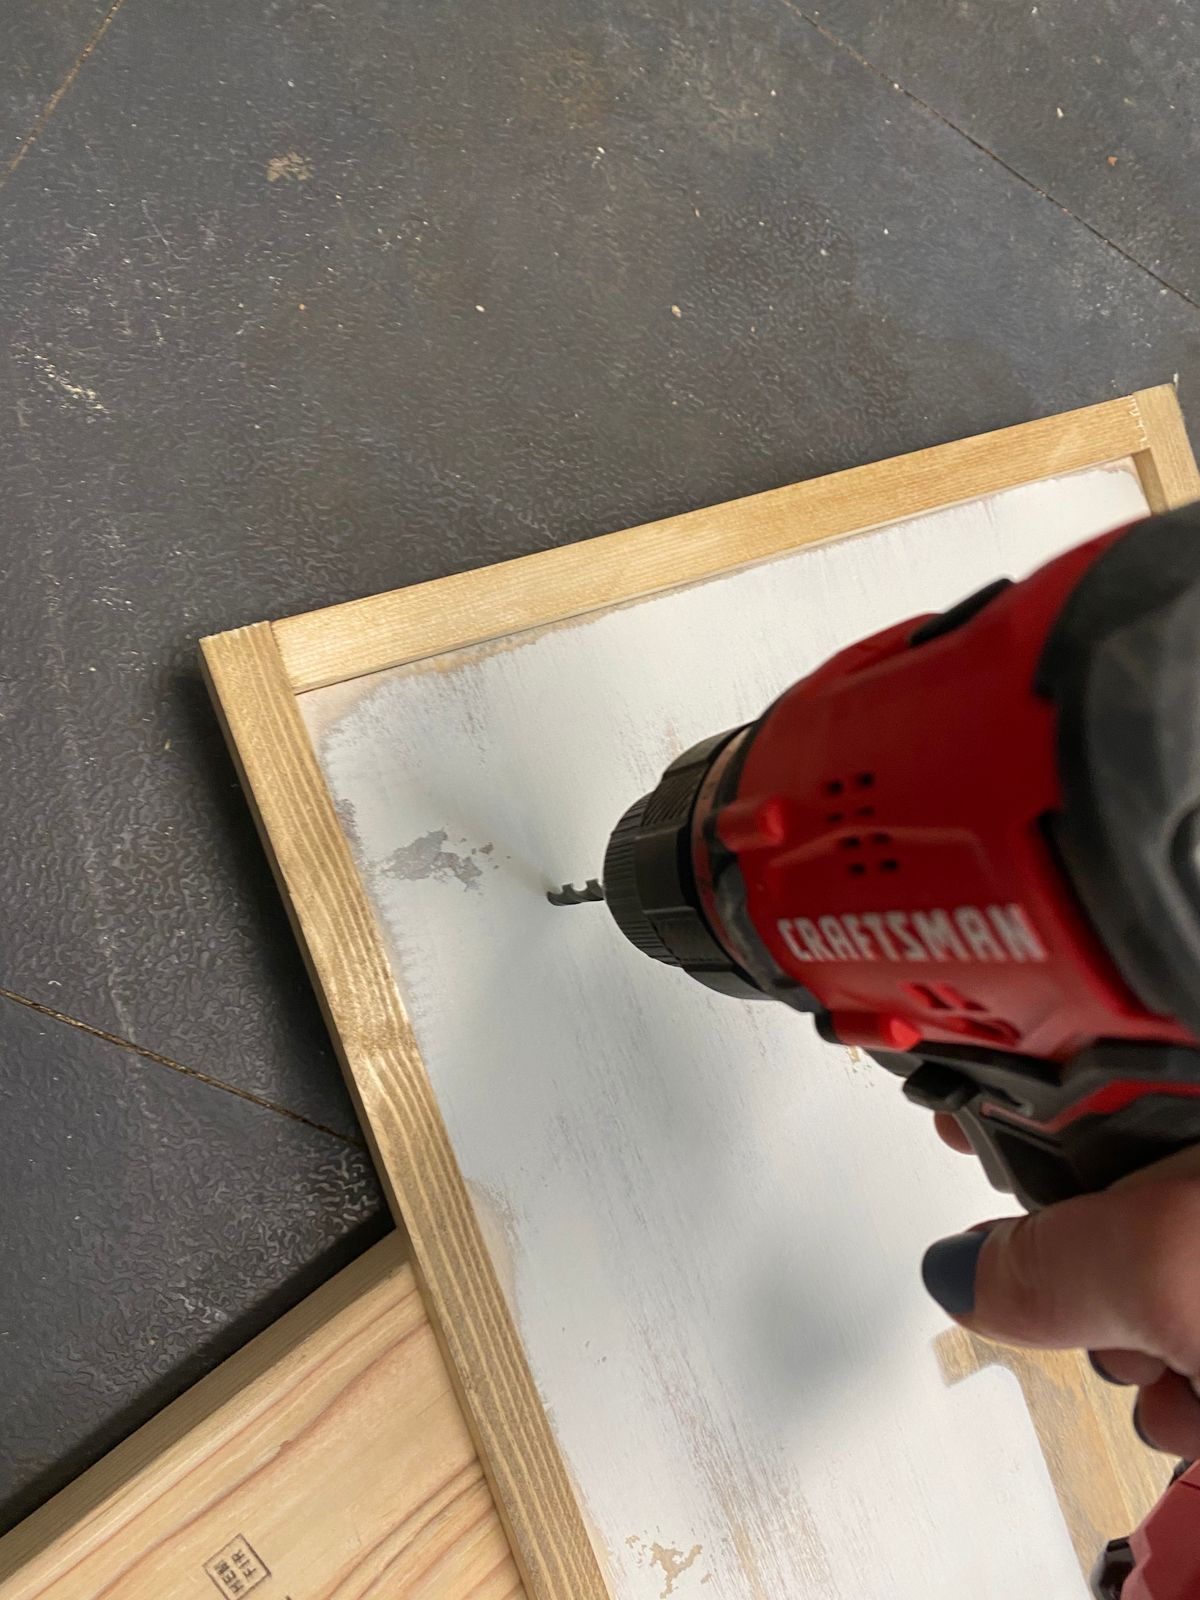
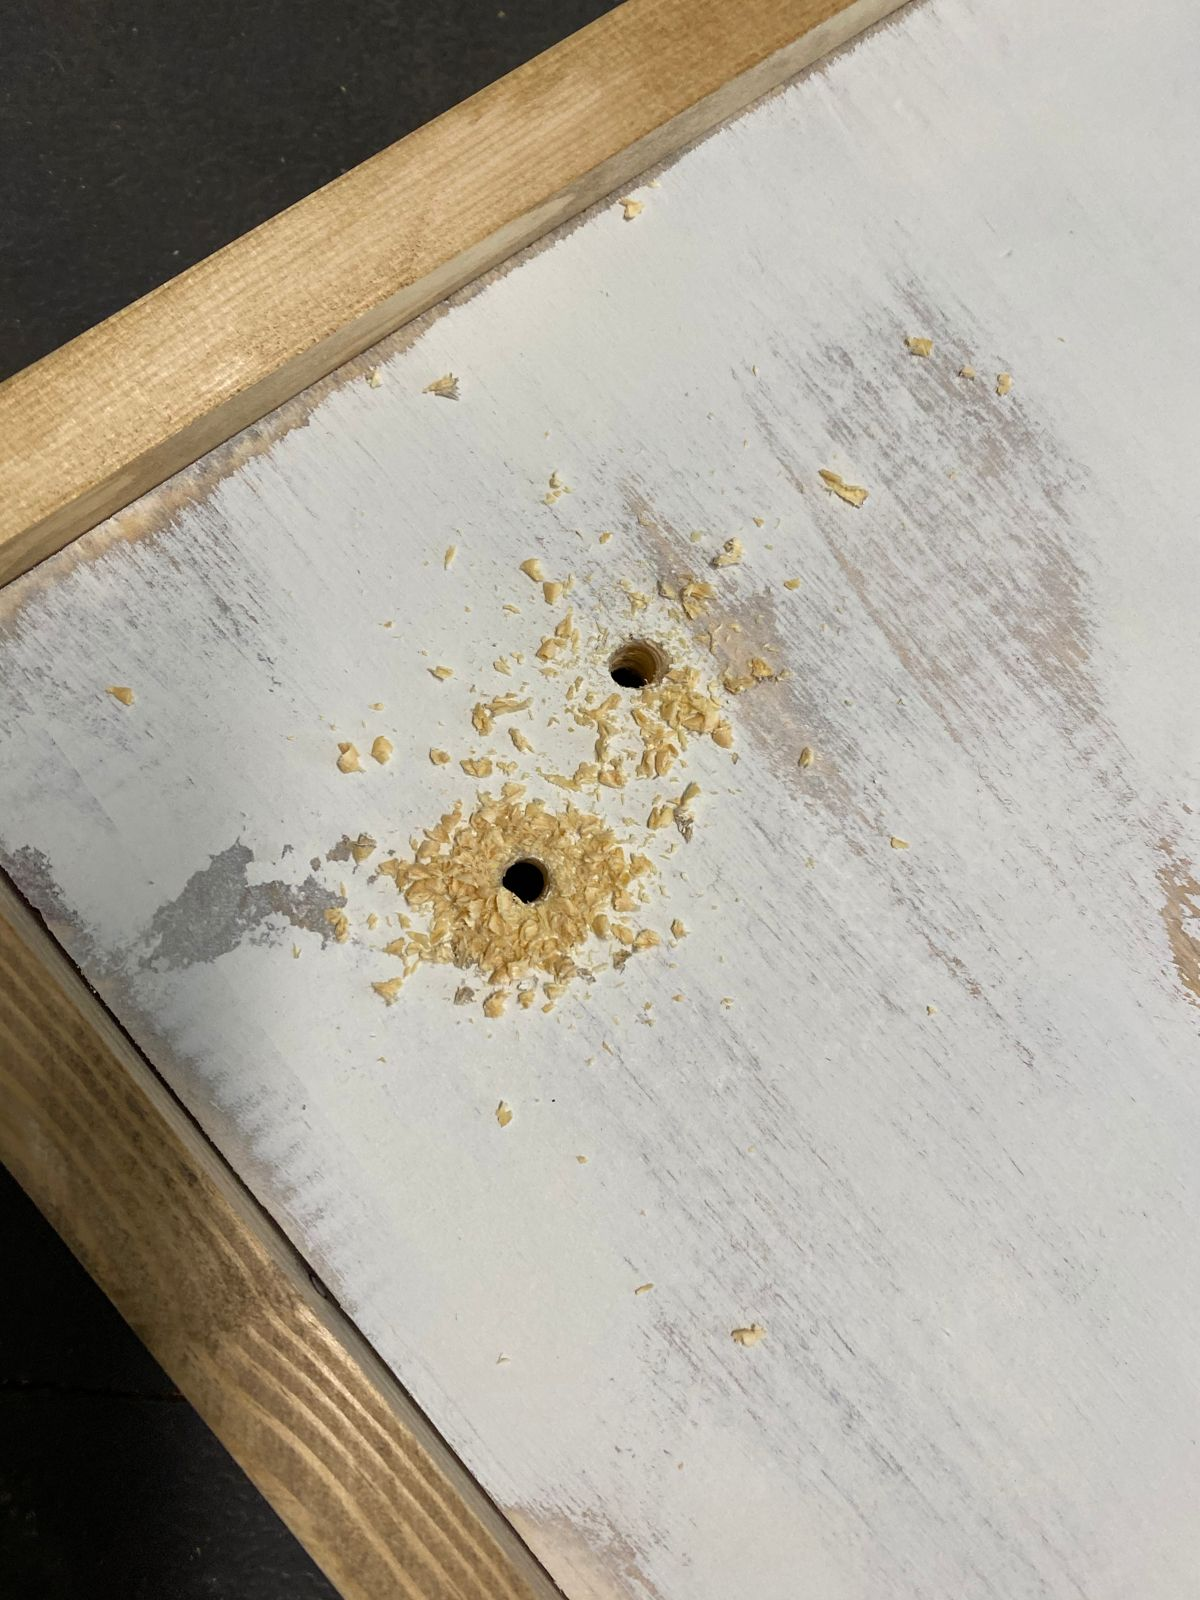
I used my drill to add 2 small holes at the top of the board. This will help me attach the bow, and also give me an easy way to change the bow out!
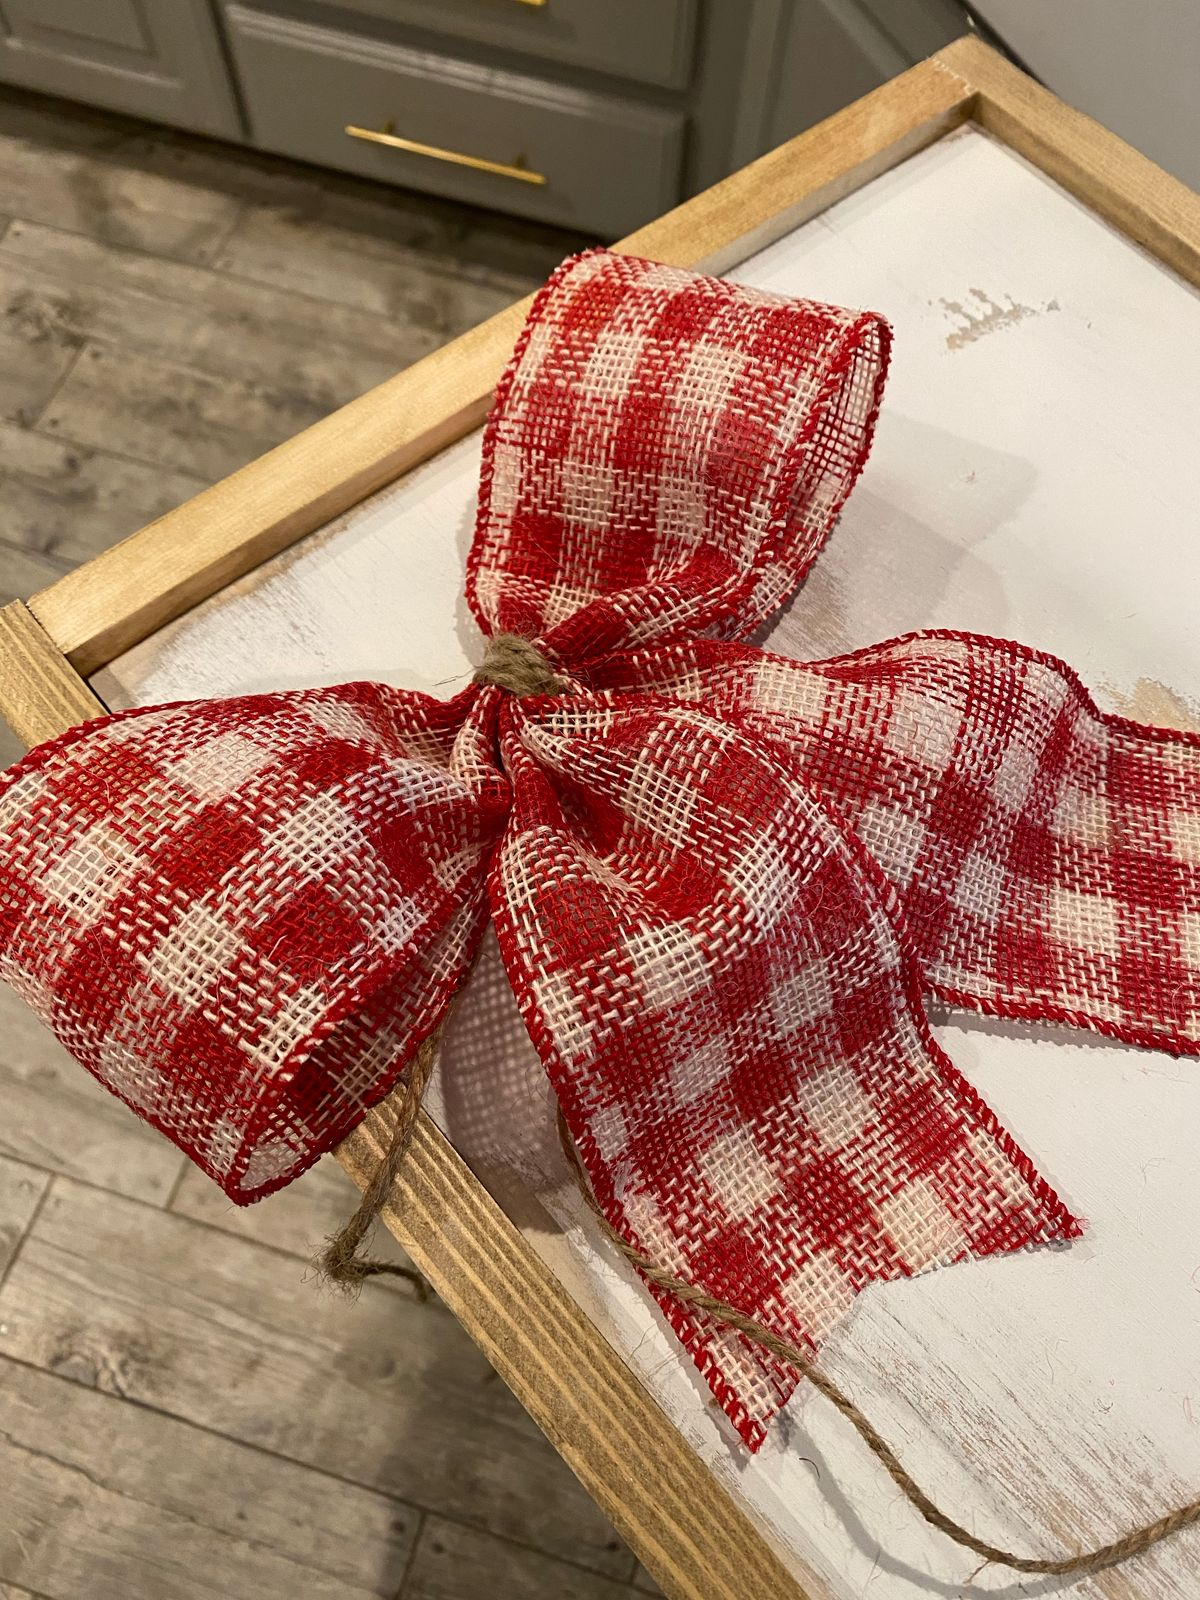
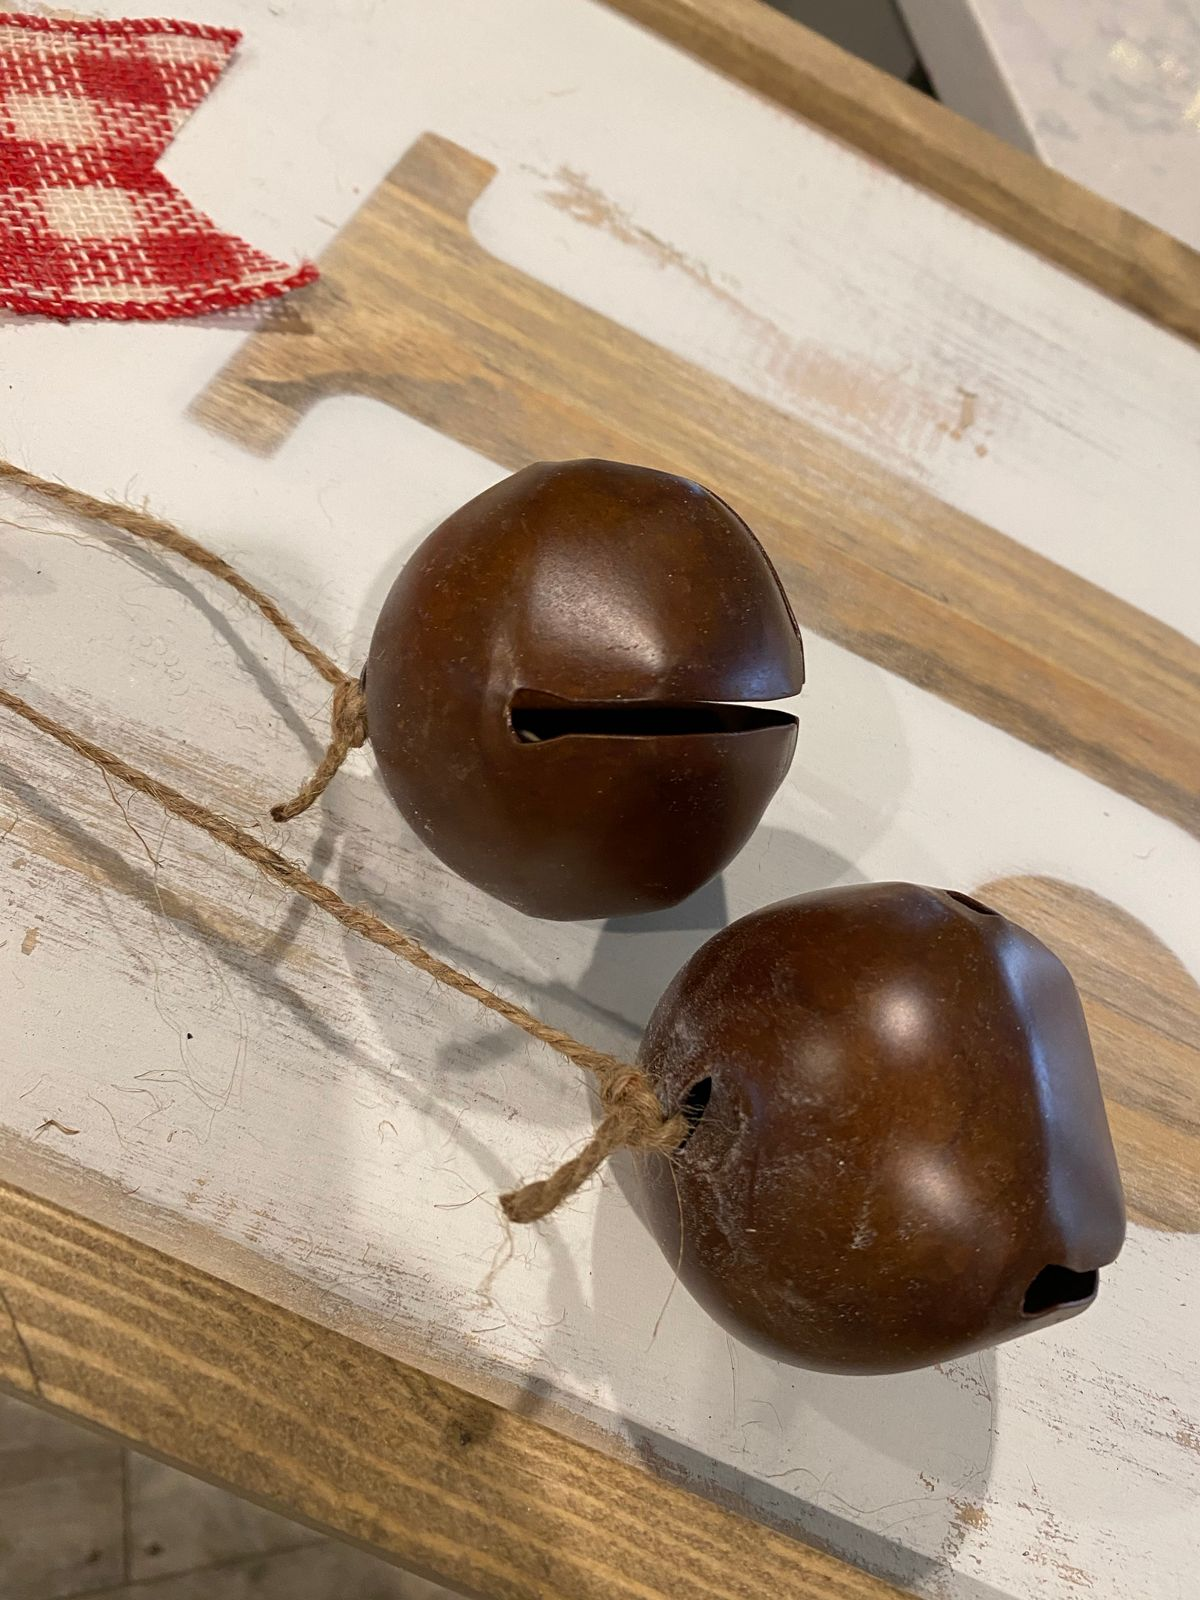
I made a bow from some wired burlap ribbon I found and tied the center with twine. I then strung the ends of the twine through the holes and tied them together on the backside of the sign to hold the bow in place. I also added some big rustic jingle bells to another piece of twine I looped into the center.


I added a small wreath from the craft store to the spot where my “O” should be and I was done! If you are worried about protecting your sign from the elements, be sure to add a protective finish before setting it outside.
I love the way it brightens up my doorway! So cute! The best part?? I did the same thing on the opposite side of the sign but used the word “HOME”. When Christmas is over, all I have to do is flip it around and change out my bow and wreath and I am set with a whole new look.
For more inspiration from Minwax, click here! And click here to find products near you.
This cute project was sponsored by Minwax, but all opinions and experiences are entirely my own!


Is there a link in the article for the plans for this porch sign? If there is, I keep passing it.
you’re in reality a just right webmaster. The web site loading
velocity is amazing. It seems that you are doing any
unique trick. Moreover, The contents are masterpiece.
you’ve performed a wonderful task on this subject!