Learn how to build this DIY Home Office Desk System with free plans and a how-to video by Shanty2Chic!
I am so happy to get my home office in order! I shared the plans for the small desk a few weeks ago, and today we are sharing the free plans and video tutorial for the DIY Home Office Desk Towers! With working at home so much more through the pandemic, I have found the real need to have my own workspace with ample space for my laptop and work accessories. I decided to transform my dining room into a space I can office out of and also Jed can receive his therapies in. We don’t use a formal dining room and it is a lot of space to go to waste! It has been the best thing for our family! I am super excited to show you guys how these turned out. Check out the video below. You can grab the free printable plans at the bottom of this post and follow along with the step-by-step instruction below!
Table of Contents
Home Office Desk Tower Video Tutorial
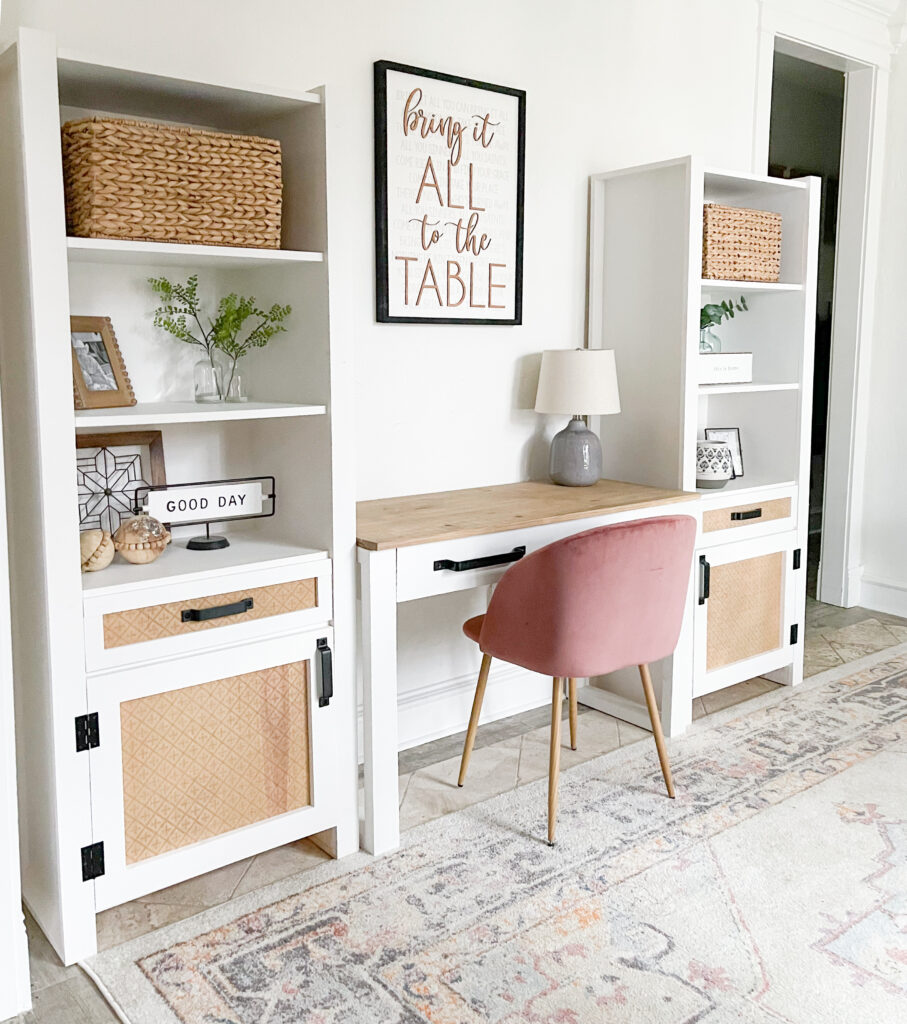
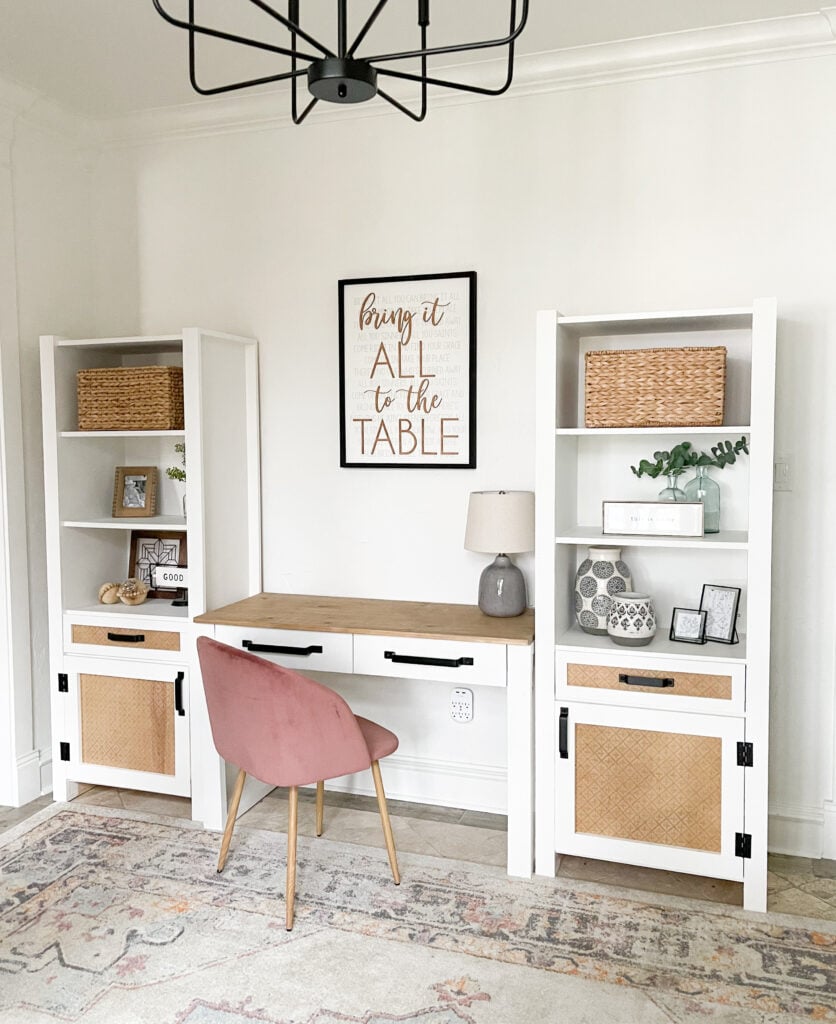
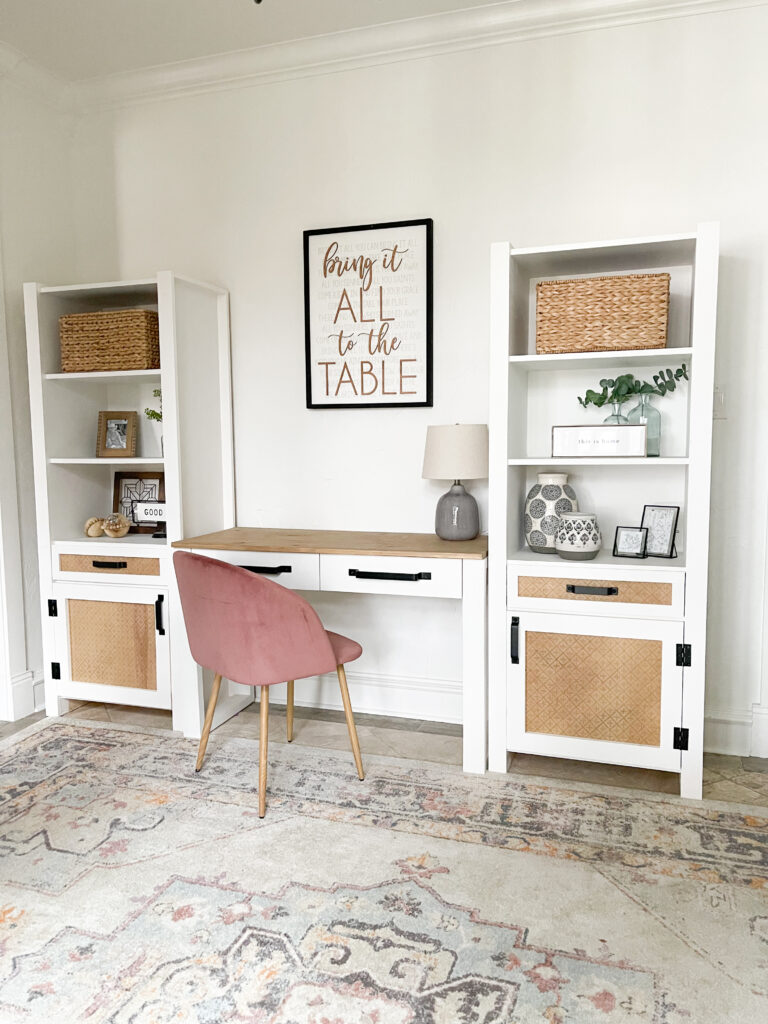
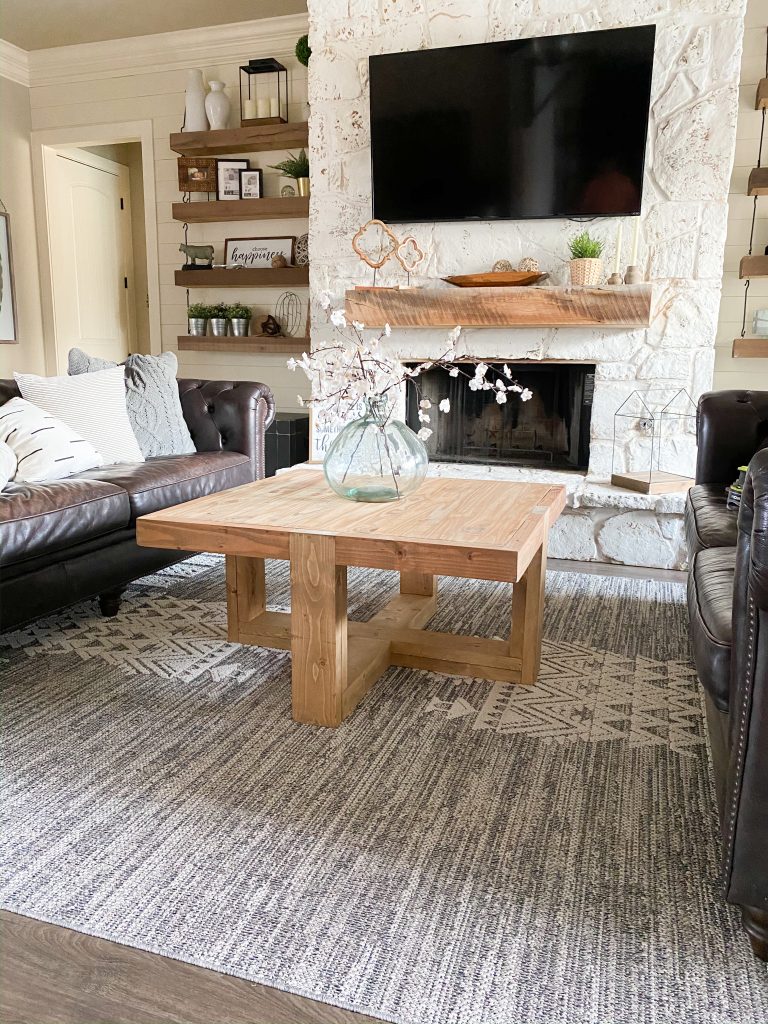
I LOVE my new office setup! Look how cute the towers are with the computer desk! The great thing about this design is that it’s modular! Each piece is built separately to create the best fit for your space. If you have a small space, you could build the desk and one tower or just the desk alone. You could even place the desk separate from the towers!
Shelf Help
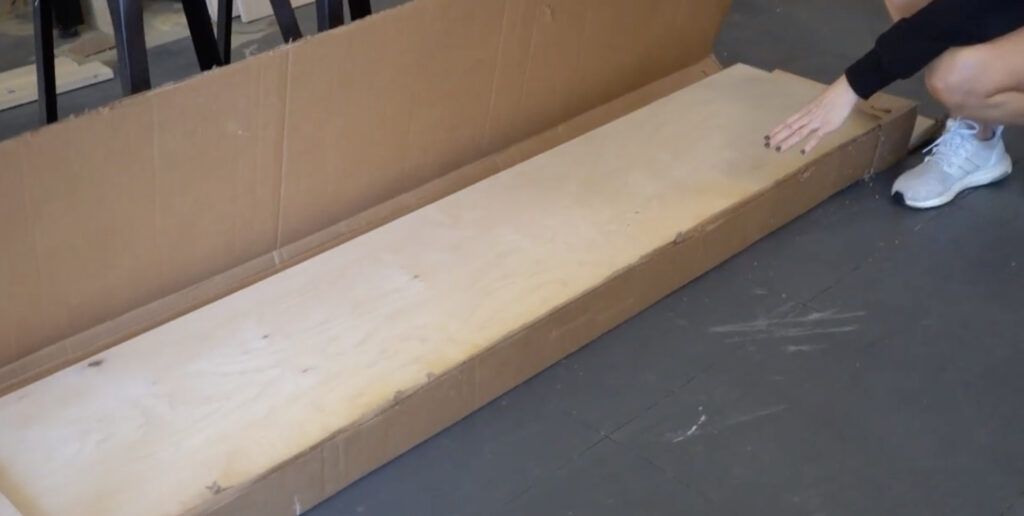
Our friends at Purebond Plywood recently told us about Ana White’s new site called Shelf Help! They asked us to try it out for this project and we were super impressed with the results. Basically, you use the free Shelf Help Configurator to create your perfect piece. They cut the plywood to size, edge band it if desired and ship it straight to your door. It eliminates the need to wait and get your plywood cut, and makes all the cuts perfect for you. It also saves a ton of time by delivering to your door, and allows you to build with less tools. We found it to be a huge time saver on this project. You can check the site out yourself HERE!
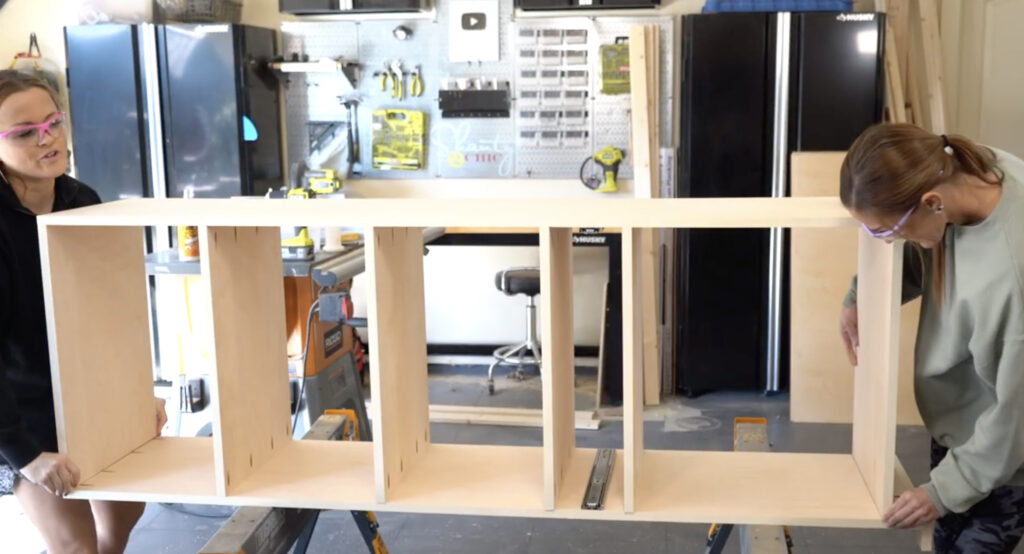
Build the bookcase
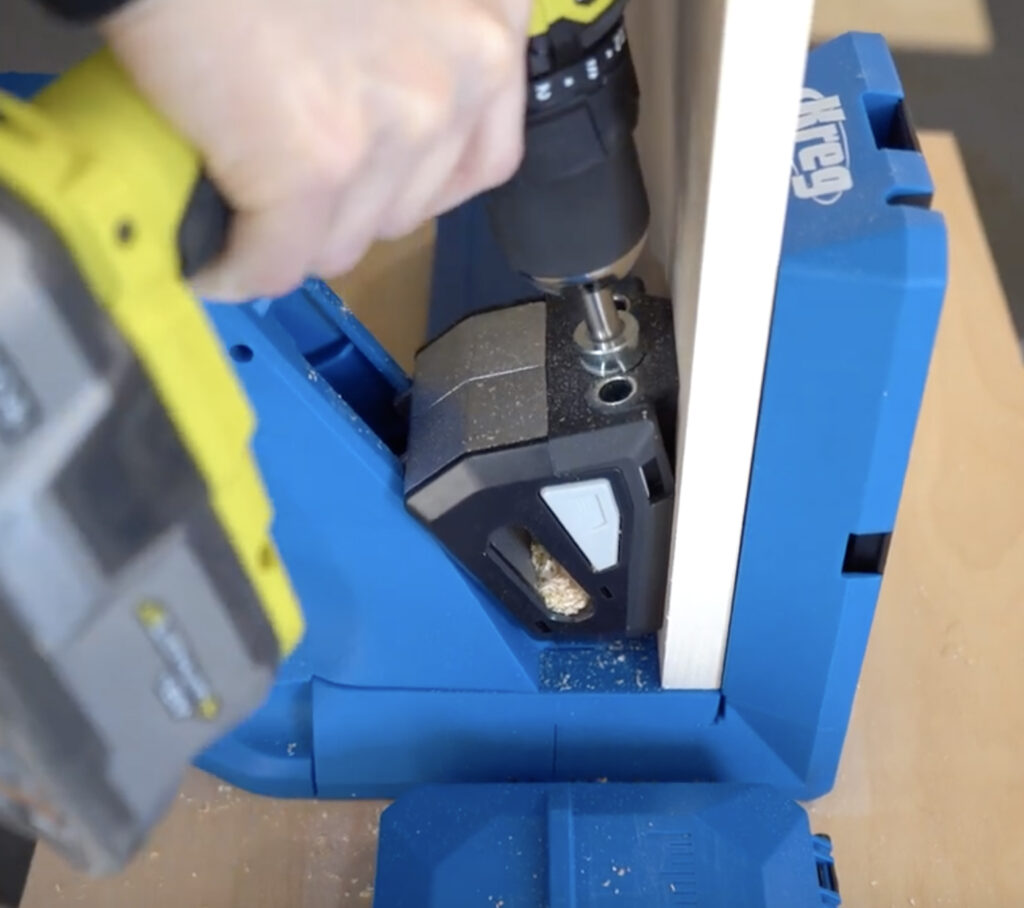
The first step in building these home office desk towers is building the body of towers. Build the body of the bookcase first. This is built with 3/4” thick Purebond Plywood. The front of each piece is edge banded to give a good finish, but that is optional. Add 3/4” pocket holes on each of the 6 shelf boards. Also, add 3/4” pocket holes on the inside bottom of both side pieces. We used our Kreg Jig 720PRO to create these pocket holes. We love these new pocket hole jigs!
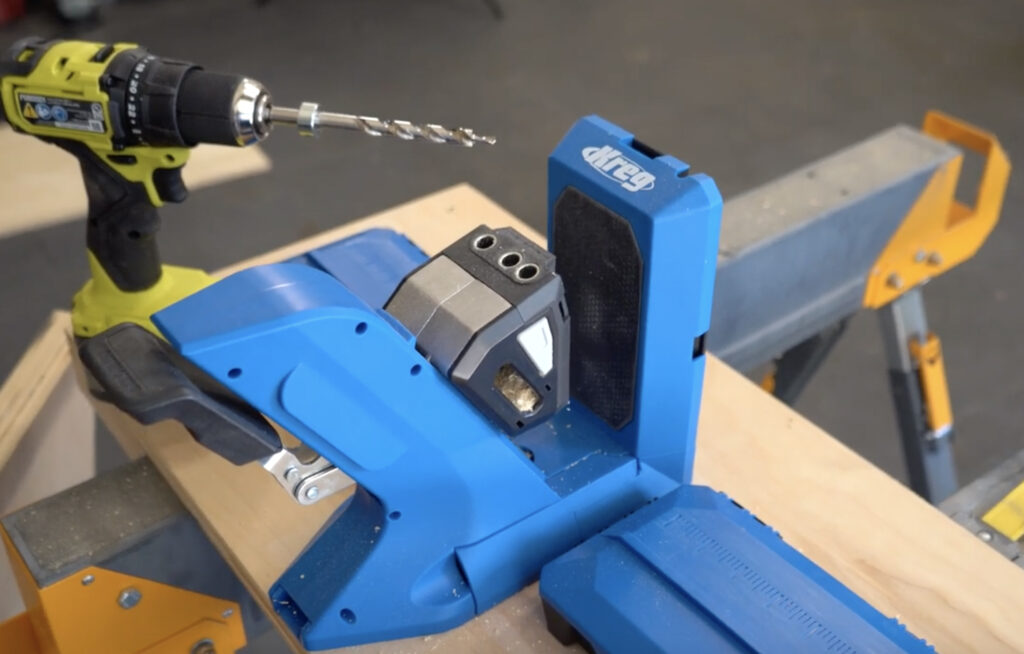
They are such a great step up from the previous Kreg Jig K4 model. You can find it HERE on Amazon!
Attach the shelves of the bookcase
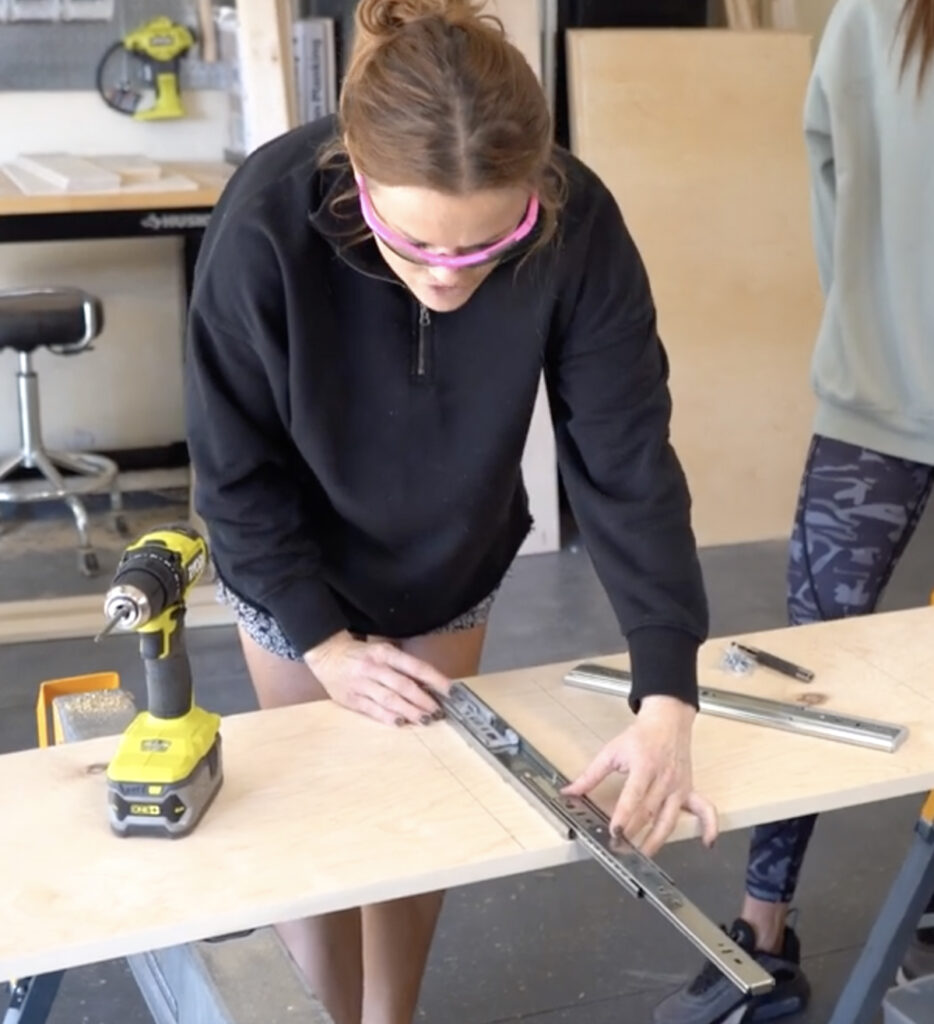
Before attaching the shelf boards, attach the drawer slides. These will sit 25″ from the base of both long pieces. Attaching them at this step makes it much easier than after the shelf is assembled.
Before attaching the shelves, add the base piece of trim through the pocket holes on the long side boards.
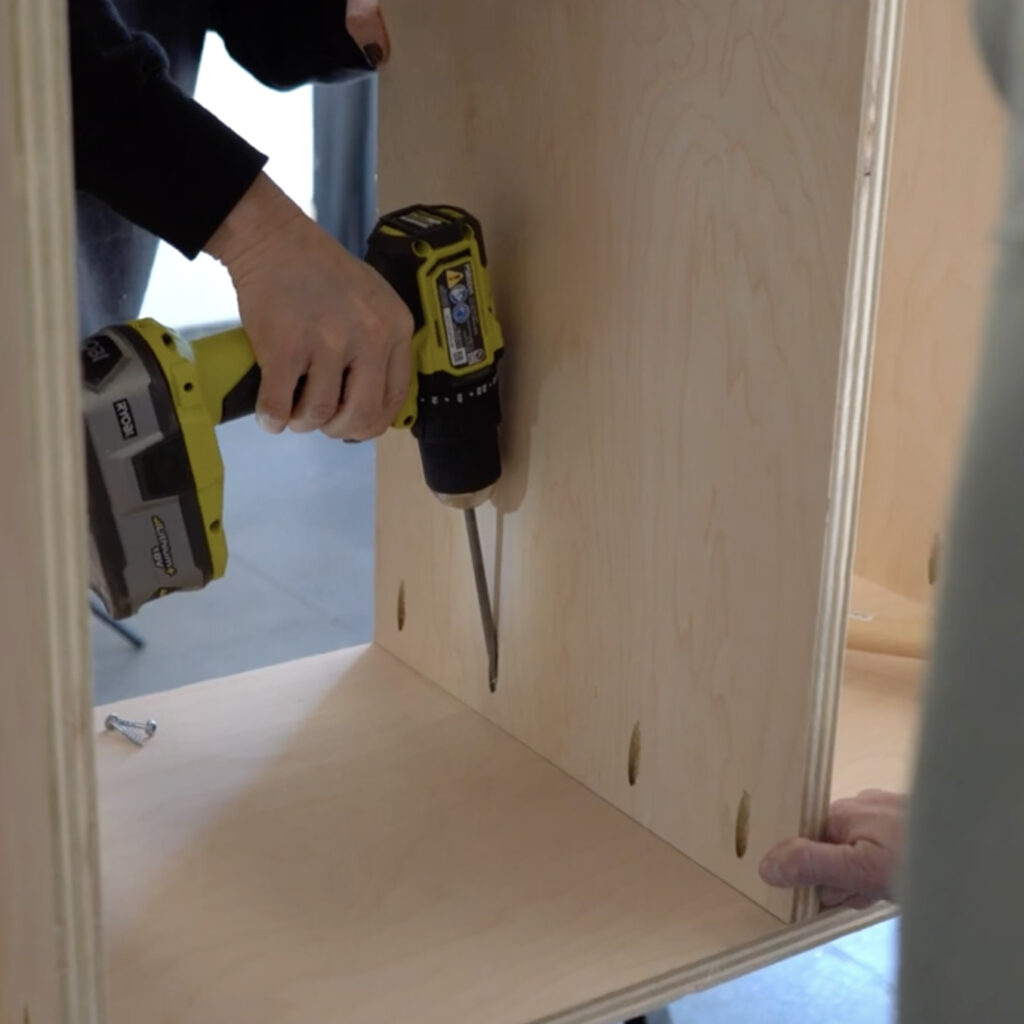
Attach the shelves in place using wood glue and 1.25” pocket hole screws. Attach all shelves on one side first. We started with the lower shelf and worked our way up.
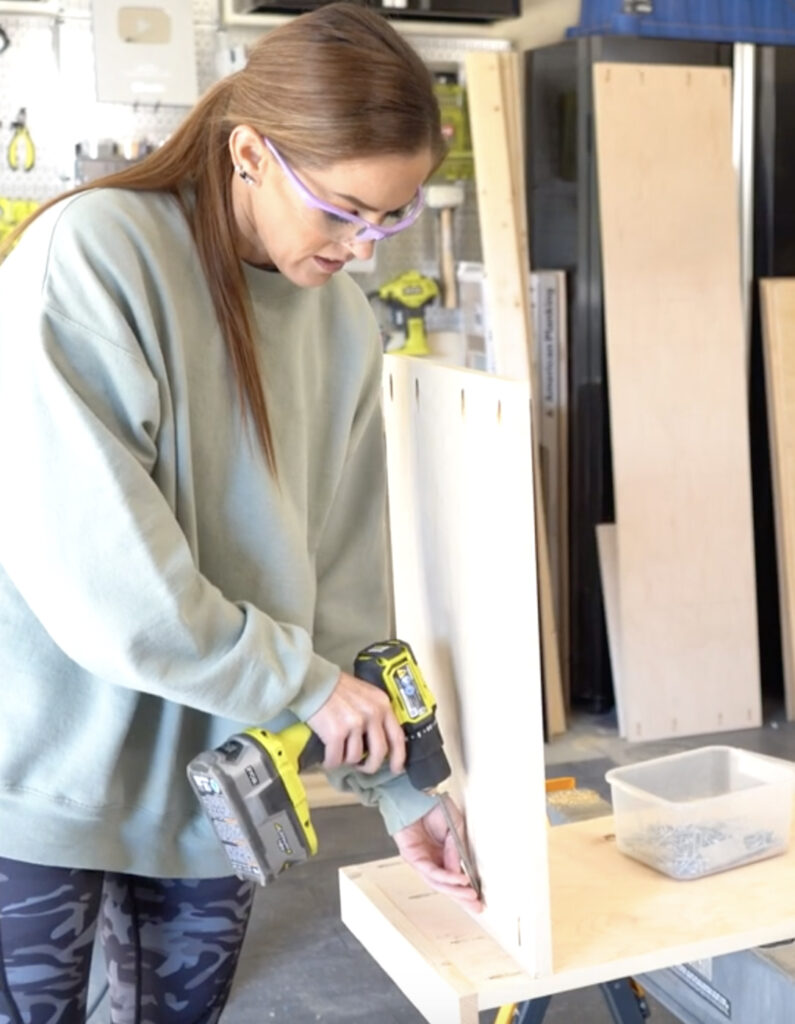
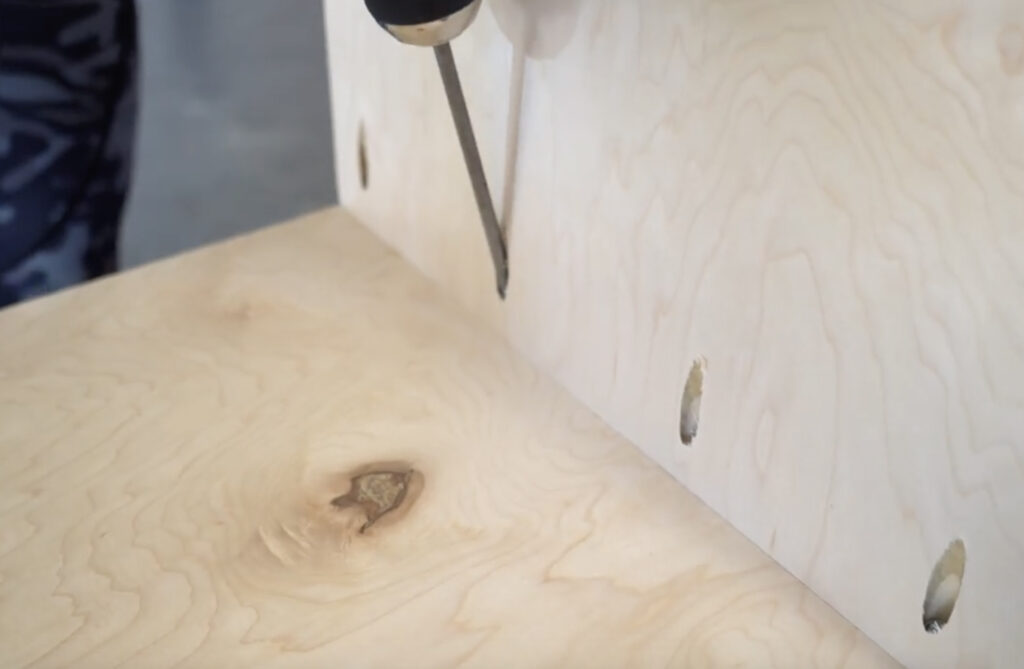
After all shelf pieces are attached on one side, flip the entire thing over and lay it on the other long side. Attach the shelves in place. Position pocket holes facing up on the top shelf board to hide them once the piece is finished. Make sure the pocket holes on the longer boards are facing the inside so they will be hidden as well.
Adding trim to bookcase
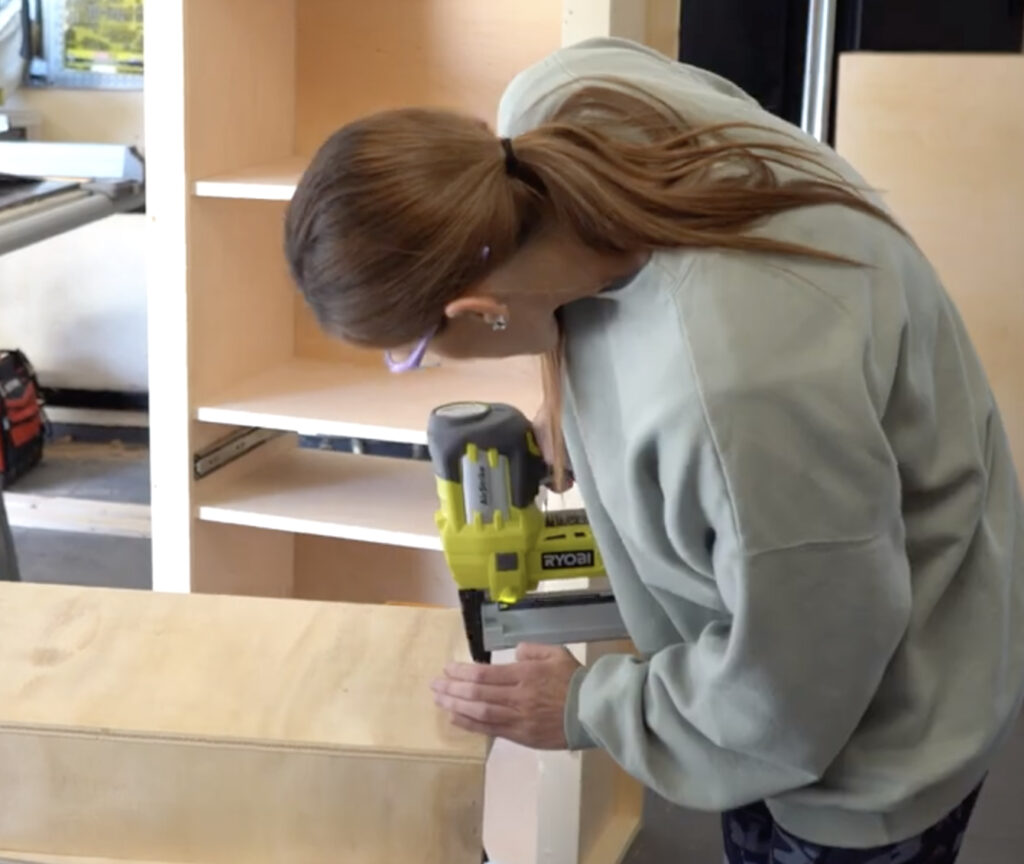
Now, the bookcase is ready for trim. The outside trim is 1×3 boards. The rest of the trim is attached using wood glue and 1.25” brad nails through the trim pieces and into the plywood. We used our Ryobi 18g cordless brad nailer for this part. This is our favorite nail gun to use for building! It’s so easy to use, and no need for a cord. You can find it HERE.
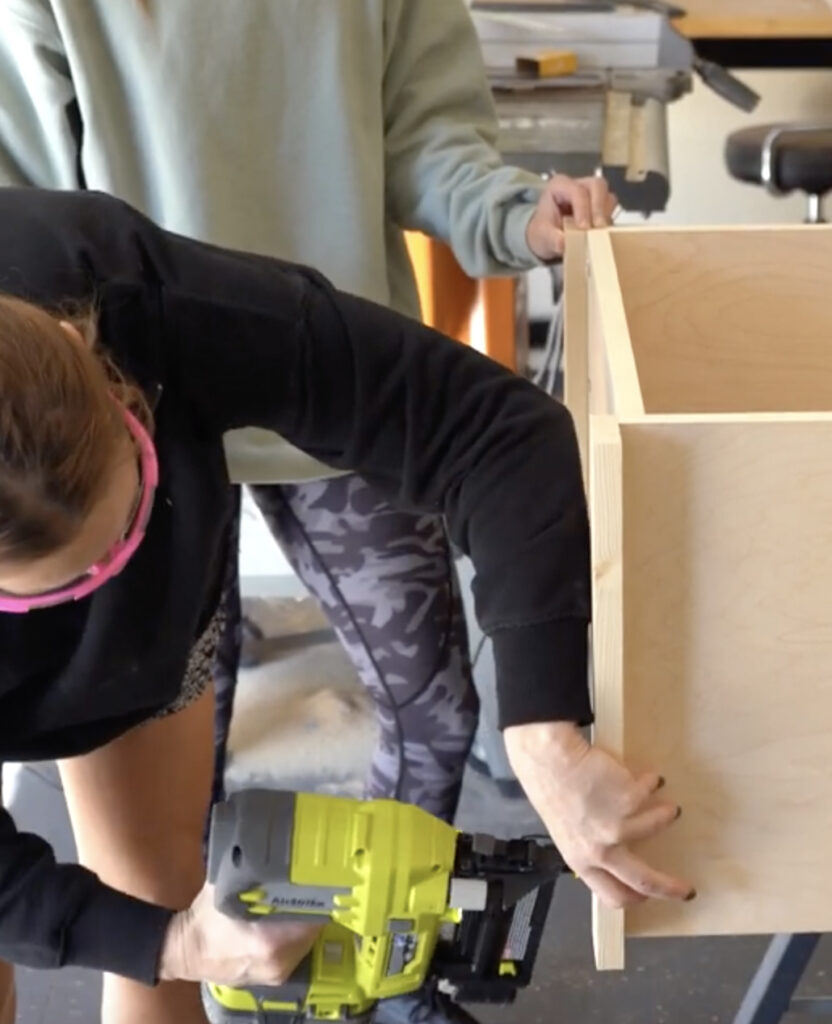

Build the drawer
At this point, it’s time to build the drawer. You can set the bookcase upright.
The drawer frame is built using 1/2” plywood ripped to the width of 4” pieces. Cut the 4 pieces to size and create the frame using wood glue and 1.25” brad nails through the corners of the longer boards and into the shorter boards. Make sure all sides and tops and bottoms are flush.
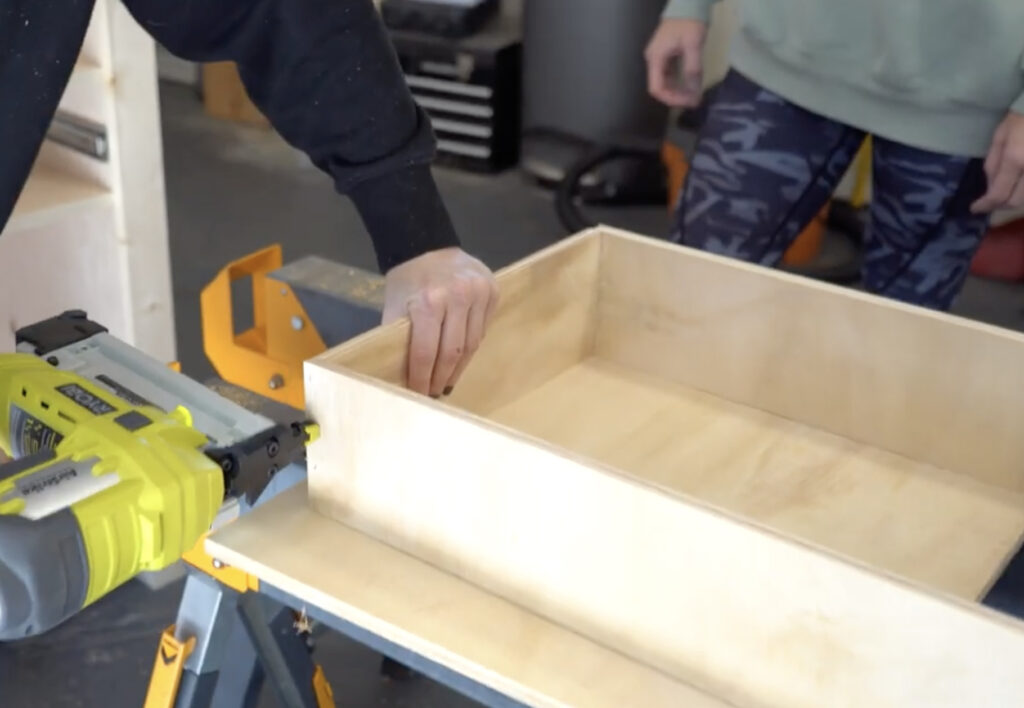
The base of the drawer is cut from 1/4” plywood. Cut that piece to size and attach it to the frame using wood glue and 1.25” brad nails or staples. Staples are typically a better option when using thin plywood like this.
Build the drawer face
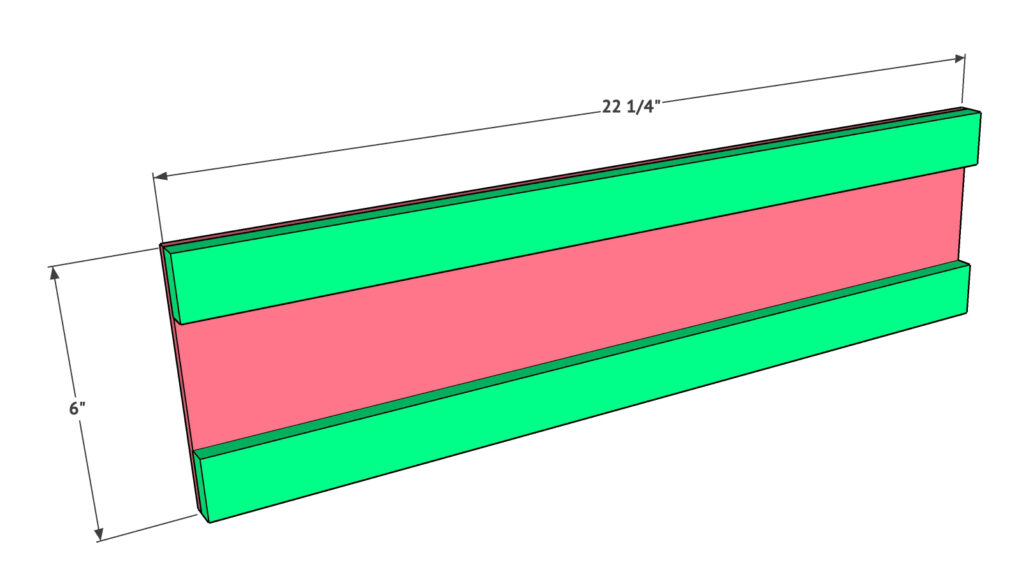
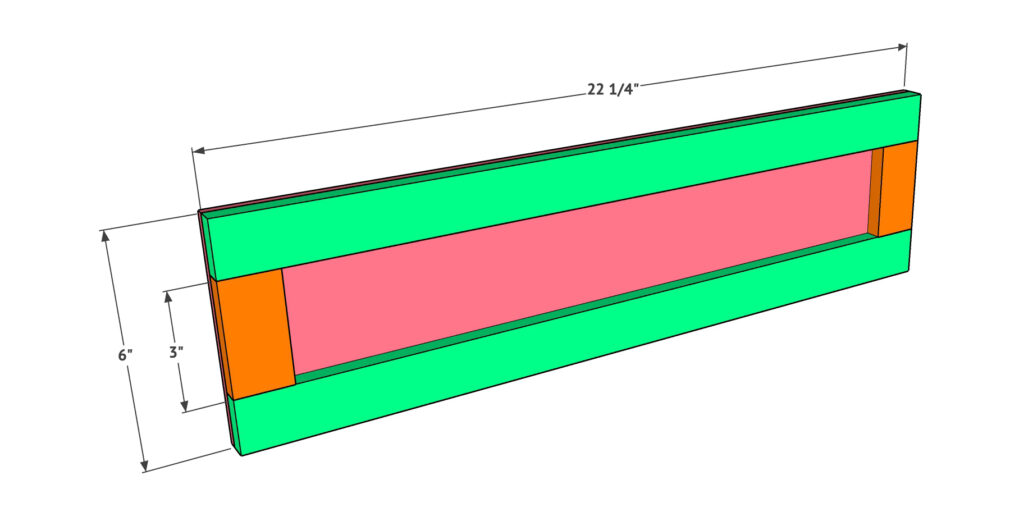
The drawer face is created with 1/4” plywood and 1.5” wide craft boards. These craft boards are each 1/2” thick, but you can use any thickness. Cut the longer trim pieces first and attach them to the face using wood glue and 5/8” brad nails. Next, cut the shorter pieces and attach them the same way. Once all the trim is attached you can attach
the face to the drawer itself using wood glue and nails. We like to attach the drawer slides and drawer in place first, and then attach the face to get the best placement.
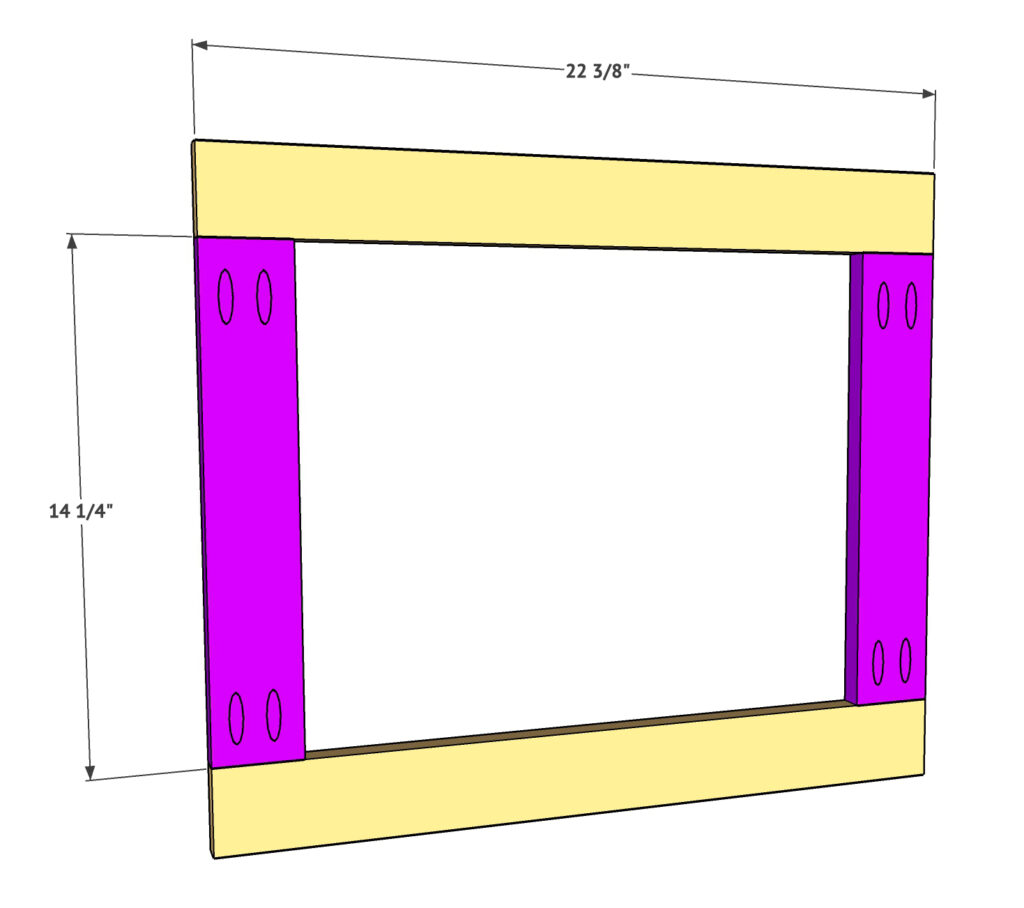
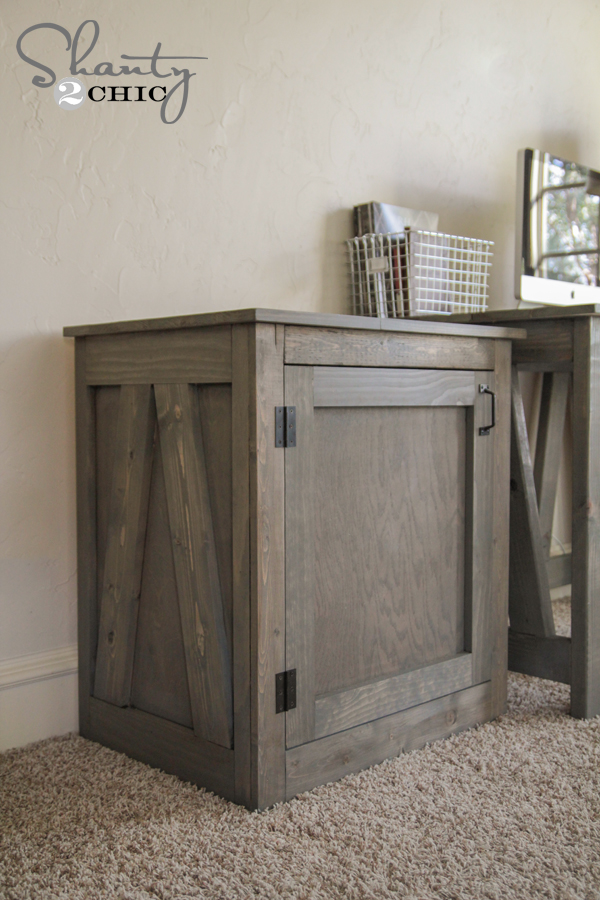
Build the cabinet door
Build the cabinet door next. The frame of the door is constructed with 1×3 boards. Add 3/4” pocket holes on both ends of both shorter boards. Then, attach them to the longer boards using wood glue and 1.25” pocket hole screws. I have added the measurements for the door here, but you really want to measure your own before you cut. That will give you the best fit.
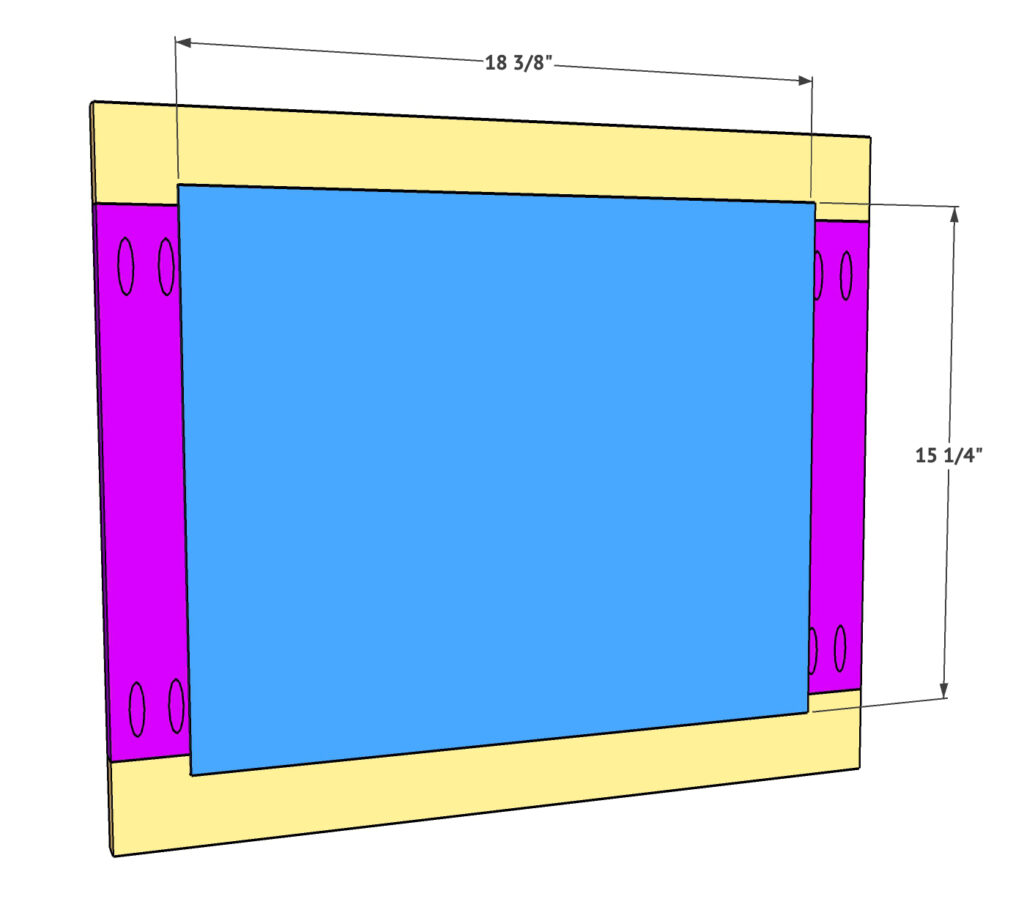
The face of the door is 1/4” plywood. Cut it to size and attach it to the back of the door frame using wood glue and 5/8” brad nails or staples. You can attach the door to the cabinet at this point, or add your finish first.
I used my Glowforge to create the door and drawer faces
I used my Glowforge Pro to create the design on both the door and drawer faces. This is 1/4 inch Purebond plywood, and it engraves so pretty using the Glowforge machine. I ran each piece through the machine separately and then gave each piece a coat of stain. I used Varathane Golden Oak mixed with a bit of Varathane Willow Gray to create this finish. I love the detail of the doors! You can find out more about the AMAZING Glowforge printers and get up to $500 of your own HERE!
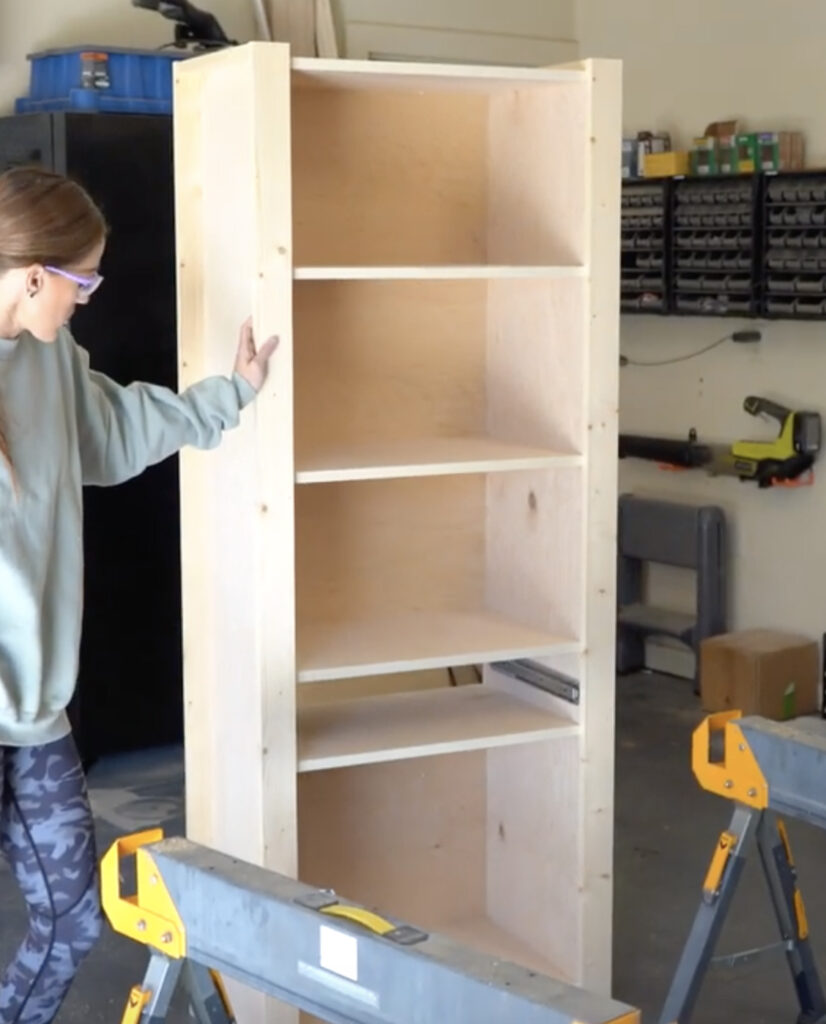
Attach the back of the bookcase
The final step before adding your finish is attaching the back piece of plywood, This is 1/4” plywood. Attach it using wood glue and staples through the back of the plywood and into the shelf pieces. A good tip is to mark where the shelves are on the back of the 1×3 frames to help know the depth to place your staples.

Painting the Desk Towers
The paint I chose to use for the towers is my very favorite Pure White by Sherwin-Williams. I gave the entire thing 2 coats in satin finish.
Cabinet Hardware
I found my drawer pulls on Amazon. You can find them HERE. I also found the metal door hinges on Amazon here! I love these and they are super affordable, they look so cute and free shipping!
Free Printable Plans
To download and print the FREE printable plans click HERE!
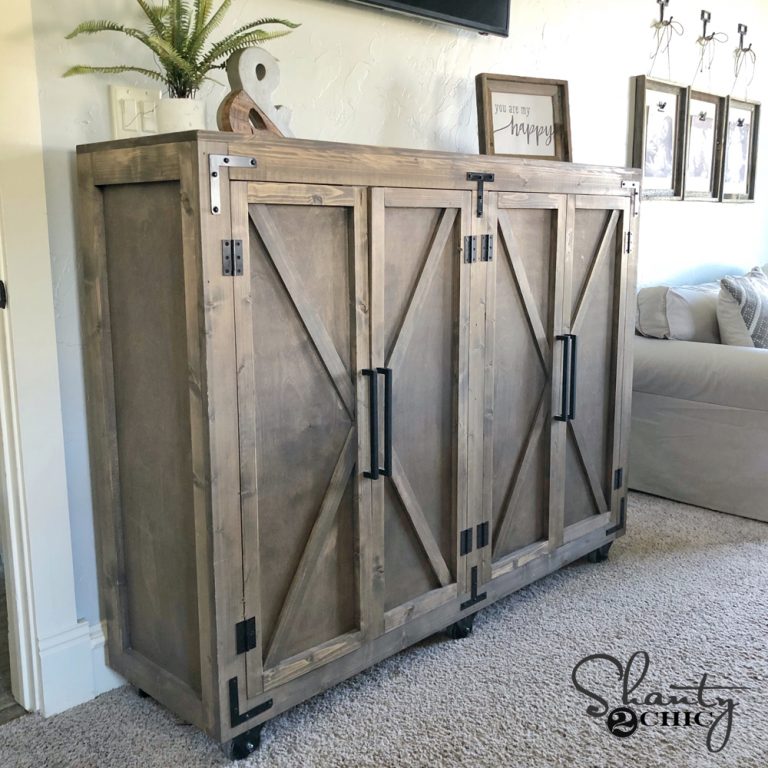
Here she is all finished up! I am LOVING my new home office and especially my desk with all the storage… Such a treat!

I love your designs
your link to Shelf Help does not work
Love your designs and really interested in making some of them myself. When you do the videos of you building the projects, can you have your camera person show what you are doing instead of focusing on you talking? It would help to see how to put the projects together.