Hey friends! I was tired of seeing my boy’s video game mess all over the place! So, I designed a cute little console table for it to hide it all… and Ashley helped me build it 😄
Before we get started, check out how we built this DIY TV console in the video below!
Table of Contents
DIY TV Console How-To Video
I wanted to build this table as inexpensive as possible with lumber prices so darn high right now. I was able to do that! You can grab the free plans HERE!
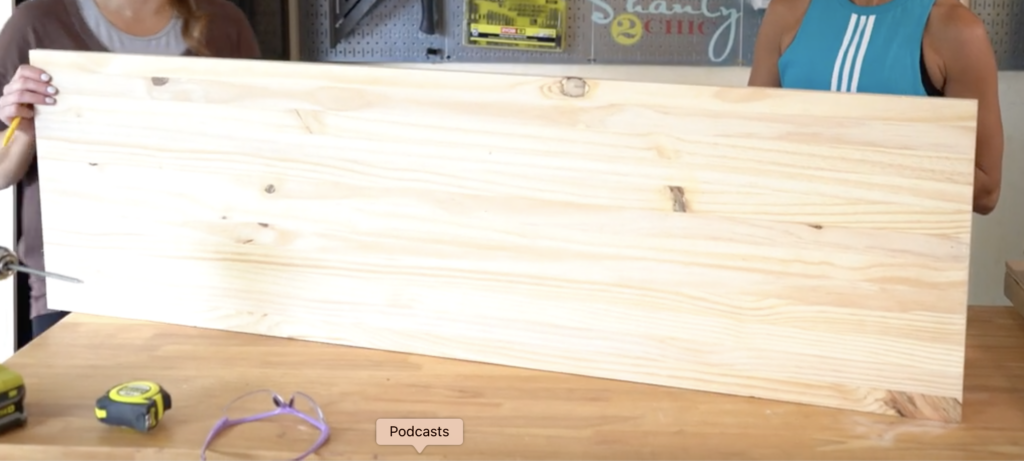
Step 1 – Cut top and bottom of table
I used laminated pine project panels for this table to keep the price down, and I love how they take stain. I bought two 16”x72” panels. I cut both to 54” long to create the top and bottom of this table.
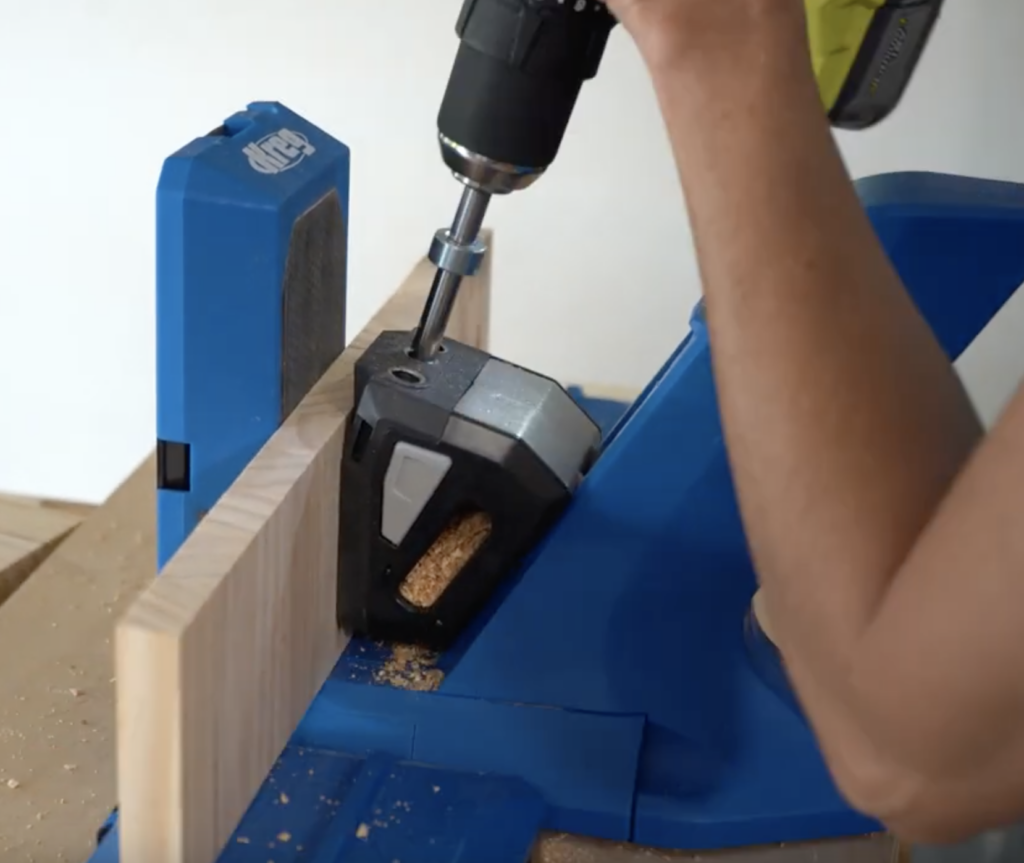
Step 2 – Cut sides and add pocket holes
I used what was left from the pine panels to cut the 3 short vertical supports. Each of these are 4” long each. I used my Kreg Jig to create 3/4” pocket holes down one side of each of these boards.
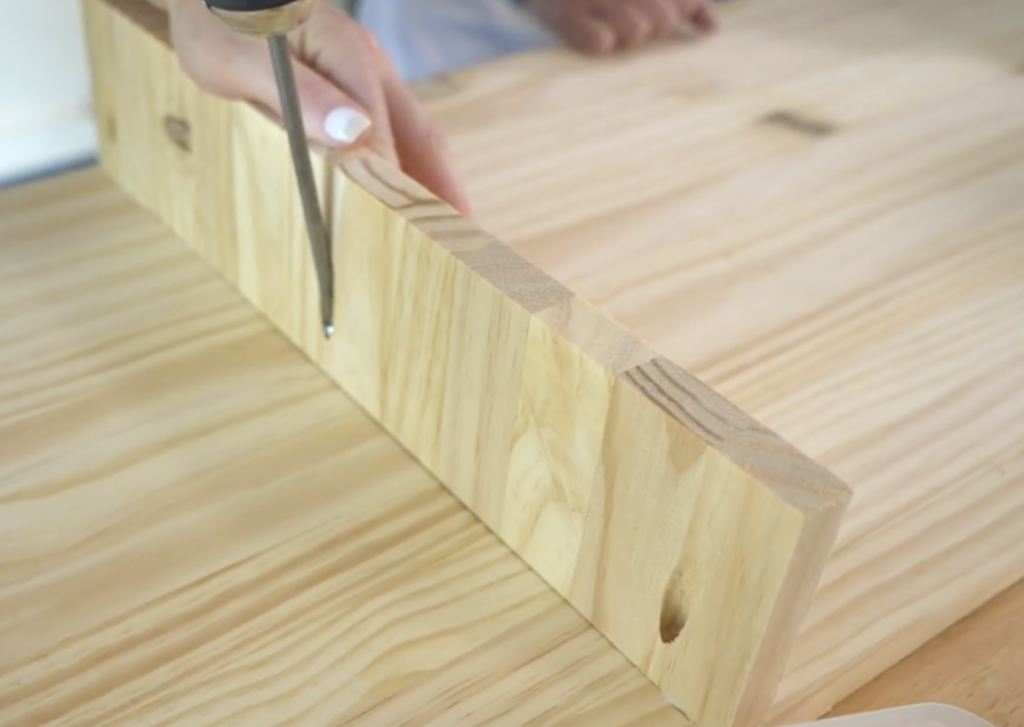
Step 3 – Attach sides to top
Attach the boards to the TOP table board using wood glue and 1.25” pocket hole screws. The side boards will be flush on the edge and the middle support board will be centered.
Step 4 – Attach base of table
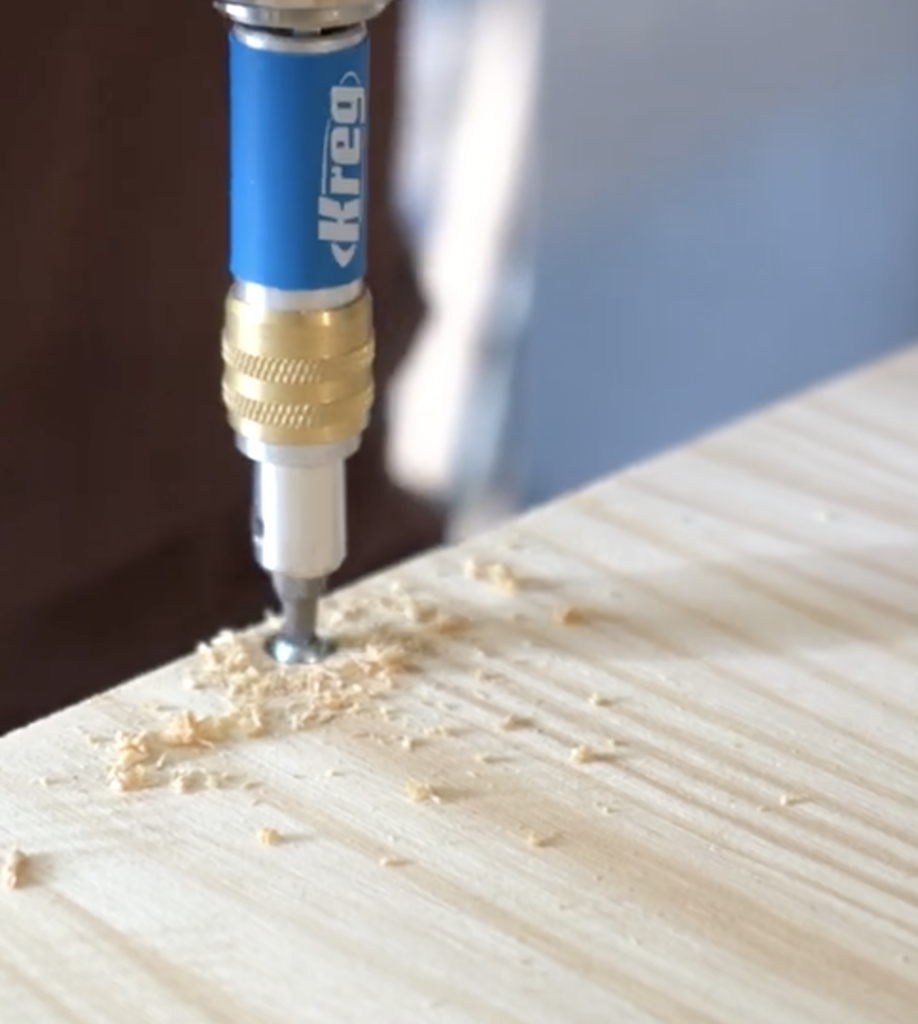
Next, attach the base of the table. Use the Kreg Quick-Flip to quickly pre-drill 3 holes at each joint. We LOVE our new Kreg Quick-Flip tools! I find myself using it for so many pre-drilling applications. You can find it HERE on Amazon!
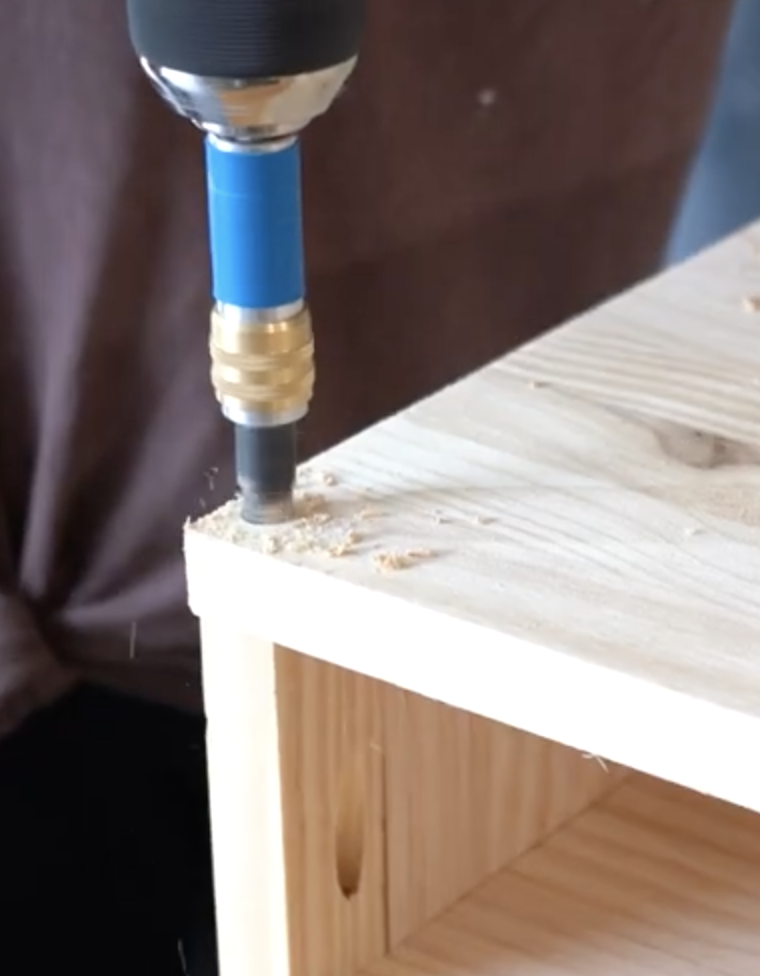
Now flip the Quick-Flip and use the driver end to attach 2” Kreg pocket hole screws through the base of the table and into the support boards. Be sure to add a line of wood glue between each support board and the base.
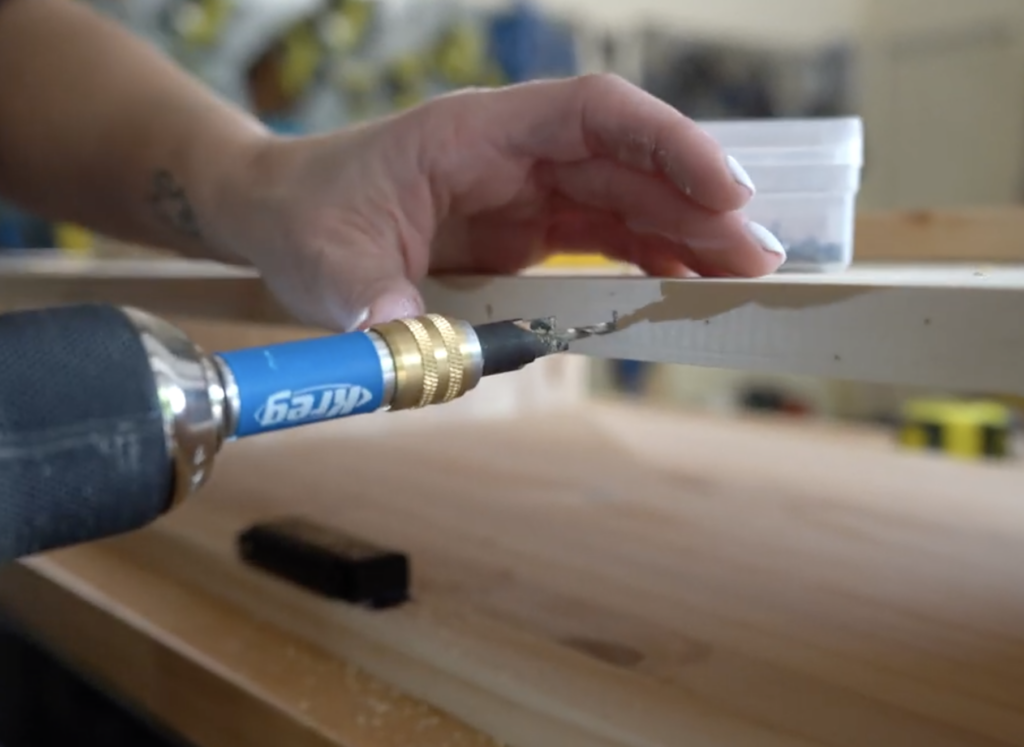
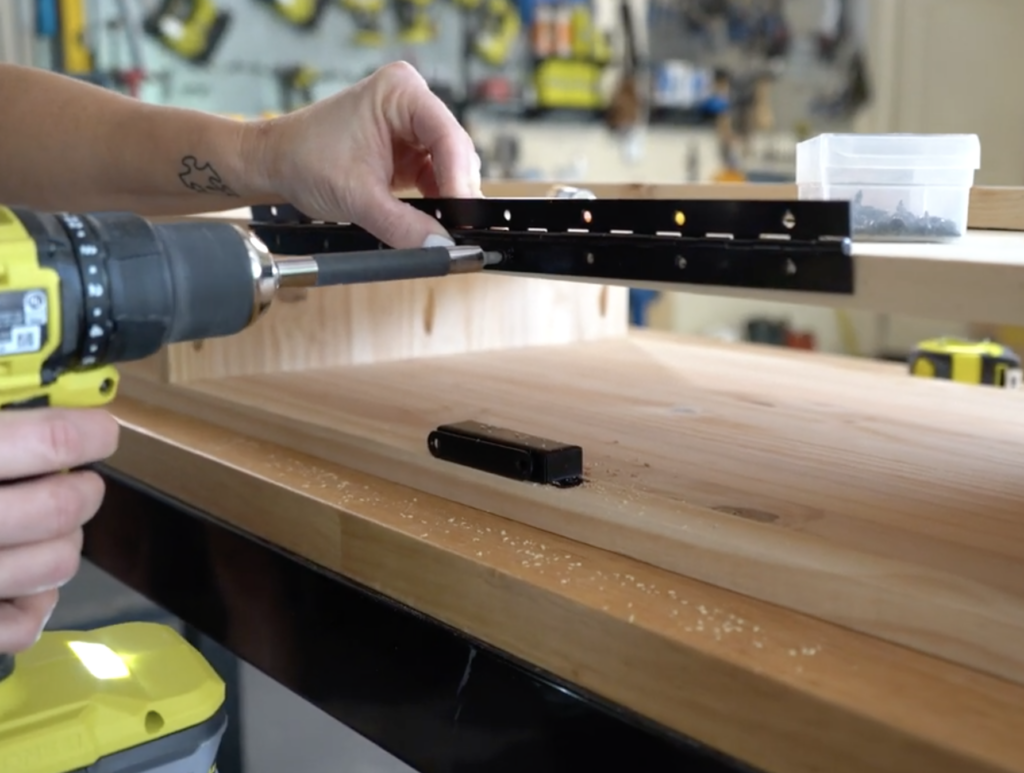
Step 5 – Attach the hardware
At this point, it is best to attach the magnetic catches, as well as the piano hinges.
You can find the magnetic catches HERE.
You can find the piano hinges HERE.
You can find the black screws HERE.
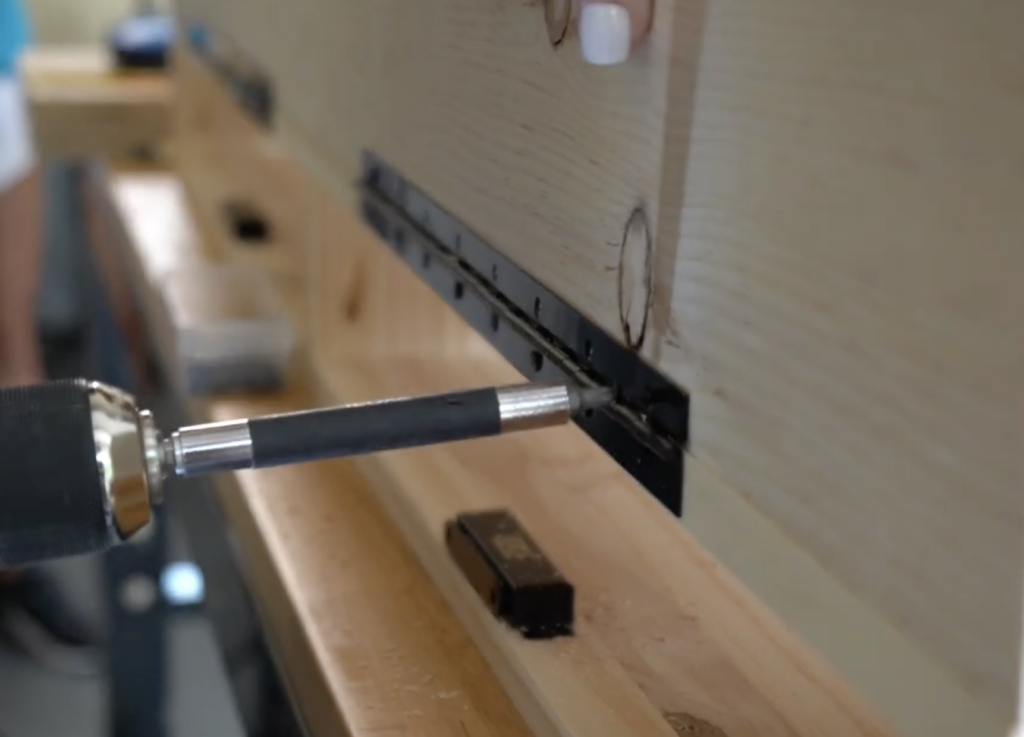
Step 6 – Attach front of table
The front of the table is a 1×6 pine board cut to 54″. Use the Kreg Quick-Flip to pre-drill the holes for the piano hinge, and attach the front of the table to the hinge.
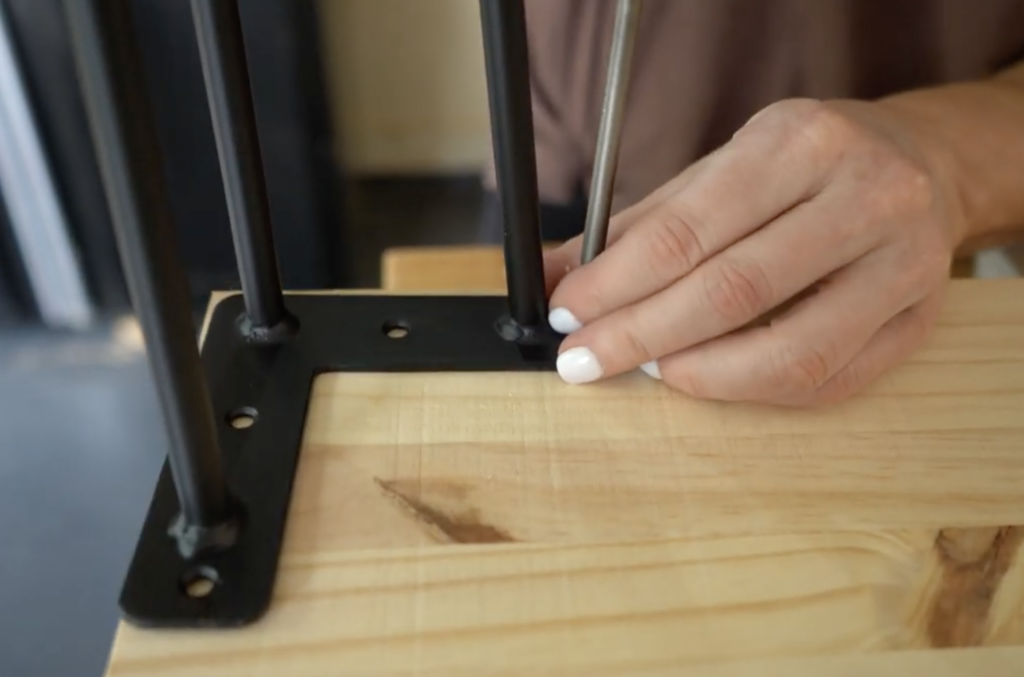
Step 7 – Attach Hairpin Legs
Attach the hairpin legs to the base of the table at this point. You can find the legs we used HERE on Amazon!
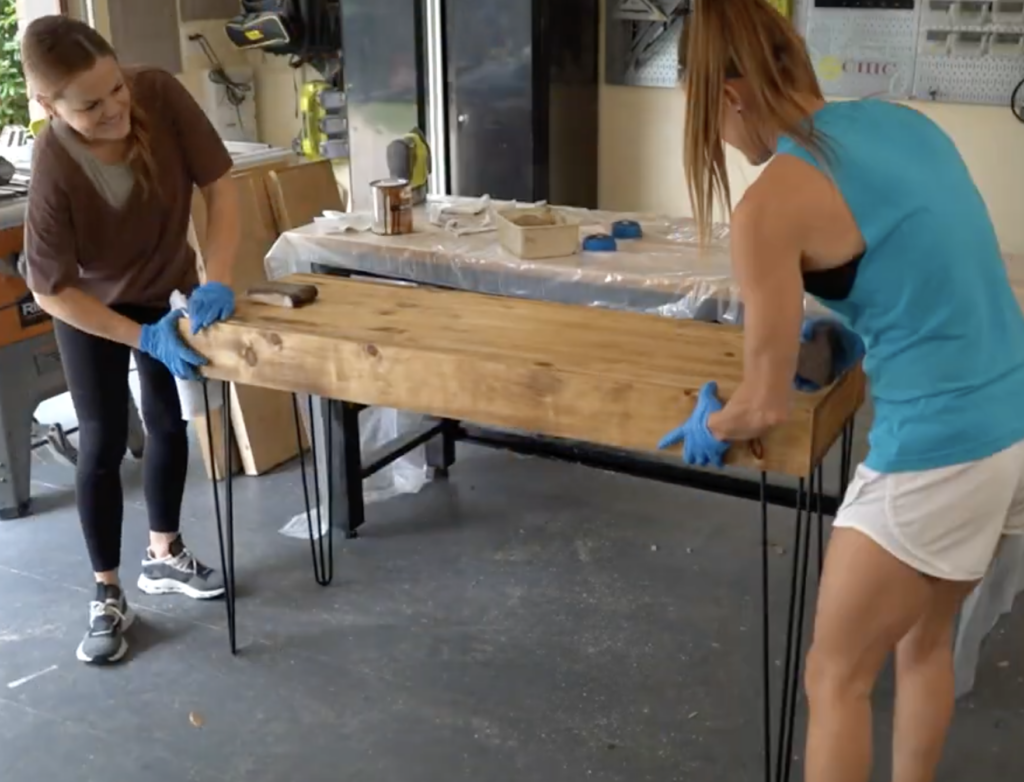
Step 8 – Stain the table
We stained his table using Golden Oak stain. I love the finish and how easy this stain is to use! It dries quickly and only requires one coat. You can find it HERE!
Step 9 – Attach the pull
You can find the pull I used HERE!