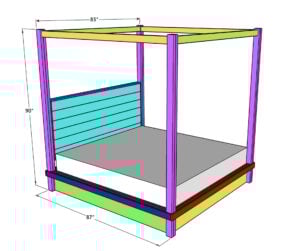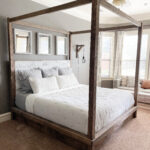
DIY Canopy Bed
This DIY Canopy Bed can be built with just a few basic tools and about $375 in lumber! We share the free plans, how-to video and a step-by-step tutorial so you can build your own!You can download the full set of printable plans with the shopping list included here!
Equipment
- Miter Saw
- Kreg Jig
- Drill
- Table Saw (optional)
- Brad Nailer
- Pin Nailer
- Sander
Ingredients
- 22 2x4x8 Pine or Common Board
- 4 1x10x8 Pine or Common Board
- 6 1x6x8 Pine or Common Board (I used Barn Wood)
- 22 1x4x8 Pine or Common Board (13 can be furring strips, 2 are unnecessary if you are using barn wood)
- 1 1/2"x48"x96" Hardwood Plywood
- 1 1/4" Pocket Hole Screws
- 2 1/2" Pocket Hold Screws
- 3/4" Pin Nails
- 1 1/4" Wood Screws
- 2" Wood Screws
- Wood Glue
- Wood Filler
Instructions
Cut List
- Cut List 1
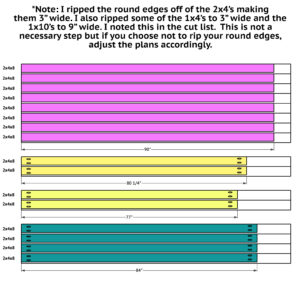
- Cut List 2
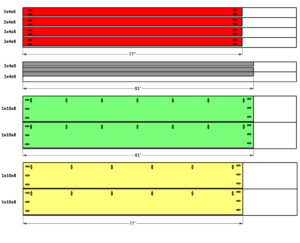
- Cut List 3
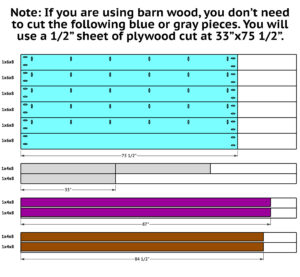
- Cut List 4
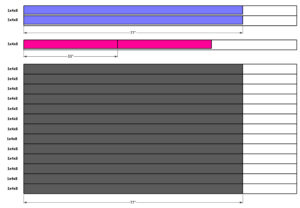
Laminating the Rails and Legs
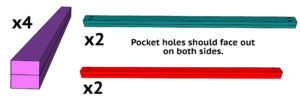
- Cut the boards for the legs, end rails and side rails. Drill 1 1/2" pocket holes at the ends of 2 of the side rails and 2 of the end rails. Attach 2 leg pieces together, 2 side rail pieces together and 2 end rail pieces together with wood glue and secure with clamps. Let them dry completely before unclamping. Build 4 leg assemblies, 2 side rail assemblies and 2 end rail assemblies. Make sure the pocket holes face up.
Building the Side Assemblies
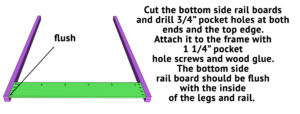
- Cut the bottom side rail boards and drill 3/4" pocket holes at both ends and the top edge. Attach it to the frame with 1 1/4" pocket hole screws and wood glue. The bottom side rail board should be flush with the inside of the legs and rail.
- Attach 2 leg assemblies to the top of the side rails and legs with 2 1/2" pocket hole screws and wood glue.
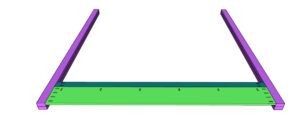
- Cut the top side rails to size and drill 1 1/2" pocket holes at both ends. Center them on the legs, 3/4" down from the top and attach them with 2 1/2" pocket hole screws and wood glue.
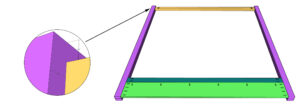
- Cut the cleat to size and attach it to the side rail with 2" wood screws and wood glue. It should be 3/4" down from the top of the side rail.
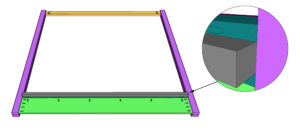
- Cut the side trim piece to size, flip the side assembly over and attach the trim piece to the front of the side rail with 1 1/4" brad nails and wood glue.
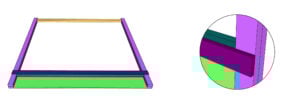
Building the Headboard and Footboard
- Cut the headboard and footboard rails to size and drill 3/4" pocket holes at both ends and one edge of each board. Attach them to the side assemblies with 1 1/4" pocket hole screws and wood glue.
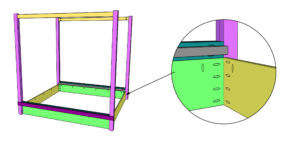
- Attach the end rail assemblies (from step 1) on top of the end rails. Attach them with 2 1/2" pocket hole screws and wood glue, into the legs. Use 1 1/4" pocket hole screws and wood glue to attach them to the end rails.
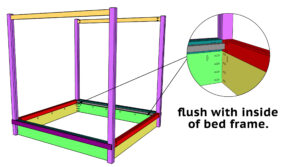
- Cut the headboard and footboard trim to size. Attach it over the rails with 1 1/4" brad nails and wood glue.
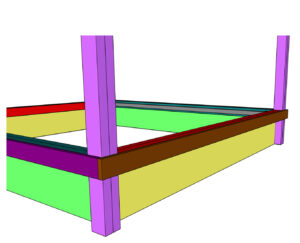
Headboard Assembly
- If you're using the barn wood planks, cut them to size and skip to the next step. Cut the 1x6 boards to size and drill 3/4" pocket holes according to the diagram. Attach them together with 1 1/4" pocket hole screws and wood glue.
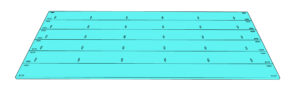
- Cut the headboard cleats to size and attach them to the headboard planks with 1" brad nails and wood glue, from the cleats into the back of the headboard planks.
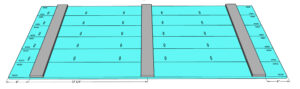
- Cut the headboard side trim to size and attach it to the ends of the headboard. If you are using 1x6 attach with 1 1/4" pocket hole screws and wood glue. If you are using barn wood planks, attach the trim with 1" brad nails and wood glue.
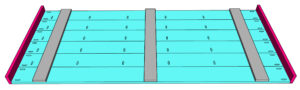
- Cut the top and bottom trim pieces to size and attach them the same way.
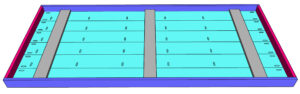
- Attach the headboard to the posts with 2" wood screws, from the inside of the headboard trim, into the legs.
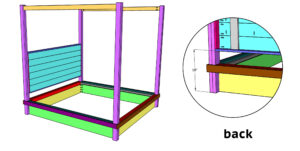
- Cut the headboard and footboard top rails to size. Drill 1 1/2" pocket holes at both ends and attach them to the legs with 2 1/2" pocket hole screws.
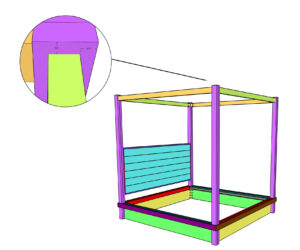
Attaching the Mattress Slats
- Cut the middle cleat to size and drill 3/4" pocket holes at both ends. Center it on the headboard and footboard rail assemblies, 3/4" down from the top of the rail. Attach it with 1 1/4" pocket hold screws.
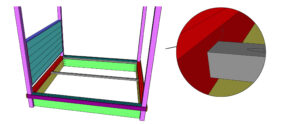
- Cut the mattress slats to size, spread them out evenly on the cleats and attach them to the cleats with 1 1/4" wood screws.
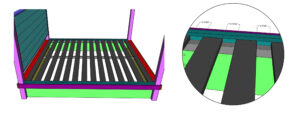
- Fill your exposed pocket holes and nails holes and add a finish!Have fun with it and make it your own. Make sure to share your builds with us on social media and use #shanty2chic so we can share them too!Happy Building!