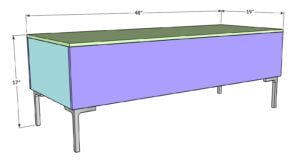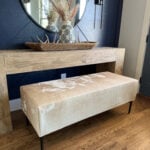
DIY Cowhide Bench - Free Plans
Build your own DIY cowhide bench with these free printable plans! This beginner-friendly project uses simple 2x4 lumber, real cowhide upholstery, and sleek metal legs to create a modern rustic look you’ll love. Click here for the free printable plans including the shopping list!
Equipment
- Miter Saw
- Kreg Jig
- Drill
- Stapler (manual or cordless)
Ingredients
- 1 1/2" x 48" x 48" Hardwood Plywood
- 4 2x4x8
- 2 1/2" Pocket Hole Screws
- 1" Staples
- 4 Metal Feet
- Cowhide
- Batting
Instructions
Cut List
- Cut List
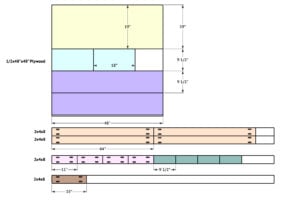
Building the Cowhide Bench Frame
- Cut the side frame pieces to size and drill 1 1/2" pocket holes at the end of both vertical pieces. Attach them to the horizontal pieces with 2 1/2" pocket hole screws and wood glue. Build 2 side frame assemblies.
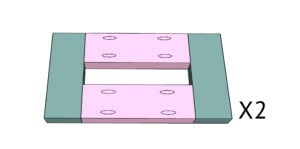
- Cut the long frame pieces to size and drill 1 1/2" pocket holes at both ends. Attach them to the side assemblies with 2 1/2" pocket hole screws and wood glue.
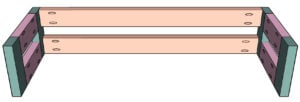
- Do the same thing for the other side of the side assemblies to create the full bench frame.
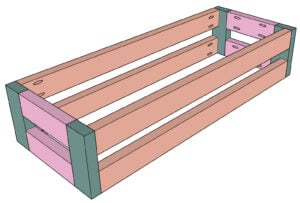
- Measure and cut the center support piece. Drill 1 1/2" pocket holes at both ends, center it between the top two long supports and attach it to the supports with 2 1/2" pocket hole screws and wood glue.
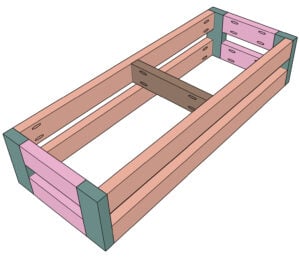
Adding the Plywood Panels
- Measure and cut the side pieces to size. Attach them to the end of the bench frame with 1" staples from the side pieces into the side frames. Do this on both sides of the bench frame.
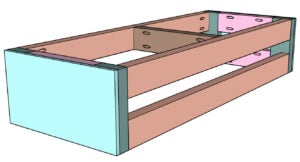
- Measure and cut for the front and back plywood pieces. Attach them to the front and back of the bench frame with 1" staples and wood glue.
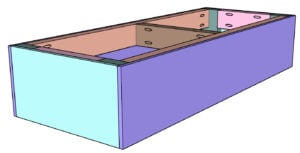
- Cut the top plywood piece to size and attach it to the top of the bench frame with 1" staples and wood glue.
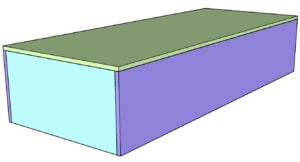
Adding the Bench Feet
- Once the bench is covered in your fabric, flip it over and attach the feet. You can find links to the feet and the fabric in the post above.
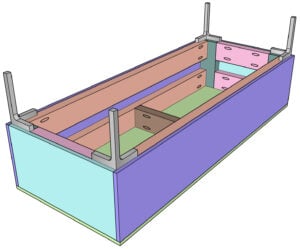
- All finished! Make sure to share your builds with us on social media and use #shanty2chic so we can share them too!Happy Building!