DIY Floating Shelves
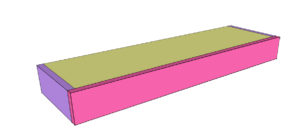
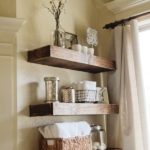
This easy tutorial will show you how to build these DIY floating shelves. Just follow the free printable plans and how-to video. You can click the link below to download and print the full set of plans!https://www.shanty-2-chic.com/wp-content/uploads/2014/01/DIY-Floating-Shelves-Free-Plans.pdf
Ingredients
- 1 1x10x8 Pine or Whitewood
- 2 2x3x8 Framing Lumber
- 1 4'x4'x1/4" Hardwood Plywood
- 3 1x4x6' Pine or Whitewood
- 1 1/4" Brad Nails
- 2 1/2" Pocket Hole Screws
- 3 1/2" Wood Screws
- Wood Glue
Instructions
- Cut List
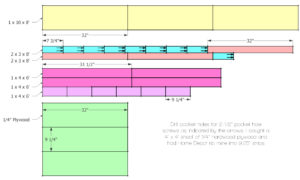
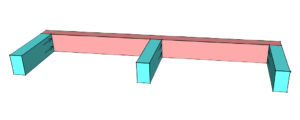
- Screw the three 7 3/4" pieces to the back 32" piece.
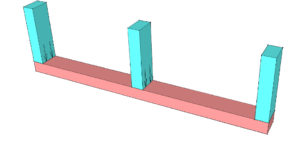
- Locate your wall studs and transfer the locations to the back piece. Predrill two holes at each stud location and use 3 1/2" wood screws to attach the shelf to the wall.
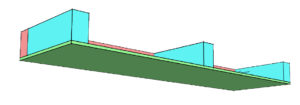
- Add the bottom 1/4" plywood. this piece and the rest of the project will be attached with wood glue and brad nails.
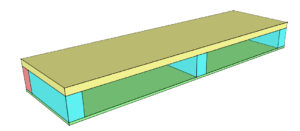
- Attach the top 1x10 shelf.
- Attach the side 1x4 trim.
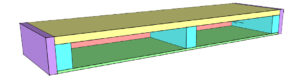
- Attach the 1x4 front trim. Now you're ready to tape off the walls, sand and finish.