DIY Modern Dresser
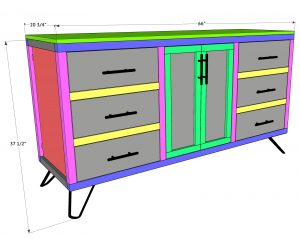
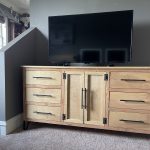
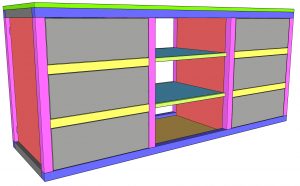
Learn how to build this DIY Modern Dresser with 6 drawers! It makes the perfect TV stand with game console storage and 6 drawers! Click here to print the full set of free printable plans including the shop list!
Equipment
- Miter Saw
- Drill
- Kreg Jig
- Brad Nailer
- Sander
- Stapler (optional)
- Table Saw (optional)
Ingredients
- 8 2x2x8 Framing Lumber Ripped from 2x4
- 3 1x4x8 Common Board
- 2 3/4"x48"x96" Hardwood Plywood
- 1 1/2"x48"x96" Hardwood Plywood
- 1 1/4"x48"x96" Hardwood Plywood
- 1 1/4" Pocket Hole Screws
- 2 1/2" Pocket Hole Screws
- 1 1/4" Brad Nails
- 2 1/2" Finish Nails
- 5/8" Staples
- Wood Glue
- 8 Pulls
- 4 Legs
- 4 Hinges
Instructions
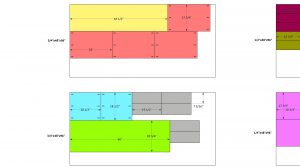
Cut List
- Cut List 1
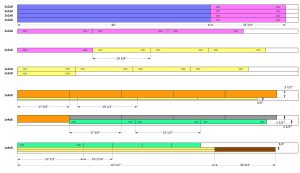
- Cut List 2
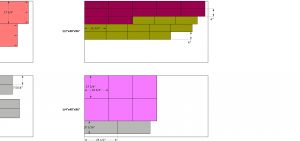
- Cut List 3
Building the Cabinet Frame
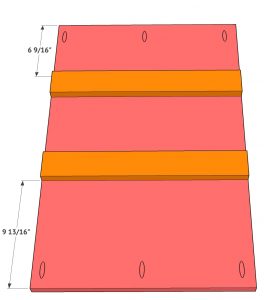
- Cut the vertical dividers and cleats to size. Drill 3/4" pocket holes at both ends of each divider. Attach the top two cleats to two of the dividers with 1 1/4" brad nails and wood glue.
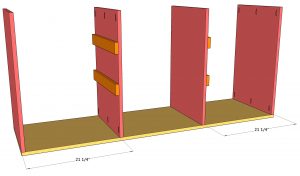
- Cut the bottom cabinet board to size. Attach the vertical dividers to the bottom board with 1 1/4" pocket hole screws and wood glue.
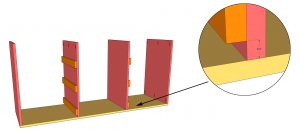
- Attach the bottom cleats to the middle dividers with 1 1/4" brad nails and wood glue.
- Cut the cabinet top piece to size and attach it to the cabinet dividers with 1 1/4" pocket hole screws and wood glue.
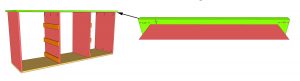
- Cut the shelf pieces to size and drill 3/4" pocket holes on the ends. Attach them to the inside of the cabinet with 1 1/4" pocket hole screws and wood glue. Note the inset and overhang on the front and back.
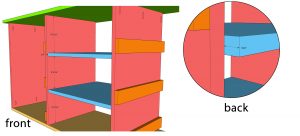
- Cut the shelf trim to size and attach it to the front and back of the shelves with 1" finish nails and wood glue.
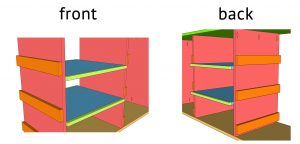
- Cut the face frame pieces to size and drill 1 1/2" pocket holes according to the cut list. Attach the pieces together with 2 1/2" pocket hole screws and wood glue. Build two face frames.
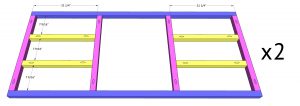
- Attach a face frame to the front and back of the cabinet. They should line up flush with the top of the cabinet and the pocket holes should face inside.
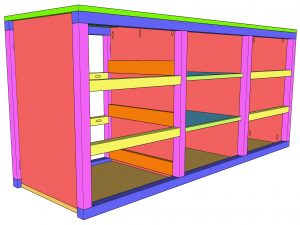
- Cut the side trim pieces to size and attach them to the sides of the cabinet with 2 1/2" finish nails and wood glue. They should line up flush with the top and bottom face frames.
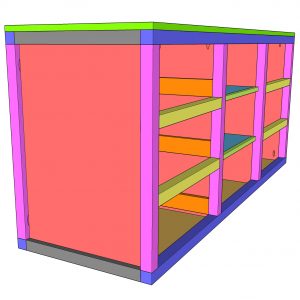
Building the Drawers
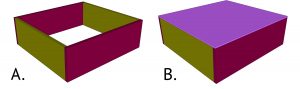
- A. Cut the drawer front and side pieces to size. Attach them together with 1 1/4" brad nails and wood glue.B. Cut the drawer bottoms to size and attach them to the bottom of the drawers with 1 1/4" brad nails and wood glue.
- Install the drawers with drawer slides. You can get the detailed instructions and a link to the slides I used on our website.
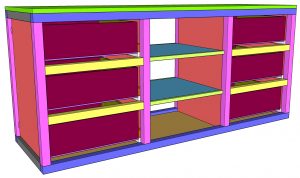
- Cut the drawer faces to size and attach them to the front of each drawer with 1 1/4" brad nails, from the back of the drawer and into the back of the drawer face. There should be a 1/8" gap around all sides.
Building the Doors
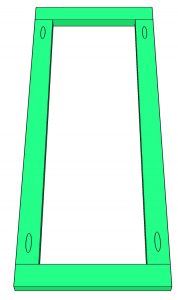
- Cut the door frame pieces to size. Drill 3/4" pocket holes on both ends of the long boards. Attach them to the short boards with 1 1/4" pocket hole screws and wood glue.
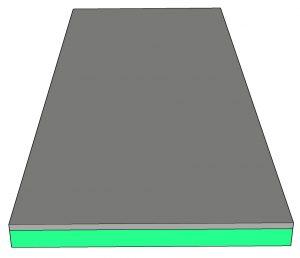
- Cut the plywood for the back of the doors to size. Attach them to the back of the door frames with 5/8" staples and wood glue.
The Finish!
- Cut the side top trim pieces to size and attach them to the sides of the top plywood sheet with 1 1/4" brad nails and wood glue. Measure and cut the fron and back trim pieces to size and attach them the same way.
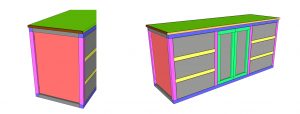
- Fill all your nail holes, sand it down and add a finish! Get creative with it and make it your own! I added modern hairpin legs and pulls!Make sure to share your builds with us on social media and use #shanty2chic so we can share them too!Happy Building!