DIY Square Coffee Table
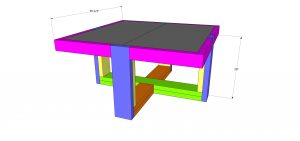
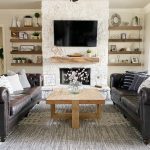
Learn how to build this chunky DIY Square Coffee Table by Shanty2Chic. This is a great beginner build that won't break the bank! Make sure to download the free printable plans including the supply list and full cut list here!
Equipment
- Table Saw (optional)
- Miter Saw
- Drill
- Kreg Jig
- Brad Nailer
- Sander
Instructions
Cut List
- Cut List 1
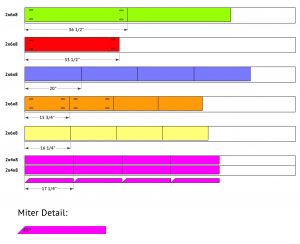
- Cut List 2
Building the Base
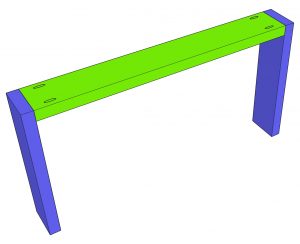
- Cut the leg pieces to size and drill 1 1/2" pocket holes according to the cut list. Attach the bottom runner to two legs with 2 1/2" pocket hole screws and wood glue.
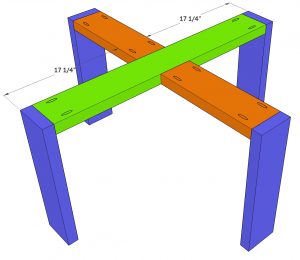
- Attach the two bottom short runners to a leg and attach the short runners to the center of the long runner with 2 1/2" pocket hole screws and wood glue.
- Flip the table base right-side-up and attach the second long runner to the top of the bottom runner with 2" brad nails and wood glue.
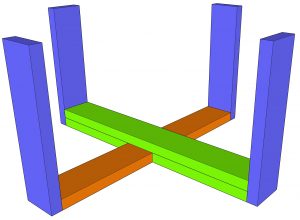
- Attach the second short runners to the top of th ebottom short runners with 2" brad nails and wood glue.

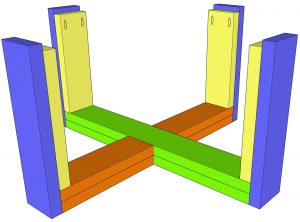
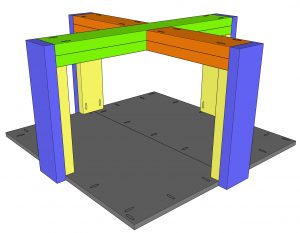
- Attach the short legs to the long legs with 2" brad nails and wood glue. The bottom of the short legs should be flush with the top of the long runner.
Building the Table Top
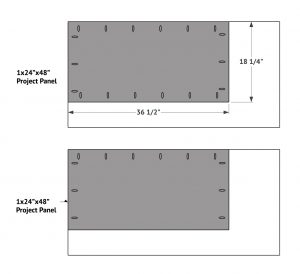
- Cut the top project panels to size and drill 3/4" pocket holes around all edges of one and 3 edges of the other. Attach them together with 1 1/4" pocket hole screws and wood glue.
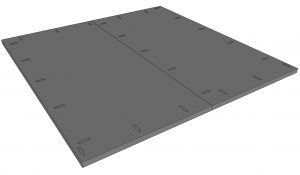
- With the tabe top upside down, flip th ebase upside down on top of it, so that the short legs are resting on the top of the table top. Attach the table top to the short legs with 1 1/4" pocket hole screws and wood glue.
- Cut the support piece to size and drill 1 1/2" pocket hole screws at both ends. Attach it over the table top seam, to the legs with 2 1/2" pocket hole screws and wood glue and attach it to the table top with 2" brad nails.
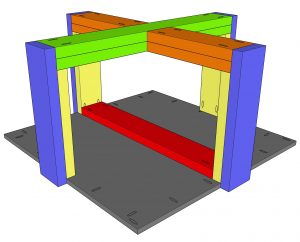
Table Top Trim
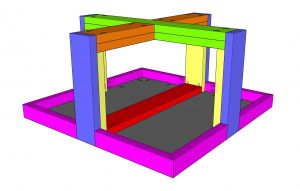
- Measure and cut the trim pieces to size and drill 1 1/2" pocket hole screws to each square end. Attach them to the table top with 1 1/4" pocket hole screws and attach them to the table legs with 2 1/2" pocket hole screws and wood glue. Add a few 2" brad nails and wood glue at the corners to join the 45° angles together.
The Finish
- Now just fill your pocket holes and nails holes with wood filler, sand it down and add a finish! Make sure to share your builds with us on social media and use #shanty2chic so we can share them too! Happy Building!