The final step is putting this bad boy together so that we can hang it!
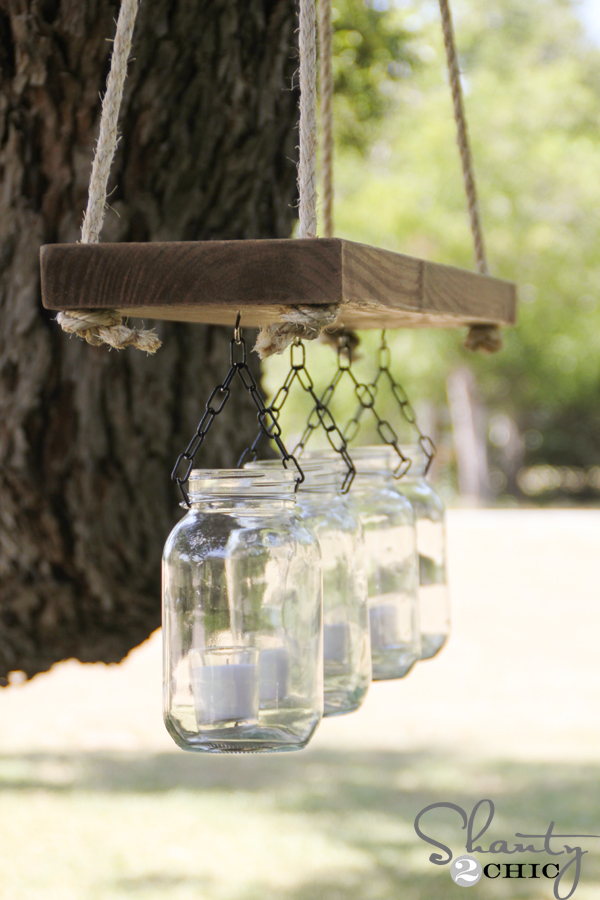
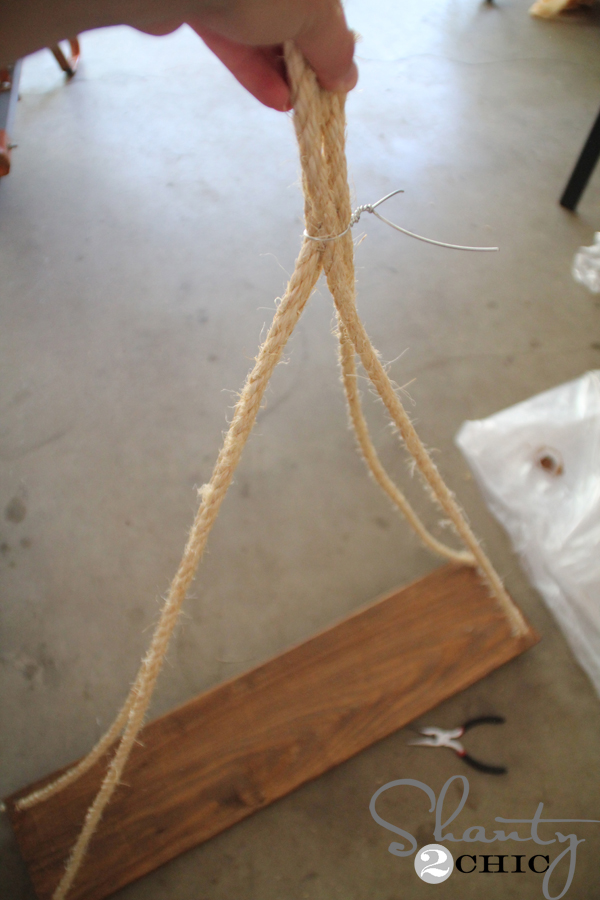 Pull all four pieces of rope together at the top
 and using the same technique that we used for the mason jars, twist the wire around the four pieces of rope until it is very tight.
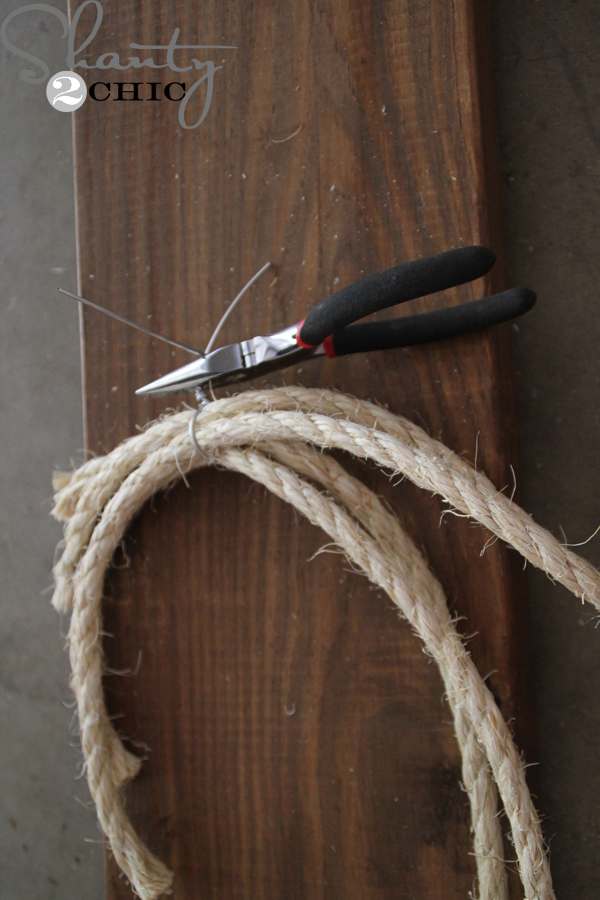
 Then, just clip off the end with pliers!
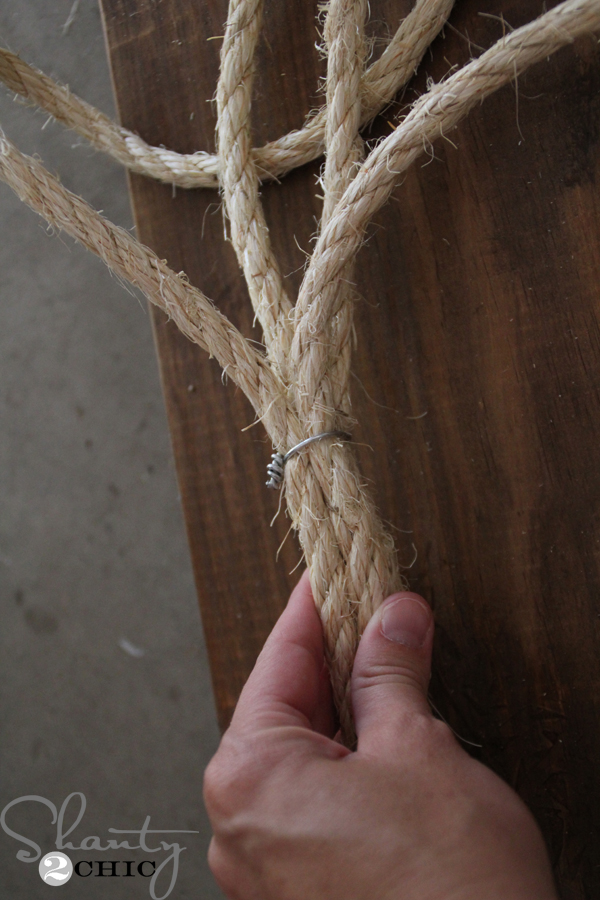
 To cover up the ugly wire, just wrap another piece of rope around it. I made 5 coils
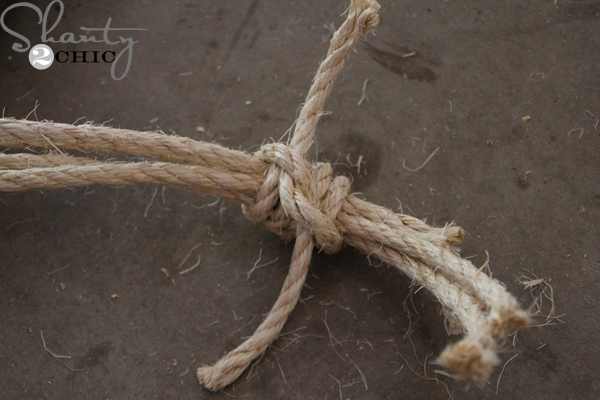 and knotted it in the back. Just cut the long strands down with scissors.
Now it’s time for the finish!
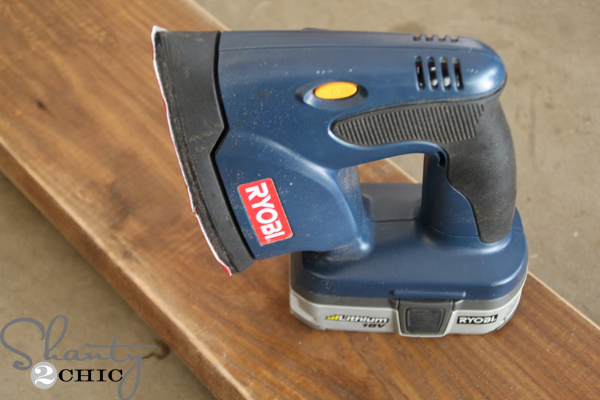 I used our favorite sander, the Corner Cat to distress the edges all around
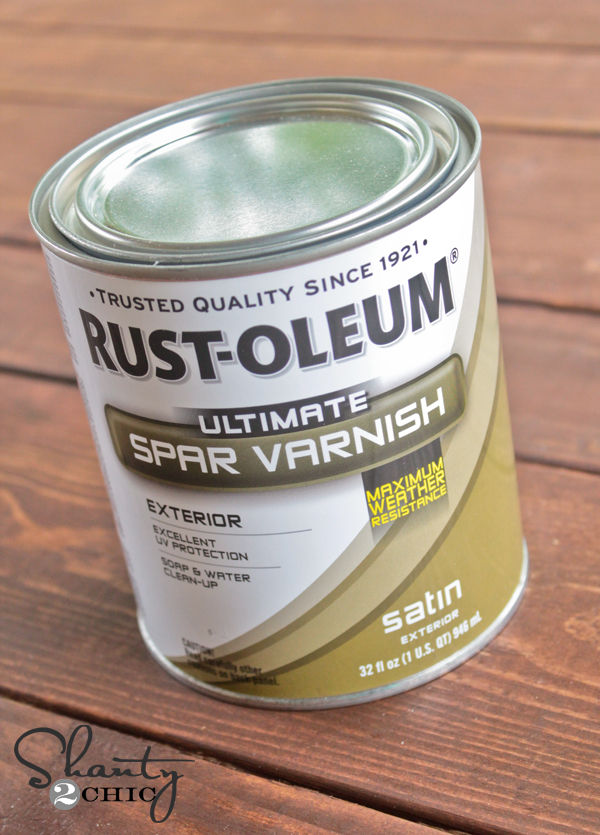 and because this piece will be outside in the elements, I opted for another fave, Spar Varnish in satin! *** You can finish this piece before adding all of the hardware but I like to finish it at the end for the smoothest finish. And you can let it hang dry once you are done 😉 ***
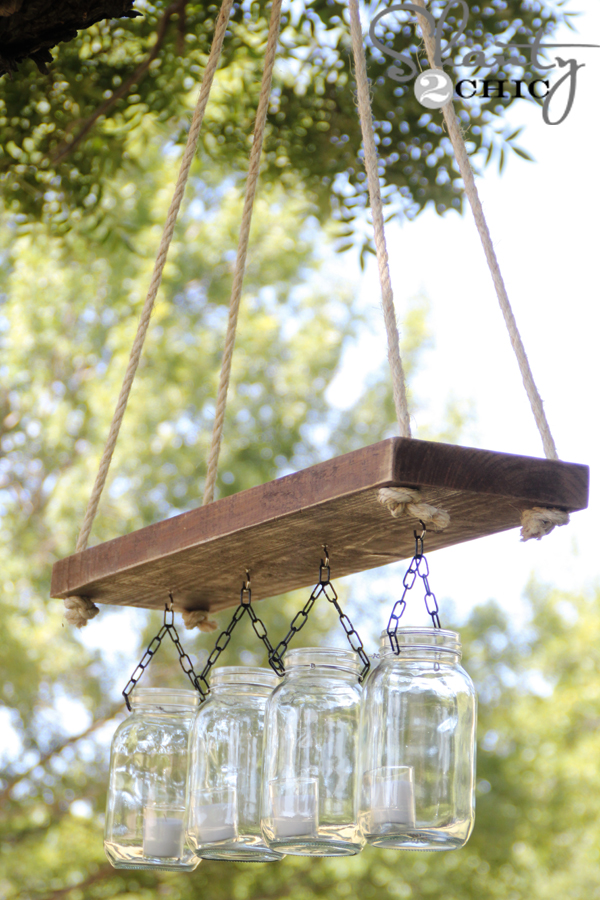
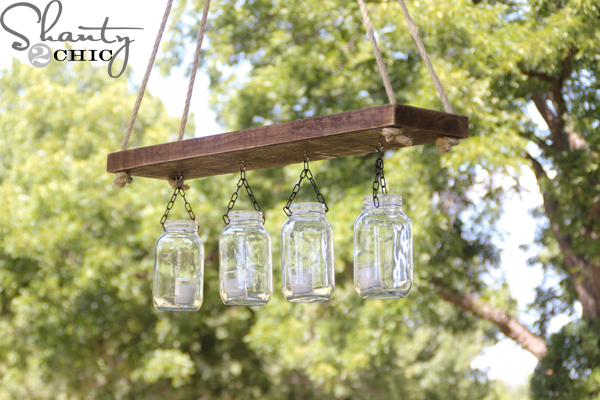
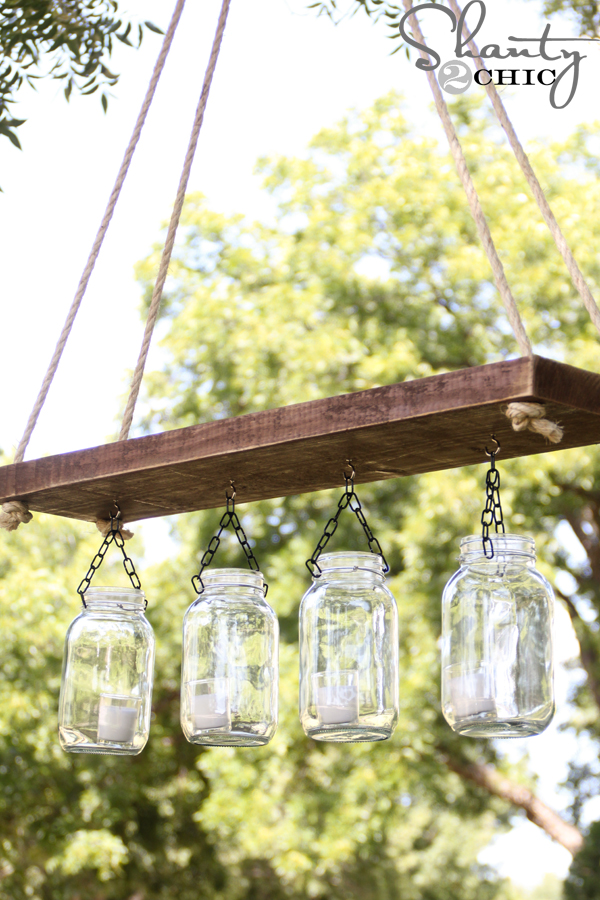
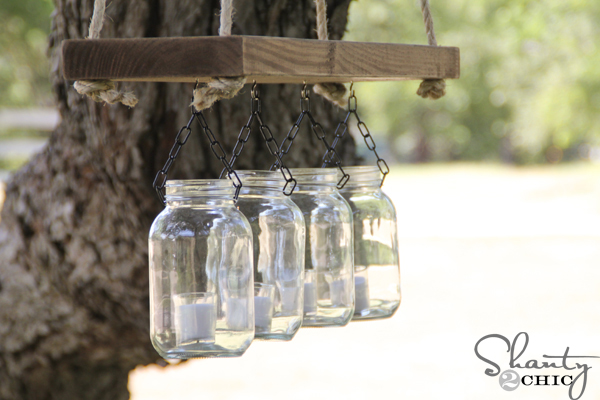 Now drop a votive candle in each Mason Jar Lantern and hang them from the cup hooks!

That’s it! It really depends on where you decide to hang this as to how you hang it. I hung mine from a tree branch so I just hammered a nail into the branch. If you are hanging this under a covered porch, you could use a plant hanger that you screw into the ceiling. There really are so many options for this piece!
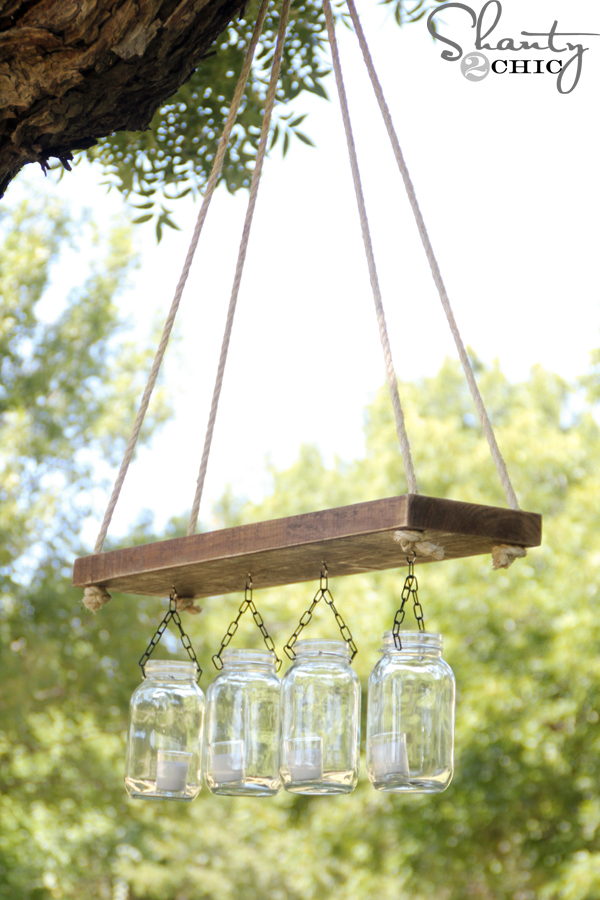
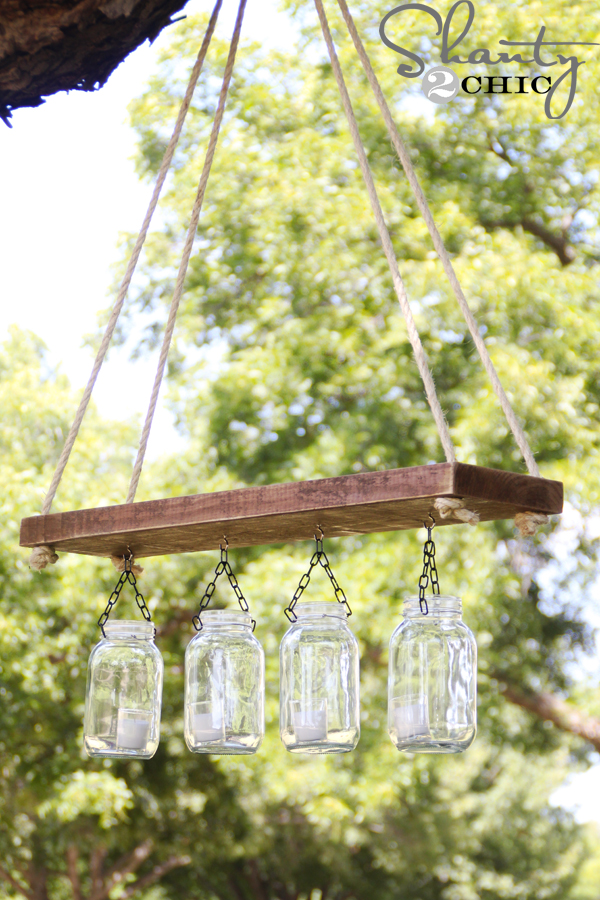
Thanks so much for stopping by! If you love this Mason Jar Chandelier, we would love your pins 🙂
~Ashley
Click the buttons below to return to the previous steps: