Cubby Storage Hack
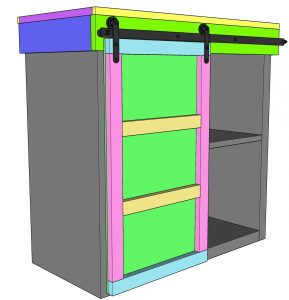
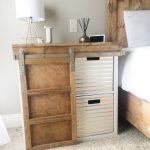
Learn how to turn a basic cubby storage into a beautiful Barn Door Nightstand with free plans by Shanty2Chic! Click here to download the free printable plans including the full supply and cut list!
Equipment
- Miter Saw
- Drill
- Kreg Jig
Ingredients
- 1 1x4x8 Pine or Common Board
- 2 1x2x8 Pine or Common Board
- 2 1/2"x3/4"x48" Pine or Common Board Trim
- 1 1/2"x24"x48" Hardwood Plywood Birch
- 1 3/4"x24"48" Hardwood Plywood Birch
- 1 1/4" Pocket Hole Screws
- 5/8" Brad Nails
- 1 1/4" brad nails
- Wood Glue
- Cubby Storage Cabinet
- Barn Door Storage
Instructions
Cut List
- Cut List 1

Building the Top Panel
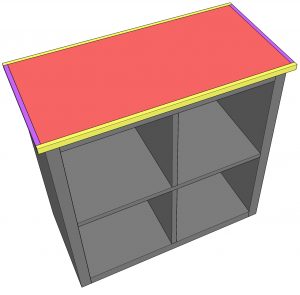
- Cut the top panel board to size and attach it to the top of the cabinet with 1 1/4″ brad nails and wood glue. There should be a 1/4″ overhang on the sides and front of the panel and the panel should sit 1/4″ from the back.
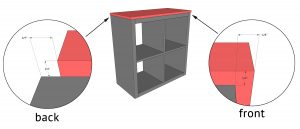
- Cut the side trim pieces to size and attach them to the sides of the top panel with 1 1/4″ brad nails and wood glue.
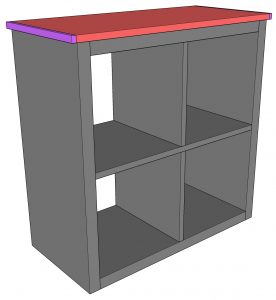
- Cut the front and back trim pieces to size and attach them to the top panel with 1 1/4″ brad nails and wood glue.
Attaching the Trim
- Cut the side trim pieces to size and attach them to the sides of the cabinet with 1 1/4″ brad nails and wood glue.
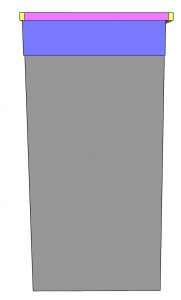
- Cut the front trim piece to size and attach it to the front of the cabinet with 1 1/4″ brad nails and wood glue.
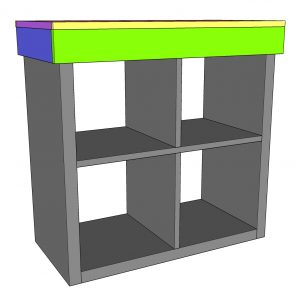
Building the Barn Door
- Cut the barn door frame pieces to size and drill 3/4″ pocket holes in the middle boards and the side boards. Attach them together with 1 1/4″ pocket hole screws and wood glue.
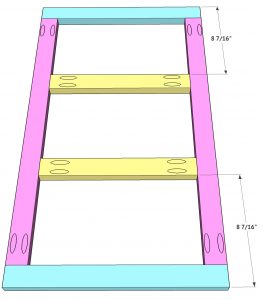
- Cut the back panel for the barn door to size. Attach it to the back of the barn door frame with 5/8″ brad nails and wood glue, through the back panel and into the frame.
The Finish
- Add a finish and attach the barn door with the barn door hardware! Make sure to share your builds with us on social media and use #shanty2chic so we can share them too! Happy Building!