Learn how to turn a basic cubby storage into a beautiful Barn Door Nightstand with free plans by Shanty2Chic!
This project is a little different from the ones we typically do because it’s not built from scratch! I found this Target Cubby Storage Shelf and turned it into a beautiful Barn Door Nightstand for my friends daughter! It’s the perfect project for beginners because you only need three tools! We teamed up with Krylon for this project and love how their Fusion All-In-One Metallic spray painted added the perfect custom touch! Check out how easy it is to build this Cubby Storage Hack!
Click here to jump to the Free Printable Plans!Building a Cubby Storage Hack
Supplies
- 1 – 1x4x8 Pine or Common Boards
- 2 – 1x2x8 Pine or Common Boards
- 2 – 1/2″x3/4″x48″ Trim
- 1 – 1/2″x24″x48″ Hardwood Plywood
- 1 – 3/4″x24″x48″ Hardwood Plywood
- 1 1/4″ Pocket Hole Screws
- 5/8″ Brad Nails
- 1 1/4″ Brad Nails
- Wood Glue
- Barn Door Hardware
- Target Cubby
- Krylon Fusion All-In-One Metallic Gold
Tools
- Miter Saw
- Drill
- Kreg Jig
- 18 Gauge Nailer
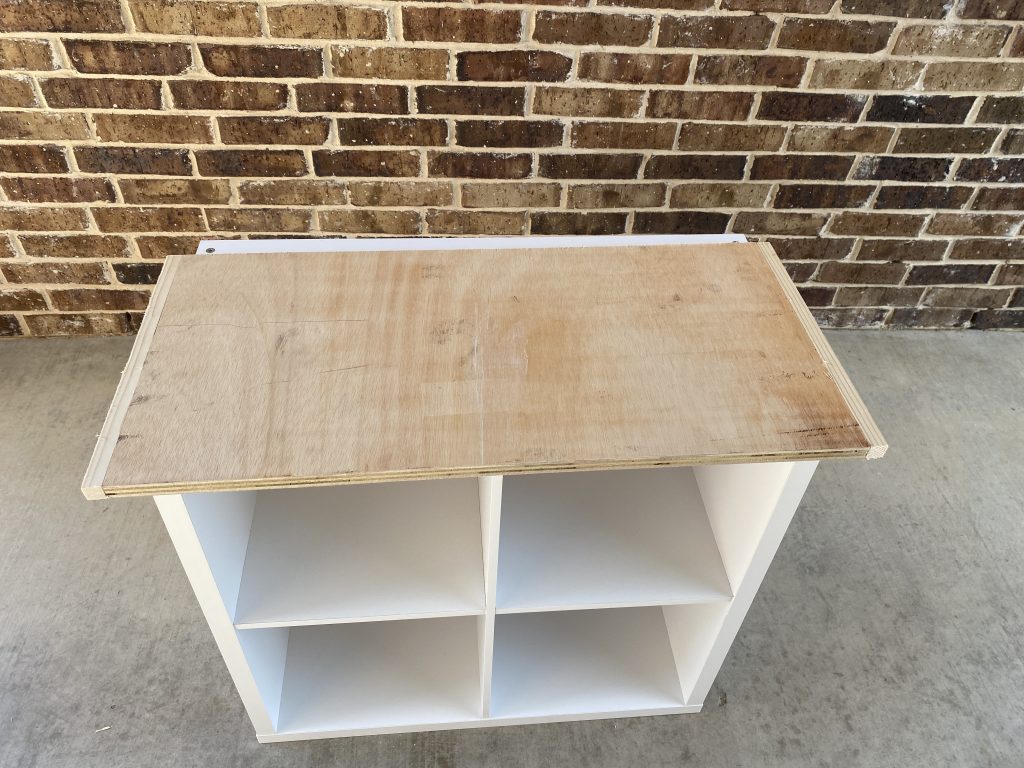
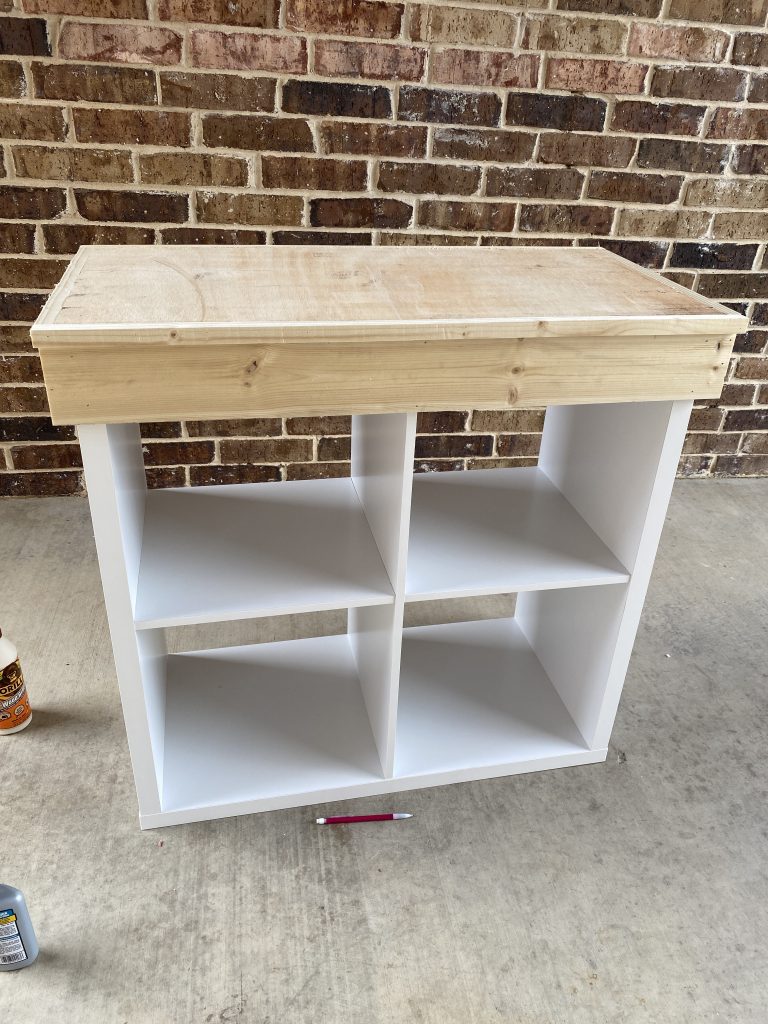
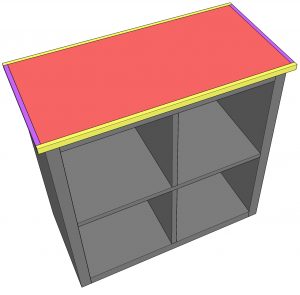
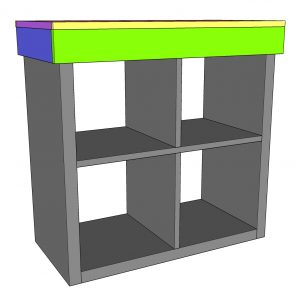
Step 1 – Building the Top

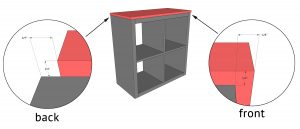
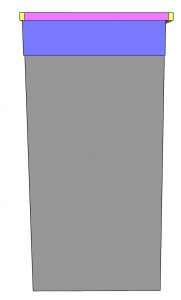
Cut the top panel board to size and attach it to the top of the cabinet with 1 1/4″ brad nails and wood glue. There should be a 1/4″ overhang on the sides and front of the panel and the panel should sit 1/4″ from the back.
Cut the side trim pieces to size and attach them to the sides of the top panel with 1 1/4″ brad nails and wood glue.
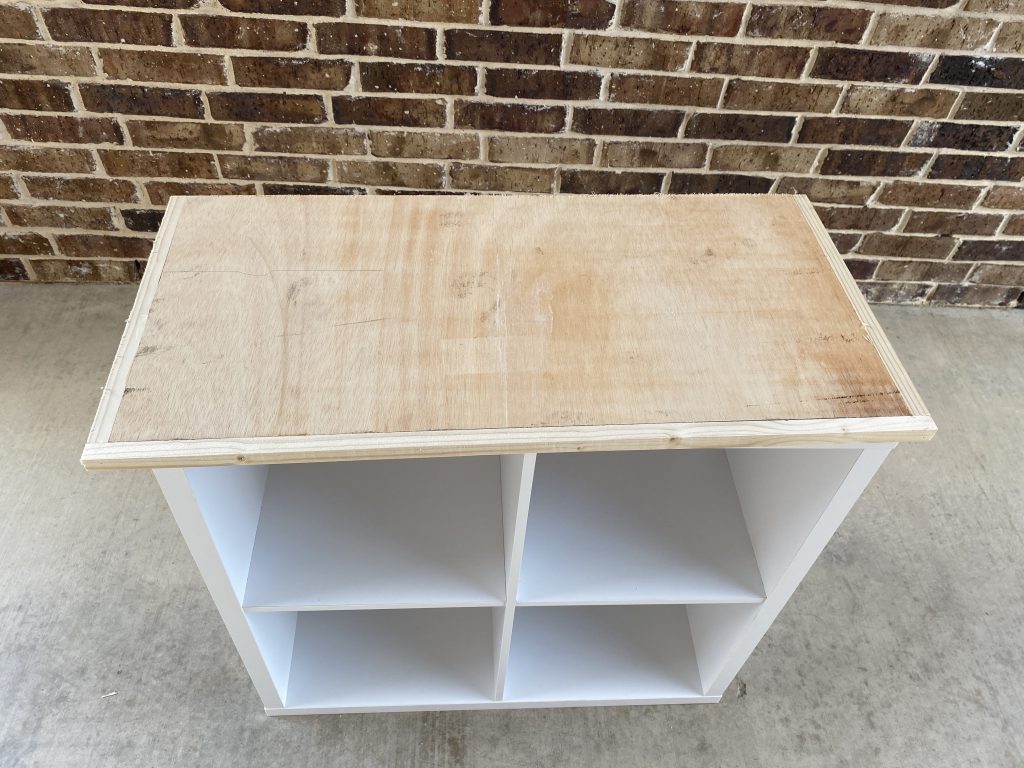
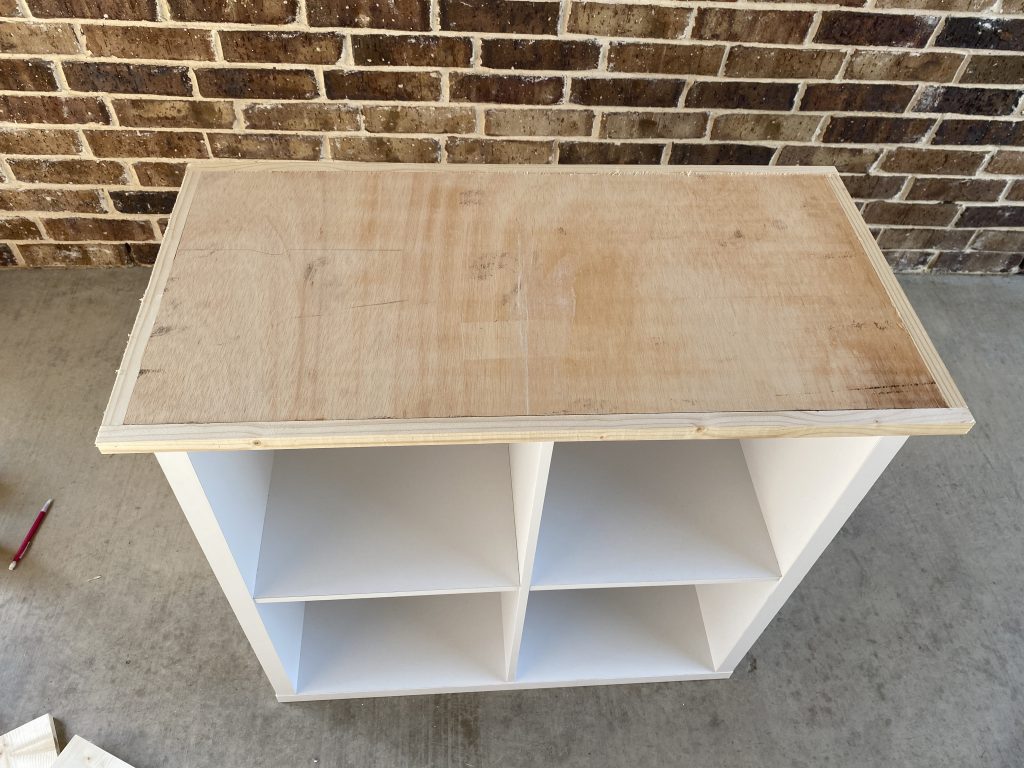
Cut the front and back trim pieces to size and attach them to the top panel with 1 1/4″ brad nails and wood glue.
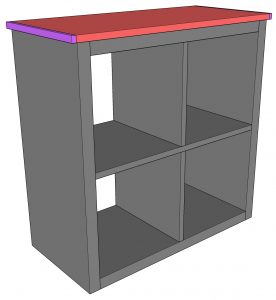
Step 2 – Attaching the Trim
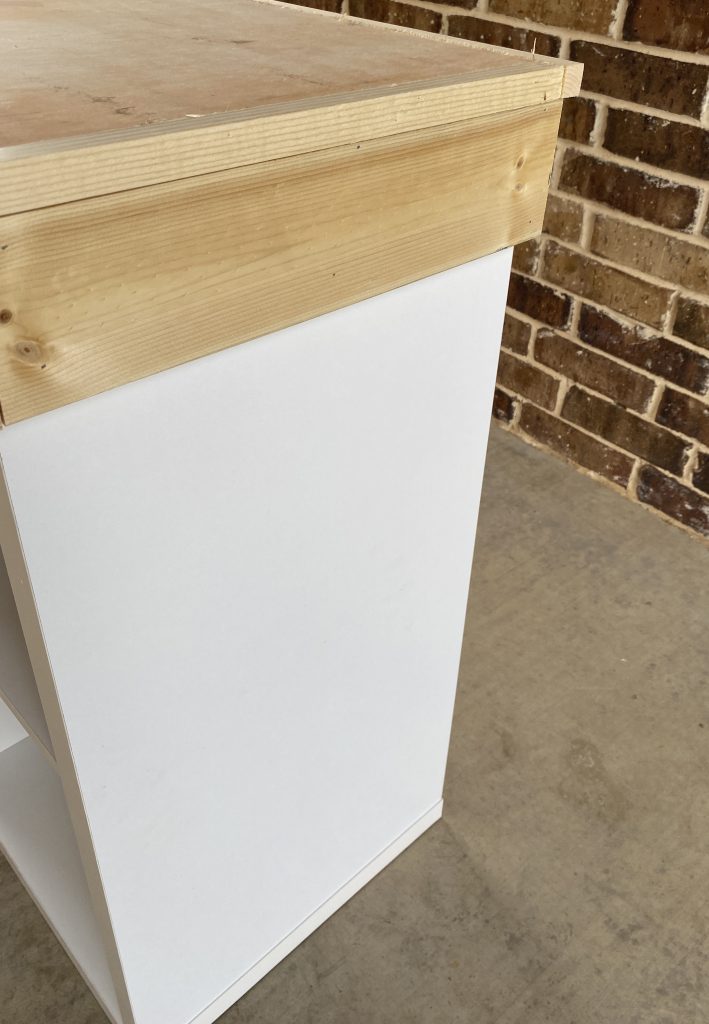
Cut the side trim pieces to size and attach them to the sides of the cabinet with 1 1/4″ brad nails and wood glue.
Cut the front trim piece to size and attach it to the front of the cabinet with 1 1/4″ brad nails and wood glue.
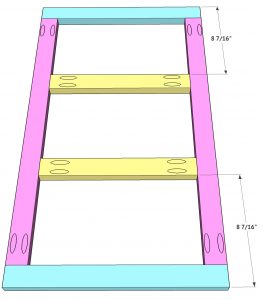
Step 3 – Building the Barn Door
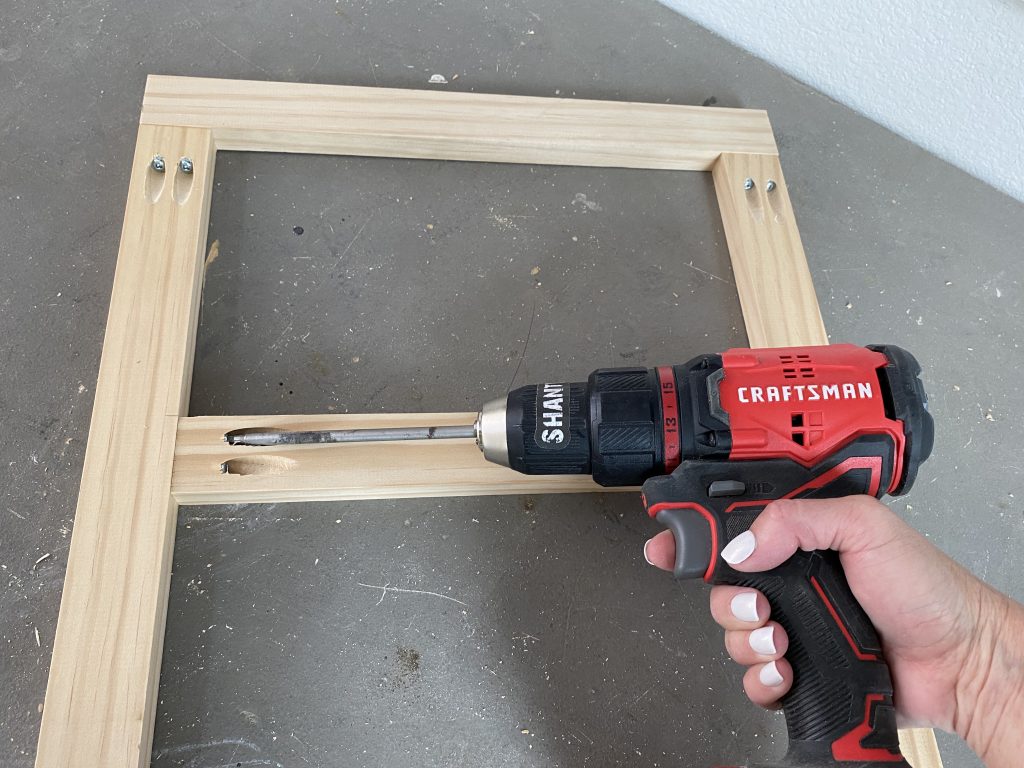
Cut the barn door frame pieces to size and drill 3/4″ pocket holes in the middle boards and the side boards. Attach them together with 1 1/4″ pocket hole screws and wood glue.
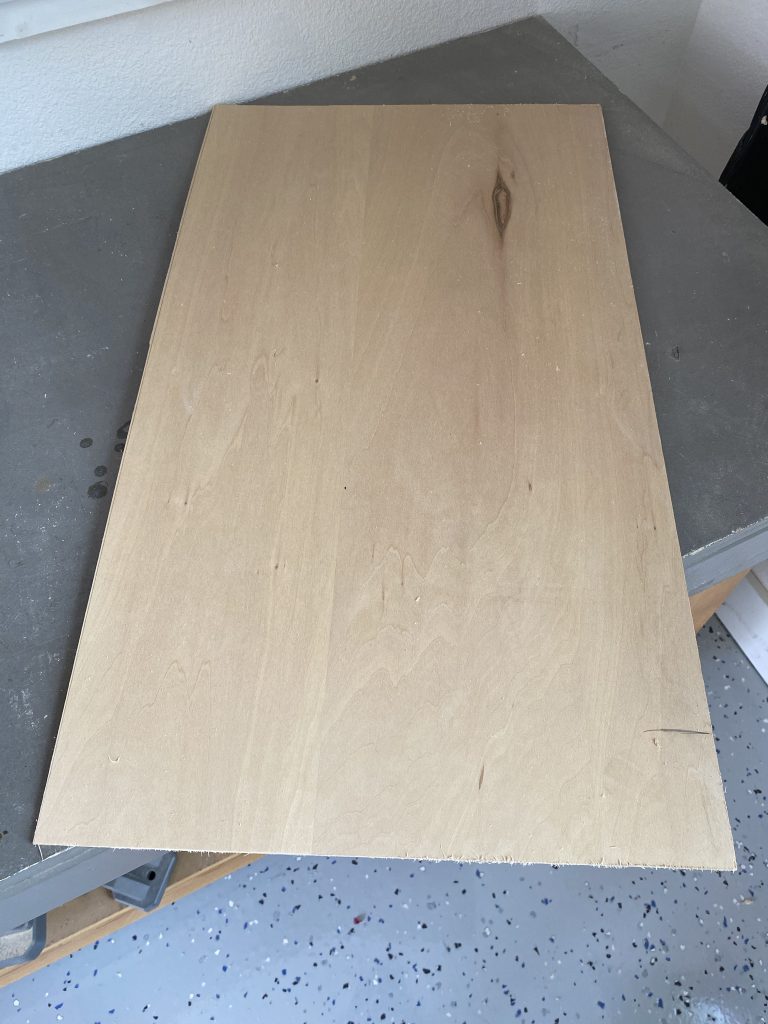
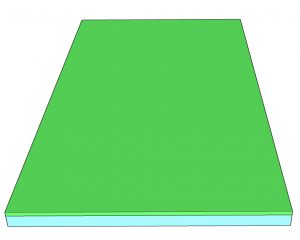
Cut the back panel for the barn door to size. Attach it to the back of the barn door frame with 5/8″ brad nails and wood glue, through the back panel and into the frame.
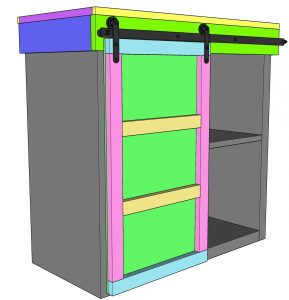
Step 4 – The Finish
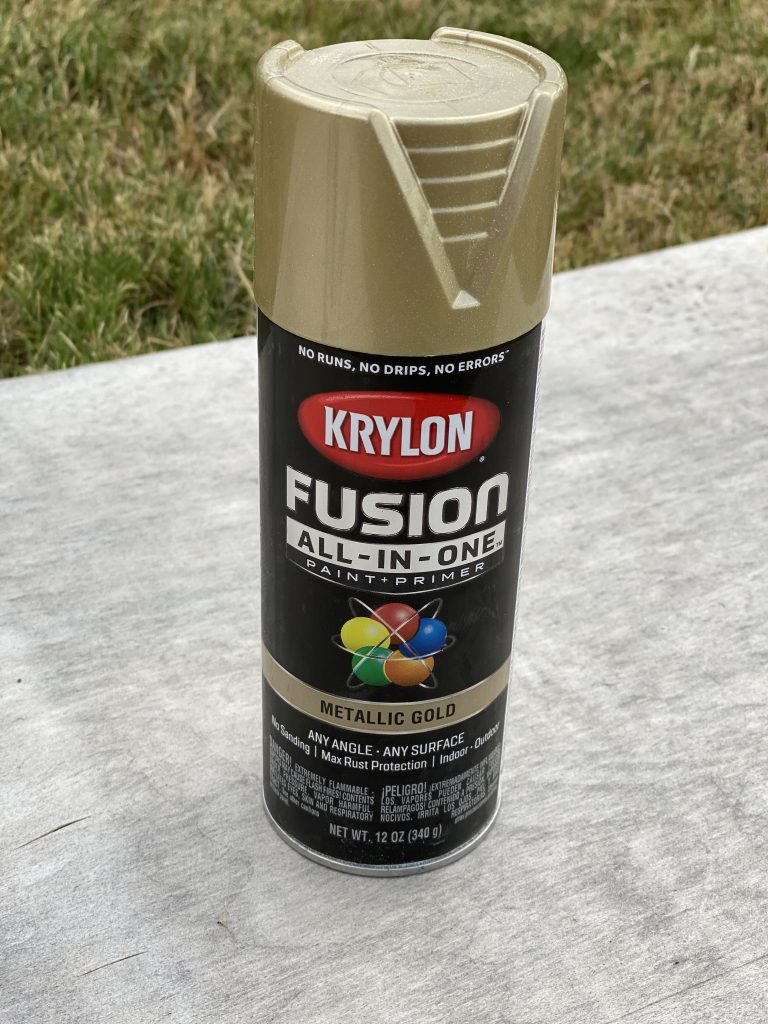
My friends daughter wanted gold barn door hardware so I purchased our favorite barn door hardware and used the Krylon Fusion All-In-One spray paint in Metallic Gold.
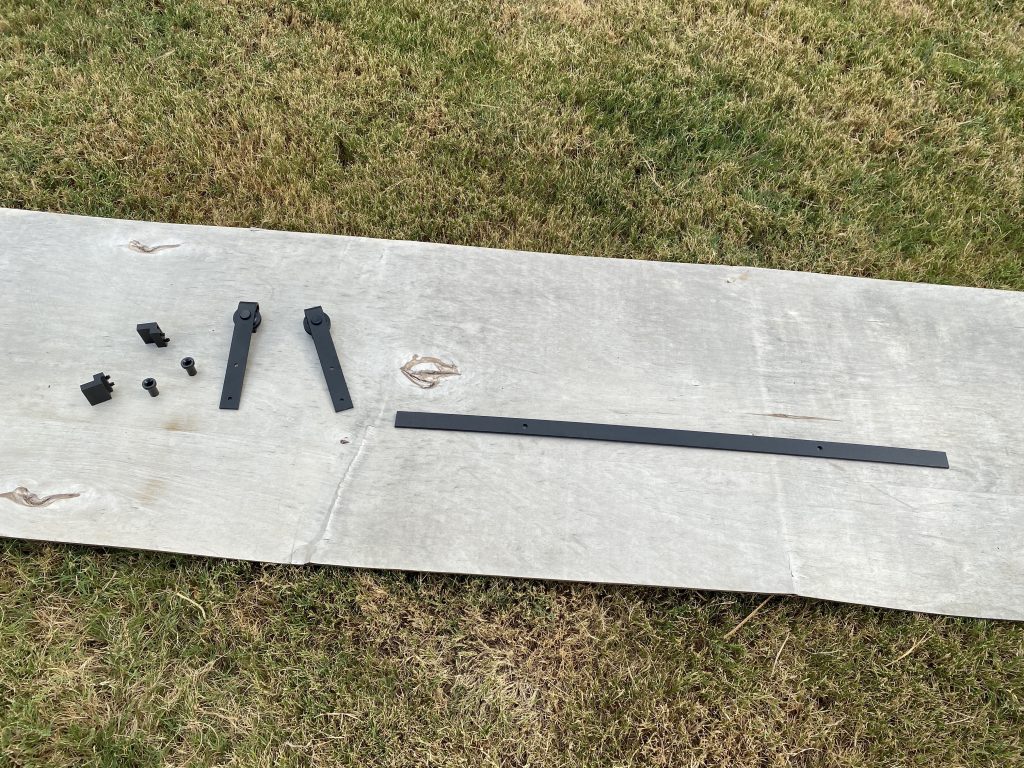
I laid the hardware out on a scrap board and sprayed two coats of paint, allowing the paint to dry between coats.
This spray paint is amazing! It already has a primer in it so it’s perfect for spray painting the metal pieces! I didn’t have to prime the metal or sand it down! After two coats the color was rich and it bonded to the metal perfectly! There are so many different color options and the best part is that this spray paint can be used indoors or out!
You can get more info and check out the huge selection of colors here!
While I waited for the paint to dry, I added stain to the top panel and the door!
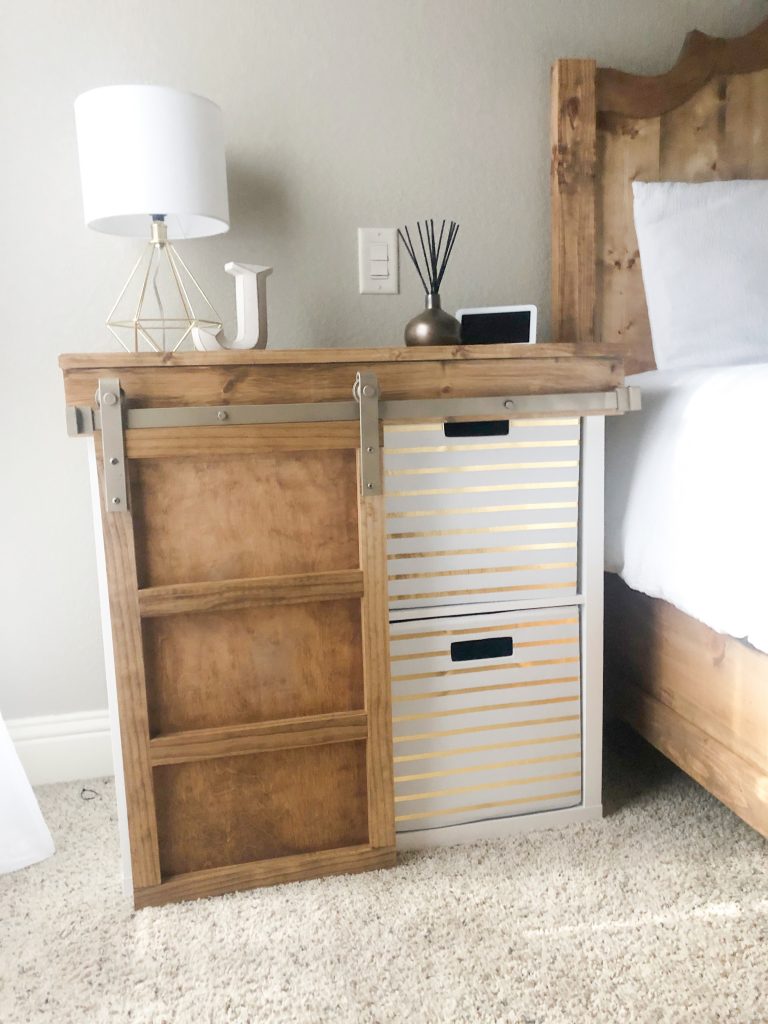
I attached the hardware once it was dry and I’m LOVING the way this Barn Door Cubby Storage Hack turned out! The metallic spray paint added an extra custom feature and my friends daughter now has a truly custom nightstand for her room! I hope she loves it too!
Make sure to share your builds with us on social media and use #shanty2chic so we can share them too!
Happy Building!
Cubby Storage Hack
Tools
- Miter Saw
- Drill
- Kreg Jig
Supplies
- 1 1x4x8 Pine or Common Board
- 2 1x2x8 Pine or Common Board
- 2 1/2"x3/4"x48" Pine or Common Board Trim
- 1 1/2"x24"x48" Hardwood Plywood Birch
- 1 3/4"x24"48" Hardwood Plywood Birch
- 1 1/4" Pocket Hole Screws
- 5/8" Brad Nails
- 1 1/4" brad nails
- Wood Glue
- Cubby Storage Cabinet
- Barn Door Storage
Instructions
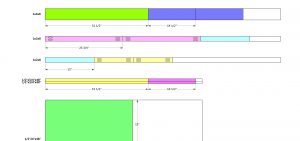
Cut List
- Cut List 1

Building the Top Panel
- Cut the top panel board to size and attach it to the top of the cabinet with 1 1/4″ brad nails and wood glue. There should be a 1/4″ overhang on the sides and front of the panel and the panel should sit 1/4″ from the back.

- Cut the side trim pieces to size and attach them to the sides of the top panel with 1 1/4″ brad nails and wood glue.

- Cut the front and back trim pieces to size and attach them to the top panel with 1 1/4″ brad nails and wood glue.

Attaching the Trim
- Cut the side trim pieces to size and attach them to the sides of the cabinet with 1 1/4″ brad nails and wood glue.

- Cut the front trim piece to size and attach it to the front of the cabinet with 1 1/4″ brad nails and wood glue.
Building the Barn Door
- Cut the barn door frame pieces to size and drill 3/4″ pocket holes in the middle boards and the side boards. Attach them together with 1 1/4″ pocket hole screws and wood glue.

- Cut the back panel for the barn door to size. Attach it to the back of the barn door frame with 5/8″ brad nails and wood glue, through the back panel and into the frame.

The Finish
- Add a finish and attach the barn door with the barn door hardware! Make sure to share your builds with us on social media and use #shanty2chic so we can share them too! Happy Building!


This cubby storage hack is a great example of turning a simple unit into something more functional and refined. Projects like this really highlight how thoughtful modifications and material upgrades can improve both durability and overall finish quality. Using well-engineered boards like quality plywood can help strengthen the structure while keeping the design clean and consistent. We’ve come across useful material insights on platforms like https://plywoodbazar.com/
for similar storage and interior applications. Very smart and practical upgrade!