DIY Dry Erase Board
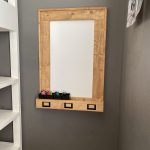
Learn how to build this simple, cute and functional DIY Dry Erase Board with free plans by Shanty2Chic! This is the perfect project for those remote learning and/or teaching!Click HERE to get the FREE Printable Plans with the complete supply list!
Equipment
- Miter Saw
- Drill
- Kreg Jig
- Brad Nailer
- Sander
Ingredients
- 2 1x4x8 Common Board
- 1 1x2x8 Common Board
- 1 24"x36" Dry Erase Board
- 4 Label Holders
- 1 1/4" Pocket Hole Screws
- 5/8" Brad Nails
- 1 1/4" Brad Nails
- Wood Glue
Instructions
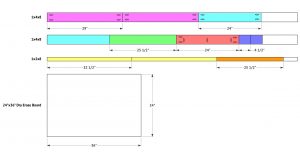
Cut List
- Cut List
Frame
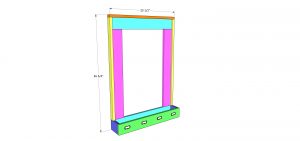
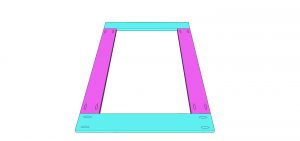
- Cut the frame boards to size and drill 3/4" pocket holes at both ends of the vertical boards and both ends of the bottom frame piece. Attach them together with 1 1/4" pocket hole screws and wood glue.
Cup Holder
- Cut the bottom cup holder board to size and drill 3/4" pocket holes along one edge and both ends. Attach it to the bottom of the frame with 3/4" pocket hole screws and wood glue.
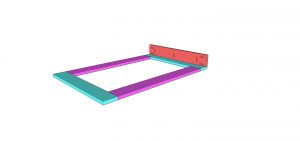
- Cut the side cup holder pieces to size and attach them to the bottom of the frame and the bottom of the cup holder with 1 1/4" pocket hole screws and wood glue. The backof the side pieces should be flush with the back of the dry erase board.
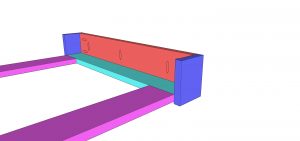
- Cut the front cup holder piece to size and attach it to the side and bottom cup holder pieces with 1 1/4" brad nails and wood glue.
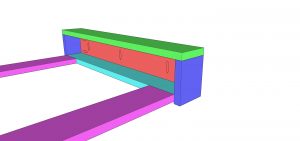
Trim
- Lay the frame over the dry erae board but don't attach it yet.
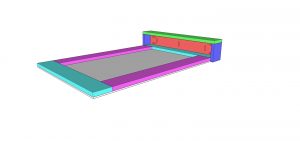
- Cut the side trim pieces to size and attach them to the side of the frame with 1 1/4" brad nails and wood glue. The side trim pieces should be flush with the back of the dry erase board.
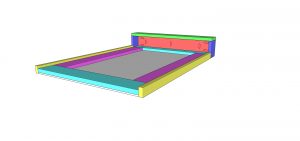
- Cut the top trim piece to size and attach it to the top of the frame with 1 1/4" brad nails and wood glue.
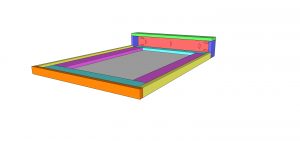
Finish
- Now, add a finish and attach the dry erase board with 5/8" brad nails from the back of the board and into the frame.Have fun with it and make it your own! I added cute label holders for decoration!Make sure to share your builds with us on social media and use #shanty2chic so we can share them too!Happy Building!