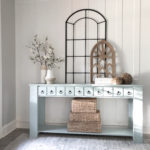
DIY Faux Drawer Console
Learn how to build this super cute console with free plans by Shanty2Chic! You can download and print these plans by clicking HERE!
Ingredients
- 2 2 x 6 x 8 framing lumber
- 2 1 x 8 x 8 pine or whitewood
- 2 1/2' x 6" x 48" poplar or pine craft board
- 2 laminate pine project panels check plans for size needed
Instructions
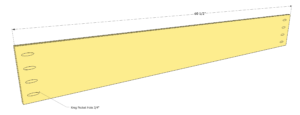
- Add 3/4” pocket holes to each end of the back of both longer apron pieces.
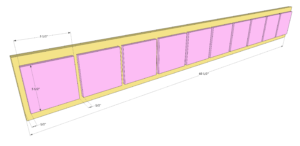
- Now, add your faux drawer faces. These are made from 1/2” x 6” craft boards. I used poplar because it is so smooth. Cut each piece to 5.5” to create squares. Then, evenly space them along the front of one of your longer aprons and attach them using wood glue and 1” brad or pin nails.
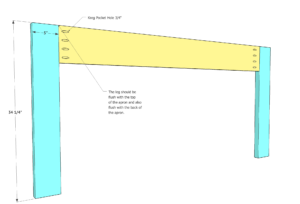
- Attach both aprons to the legs. You want the back of the apron to be flush with the back of each leg and also flush with the top of each leg. Attach each leg using wood glue and 1.5” pocket hole screws through the pocket holes in the aprons and into each leg.
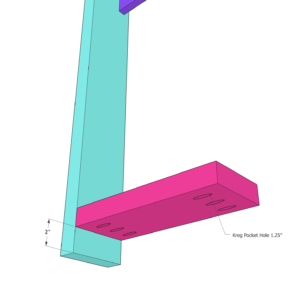
- Attach both shelf supports to the base of one leg assembly. These are also 2x6 boards that have been ripped to 5”. Attach them 2” from the base of both legs using wood glue and 2.5” pocket hole screws through 1.5” pocket holes.
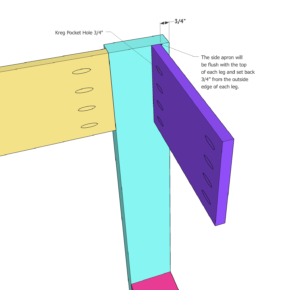
- Attach both shorter aprons to the end and top of this leg assembly as well. They will be flush with the top of the legs and set in 3/4” from the outside edge of both legs. Attach them using wood glue and 1.25” pocket hole screws through 3/4” pocket holes.
- Now attach both leg assemblies together. Attach them through the pocket holes on the shelf supports and through the top aprons. Don’t forget to use wood glue between all joints.
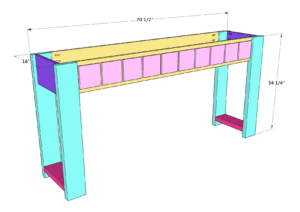
- Now add the bottom shelf. This is a 3/4” thick laminated pine project panel. I purchased one that was 16” x 72” and used my table saw to cut it to size. Attach it to the shelf supports using wood glue and 1.25” brad nails through the shelf and into each support.
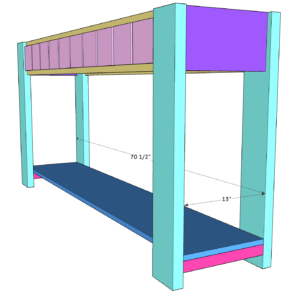
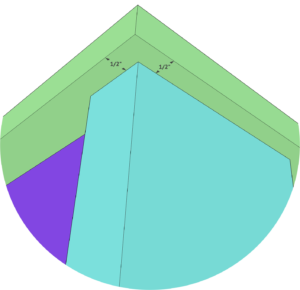
- The final step is attaching the top of the console table. Attach it to the base of the table using wood glue and 1.25” brad nails through the top and into the base.
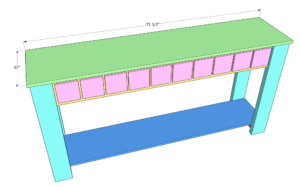
- Note the spacing on this step.