DIY Floating Shelves
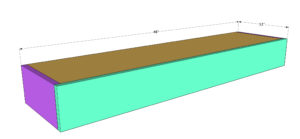
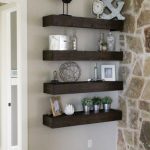
Build these easy DIY Floating Shelves with free printable plans and how-to tutorial by Shanty2Chic. Make sure to click the link below to print the full version of the plans, including the supply list!https://www.shanty-2-chic.com/wp-content/uploads/2014/06/DIY-Floating-Shelves.pdf
Ingredients
- 1 2x4x8 Framing Lumber
- 1 1x6x8 Pine Or Common Boards
- 1 3/4"x24"x48" Hardwood Plywood (Birch)
- 1 1/4"x24"x48" Hardwood Plywood (Birch)
- 1 1/2" Pocket Hole Screws
- 1 1/4" Brad Nails
- 3 1/2" Wood Screws
- Wood Glue
Tools
- Drill
- Miter Saw
- Kreg Jig
Instructions
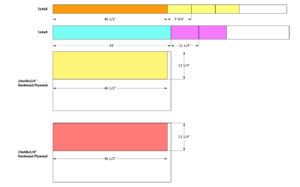
- Cut ListNote: This cut list is for one floating shelf. If you build more than one shelf, adjust the cut list.
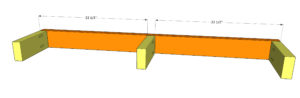
- Cut the cleat pieces to size. Drill 1 1/2" pocket holes into one end of each support piece. Attach the support pieces to the long cleat piece with 2 1/2" pocket hole screws and wood glue. Locate the studs behind the wall you are hanging the shelf on and attach the cleat to the wall with 3 1/2" wood screws.
- Cut the top plywood piece to size and attach it to the cleat with wood glue and 1 1/4" brad nails.
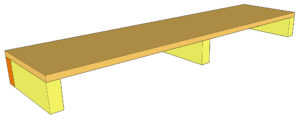
- Cut the bottom piece of plywood to size and attach it to the bottom of the cleat with 1 1/4" brad nails and wood glue.
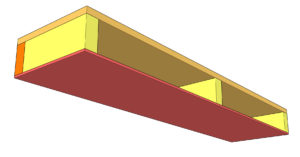
- Cut the side pieces to size and attach them to the side of the cleat with 1 1/4" brad nails and wood glue.
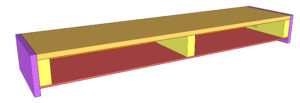
- Cut the front piece to size and attach it to the front of the cleat with 1 1/4" brad nails and wood glue.
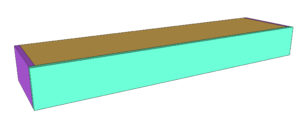
- Now, just adda a finish and you're done! Make sure to share your builds with us on social media and use #shanty2chic so we can share them too! Happy Building!