Build these easy DIY Floating shelves with FREE Printable plans and how-to tutorial by Shanty2Chic. These are inexpensive and add character to your home!
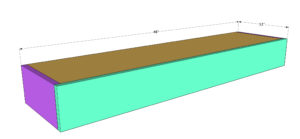
I built the eight floating shelves you see there for only $120!!! Each shelf is 4 ft. long and 12 in. deep! How amazing is that 🙂
I was inspired by the DIY Floating Shelves that Whit built in her bathroom! If you missed them you can see them HERE 🙂 I basically followed the same installation instructions and only made a few modifications to the size!

Check out our How to Build a Floating Shelf Video HERE!
Here’s how I built mine!
Table of Contents
How to Build DIY Floating Shelves
Supplies:
- 1 2x4x8 Framing Lumber
- 1 1x6x8 Pine Boards Or Common Boards
- 1 3/4″x24″x48″ Hardwood Plywood (Birch)
- 1 1/4″x24″x48″ Hardwood Plywood (Birch)
- 1 1/2″ Pocket Hole Screws
- 1 1/4″ Brad Nails
- 3 1/2″ Wood Screws
- Wood Glue
- Wood Finish – paint or stain
- Wood Filler
Tools:
- Drill
- Miter Saw
- Kreg Jig
Step 1: Cutting the Lumber
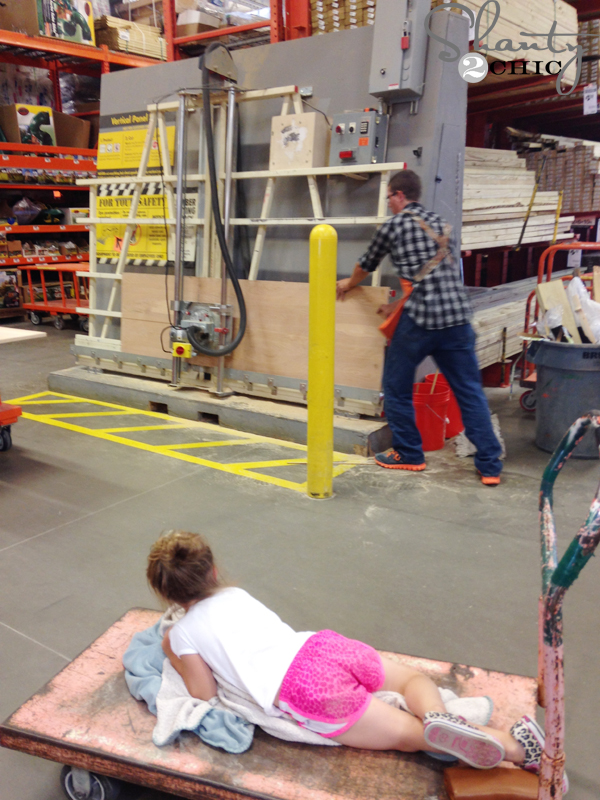
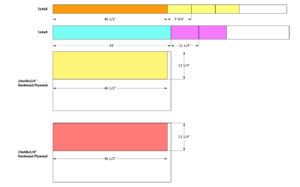
To avoid using my table saw, I had the nice man at the hardware store rip 1 sheet of 3/4″ Purebond Plywood (in Birch) into 4 – 11 1/4″ boards and 1 sheet of 1/4″ Purebond Plywood the same. So you will basically have 4 – 8ft. 3/4″ boards and 4 – 1/4″ boards the same length. (My daughter’s home away from home 🙂 ) You can also use a circular saw to rip your boards.
I also purchased 6 – 2x4x8 and 6 – 1x6x8.

I came home and got to work! I cut 1 – 2×4 @ 46.5″ and 2 – 2×4 pieces at 9.75″, for each shelf.
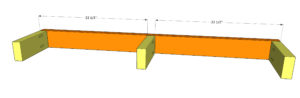
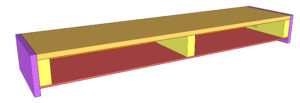
Step 2: Building the Frame

I built the “E” brackets the same way Whitney did by drilling pocket holes into the short 2×4 pieces with my Kreg pocket hole jig.
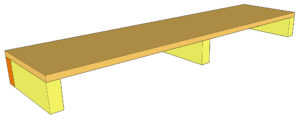
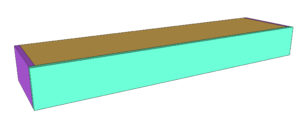
Step 3: Building the Wall Shelf
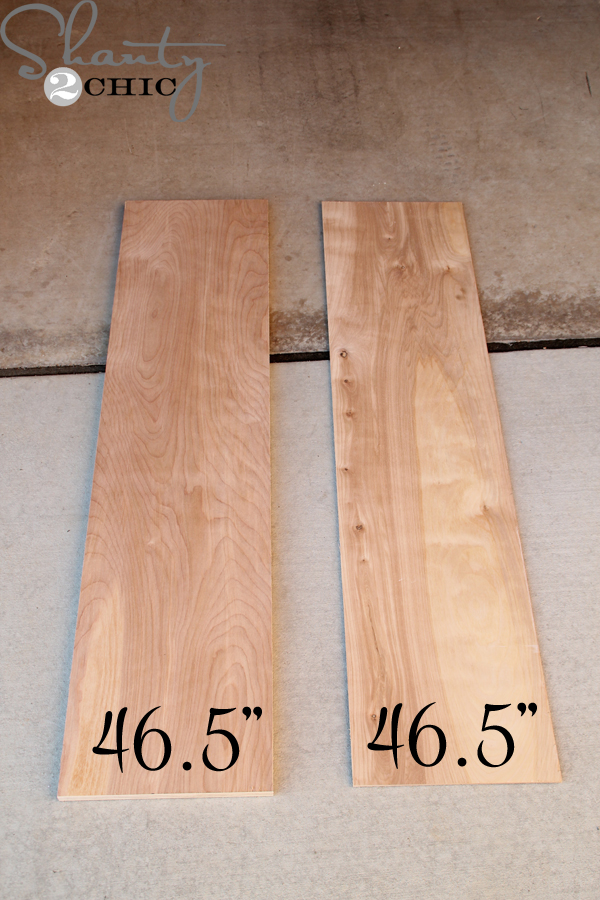
Then, I cut the 3/4″ plywood pieces and the 1/4″ plywood pieces at 46.5″ (totaling 8 boards per size). These will be the top and bottom pieces of wood on the shelves.
I also cut 16 – 1×6 pieces @11 1/4″ and 8 – 1×6 pieces @48″ but I missed getting pictures of that! (these will be the sides and fronts of the shelves)
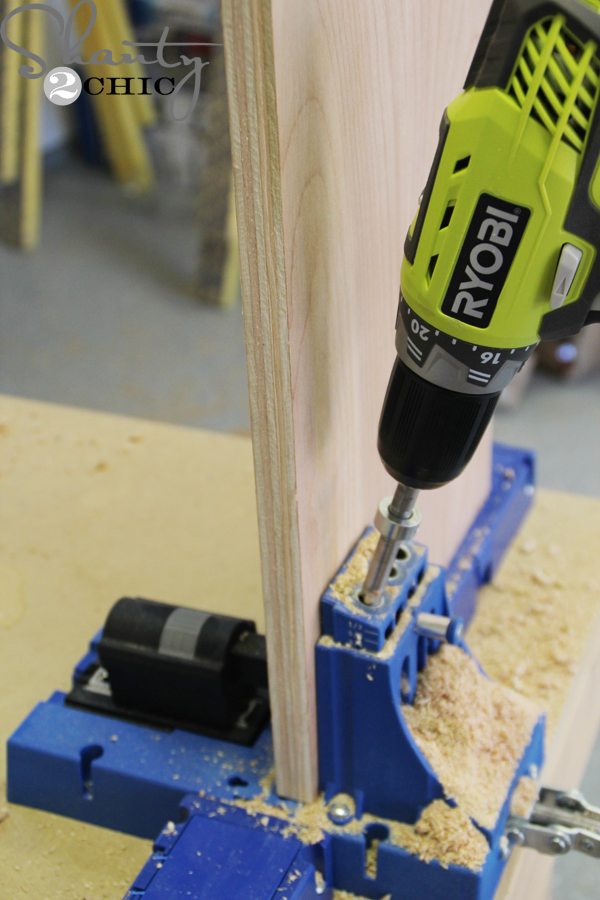
I used my Kreg Jig to drill pocket holes into each end of the 3/4″ plywood boards and attached them to the 1×6 pieces to form the top piece and sides of the shelves. (again missed pics of that – I blame summer 😉
Step 4: Attaching the Floating Shelf to the Wall
Time to bring them inside to install!
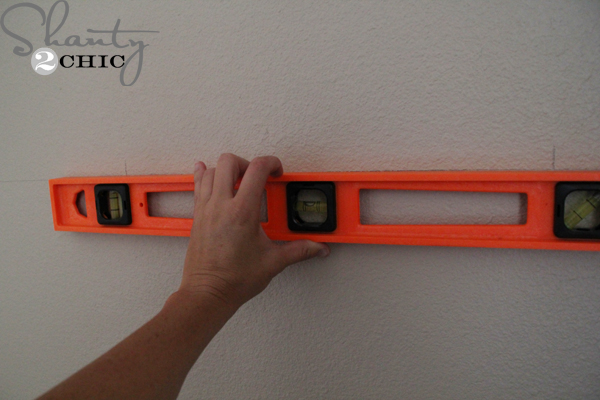
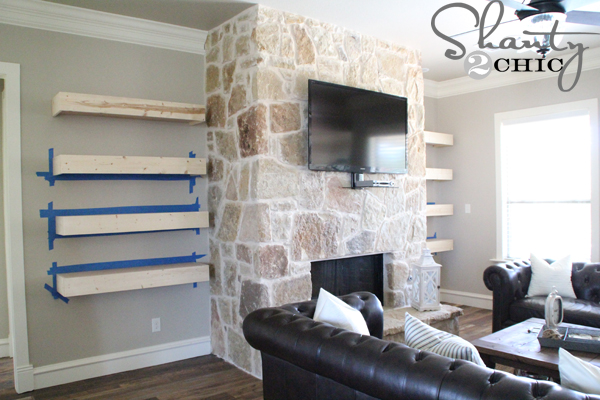
After deciding where I wanted my shelves (I decided to give 13″ between each shelf) I used my level to draw a 4 ft. line where I wanted each shelf to sit.
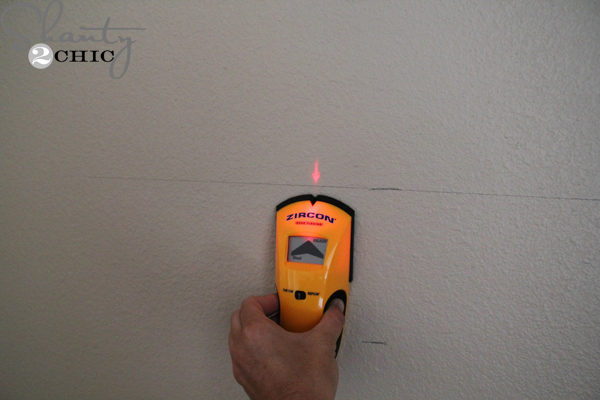
Next, I used my stud finder to mark where the studs were. Attaching the “E” brackets to the studs behind the wall will avoid the need for wall anchors and allows them to hold more weight.
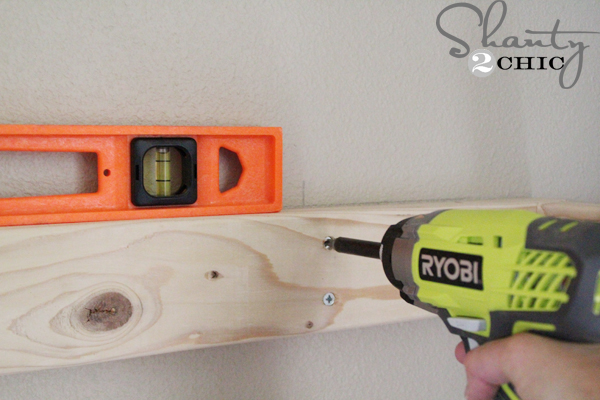
To attach the “E’s” to the wall, I used 3 1/2″ spax screws and drilled them into the “E” and then into a stud with my Impact Driver. I did 2 screws per stud.
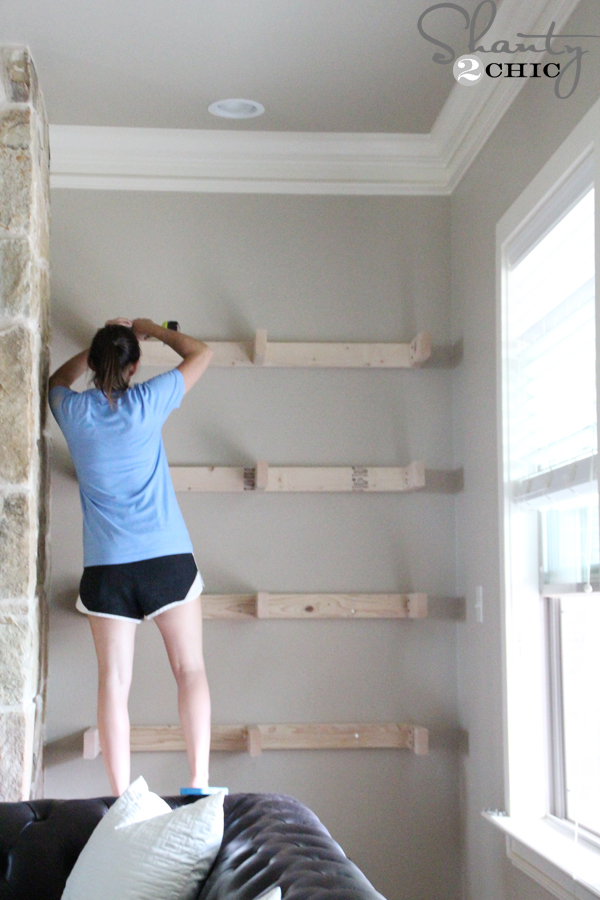
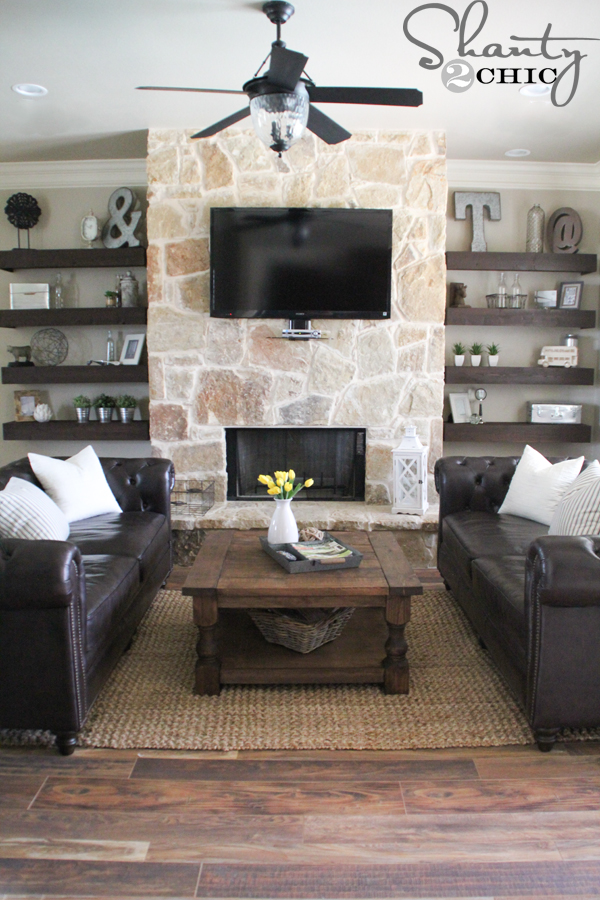
I installed 4 on one side of the fireplace and 4 on the other 🙂
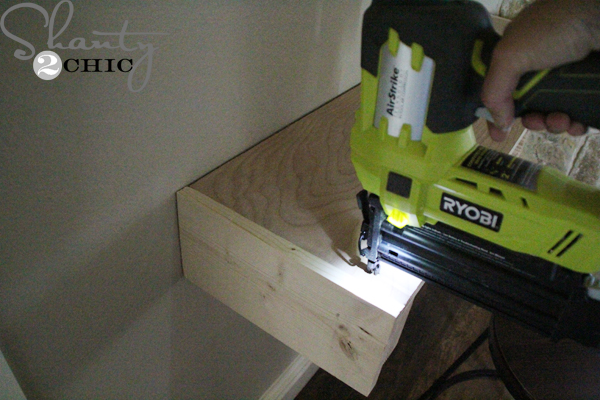
Once the “E” brackets were installed, I dropped the assembled shelves on top of each one and attached them with my brad nailer and 2″ nails.
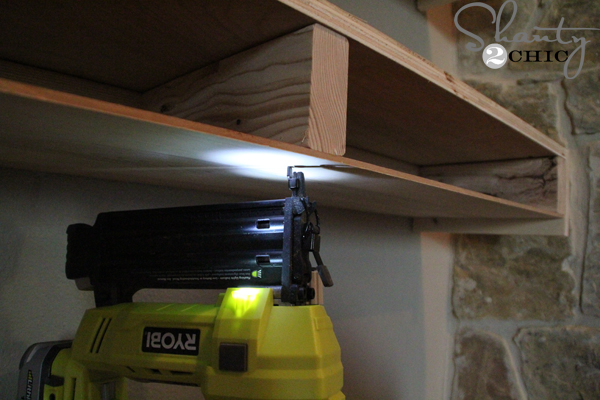
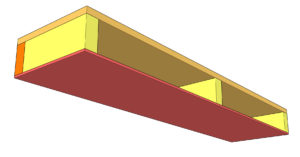
Then, I followed-up with the 1/4″ sheets underneath.
I attached the 48″ 1×6 pieces to the front with my nailer as well (and surprisingly didn’t get pics of that part either)!
Step 5: Adding a Finish
I taped them off with painter’s tape before staining, sanded them all over with a 120-grit sandpaper and filled any exposed holes with wood filler.

I wiped on one-coat of Carrington stain, let it sit for 5-minutes and then wiped it with a clean cloth. Once the wood stain was completely dry, I added one coat of polyurethane with a paint brush.
- You can find Rust-oleum stain HERE on Amazon.
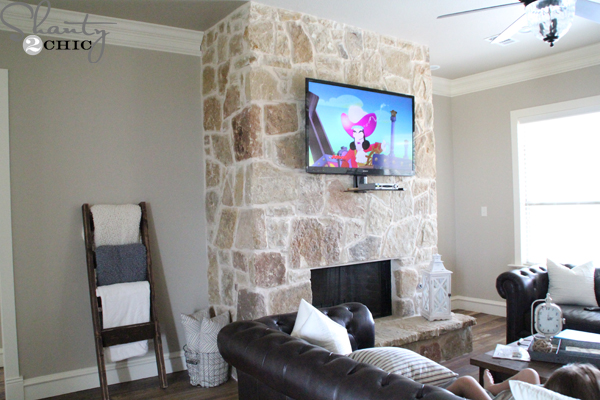
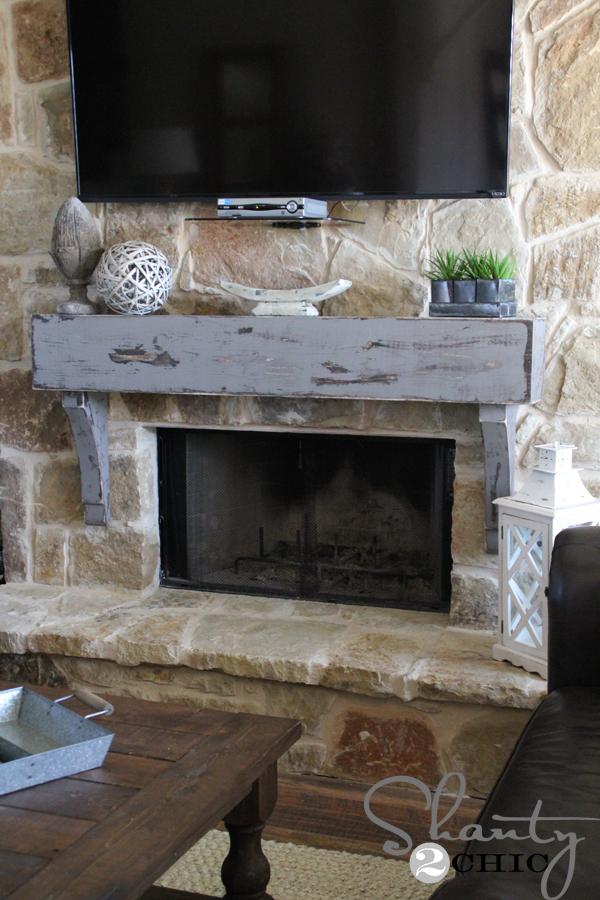
Here is my before…. I’ve been starring at this space since we moved into our new home 4 months ago and finally decided how to fill the space.
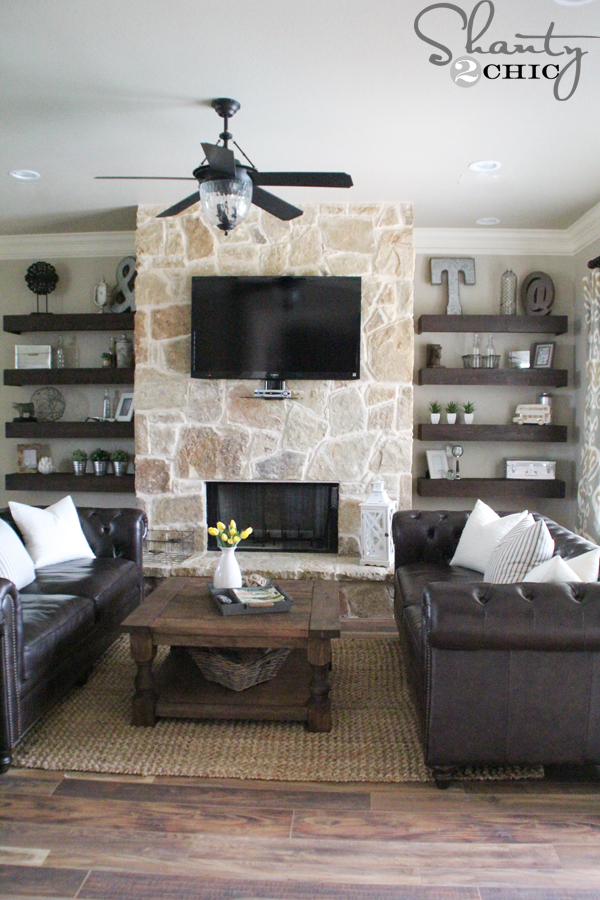
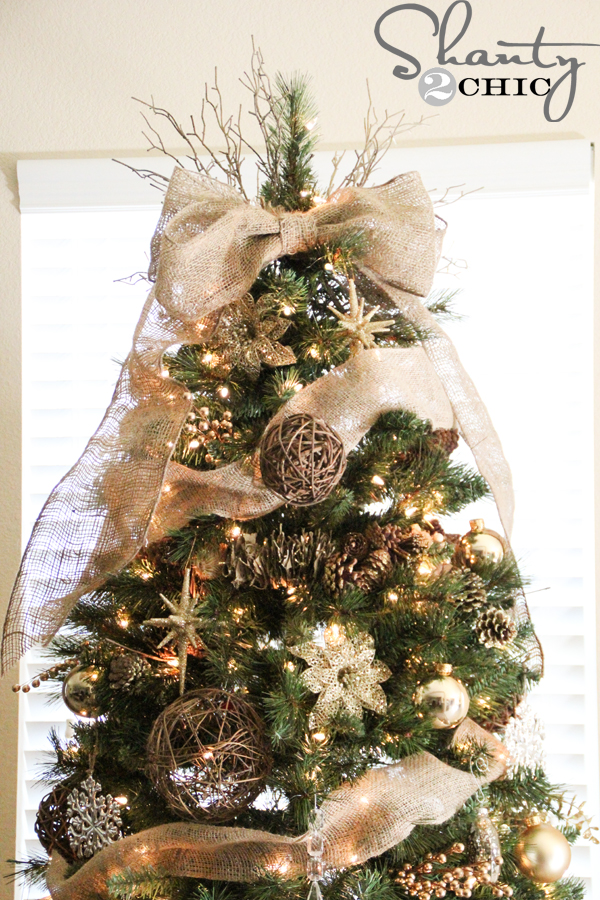
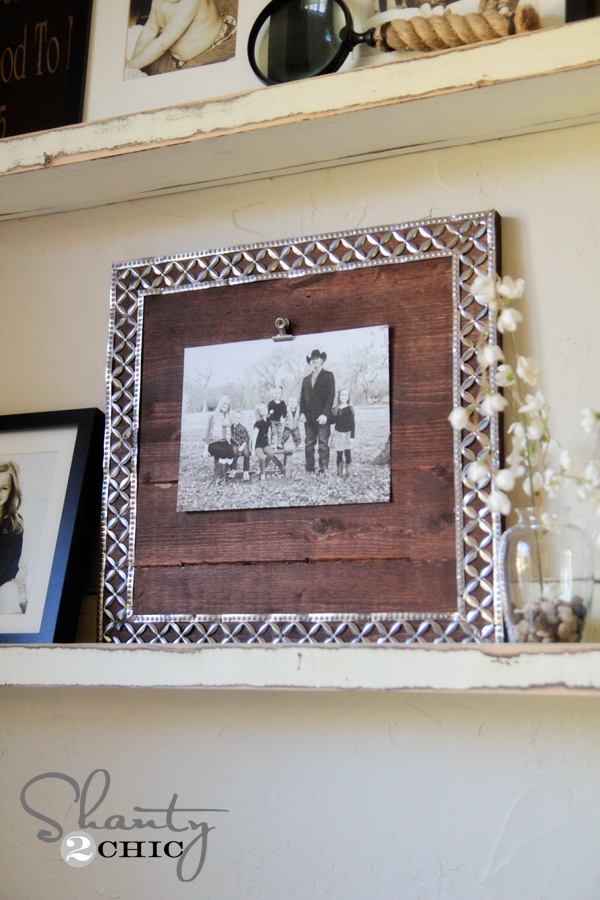
I built all of this shelving for about $120!!! That gave me lots of dough to spend on decor 😉
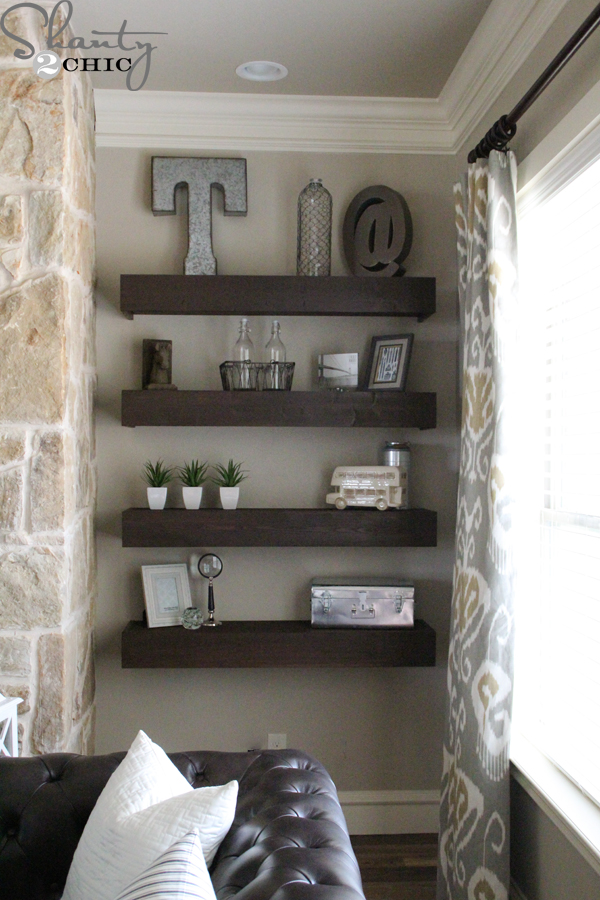
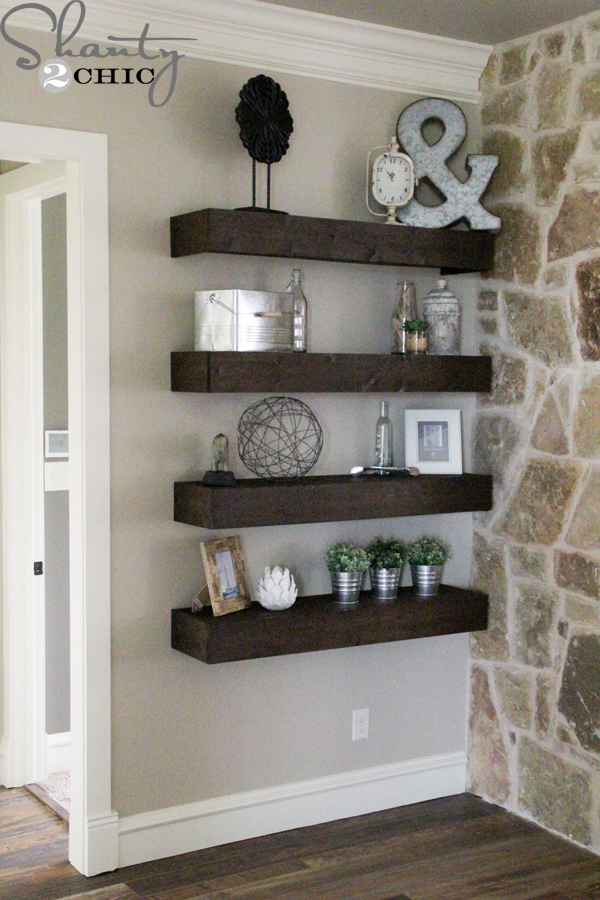
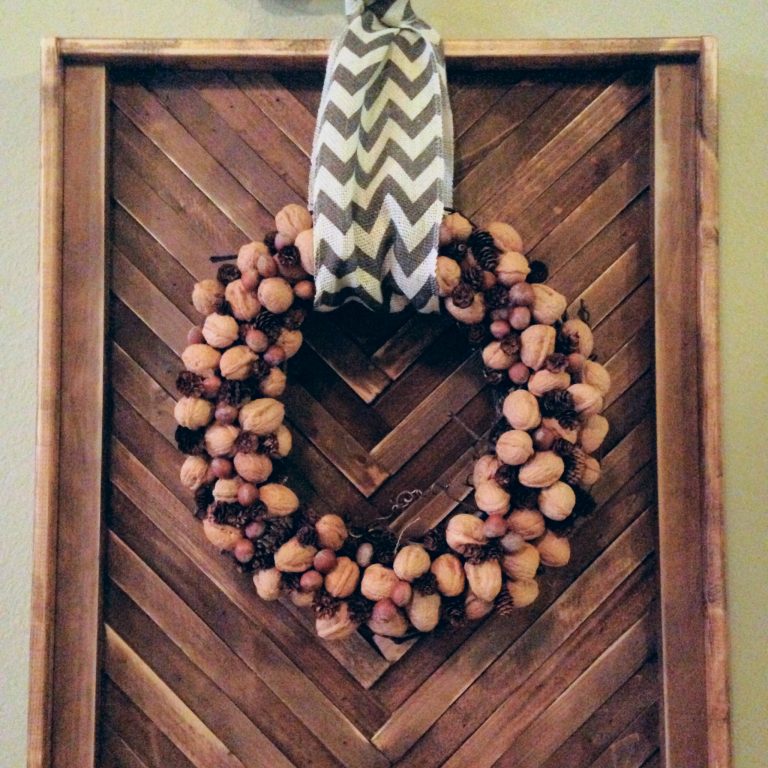
I bought the majority of the accessories from Homegoods and Marshall’s, and a few pieces from Hobby Lobby! Seriously LOVE my new space and $120 for 8 – 4ft. shelves is a lot of bang for my buck 🙂
Thanks so much for stopping by!
~Ashley
Info on other things in this room 🙂
I did build the coffee table and you can find it HERE!
You can find out about the fan HERE
and the info on the flooring is HERE
You can find the rug HERE
DIY Floating Shelves
Supplies
- 1 2x4x8 Framing Lumber
- 1 1x6x8 Pine Or Common Boards
- 1 3/4″x24″x48″ Hardwood Plywood (Birch)
- 1 1/4″x24″x48″ Hardwood Plywood (Birch)
- 1 1/2″ Pocket Hole Screws
- 1 1/4″ Brad Nails
- 3 1/2″ Wood Screws
- Wood Glue
Tools
- Drill
- Miter Saw
- Kreg Jig
Instructions
- Cut ListNote: This cut list is for one floating shelf. If you build more than one shelf, adjust the cut list.

- Cut the cleat pieces to size. Drill 1 1/2″ pocket holes into one end of each support piece. Attach the support pieces to the long cleat piece with 2 1/2″ pocket hole screws and wood glue. Locate the studs behind the wall you are hanging the shelf on and attach the cleat to the wall with 3 1/2″ wood screws.

- Cut the top plywood piece to size and attach it to the cleat with wood glue and 1 1/4″ brad nails.

- Cut the bottom piece of plywood to size and attach it to the bottom of the cleat with 1 1/4″ brad nails and wood glue.

- Cut the side pieces to size and attach them to the side of the cleat with 1 1/4″ brad nails and wood glue.

- Cut the front piece to size and attach it to the front of the cleat with 1 1/4″ brad nails and wood glue.

- Now, just adda a finish and you’re done! Make sure to share your builds with us on social media and use #shanty2chic so we can share them too! Happy Building!


When you say you spaced your shelves 13″ apart. Is that the space between the bottom of one shelf to the top of the next or top to top?
I’m sorry, I wasn’t clear on that. I measured from the top of one to the bottom of the one above it.
Thank you! Your response was quick! My husband and I are mimicking this look in our house and it seems like a big space in between the shelves in person, but looks just right in your picture!
Is this sturdy enough to hold books? They look great!
Thanks Jennifer! Yes! I actually sat on the bottom one :))
How many inches from the floor did you start your bottom shelf?
Would these be strong enough to do as Kitchen floating shelves?
Those look great, better than the ones my contractor honey made for me. In his defense I can actually stand on mine. Good job.
I love these shelves… I was wondering how much weight do you think they can handle?.. . I have lots of books
I would NOT advise using floating shelves for more than a few books.
Thanks Karl. If you built them and secure them correctly they can hold an large amount of weight. I actually sat on one of them and it didn’t budge.
I also love you paint color… what is it? And they shelves are awesome too!
Thank you! Fairmont penthouse stone by Valspar:)
What color paint is on your walls?
Fairmont penthouse stone by Valspar 🙂
Can you tell me where you bought your curtains? They are beautiful and so is the rest of the room!
Thank you Taylor! There is a link to the curtains in the post:)
I do not see a link in the post for the curtains. Can you tell me where you bought the curtains or what fabric that is ? Thanks !
Nevermind, I found them 🙂
I guess I am an idiot because I don’t see the link for the cutains ?!?
On this page under projects, then click window treatments, then it should be the first one you come to called – DIY lined window panels.
Love the Shelves, cant wait to do mine, and coffee table!! Where did you get the Metal letter and & ?I love them!
Thank you!!! Got those at Hobby Lobby for $14.99! They run them 1/2 off all the time so get them on sale 🙂
Oh my gosh – your shelves came out great! Thanks for sharing how you did it – now I need to find a place for floating shelves!
Thank you Lisa 🙂
I love these shelves!! It is such a nice change from the usual built in bookshelves that you find flanking fireplaces. Plus, I’m a huge fan of the Carrington color.
Love Carrington, Felicia! Thank you so much! Our plans called for built-ins but I knew I would want to change the look pretty often:) love the character these shelves give!
great job on the shelves! I need to make some ….. and the coffee table is awesome!
Thank you 🙂
Amazing Job Ashley!!
I had a question how did you mount the TV on stone? I have a fire place made from brick.
Thanks for your time. Keep inspiring so many of us.
Thank you so much!! To hang the TV, we bought a tv mounting kit (walmart maybe) and the kits come with masonry and wall anchors. We used our hammer drill to drill pilot holes then fit the anchors in and tightened them. I am actually building a mantel for our fireplace and will share the tutorial on how I attach it to the stone – soon!
Be sure to really think about your posture while watching a TV mounted so high up. While I admire how lovely the room is above, I can’t help but thinking that everyone watching TV in it has to look up high over their right or left shoulder the entire time. Ideally, if not always practical, the center or lower third of the screen should be even with your eyes when seated in the room.
Amazing Job Ashley!!
I had a question how did you mount the TV on stone? I have a fire place made from brick.
Thanks for your time. Keep inspiring so many of us.