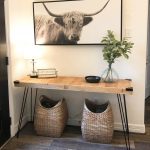
DIY Hairpin Console Table
Click HERE for the free printable plans!
Ingredients
- 3 1 x 4 x 8 pine or whitewood
- 2 1 x 3 x 8 pine or whitewood
- 1 3/4" plywood panel 15" x 59.5"
- wood glue
- 1.25" finish or brad nails
Instructions
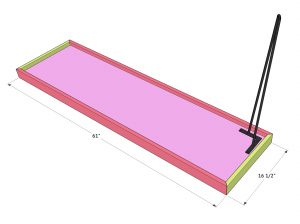
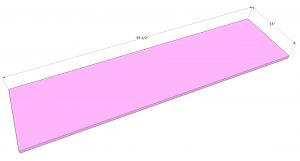
- The base of the table top is created with 3/4” plywood. You can use any plywood for this part because it will be covered completely with trim. Cut the board to size.
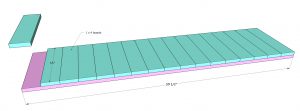
- Now it’s time to attach the planks to the top of the plywood. These are 1x4 boards we cut to 15” long each. After making the cuts, attach each board flush on the plywood using wood glue and 1.25” brad nails.
- Measure and cut for the trim pieces next. These are 1x3 boards. Each corner is cut at a 45˚ angle. Attach each longer trim piece using wood glue and 1.25” brad nails through the trim boards and into the planks and plywood. Make sure the top of the trim boards are flush with the top of the planks.
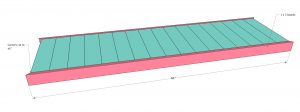
- Now attach the smaller trim pieces. These are also 1x3 boards cut to size. Attach them using wood glue and 1.25” brad nails through the trim and into the planks and plywood.
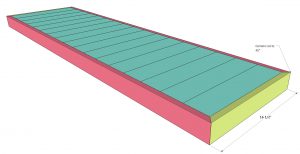
- The final step is attaching your legs and hardware. You want to be sure and paint our stain your table top before putting the hardware on.