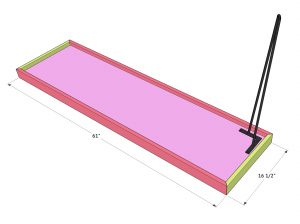
We had so much fun fixing our sister’s new home up for her! One of our favorite projects we built for her is this DIY Hairpin Console Table! It’s simple yet so chic at the same time! The open base allows space for baskets to hide all the things, and it would be perfect in any room. This is a super simple build, that requires minimal boards and tools! Come check out the video tutorial below!
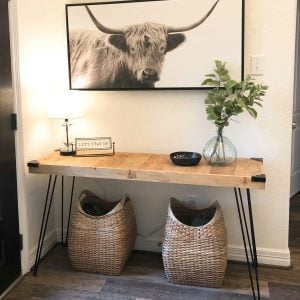
I love how cute this little table turned out in our sister’s new home!

The hardware really makes this piece! We found the legs for a crazy good price on Amazon and you can find them HERE!

The corner pieces are a little pricey, but considering what we built the table for, we didn’t mind the splurge! You can find them on Amazon HERE!
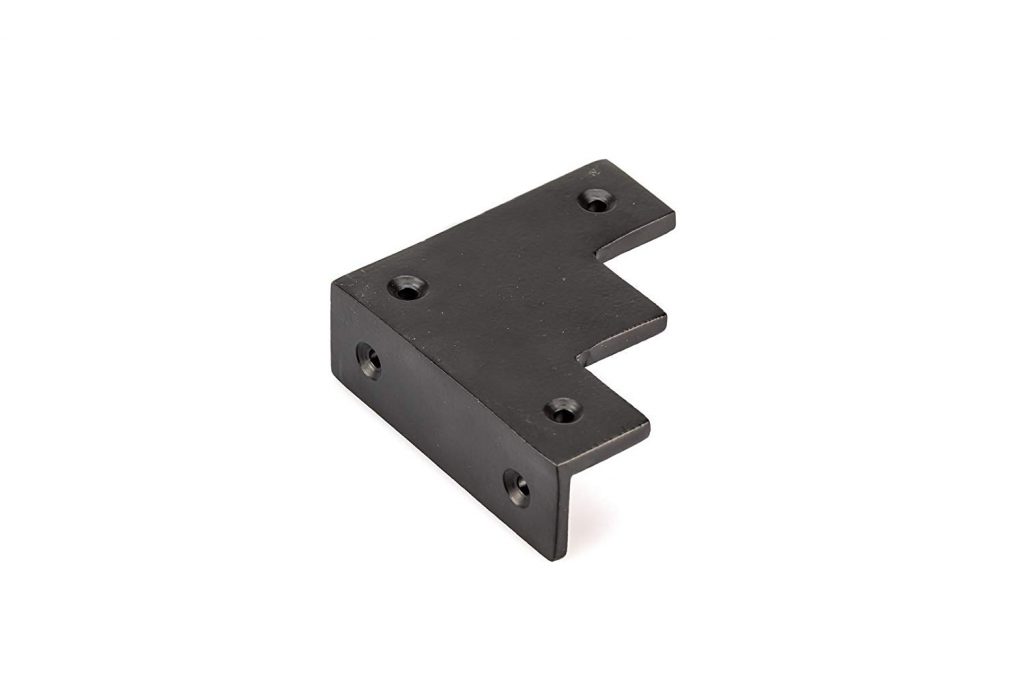
Table of Contents
DIY Hairpin Console Table Step by Steps
Step 1
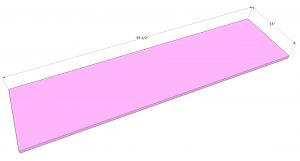
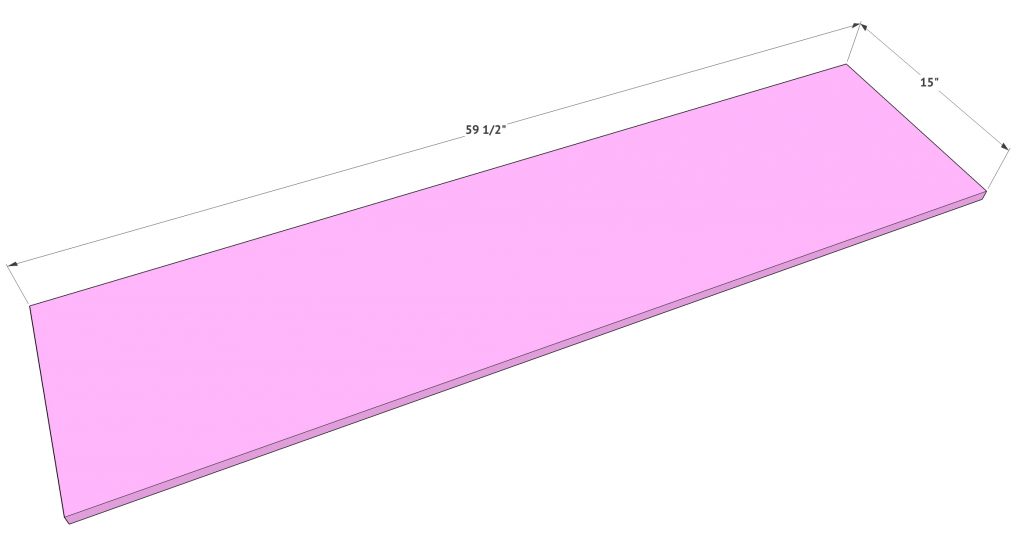
The base of the table top is created with 3/4” plywood. You can use any plywood for this part because it will be covered completely with trim. Cut the board to size.
Step 2
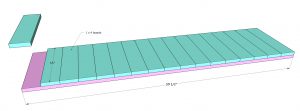
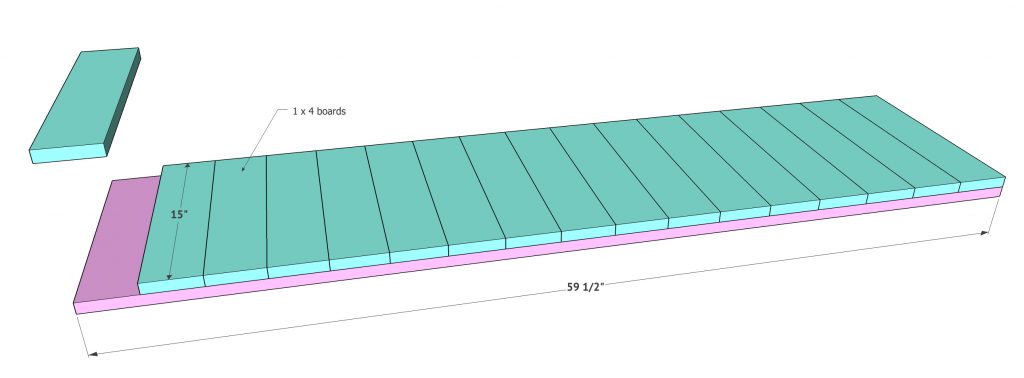
Now it’s time to attach the planks to the top of the plywood. These are 1×4 boards we cut to 15” long each. After making the cuts, attach each board flush on the plywood using wood glue and 1.25” brad nails.
Step 3
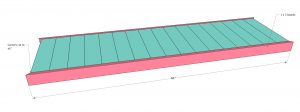
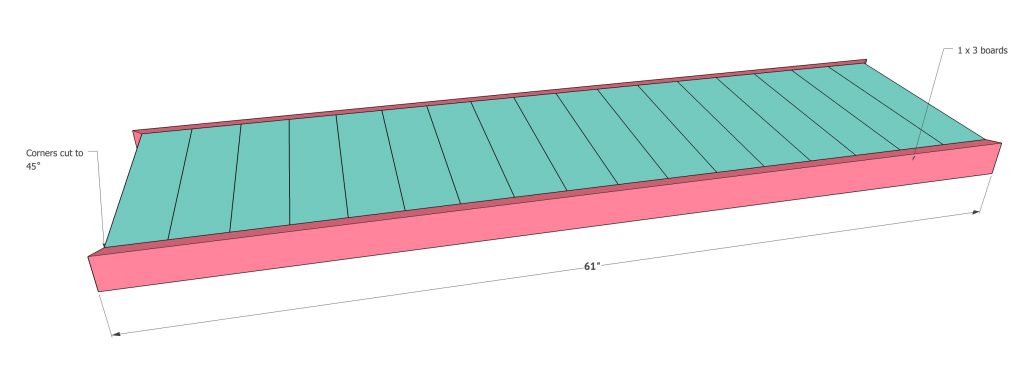
Measure and cut for the trim pieces next. These are 1×3 boards. Each corner is cut at a 45˚ angle. Attach each longer trim piece using wood glue and 1.25” brad nails through the trim boards and into the planks and plywood. Make sure the top of the trim boards are flush with the top of the planks.
Step 4
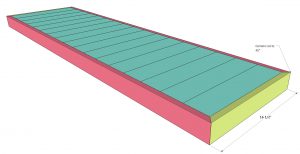
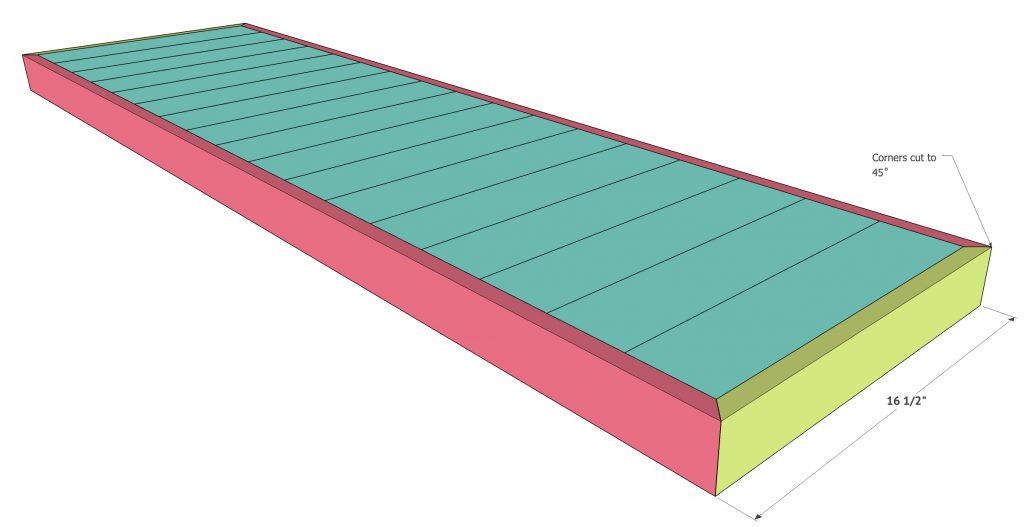
Now attach the smaller trim pieces. These are also 1×3 boards cut to size. Attach them using wood glue and 1.25” brad nails through the trim and into the planks and plywood.
Step 5
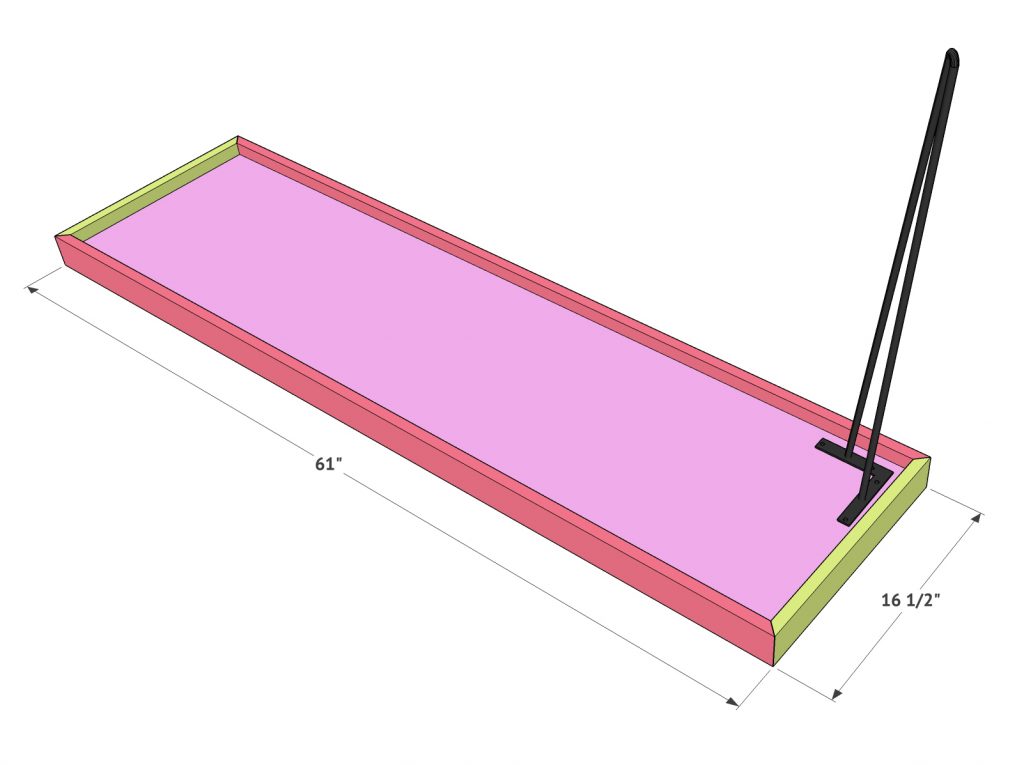
The final step is attaching your legs and hardware. You want to be sure and paint our stain your table top before putting the hardware on.
We found the cute cow print at Target. Unfortunately it’s sold out now but we found a very similar one below!
We found the baskets at Kirkland’s!
Free Plans!
DIY Hairpin Console Table
Supplies
- 3 1 x 4 x 8 pine or whitewood
- 2 1 x 3 x 8 pine or whitewood
- 1 3/4" plywood panel 15" x 59.5"
- wood glue
- 1.25" finish or brad nails
Instructions
- The base of the table top is created with 3/4” plywood. You can use any plywood for this part because it will be covered completely with trim. Cut the board to size.

- Now it’s time to attach the planks to the top of the plywood. These are 1×4 boards we cut to 15” long each. After making the cuts, attach each board flush on the plywood using wood glue and 1.25” brad nails.

- Measure and cut for the trim pieces next. These are 1×3 boards. Each corner is cut at a 45˚ angle. Attach each longer trim piece using wood glue and 1.25” brad nails through the trim boards and into the planks and plywood. Make sure the top of the trim boards are flush with the top of the planks.

- Now attach the smaller trim pieces. These are also 1×3 boards cut to size. Attach them using wood glue and 1.25” brad nails through the trim and into the planks and plywood.

- The final step is attaching your legs and hardware. You want to be sure and paint our stain your table top before putting the hardware on.