Hey there! I am so excited about the project I’m sharing with you all! In part because I’m in love with this piece of furniture but also because it is a nursery gift for my BFF4E 🙂
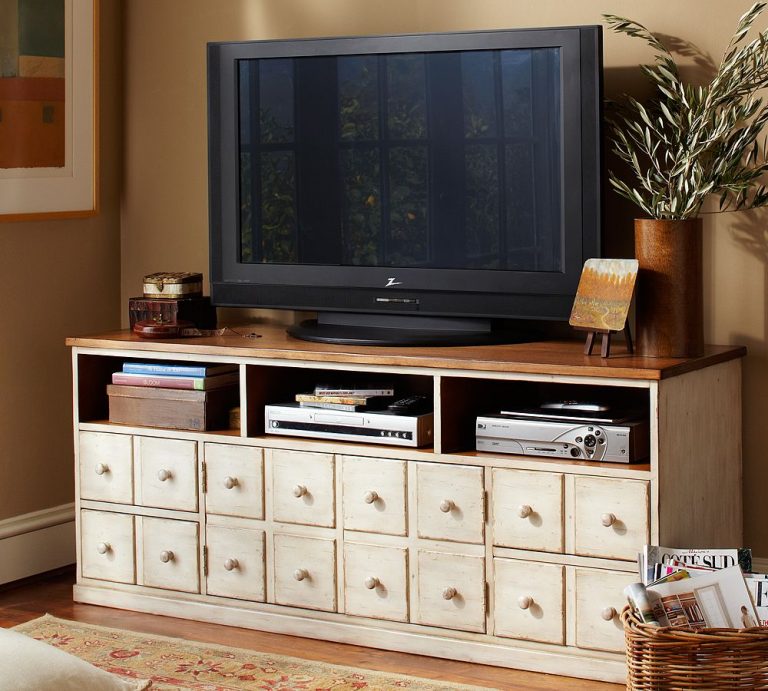
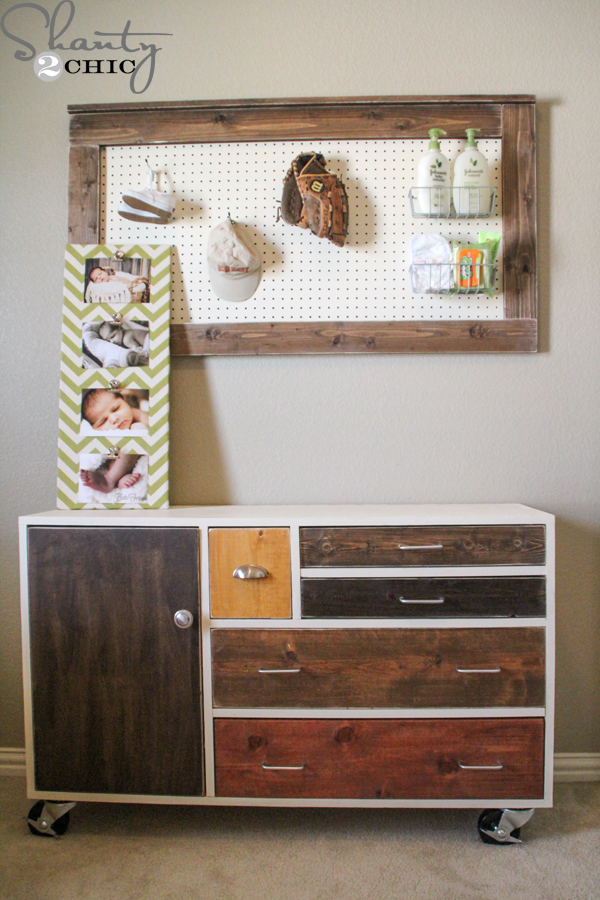 I was inspired by a very pretty dresser that Whit and I found at a popular furniture store! Right when I saw it thought it would be perfect for our friend, Lauri’s new nursery! Of course, at $1,200, it was way out of my budget so I hit our sweet friend Ana up for plans 🙂
I chose to build this piece with Purebond Plywood in Birch. Not only is it BEAUTIFUL, it is formaldehyde-free, keeping the air that I breath (while building) safe and most importantly it makes the air safer in the baby’s nursery! To learn more about our Purebond Pledge you can check this video out!
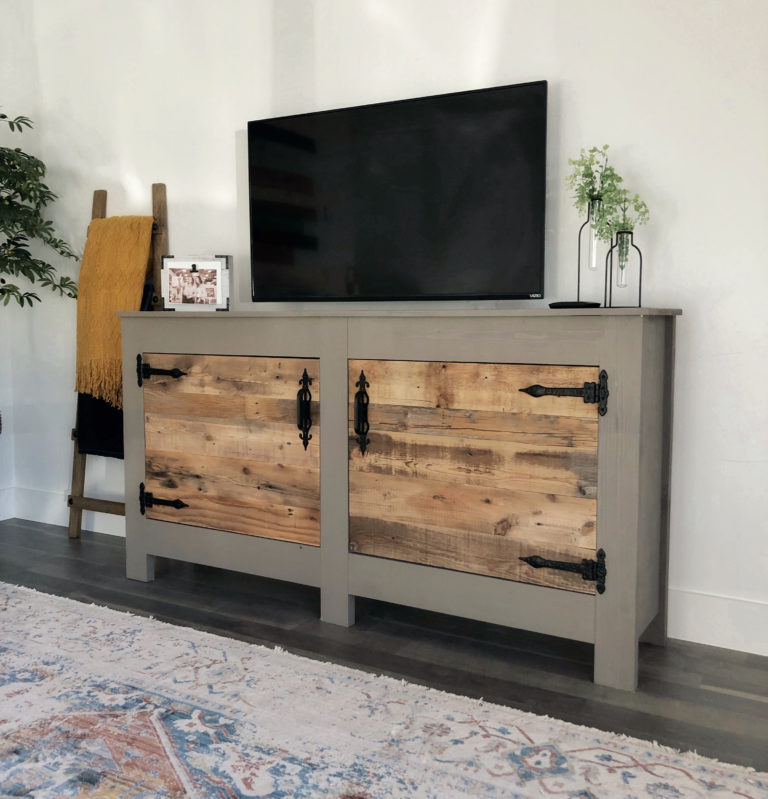
Total cost for this beauty was $250 with $50 of that in the casters!
Here are some of my building pics and tips along the way. Click HERE for Ana’s awesome plans!
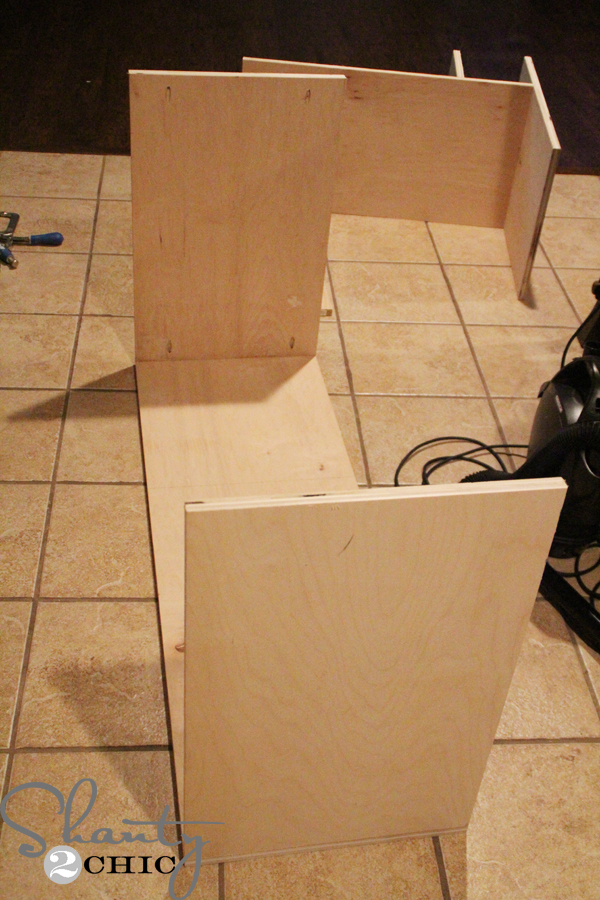 Frame
Frame
 Dividers! I attached all of the boards with my Kreg Jig and my cordless drill!
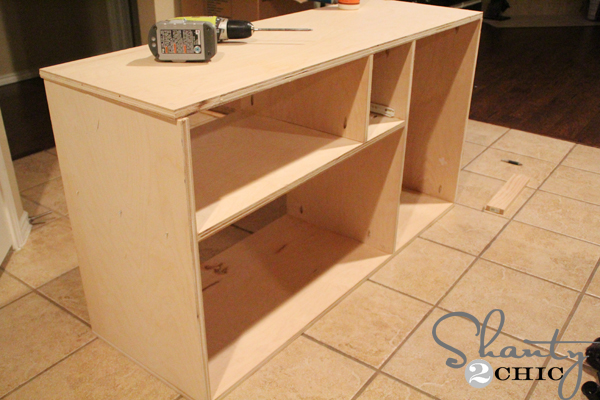 Frame finished 😉
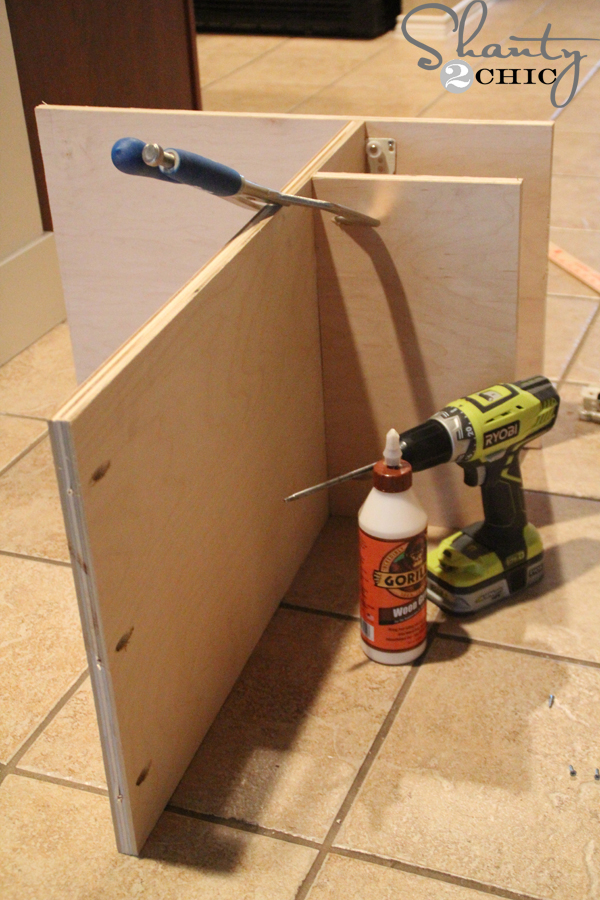
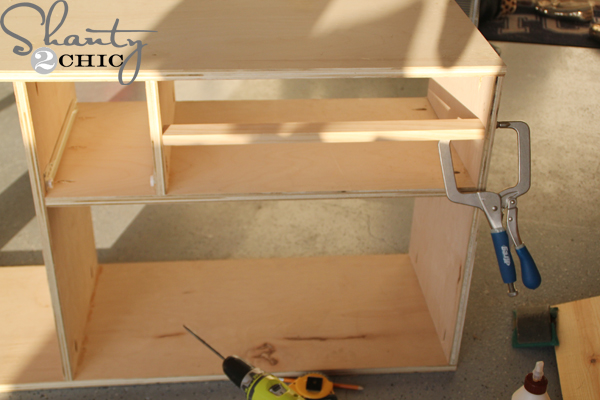 Adding the dividers! Love my Kreg Jig right-angle clamp!
Now for a little tip on drawers slides 🙂
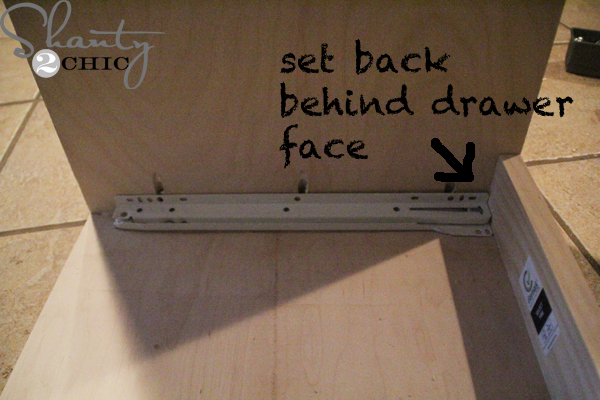 Install the interior slides first. Make sure that you set them back the width of the drawer faced. I set a scrap piece in the drawer face slot to mark where the interior slides should be installed. Just screw them in once you mark them!
 Now, measure from slide to slide to get the width of the drawer.
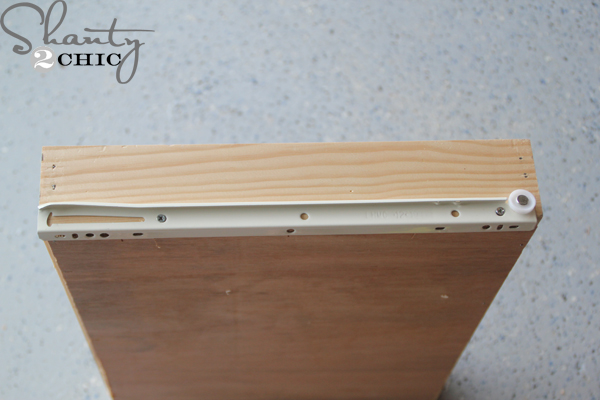 Once the drawer is built, just attach the slide making the side without the wheel flush with the front of the drawer.
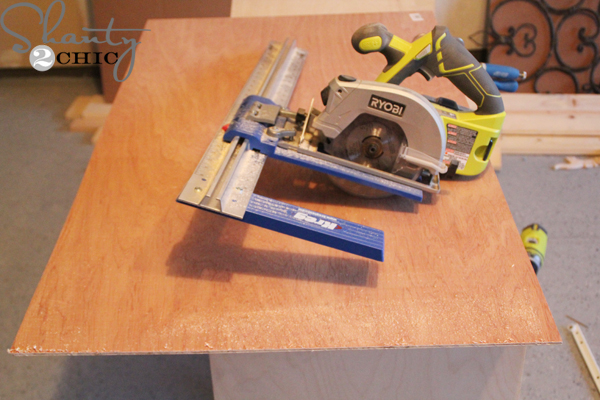 I used my Kreg Jig Rip Cut to cut the back of the dresser. This bad boy is under $40 and it’s a perfect substitute for a table saw! It’s easy to use and doesn’t take up space! I used my cordless circular saw to cut it!
Now time for the finish!
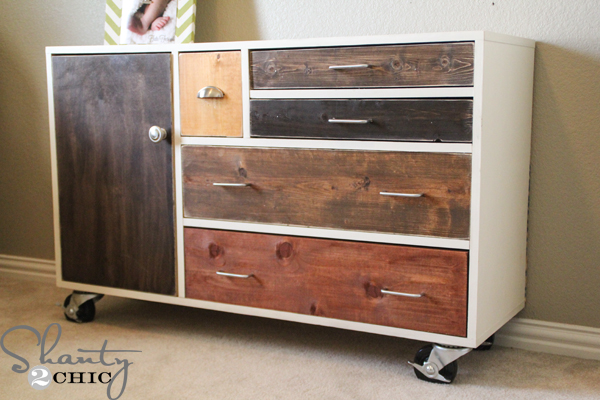
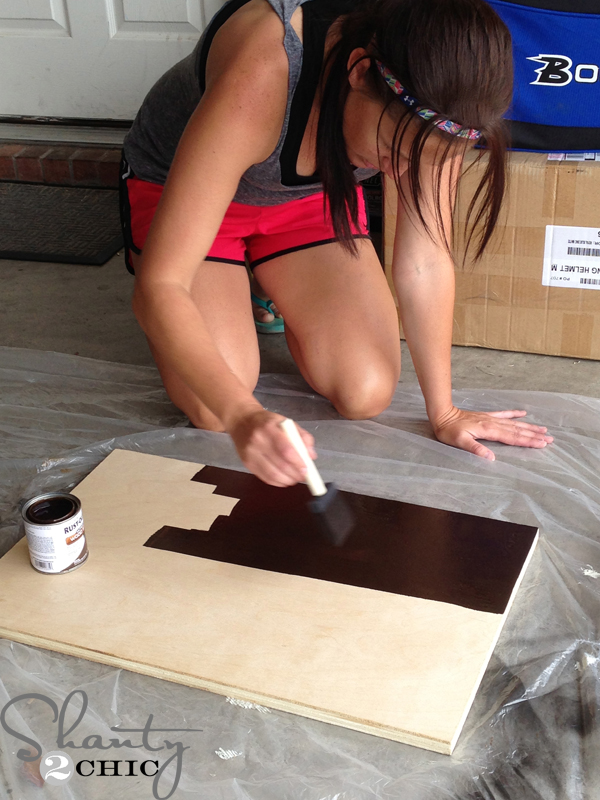 I wanted to mimic the look of the West Elm dresser so I chose some favorite stains to finish the drawer faces!
Here are my stain choices:
Dark Walnut
Kona
Early American
Light Walnut
Summer Oak
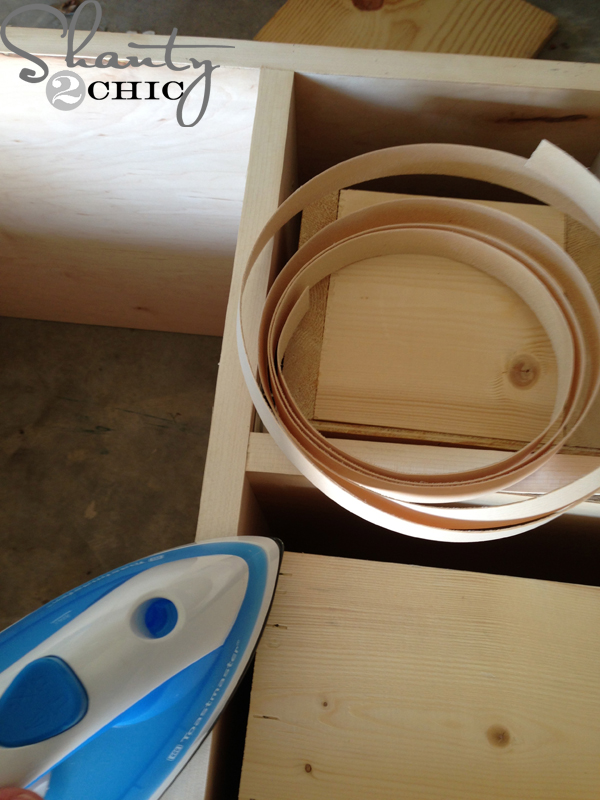 While you wait for the stain to dry, you can Edge Band your edges. This is a super easy technique that will give the Purebond Plywood the look of solid wood. You just iron it on! Check this video out for a detailed Edge Banding Demonstration!
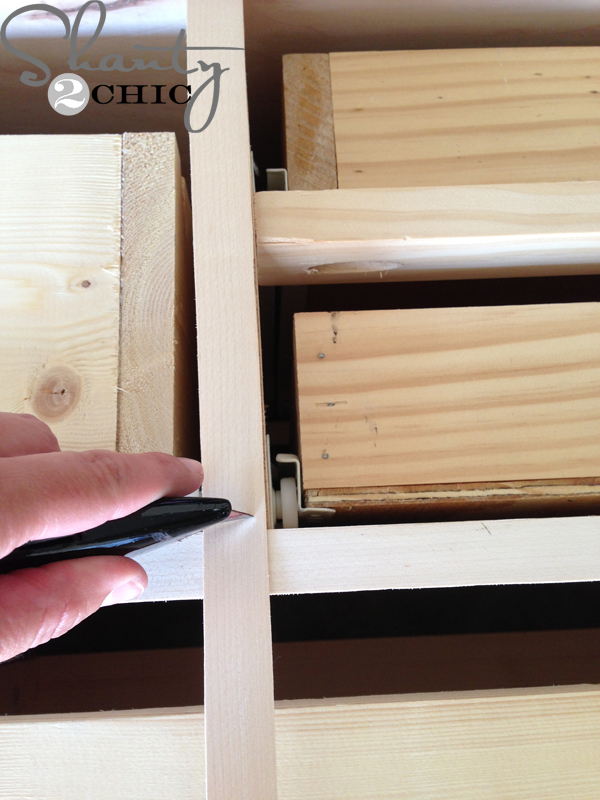 After you iron it on, just score it to get the right fit!
Time to paint the cabinet!
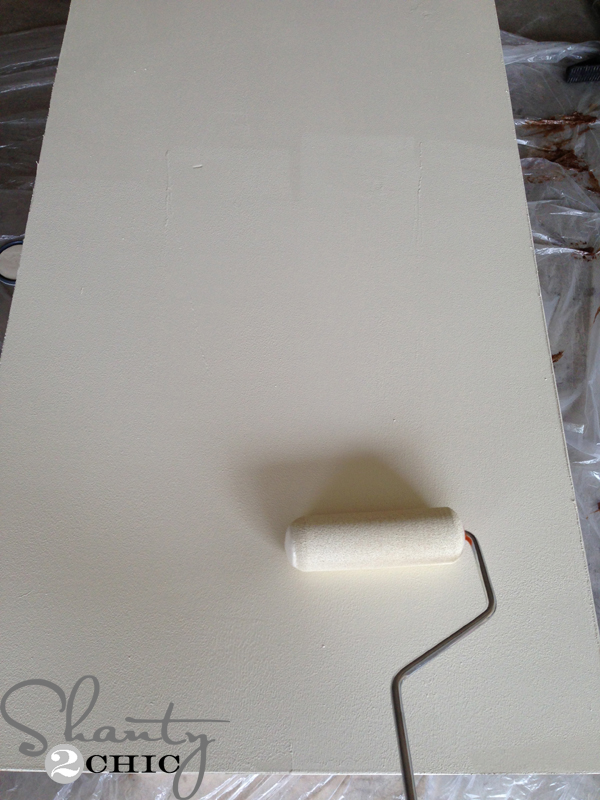
I chose my favorite latex paint to finish the frame of the cabinet, Behr Cozy Cottage in satin!
Scared of hinges???
 They are easy once you break them down. Just install the short side into the main cabinet and make sure to install them back far enough to fit the width of the cabinet door.
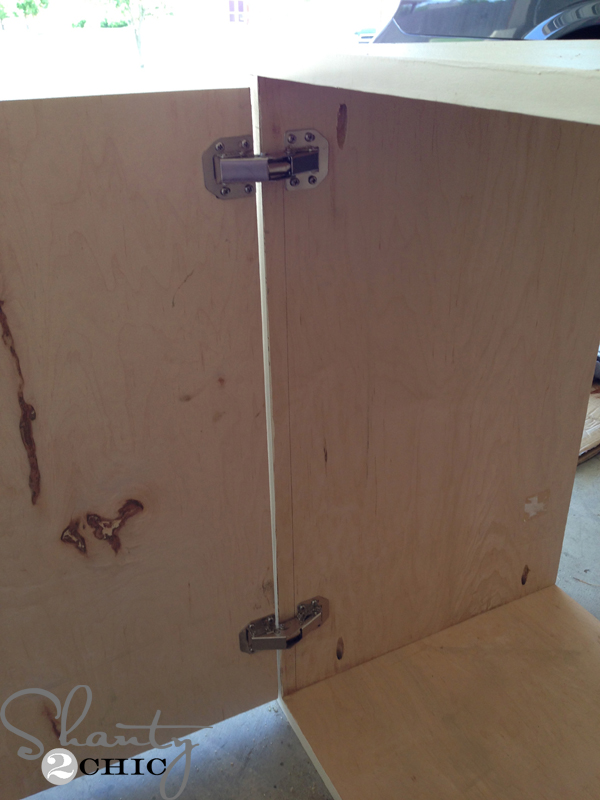 Then, add the door!
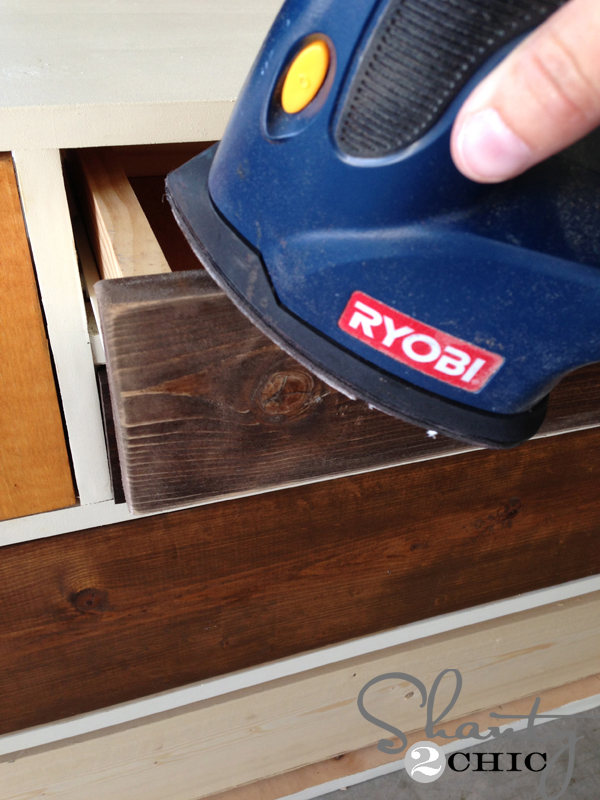 Once the stain is dry, attach the faces with Gorilla Glue Wood Glue and 2 inch nails. I distressed all of the drawers and cabinet door with my Corner Cat!
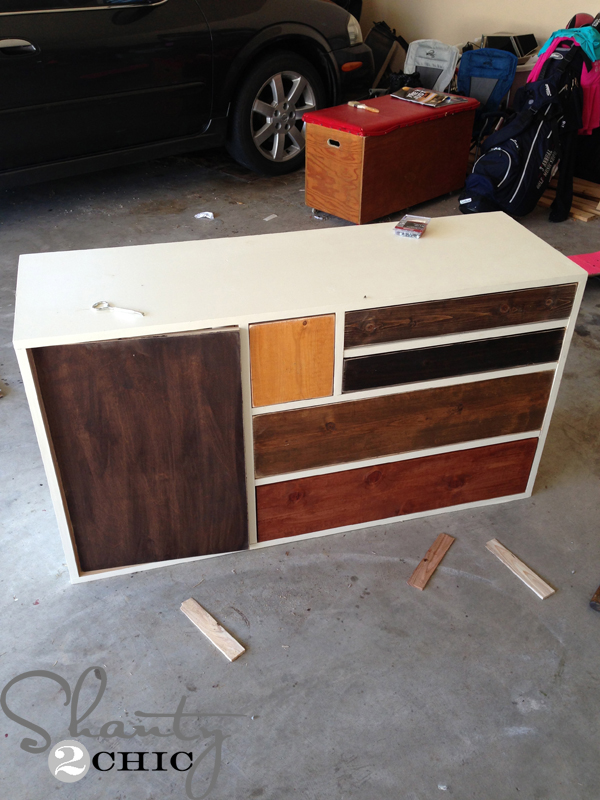 Looking good!!!
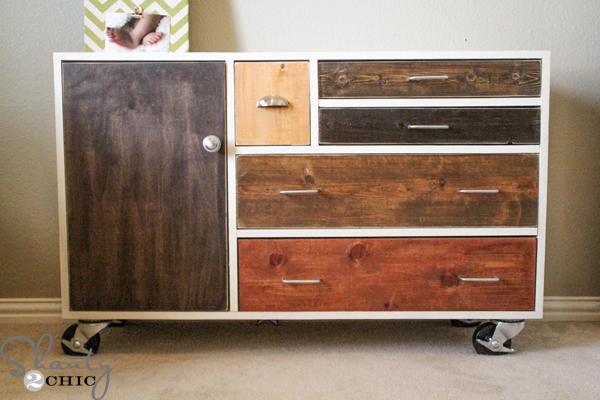
Stain break-down:
Big cabinet door: Dark Walnut
Small Drawer: Summer Oak
Top Drawer: Dark Walnut
Second Drawer: Kona
Third Drawer: Early American
Fourth Drawer: Light Walnut
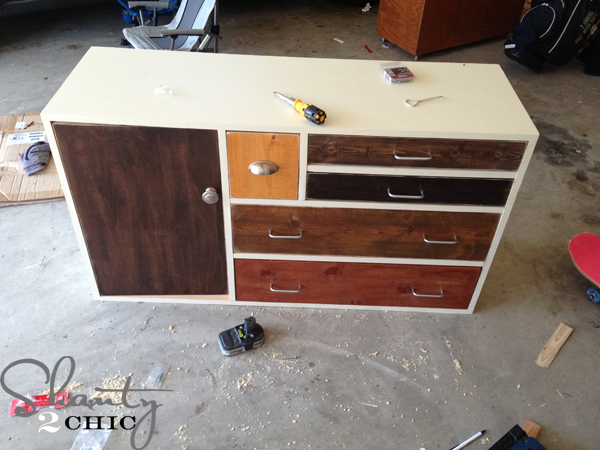 I picked out some cute hinges to finish her off and installed the casters! I chose locking casters because this will be in a nursery 🙂
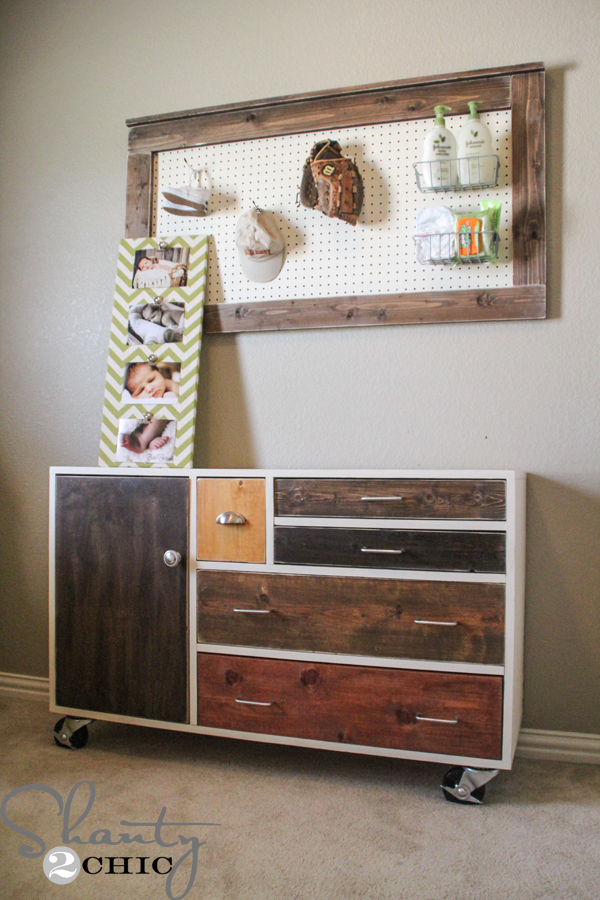 Ahhhh I LOVE!
I am convinced I need one for myself now 😉 Do you love the bulletin board and frame? Check back soon for tutorial on those babies!
If you love this dresser, I would LOVE your pins!
Thanks for stopping by!
~Ashley
Click below to purchase a Kreg Jig Master System!

¡Muy practico! Aplastantes hechos. Manten este nivel es un blog estupendo. Tengo que leer màs blogs como este.
Saludos
✨??✨?✨✨✨✨✨?✨
✨✨✨??✨✨??✨?✨
✨✨✨✨✨??✨✨??✨
__________??__________
❤ I built my own using the plans at www. WoodworkPlans.info – highly recommended you check those out too. They are detailed and super easy to read and understand unlike several others I found online. The amount of plans there is mind-boggling… there’s like 16,000 plans or something like that for tons of different projects. Definitely enough to keep me busy with projects for many more years to come haha❤
www. WoodworkPlans.info ❤
✌✌✌✌✌✌✌✌✌✌✌???
I will be using this as garage cabinets/storage! And my son’s room dresser with a few modifications such as combining the two smaller drawers into one. Not really needed for a dresser, but very useful for tools or a changing table.
Just bea
Wow, nice job on this dresser build! I will pin this one so our fans can check it out.
I’m seriously obsessed with everything on this website. You guys inspire me to start building all my furniture (If I had all those tools). I am working on 4 projects from the site this weekend and just finished the Pottery Barn inspired coffee table!
I love it! Great for Baby’s room..or any room!
This dresser is absolutely stunning! Beautiful job!
It is so cute Ashley!! Love it! Pinned!