Hey guys! I am loving this spring weather we’ve been blessed with in Texas this week! Perfect building weather:) I finished the storage bins for the full sized storage bed I build last week.

I designed my own plans for these. My goal was to achieve the most amount of storage space with the least out of pocket!

I started with two 8ft. sheets of 1/4″ plywood. I had the guys at Home Depot rip each sheet at 10.5″ x 8′. I also purchased two 1 x 12’s. (You can have them cut the rest of the measurements but I just used my miter at home).
Here are my measurements:
1/4″ plywood:
12 – 10.5 “x 10.5” (sides of crates)
12 – 10.5 “x 28” (bottoms, back and front of side storage crates)
6 – 10.5 x 24 (bottoms, back and side of the end of the bed storage crates)
1 x 10’s:
4 @ 29.5″ (face of side storage crates)
2 @ 25.5″ (face of end of the bed storage crates)
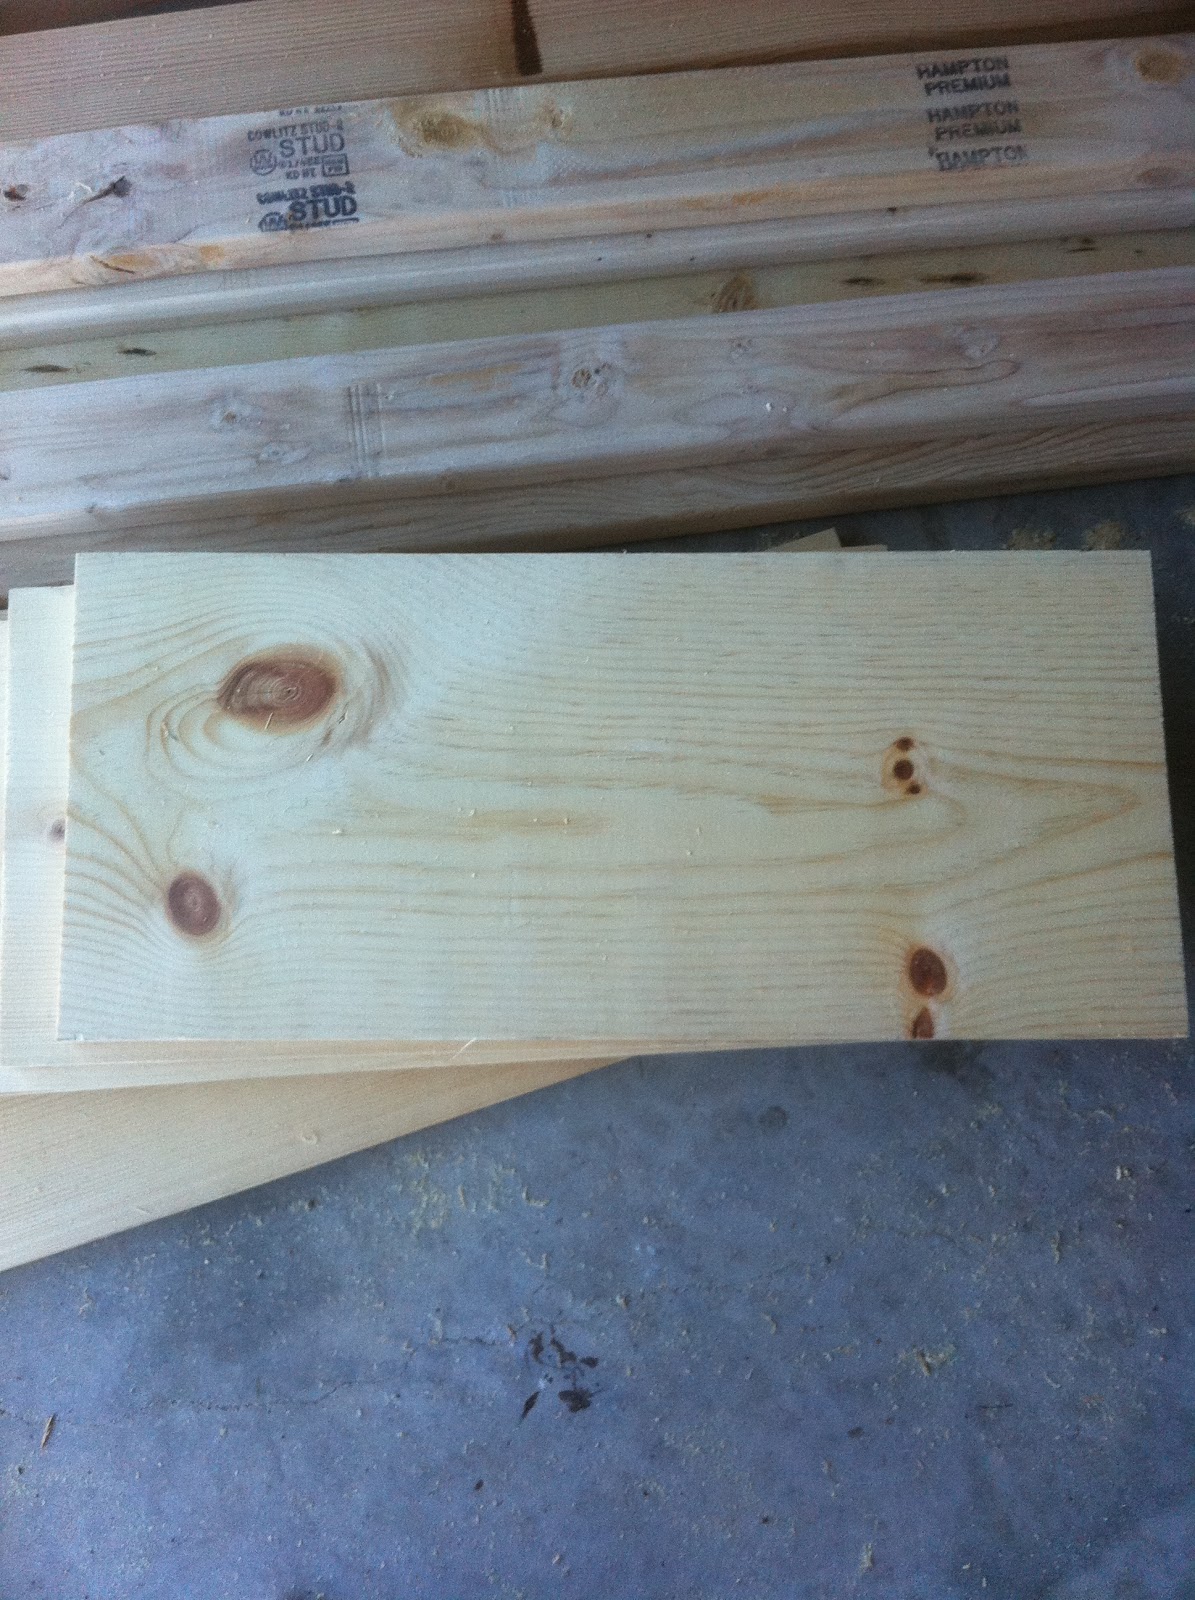
These are the 1 x 12 faces.

I used Gorilla Glue Wood Glue for every joining piece
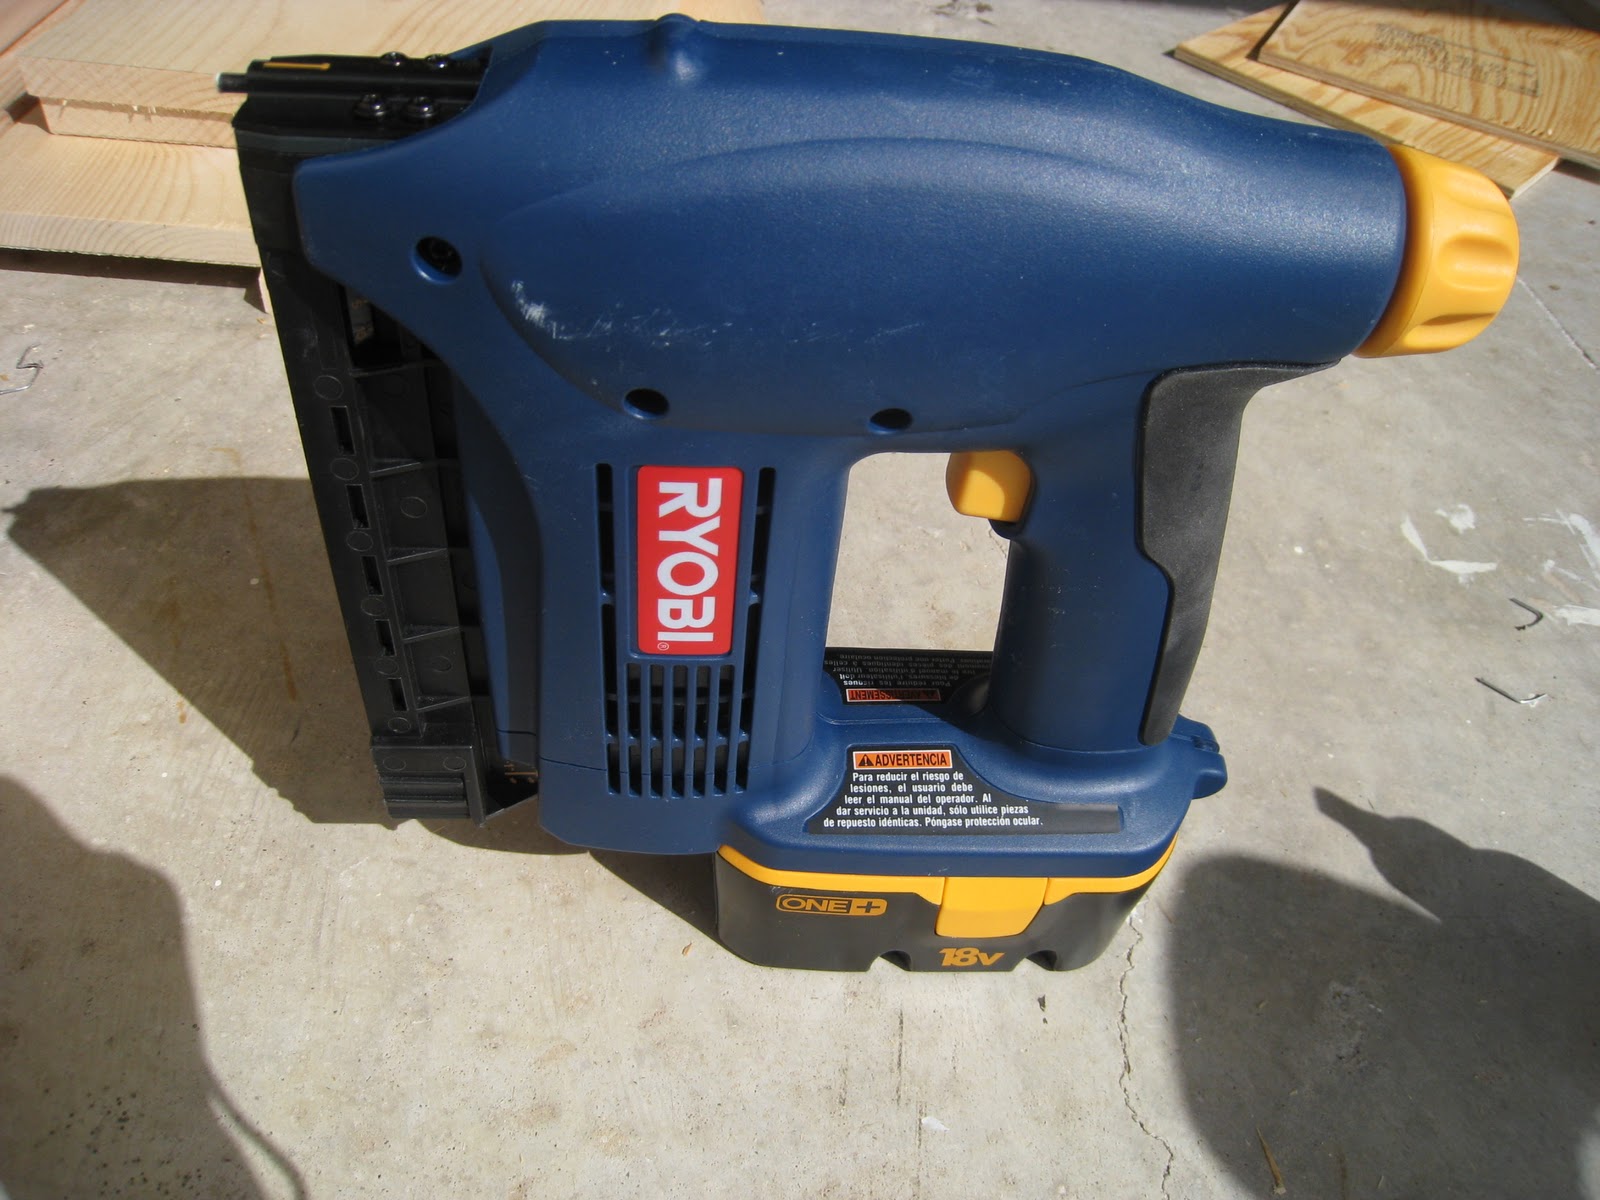
and followed up with my Ryobi battery-powered nailer.

I used 1/4″ plywood to make the entire crate to maximize the storage space.
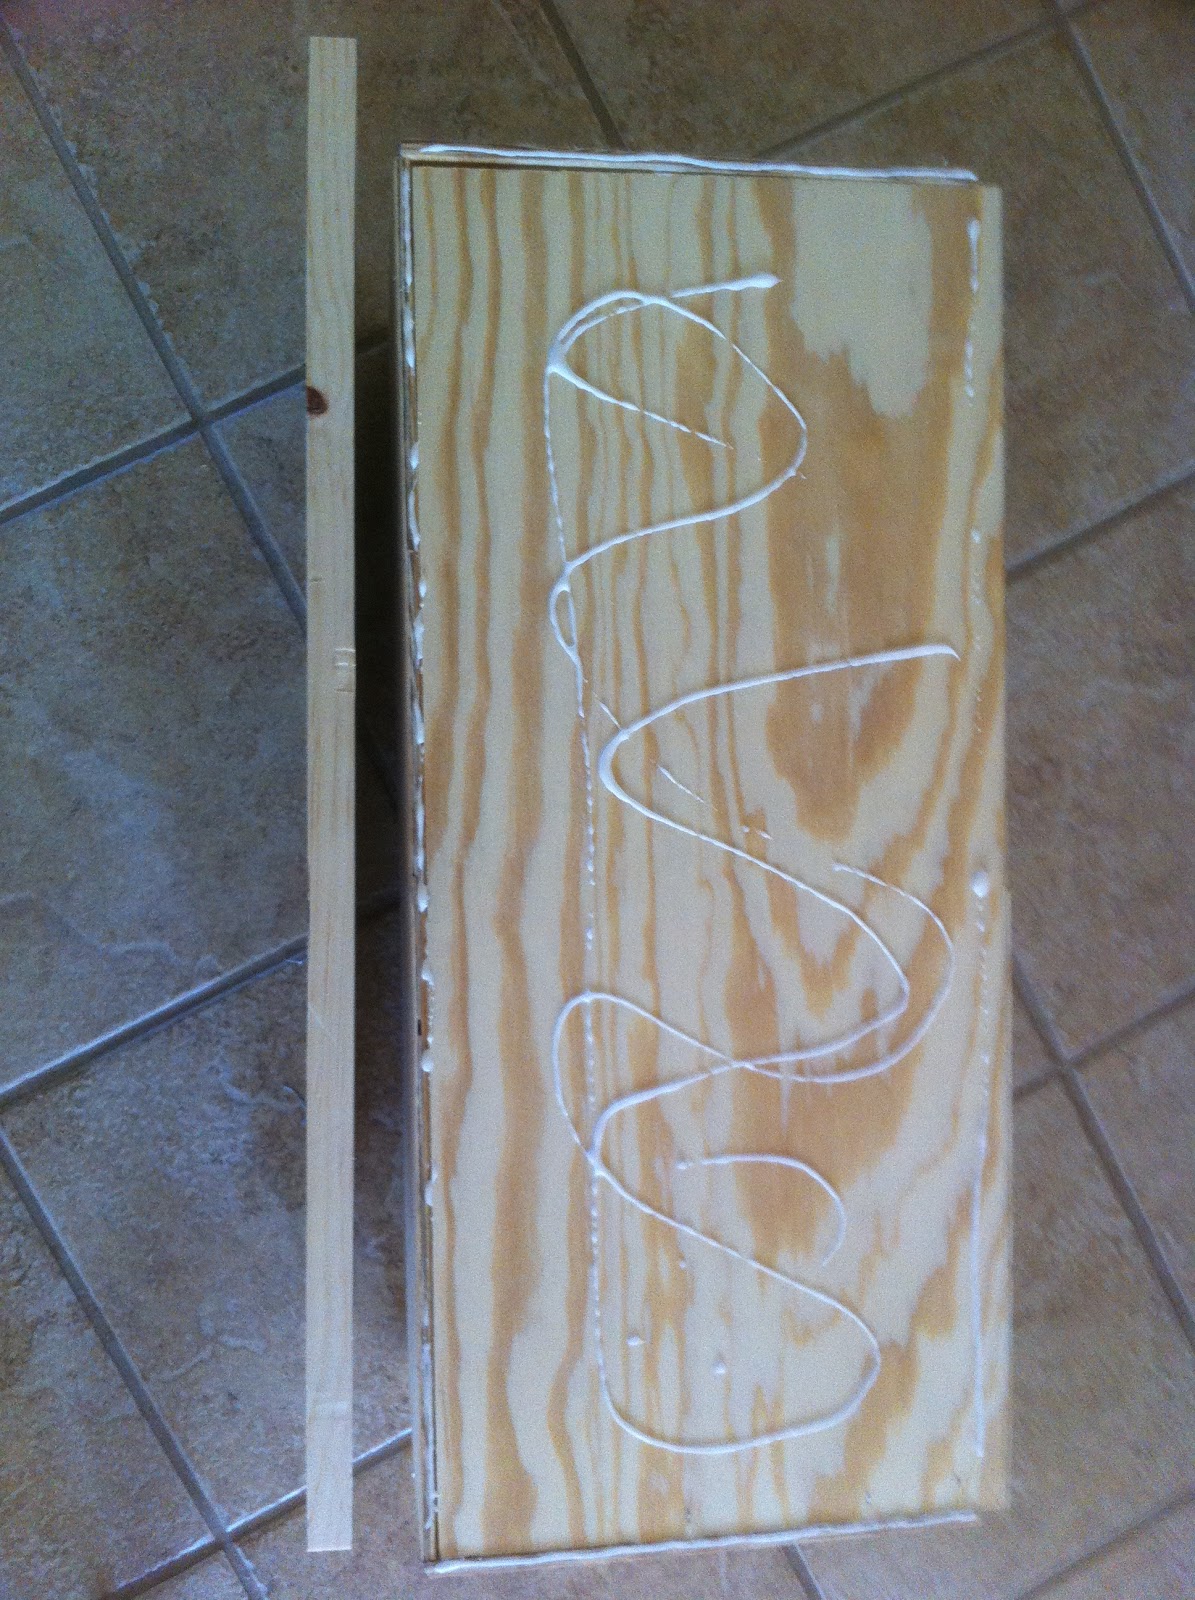
Here is where the 1x 10’s come in. For aesthetic reasons I did not want to use the plywood for the face of the crates so I used a ton of Gorilla Glue Wood Glue to attache the 1 x 10 to the front of the crate. No nailing needed!

I left it to dry….

Crate 1 down:)
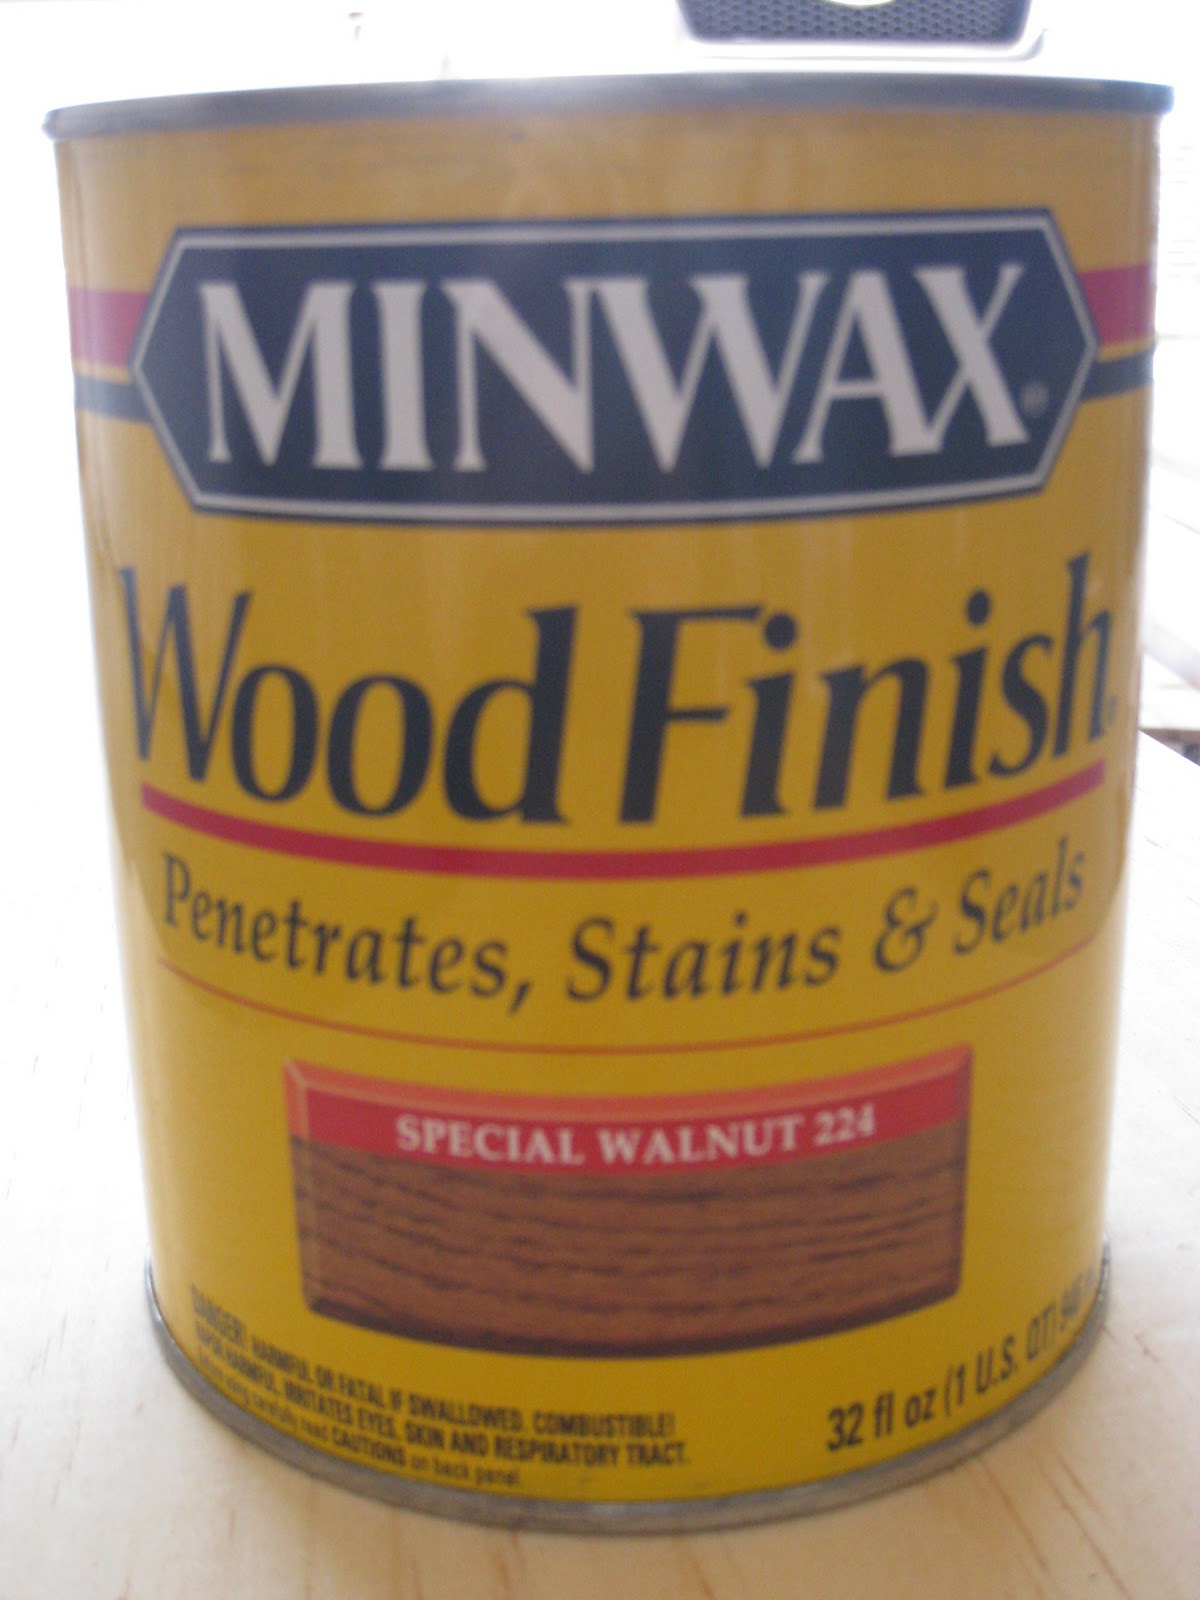
After building 5 more crates it was time to stain! I stained the storage bed with Minwax Dark Walnut and I wanted a contrast for the crates. I went with my gut and purchased Minwax Special Walnut and applied one coat to the face of each crate.

I followed up with one coat of Minwax Polycrylic in Clear Gloss.
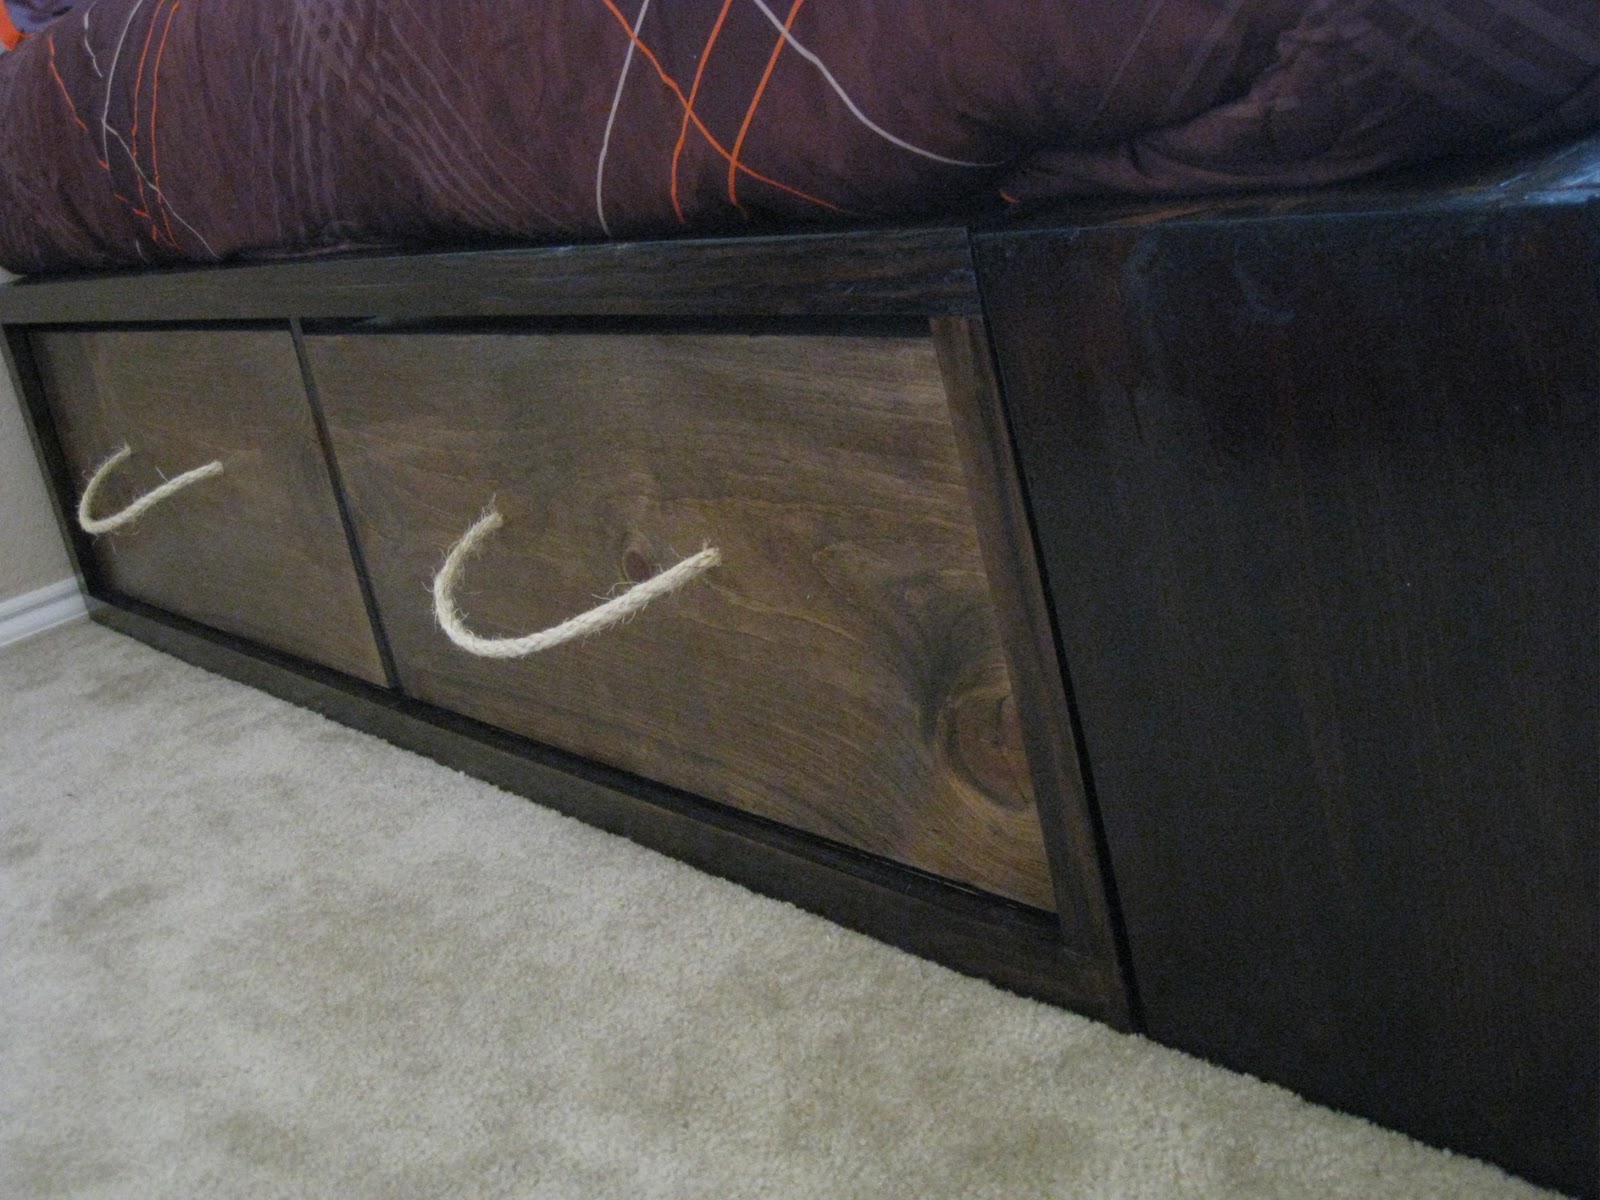
Now for the handles!

I purchased this rope at Wal-Mart for $4.97 and it was more than enough!

I found this big ol’ drill bit in my hubby’s tool box and it was the perfect size for the rope!

Next I measured where I needed to drill for the handles. On the 4 side crates I marked at 19 3/4″ and 9 3/4″. On the short end crates I marked at 16 3/4″ and 8 3/4″. I placed the marks 6.5″ from the bottom of the crates.

I drilled each hole…

and then cut 6 pieces of rope at 28″.
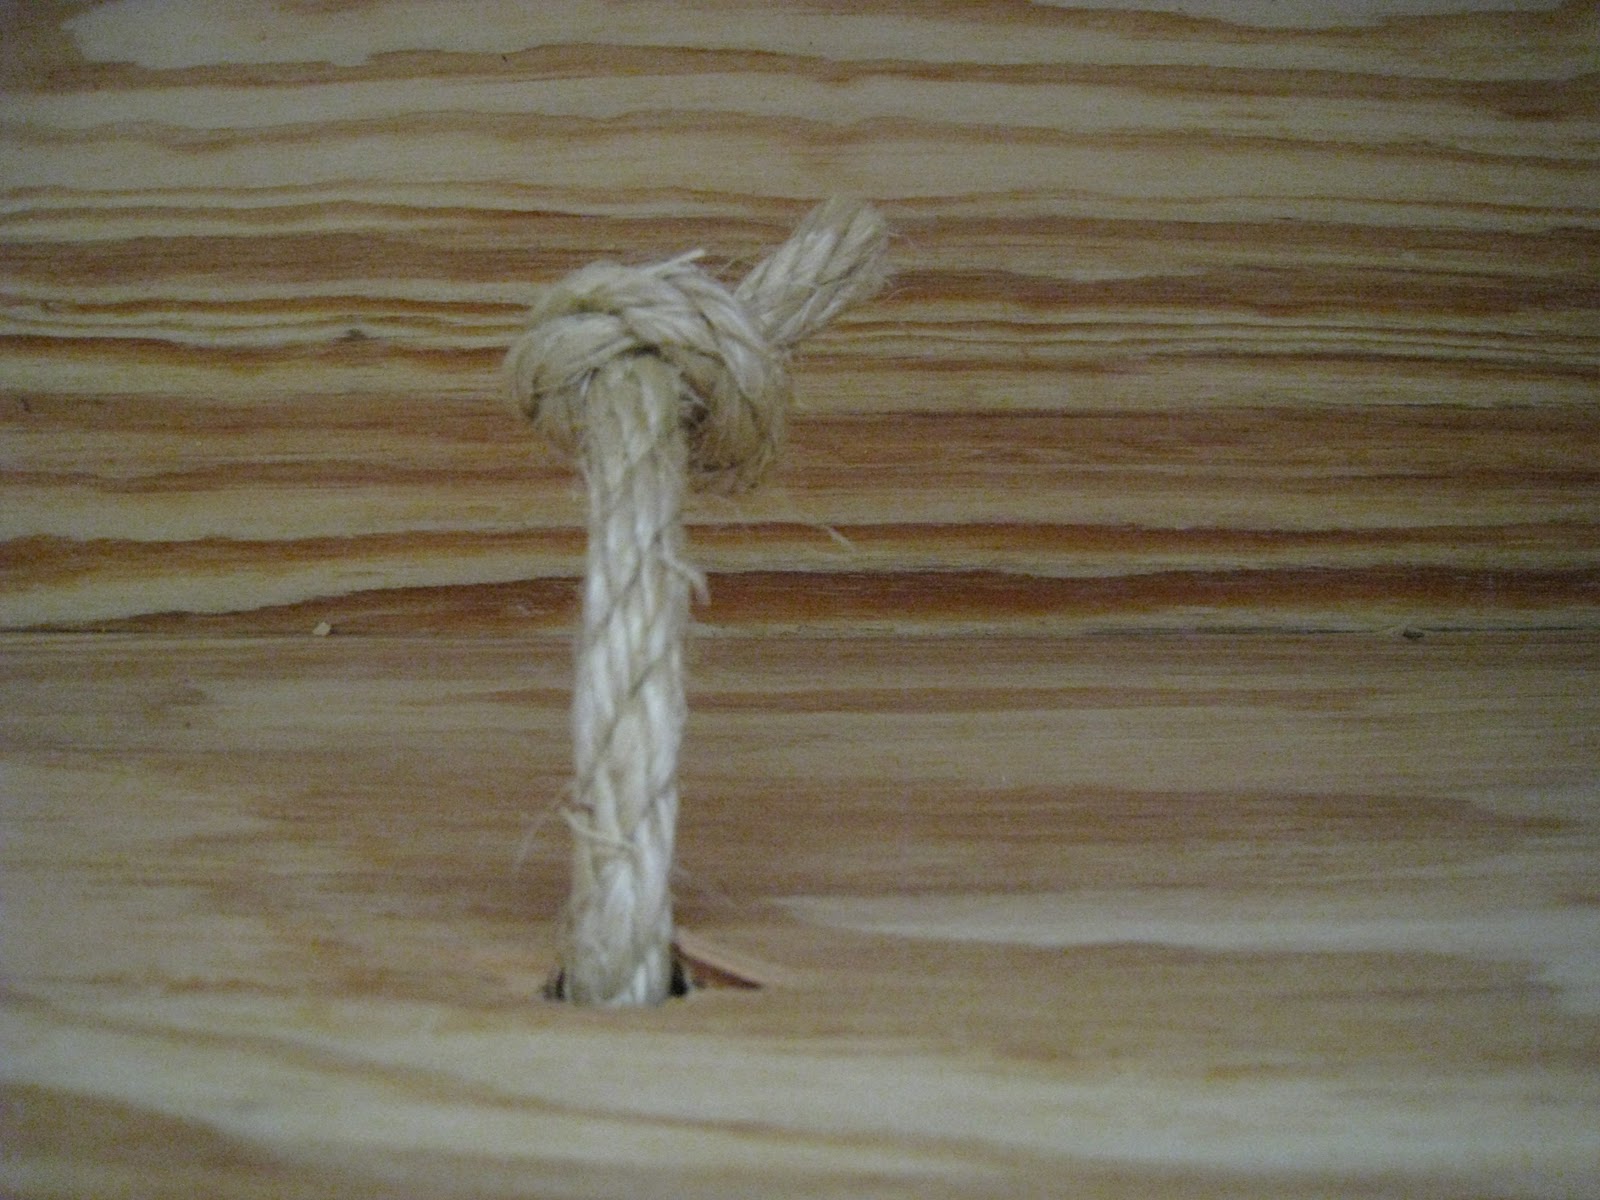
I pushed one end through the front of the crate and tied a knot at the end
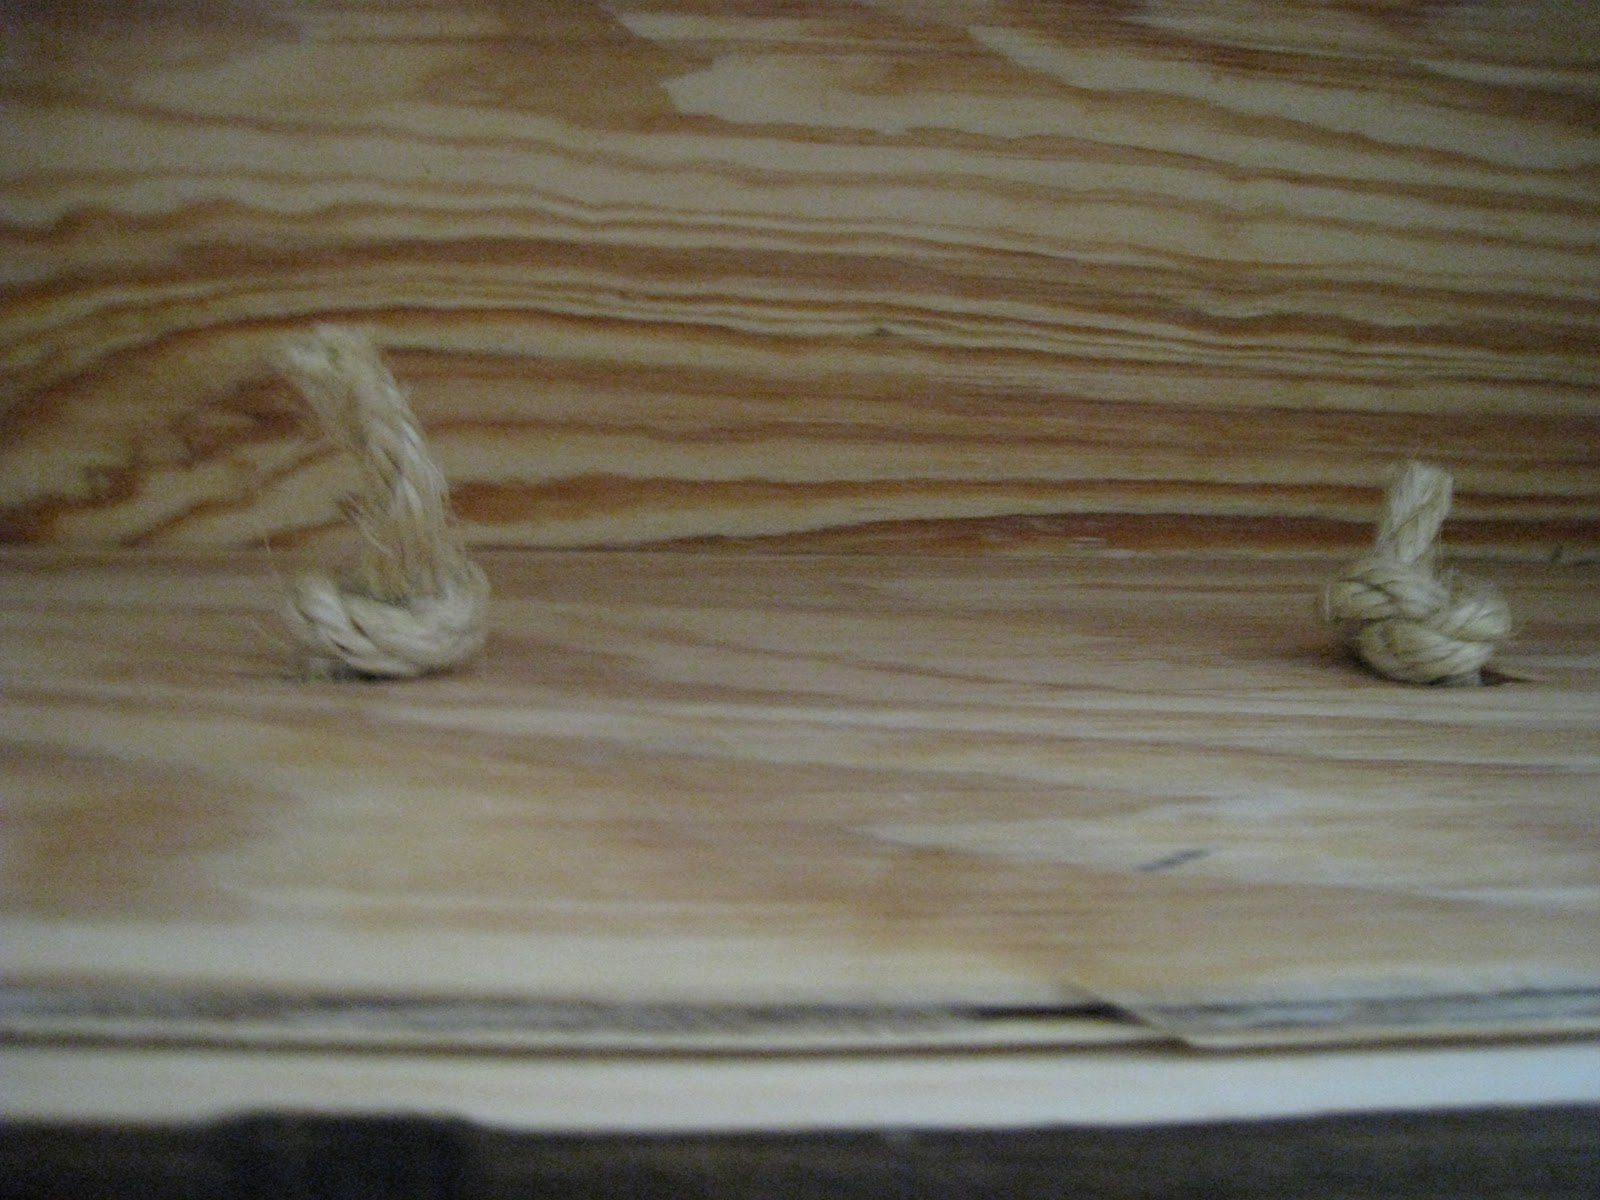
and I followed up with the other side.
To keep the crates from scratching the storage bed…

I purchased these felt pads at Wal-Mart for $4.97.
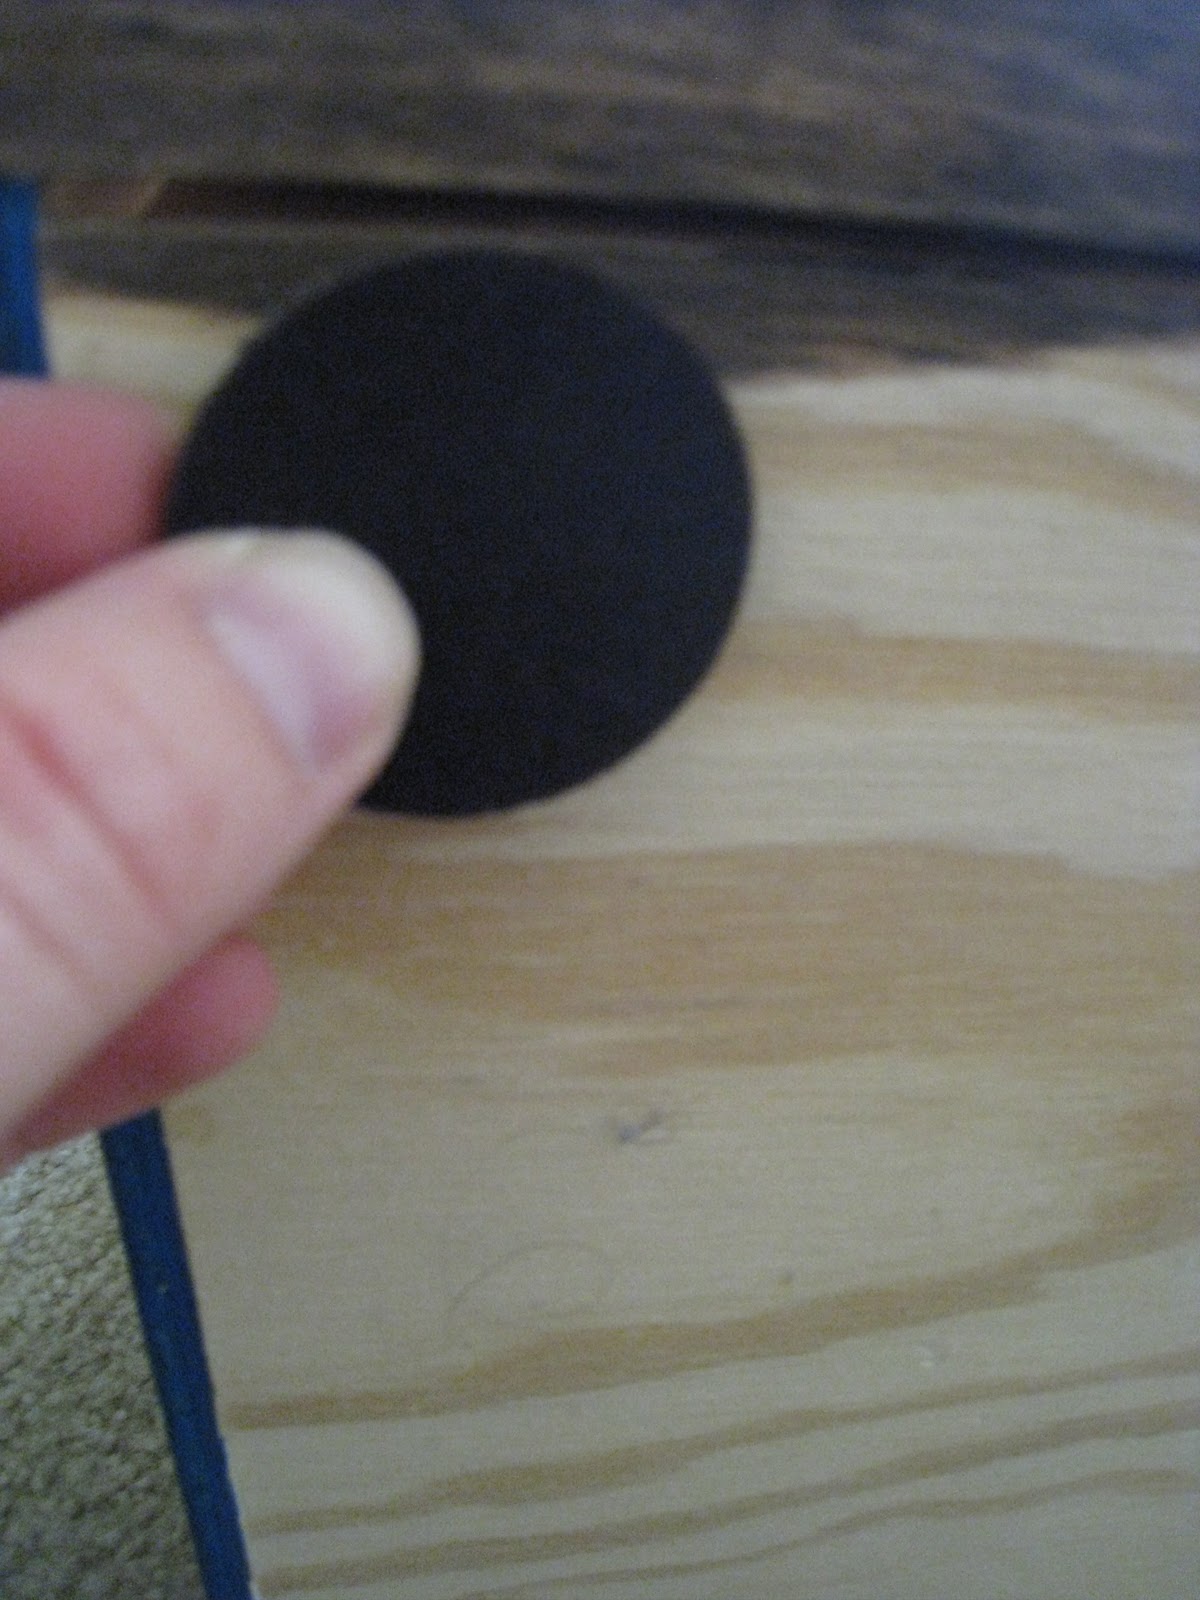
These are easy, just pull off of the sheets and stick to the bottom of the crates.

I put four on each crate.
Now the reveal!


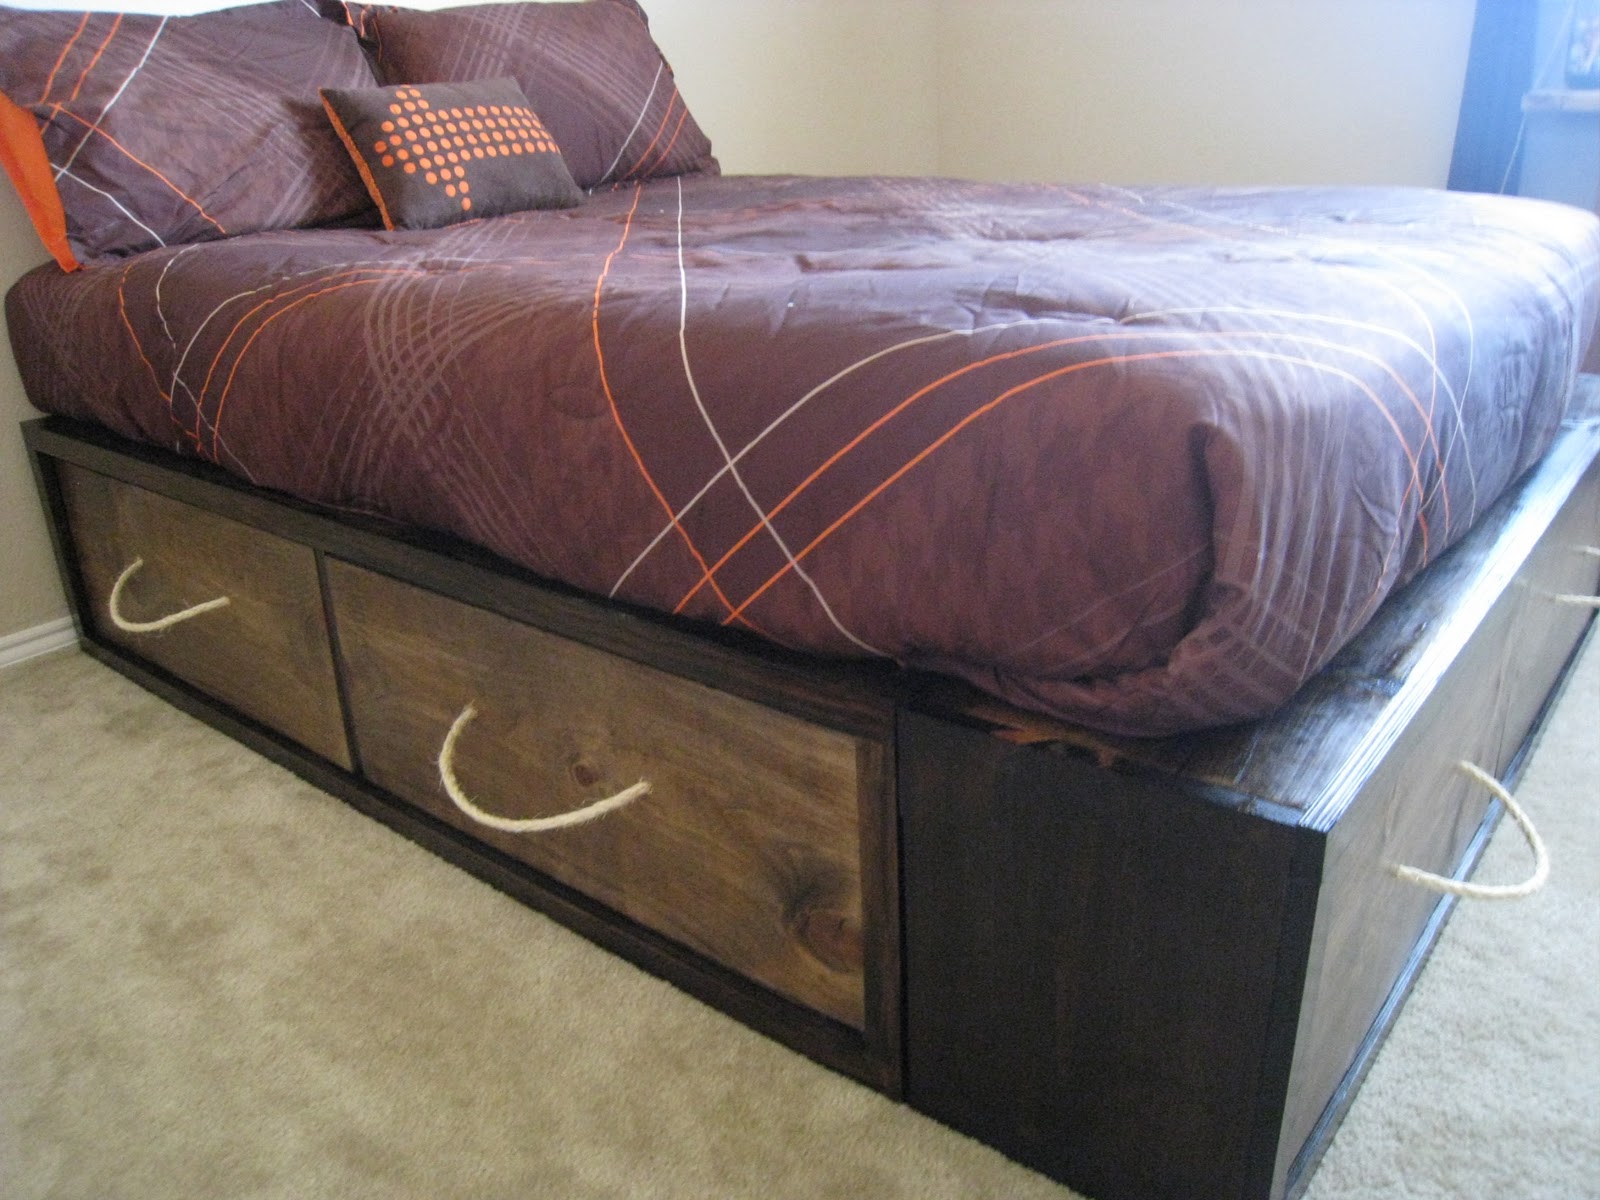
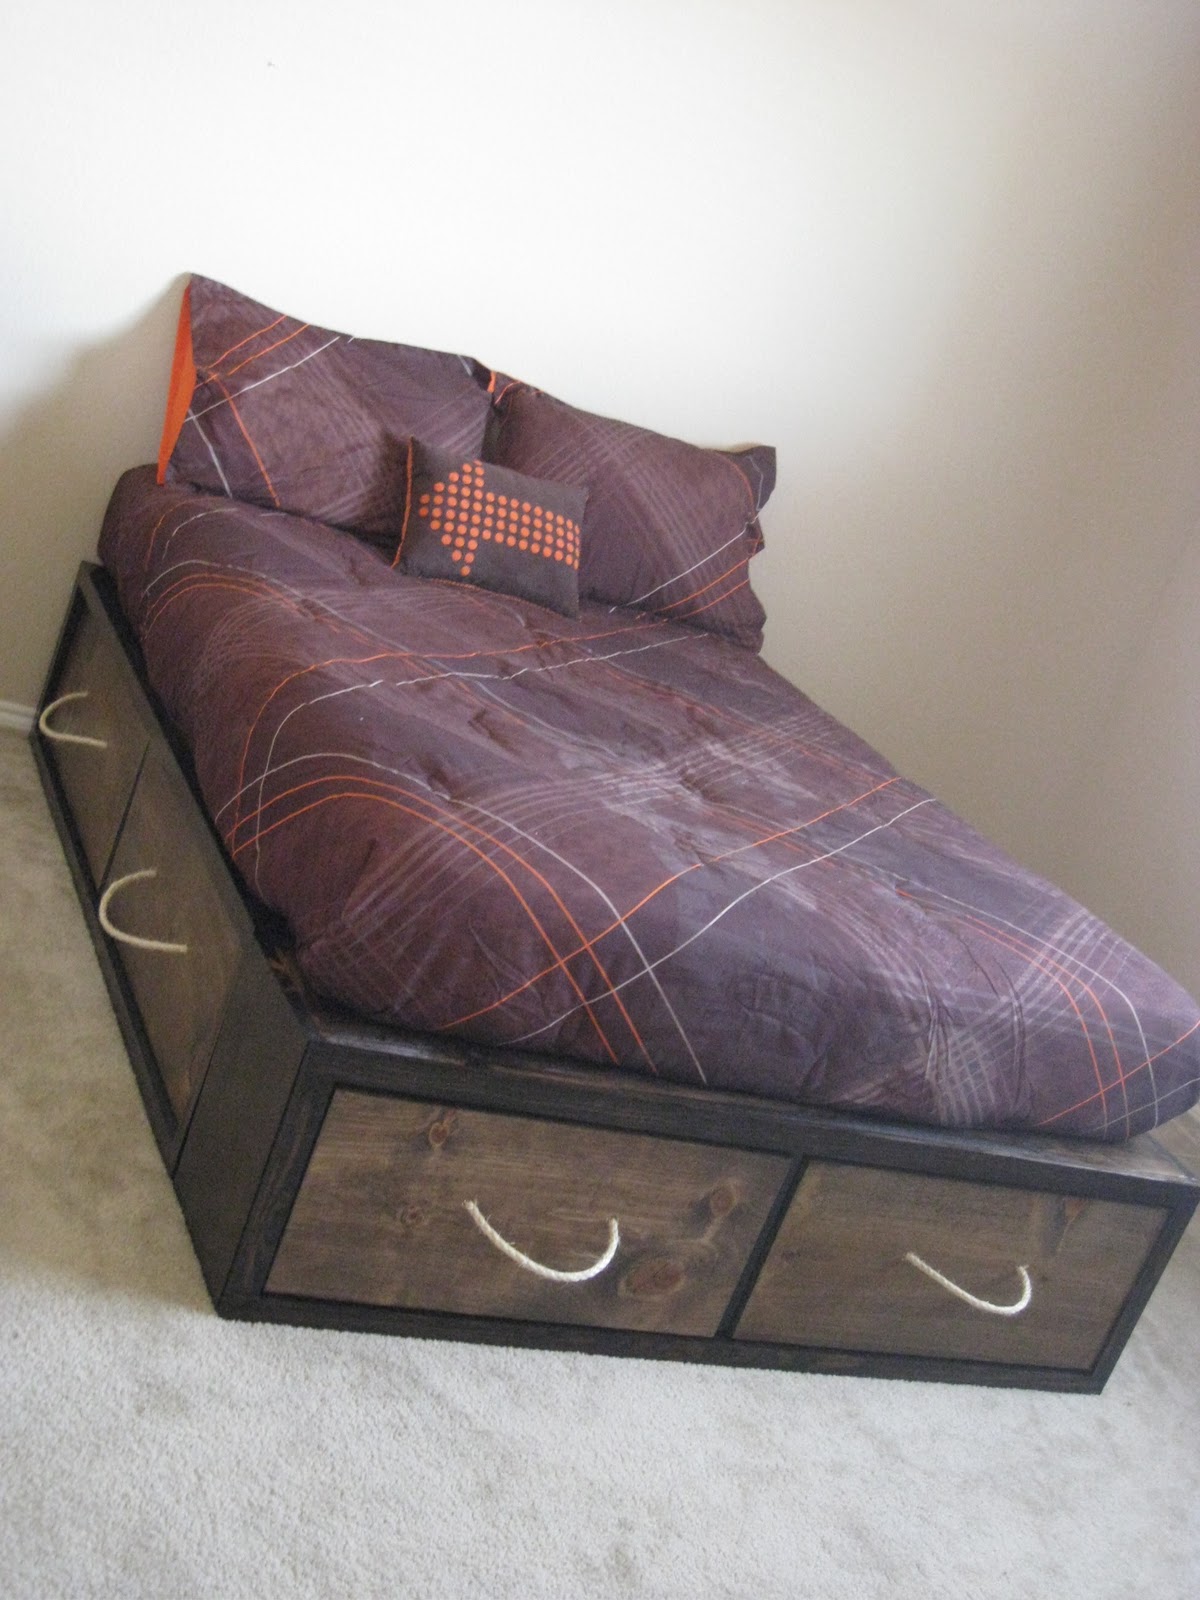
I purchased the bedding at Wal-Mart, on clearance, for $10 marked down from $39! The throw pillow was $1 down from $10!
I am going to build a headboard for this next and I have changed my mind on the one I am going to build. I fell in love with the Reclaimed Wood Headboard on Ana’s site!
I think it will finish this look of nicely! In case you were wondering, my 7-year-old is in LOVE with his new bed! He has asked to take a bath and go to bed early every day for the last week! The new will wear off but it’s nice for now;)
Hope you all have a great Spring Break with your families!
~Ashley


I am a bit confused as you say you used 1×10’s for the faces so what did you do with the two 1×12’s? you say you got at the very top. There is a picture of you saying here are the 1×12’s faces but this looks like plywood?
Did you use 1×10’s for the faces or 1×12’s?
I was wondering you don’t say what length the 1×12’s or the 1×10’s are (is it 8ft?) and how many of each
please
What’s the color you used for the darker shade???
are the faces 1×10 or 1×12? thanks!