
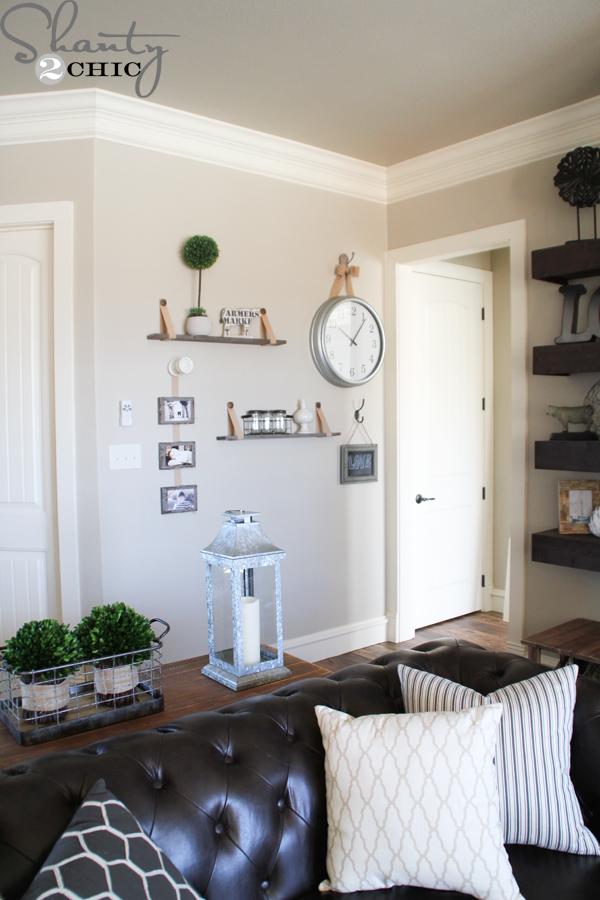
Hey guys! If you need a quick and easy project this weekend, this one is for you!I have been on a mission to fill up this blank wall. It’s a walkway so I didn’t want anything sticking at from the wall too much. I came up with these DIY $5 Shelves with Leather Straps!
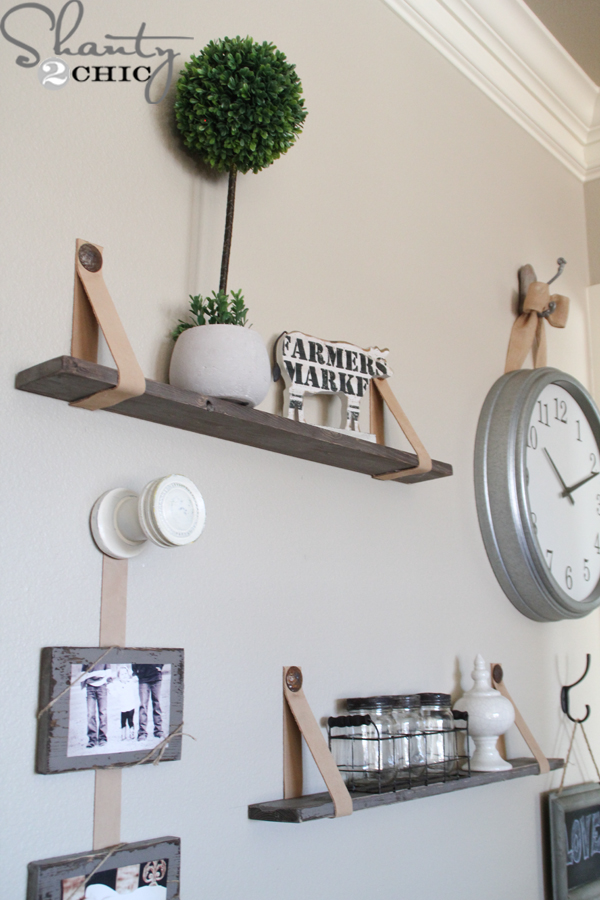
They are perfect for a narrow space and you can make them as long or as short as you want!
Here’s how 🙂
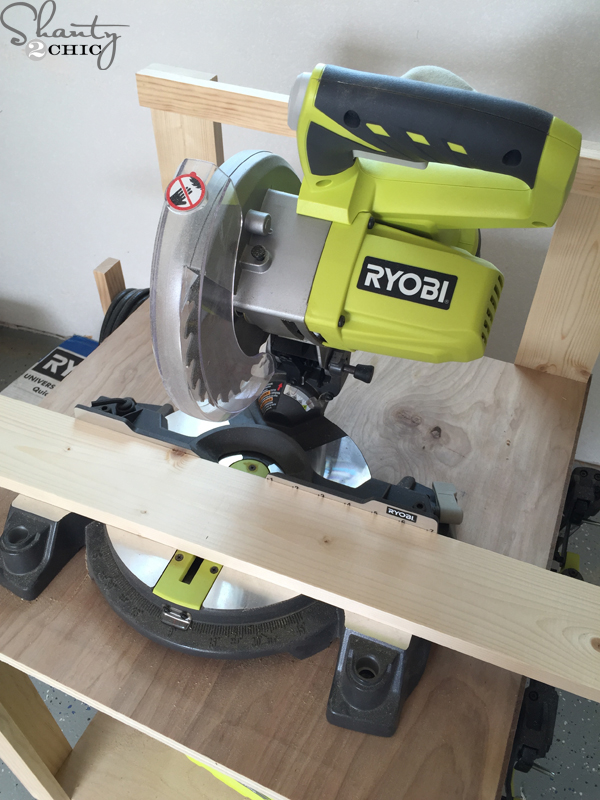
I started by cutting a 1×4 for each shelf. I cut mine at 32″.
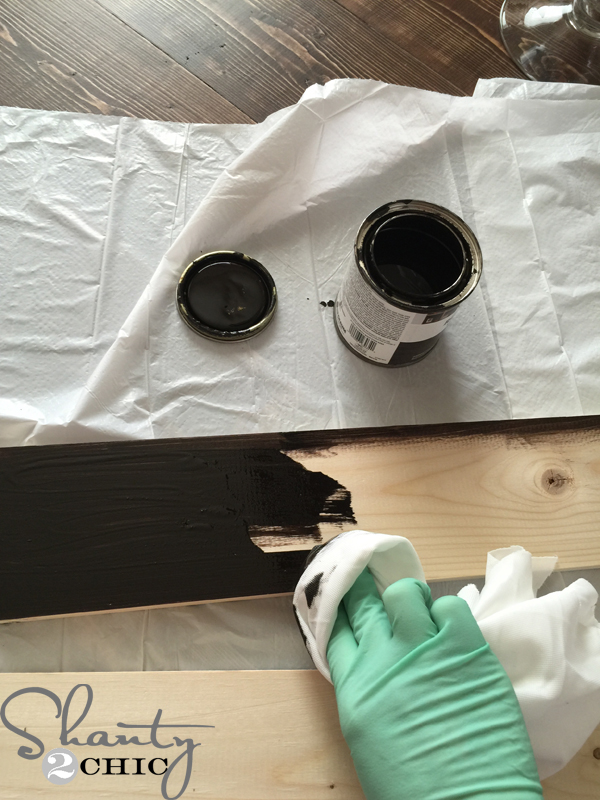
Next, I applied one coat of Kona stain by Varathane. I just wiped it on with a clean cloth, waited for it to dry for about 5 minutes then wiped the stain with a separate clean cloth to blend the stain.
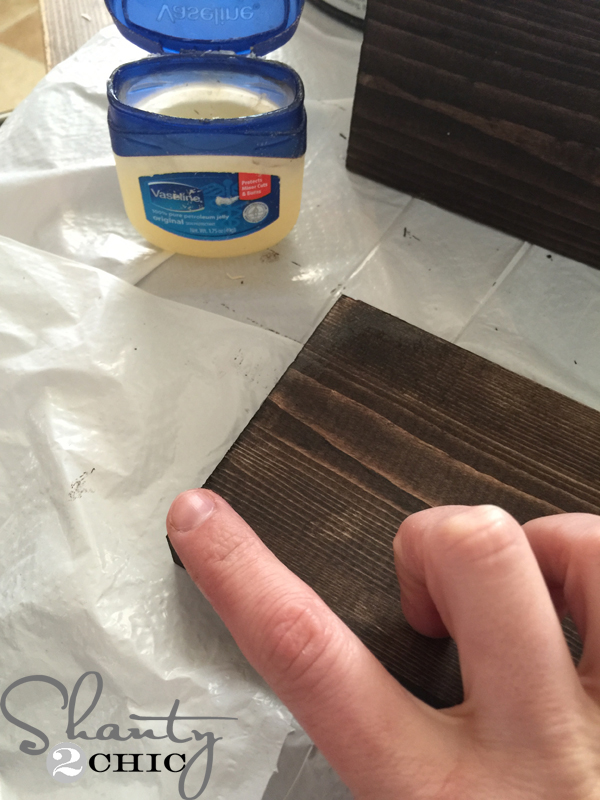
When the stain dried, I rubbed a thin layer of vaseline around all of the edges and then added some to the board face.
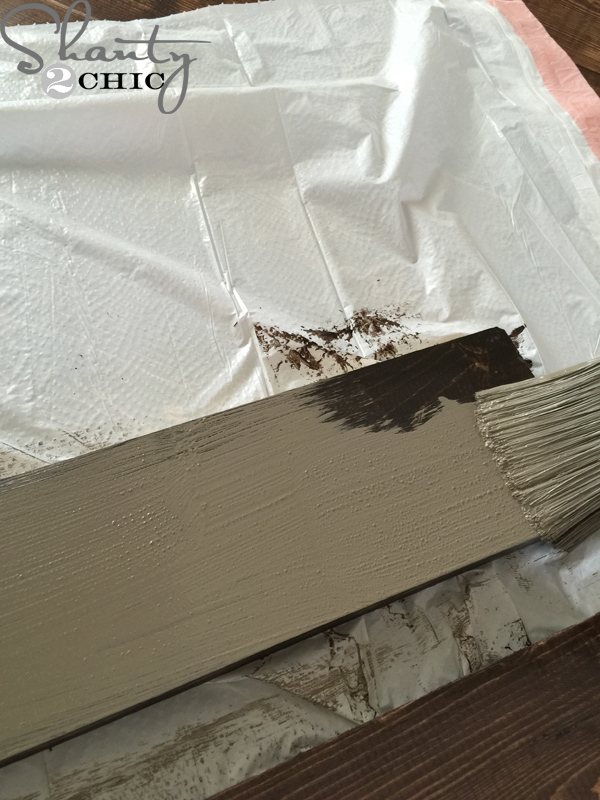
Then, I applied one coat of a dark gray paint over the entire board.
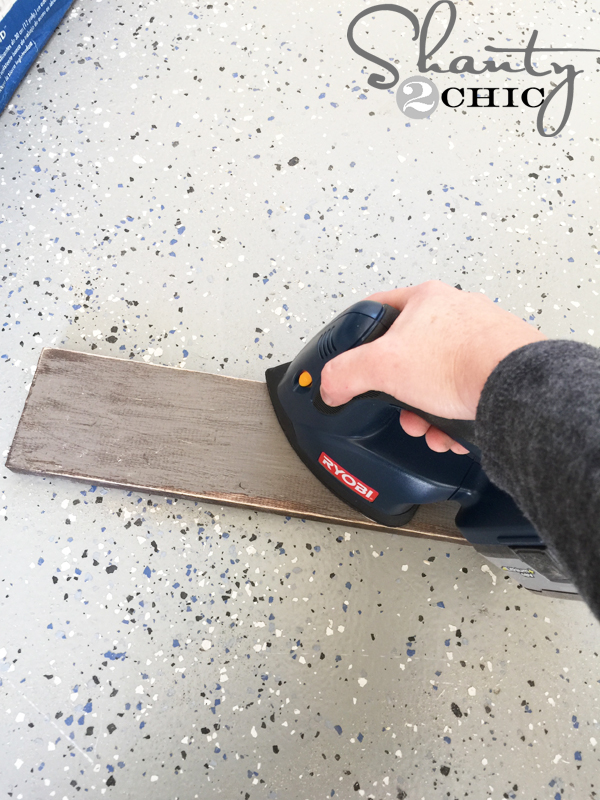
When the paint dried, I used my Ryobi Corner Cat Sander, with an 80-grit sanding pad, to distress the entire board. (You can also use sandpaper for this part).
Now to make them ready to hang!

These “L” brackets were the best way I could think of to hang these shelves. They are under $1 each at Home Depot (near the lumber).
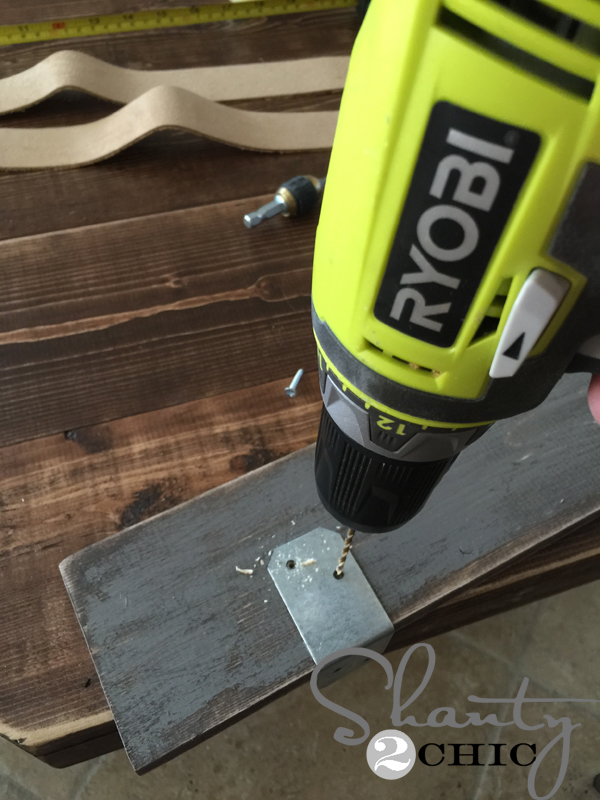
I flipped the board upside down and predrilled through the brackets into the bottom of the shelves. The long side of the brackets will be on the bottom of the shelves. (I placed my brackets 2″ from the ends of the board).
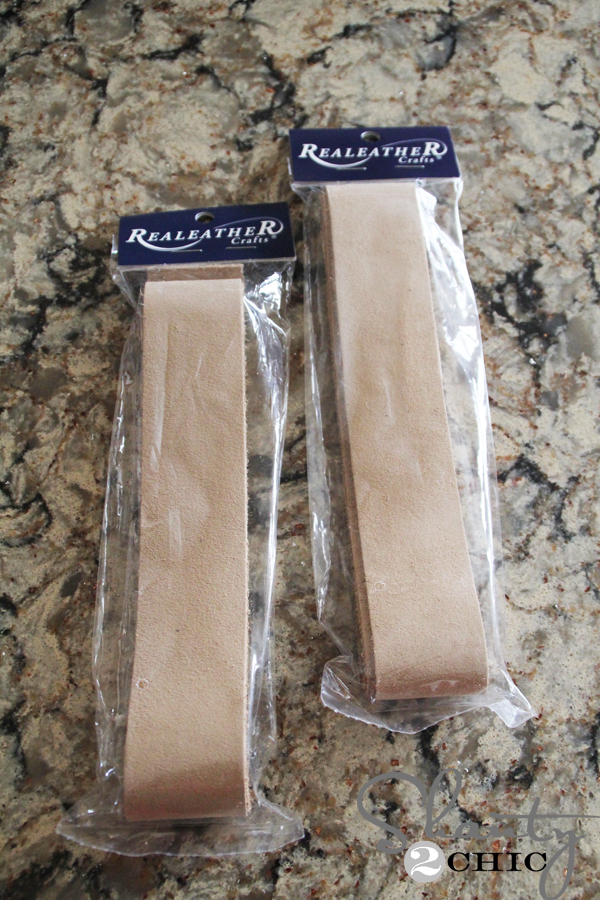
I found these leather straps at Hobby Lobby for about $2.50 each (when they were on sale). You will need 1 full strap for each shelf.
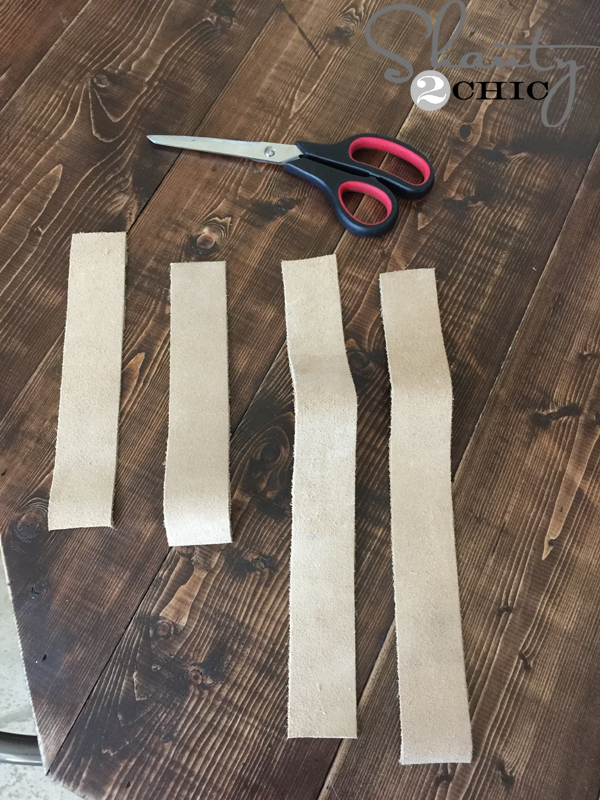
I cut them to size, with scissors. I cut 2 at 12″ and 2 at 9″ for each shelf.
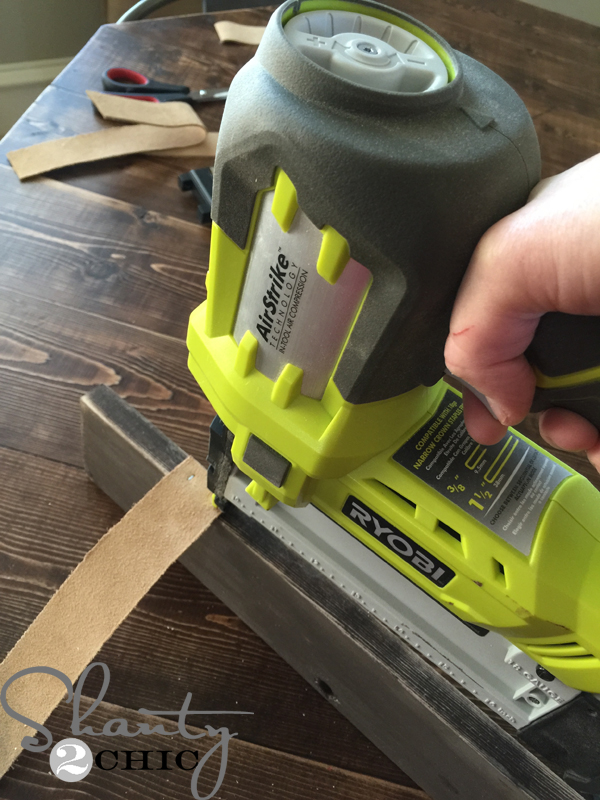
I used my Airstrike Stapler to attach the short pieces of leather to the back edge of the shelf (you can use finishing nails or hot glue, as well). The leather strap is going up from the edge of the board.
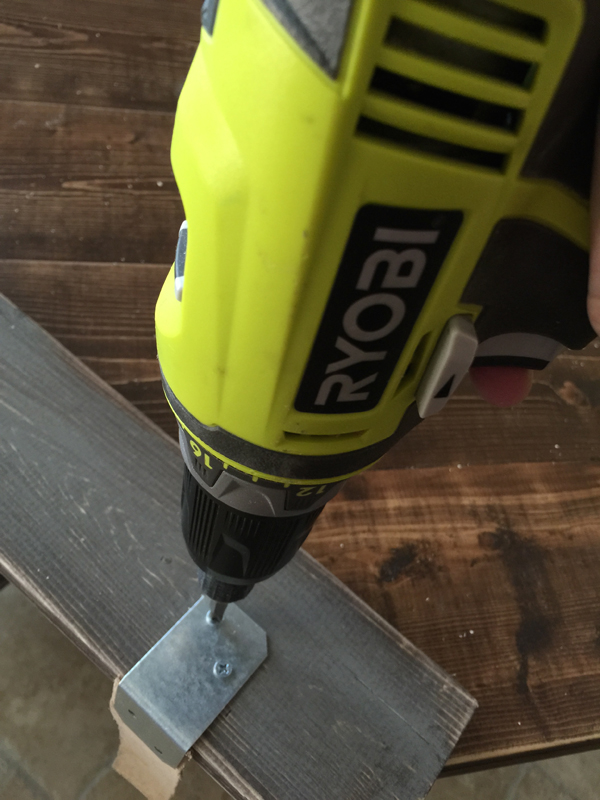
Then, I attached the “L” brackets to the bottom of the shelf (notice the back piece of leather s between the board and the bracket).
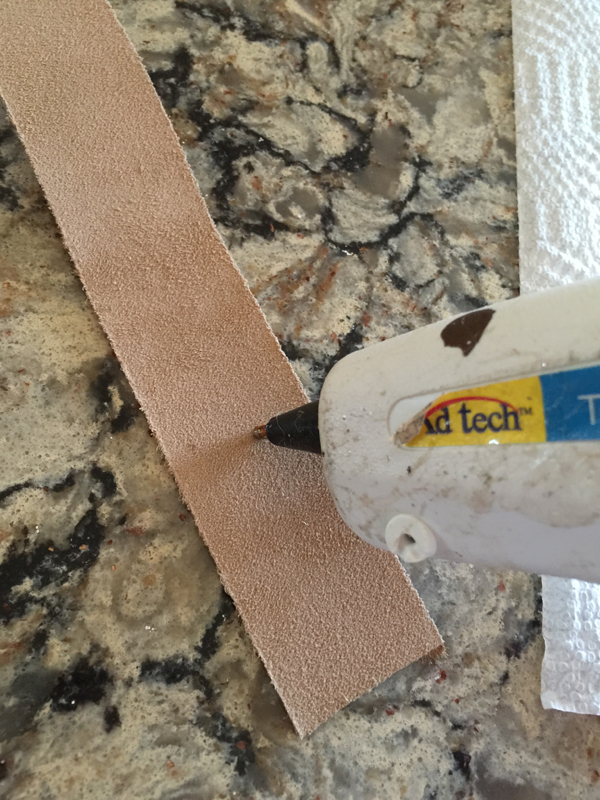
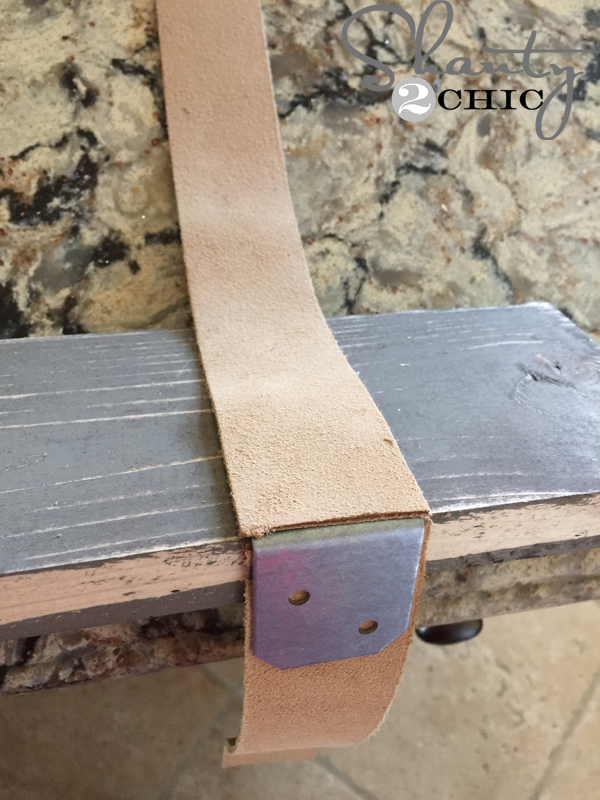
Then, I added hot glue to one end of the long leather straps and attached them to the bottom of the shelf to cover the “L” brackets.
Now, to attach them to the wall.
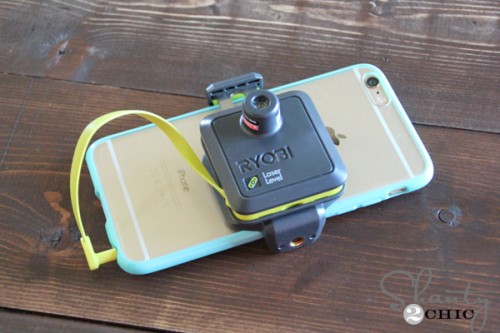
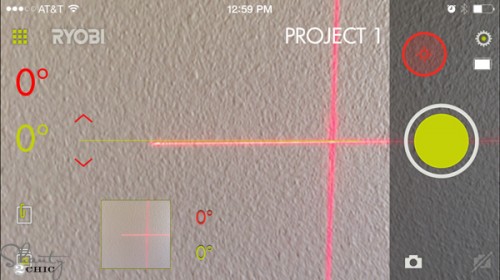
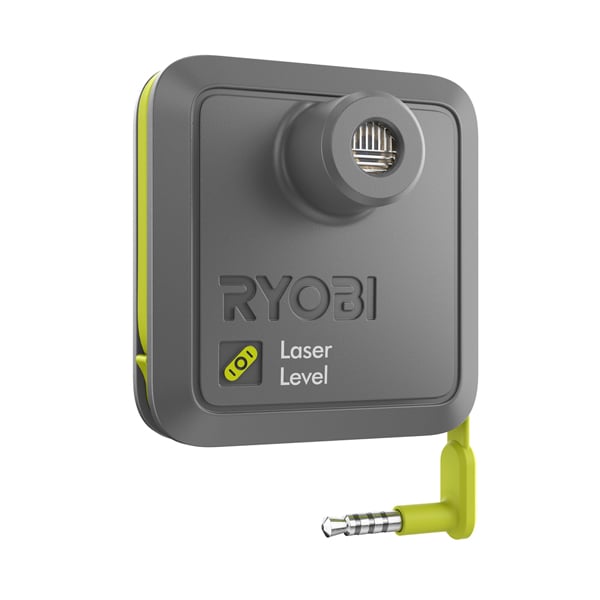
I used my Ryobi Phone Works Laser Level to mark my level lines, where the shelves will be hanging

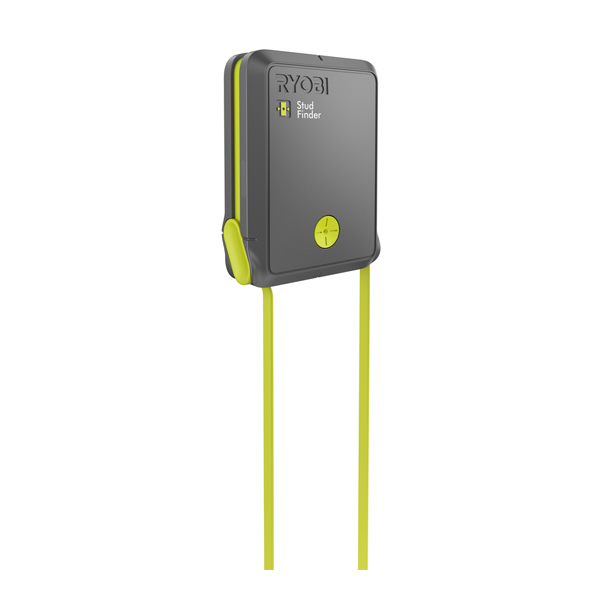
and marked where my studs were.
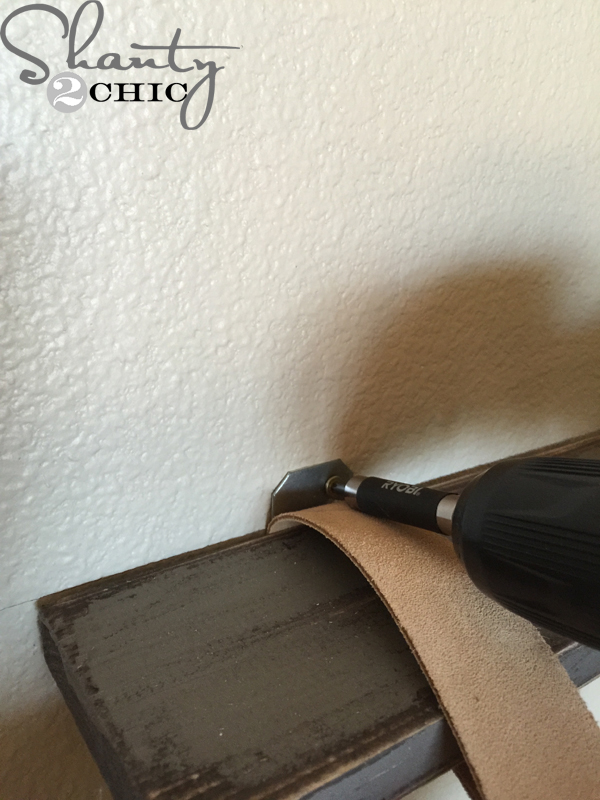
Next, I attached the other end of the “L: brackets to the wall with 2” screws. (If you have a stud here that is great, if not, use a wall anchor to reinforce the screws).
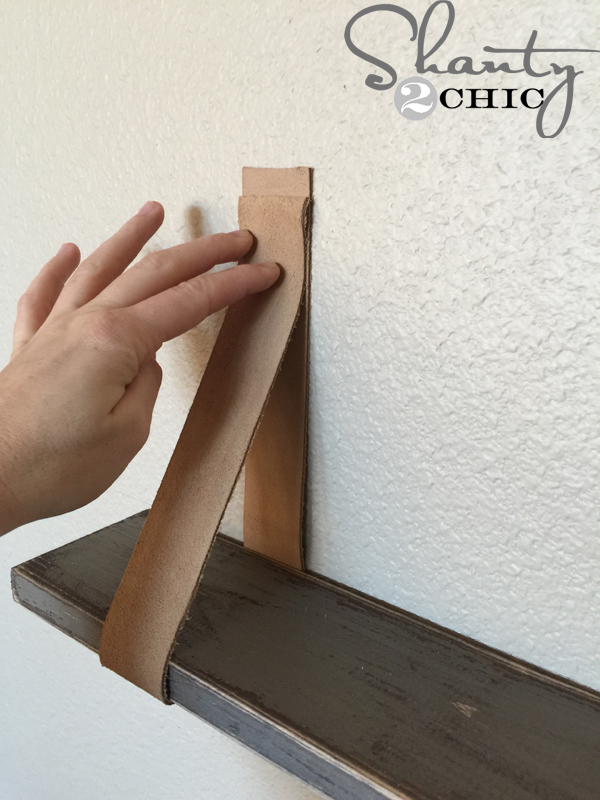
To make the shelves look like they are hanging by the leather straps, I pulled the long strap up to meet the short strap. (I wanted my ends to be even with each other so I cut the longer strap down.
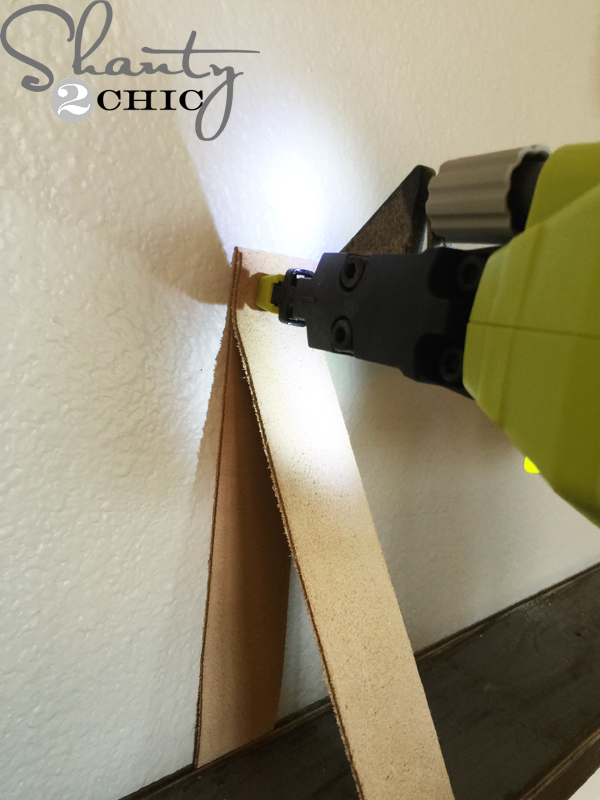
Finally, I used my Airstrike Stapler to attach them both to the wall. You can also use finish nails and a hammer here.
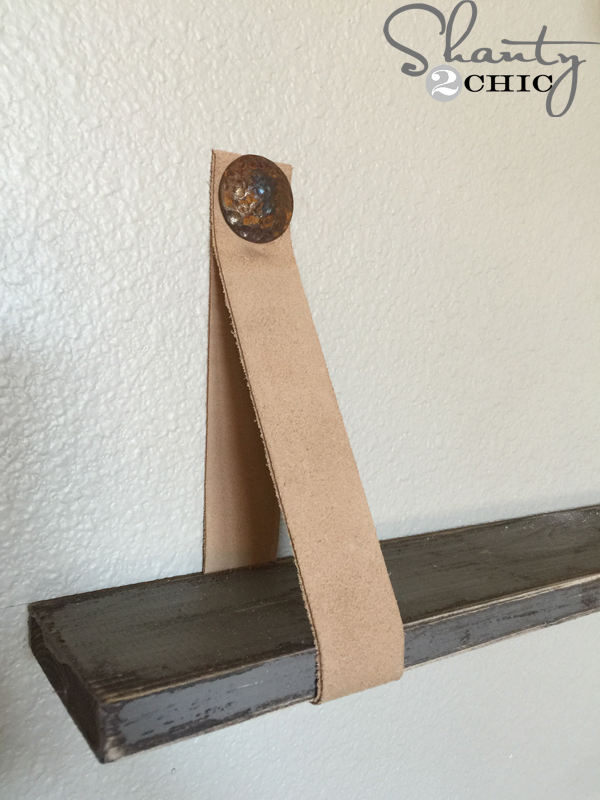
To finish them off, I added an iron clavo to each strap. You can find them HERE on Amazon. You can really use any decorative bolt here.
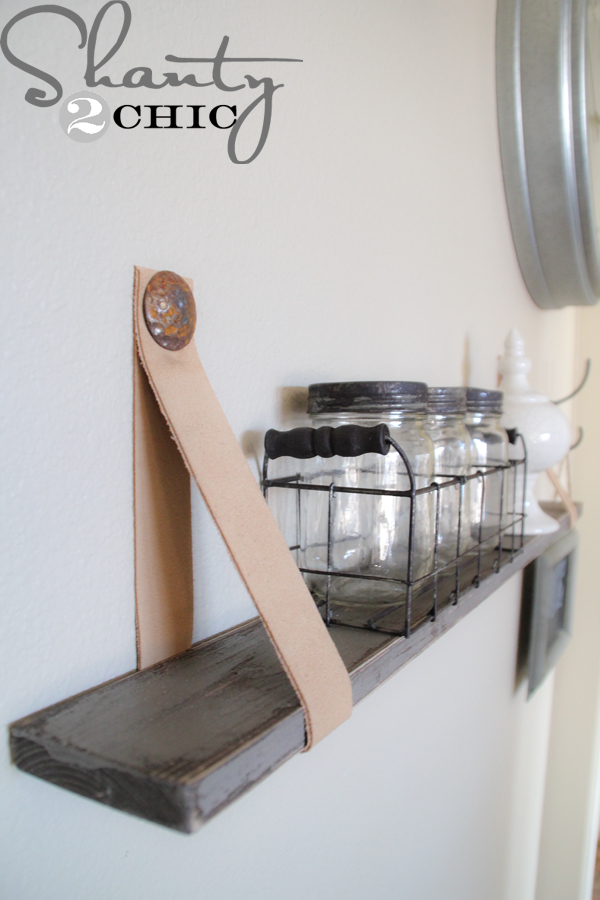
I added a few decorative pieces and called it a day 🙂
Now for the giveaway! Two lucky winners will receive Ryobi Tools 6-piece Combo Kit,

a Phone Works Laser Level
and a Phone Works Stud Finder!
All you have to do is follow Ryobi Tools and Shanty2Chic on Instagram!
Good luck 🙂
