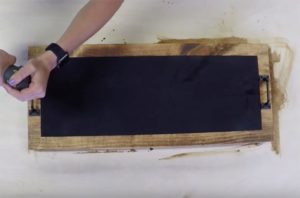
Great tutorial for this DIY Chalkboard Serving Tray and YouTube Video! Easy to follow instructions! Perfect for gifts and entertaining!
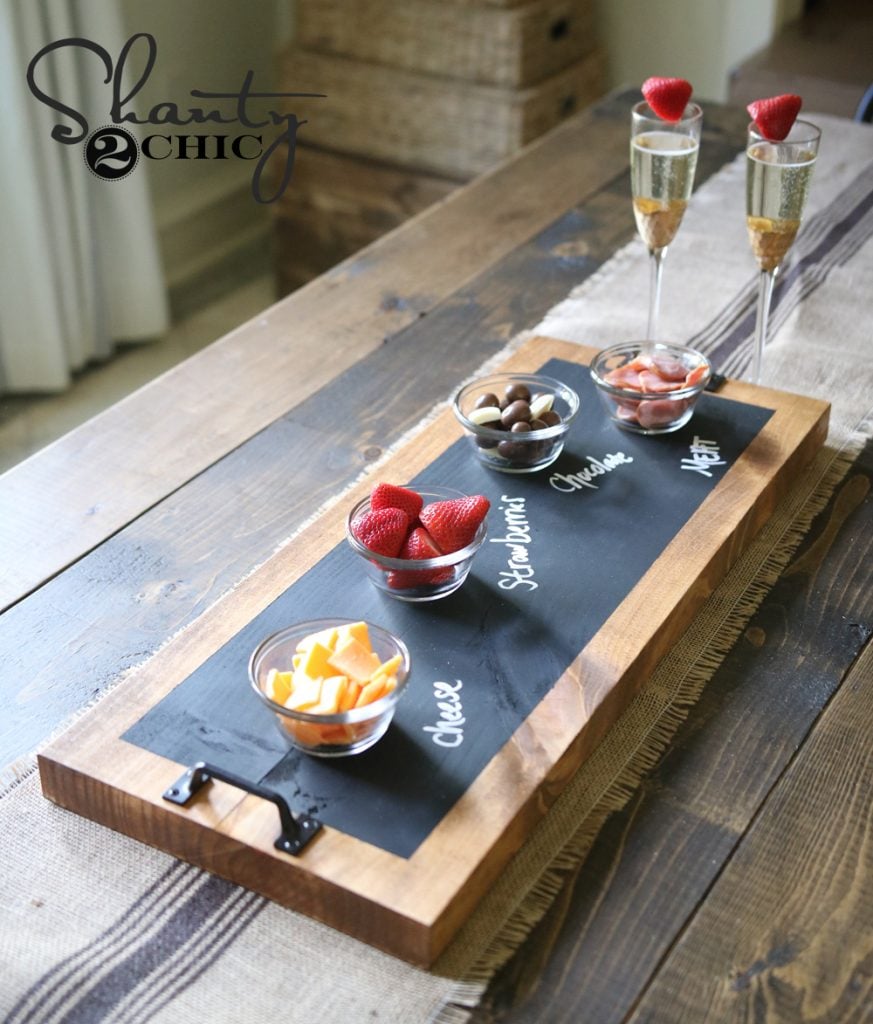
How fun is our chalkboard serving tray guys!? These are great for entertaining, centerpieces and they also make great gifts! Check out our video on how to make your own here!
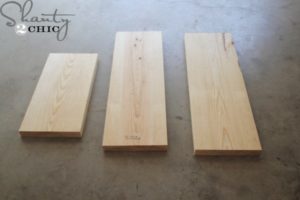
We purchased a 2×12 framing board from Home Depot. It was about $13 and we are able to make 3 trays! We used a 10″ sliding compound miter saw to cut these. If you don’t have a saw, you can have your hardware store make these cuts for you!

Table of Contents
Step 1 – Make Cuts
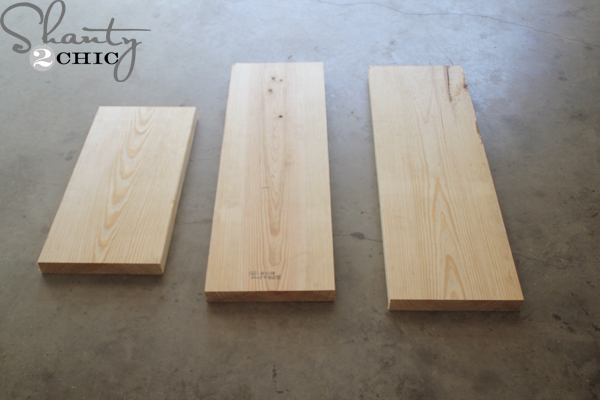
We cut our board 24″ long. You can make yours as long as you want!
Step 2 – Stain
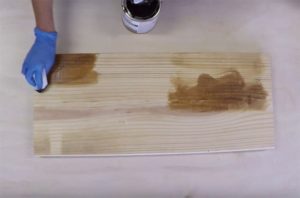
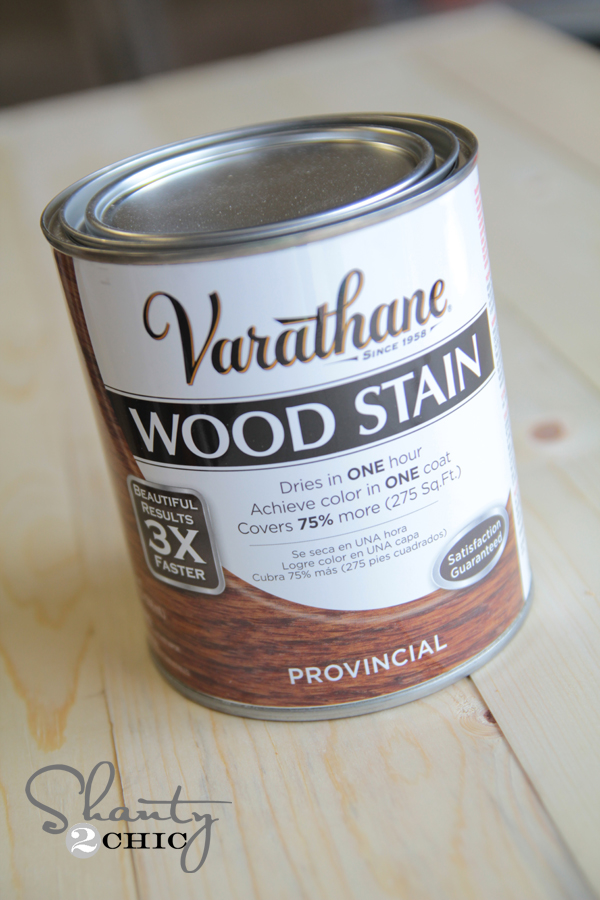
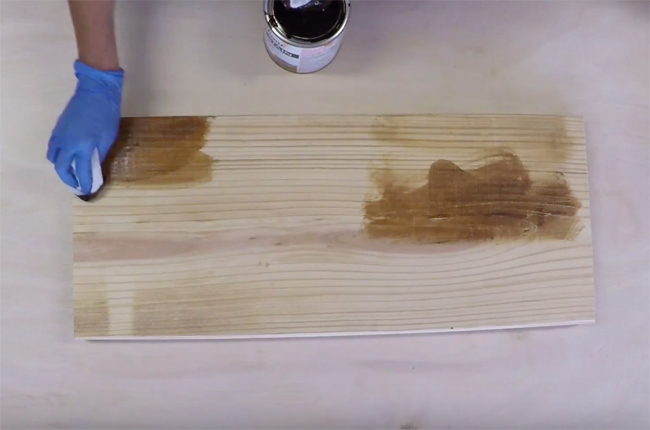
Next, stain your board! We used Provincial by Varathane for ours.
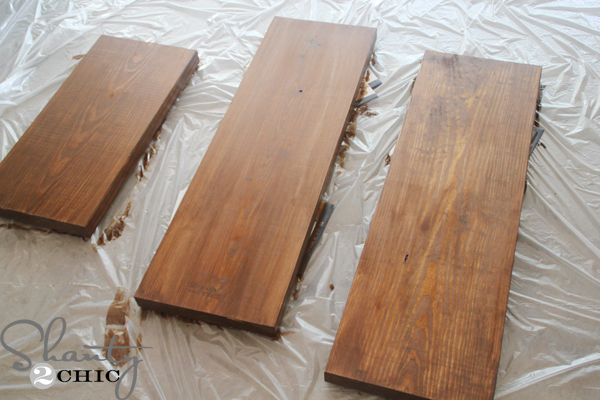
Because we are staining such a small piece, we just used wiping cloths to apply our stain and wipe off the excess.
Step 3 – Tape the Edges
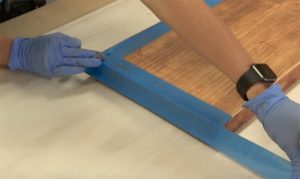
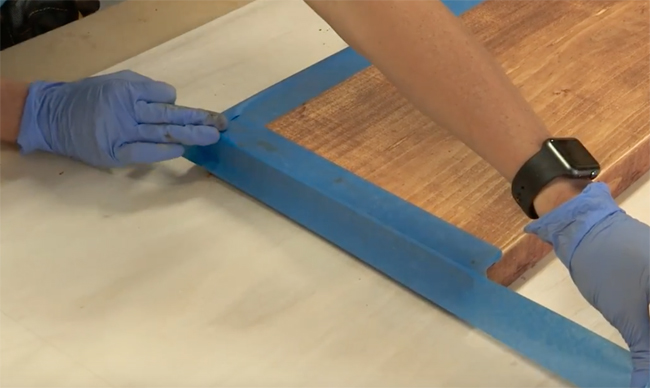
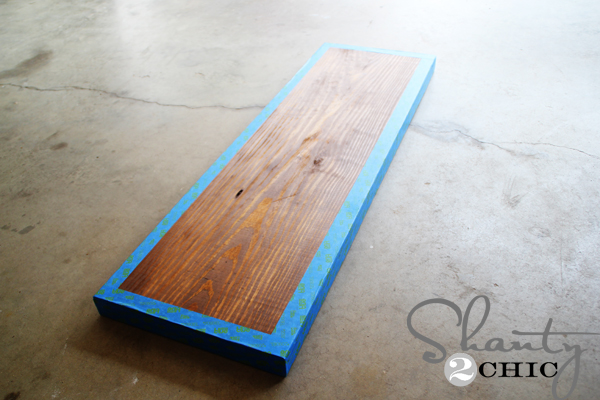
After your stain dries, tape off the edges and sides using painter’s tape.
Step 4 – Spray Paint
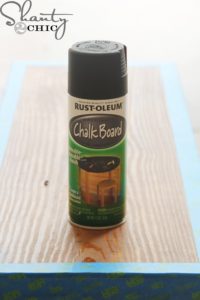
Now for chalkboard spray paint… We love this stuff!
Just give the exposed wood a coat of it.

Step 5 – Attach Hardware
Now for the hardware!
You can have so much fun with this part! We used simple rustic pulls, but you can change yours up to fit your taste or give it a different look!
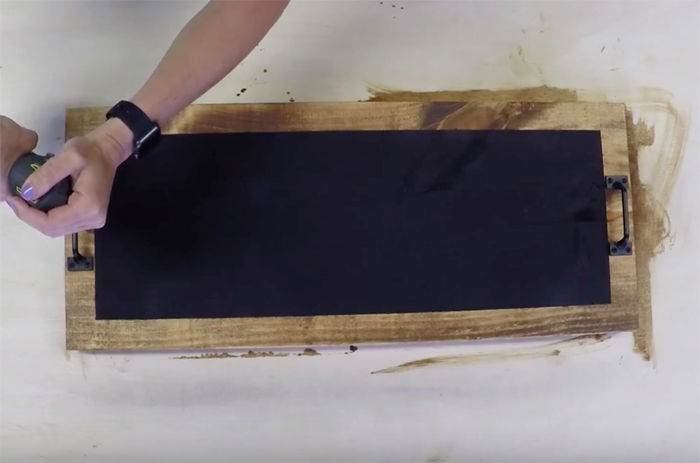
We are lovin’ it!! You can easily make these for around $15 a piece which makes them perfect as gifts!
Thanks for stopping by!

DIY Chalkboard Serving Tray
Supplies
- 1 2x12x8 Pine or Framing Lumber
- Stain
- Painter’s Tape
- Chalkboard Spray Paint
- 2 Pulls
Instructions
- Cut a 2×12 board to 24″ long.

- Apply one coat of stain to the entire board. Because we are staining such a small piece, we just used wiping cloths to apply our stain and wipe off the excess.

- After the stain dries, tape off the edges and sides using painter’s tape.

- Apply one coat of chalkboard spray paint to the board.

- Attach the pulls. We used simple rustic pulls but you can change yours to fit your taste or give it a different look! Make sure to share your builds with us on social media and use #shanty2chic so we can share them too! Happy Building!