Hello summer! I’m sure most of you are also experiencing the heat wave in your area! It’s down right hot in the Lone Star State:) I couldn’t get this project started fast enough!
Ahhh!!! Swoon! Love this set of chaise lounges from Pottery Barn….but I don’t love the $600 price tag (and yes that is the “marked-down” price;) I’m sure they are worth every penny but my wallet will never know!
Nope, I saved some dough and built my own for $25 thanks to the free plans I got from Ana’s site!
Trip to Home Depot for supplies (no kids;) Thank you hubby!
I used my battery-powered drill and nailer to assemble the chairs…. oh and Gorilla Glue Wood Glue of course;) Here are some pictures of the steps I took as I went…
I used the base of the chaise to assemble the back by aligning each board on top of the other to ensure a good match when the back was attached.
Use narrow utility hinges to attach the back to the base. The regular width is too wide…I learned this the hard way…
This is the prop for the back rest:)
Again, narrow hinges to attach the prop to the back.
This is my FAVORITE part! All of these scraps are used to make…
stoppers for the prop on the back rest!!! You just pick the angles that you want the back rest to sit at and attach them!
I finished with Elmer’s Wood Filler and a good sanding using my battery-powered sander and that was it!
Yah, I had to make two:) I might make a third….
I can’t share all of them with you just yet….because they aren’t finished but, I will be back very soon to show you the finished chaise lounges!
These were very simple to build. The only annoying step was the hinges but after I got past the first set I was okay:)
Time invested: 1.5 hours to measure and cut lumber for 2 chairs, 1.5 hours to build each chair.
Money invested: $50 for lumber!
I’m a happy girl:) I’ll be a happier girl when I can actually enjoy them!!! Hope you all have a great FRIDAY! Whoop!
~Ashley
Become a VIP Insider
Stay up-to-date on all the new project, free plans and new products available for you!
Can you please include any ingredients list with the number of each item and the wood plank sizes please. Love it want to make some but need to know how big the wood bits are.
Great project! (sorry) but although for the legs I would use 2×4 butted together forming a right angle…and on the outside slats i’d use 2×4 so that it creates a drop-in spot for the cushion. #wickedbuilding
I found these plans and loved them – very simple to follow. I didn’t like the leg directions, so I tweaked it a bit -using scrap 4×6″ bits, both as a sturdier support AND for better support of those outer long planks. My chaise was made from ALL PALLETS, so it’s not as precise and gorgeous as yours is, but I’m pretty proud of it having no planer to make the wood perfect. I painted it in honor of my Camaro, and although this photo doesn’t show it, it’s also got holo-glitter throughout the clear coats I put on it. I added wheels for mobility in the back (Harbor Freight Tools), and two old handles we hand lying around for the front, and two heavy plastic plates so that the wood isn’t directly on the bare ground until the grass spreads further. THANK YOU for sharing this – it motivated another woman to give it a go. The two camp chairs are just old family chairs that I took apart, cleaned, sanded, repainted and replaced old rusty hardware to save money too. 🙂

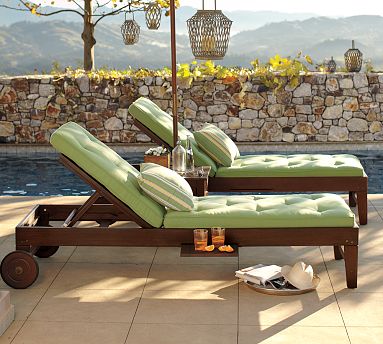 Ahhh!!! Swoon! Love this set of chaise lounges from Pottery Barn….but I don’t love the $600 price tag (and yes that is the “marked-down” price;) I’m sure they are worth every penny but my wallet will never know!
 Nope, I saved some dough and built my own for $25 thanks to the free plans I got from Ana’s site!
 Trip to Home Depot for supplies (no kids;) Thank you hubby!


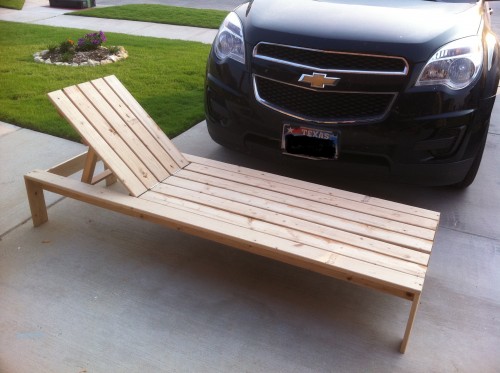 Nope, I saved some dough and built my own for $25 thanks to the free plans I got from Ana’s site!
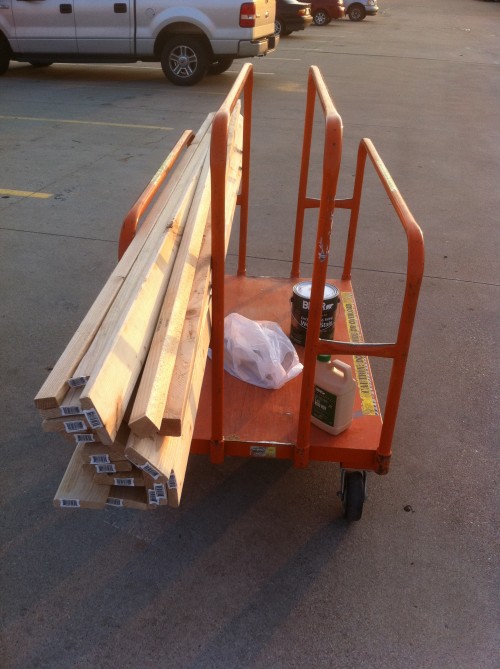 Trip to Home Depot for supplies (no kids;) Thank you hubby!
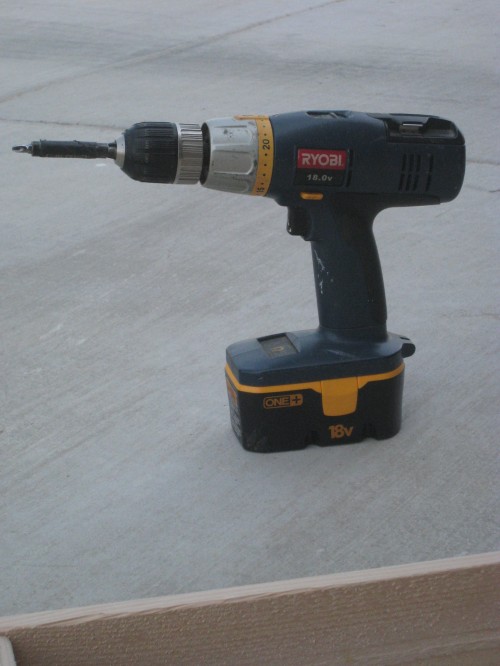
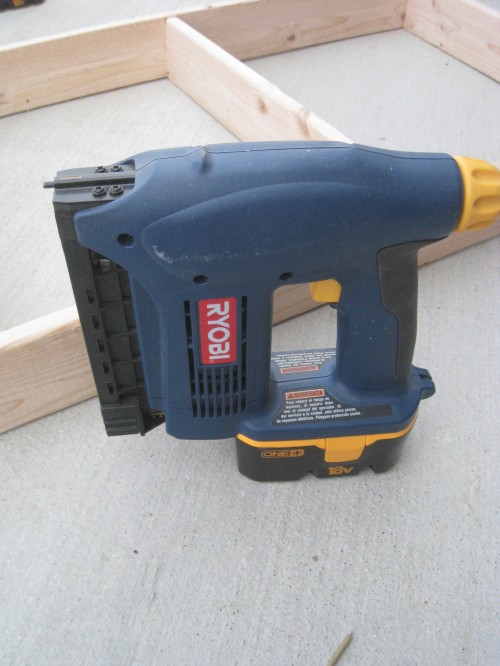 I used my battery-powered drill and nailer to assemble the chairs…. oh and Gorilla Glue Wood Glue of course;) Here are some pictures of the steps I took as I went…
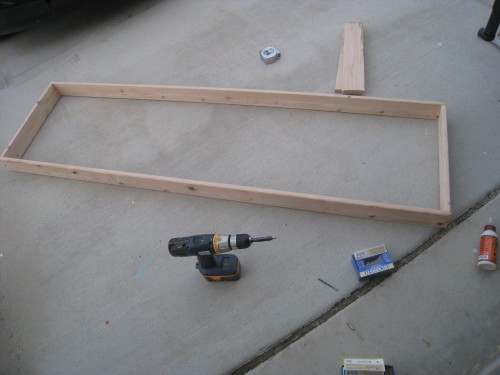
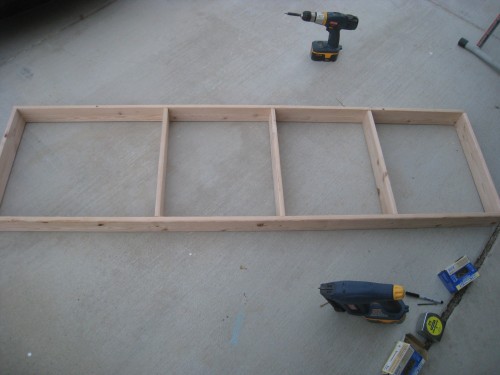
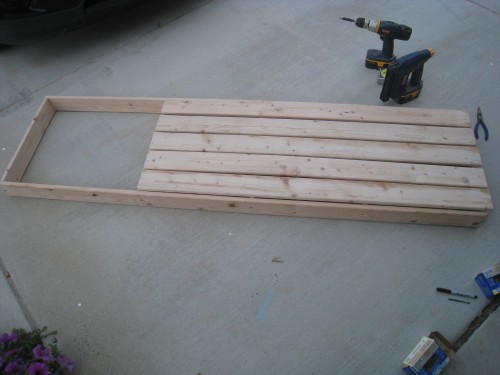
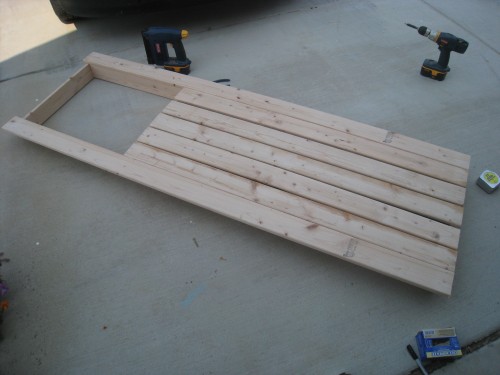
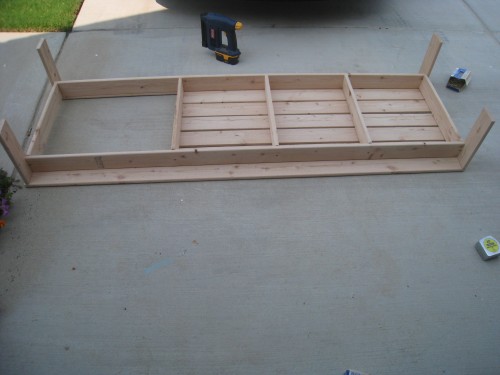
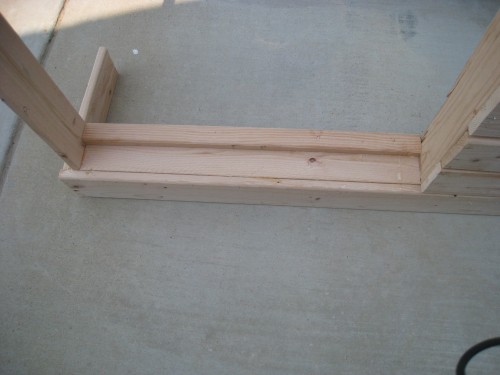
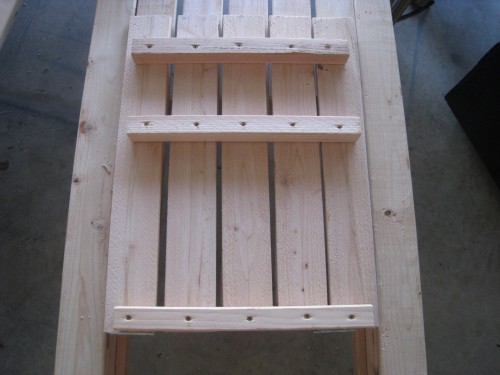 I used the base of the chaise to assemble the back by aligning each board on top of the other to ensure a good match when the back was attached.
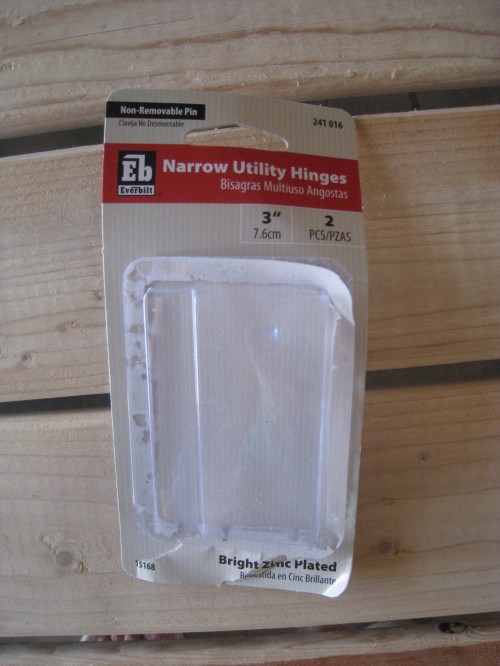 Use narrow utility hinges to attach the back to the base. The regular width is too wide…I learned this the hard way…
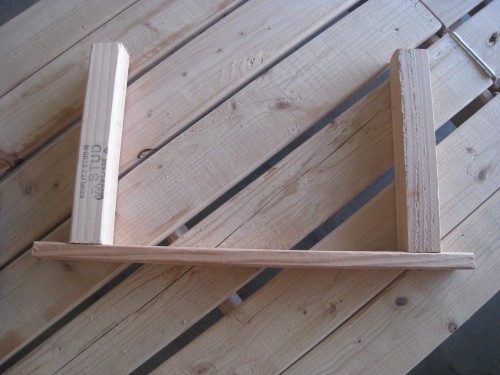 This is the prop for the back rest:)
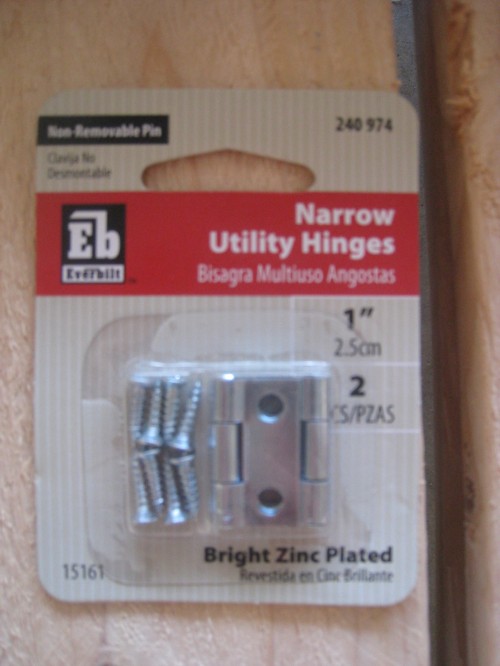 Again, narrow hinges to attach the prop to the back.
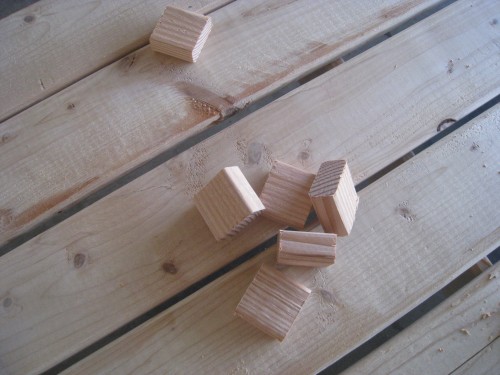 This is my FAVORITE part! All of these scraps are used to make…
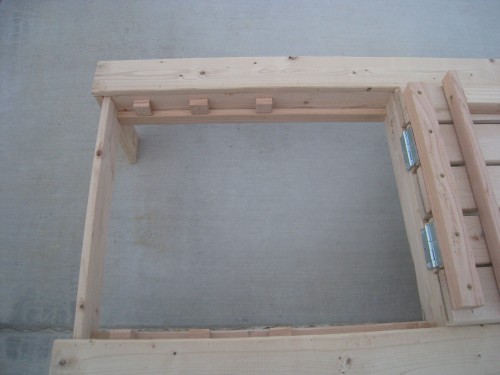 stoppers for the prop on the back rest!!! You just pick the angles that you want the back rest to sit at and attach them!
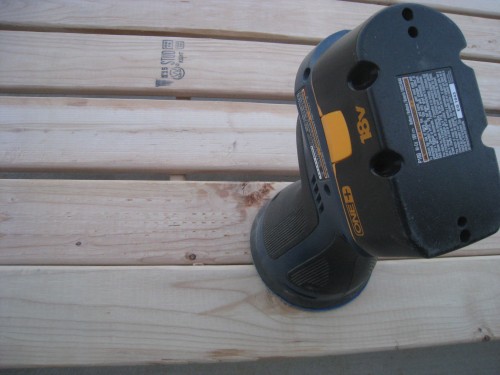 I finished with Elmer’s Wood Filler and a good sanding using my battery-powered sander and that was it!
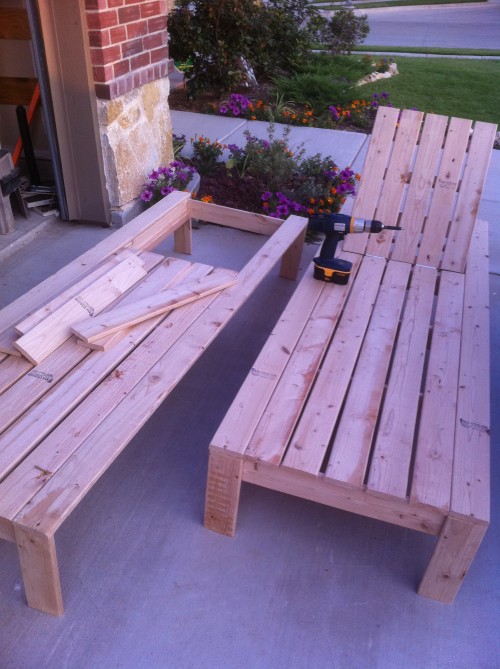 Yah, I had to make two:) I might make a third….
I can’t share all of them with you just yet….because they aren’t finished but, I will be back very soon to show you the finished chaise lounges!
These were very simple to build. The only annoying step was the hinges but after I got past the first set I was okay:)
Time invested: 1.5 hours to measure and cut lumber for 2 chairs, 1.5 hours to build each chair.
Money invested: $50 for lumber!
I’m a happy girl:) I’ll be a happier girl when I can actually enjoy them!!! Hope you all have a great FRIDAY! Whoop!
~Ashley

Can you please include any ingredients list with the number of each item and the wood plank sizes please. Love it want to make some but need to know how big the wood bits are.
Wow! amazing guide.
Did you use the Kreg Jig at all? I can’t decide whether to jig, screw, or nail the boards to the frame.
Love this! I have it in my list to build for the summer!
interesting what you say John
Great project! (sorry) but although for the legs I would use 2×4 butted together forming a right angle…and on the outside slats i’d use 2×4 so that it creates a drop-in spot for the cushion. #wickedbuilding
I found these plans and loved them – very simple to follow. I didn’t like the leg directions, so I tweaked it a bit -using scrap 4×6″ bits, both as a sturdier support AND for better support of those outer long planks. My chaise was made from ALL PALLETS, so it’s not as precise and gorgeous as yours is, but I’m pretty proud of it having no planer to make the wood perfect. I painted it in honor of my Camaro, and although this photo doesn’t show it, it’s also got holo-glitter throughout the clear coats I put on it. I added wheels for mobility in the back (Harbor Freight Tools), and two old handles we hand lying around for the front, and two heavy plastic plates so that the wood isn’t directly on the bare ground until the grass spreads further. THANK YOU for sharing this – it motivated another woman to give it a go. The two camp chairs are just old family chairs that I took apart, cleaned, sanded, repainted and replaced old rusty hardware to save money too. 🙂