It has been bonkers around here. We spent the last week shooting our first several videos for our new YouTube channel that we are launching in the next month! Be sure to subscribe! Somehow during all of that I managed to build my daughter’s bed and finally start transforming her room. I have 5 kids, and I already did my oldest and youngest daughters’ rooms, and she has been very patiently waiting for me to tackle hers. I hope she thinks it was worth the wait 🙂 Here is her new DIY Twin Platform Bed and Headboard!

What do you think? I LOVE IT! I designed this one with a taller headboard, and love the outcome. This is for real a very simple build! I had the whole thing done in a day, and I do think it’s a great first build if you have had the itch to start. As always, I will walk you through the entire build below, and you can download and print the FREE PLANS for this baby by clicking HERE!
This is a two-part plan. You first build the bed, and then the headboard. You can totally use one without the other to fit your needs and space which I also love!
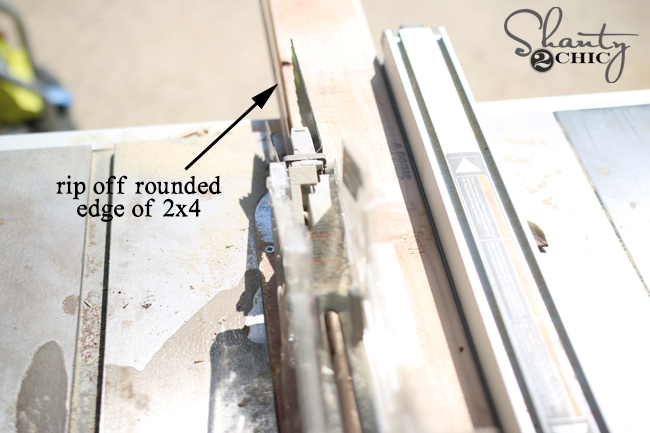
Before building the bed, I ran all of my 2×4 through my table saw to cut off the rounded edge. This step is completely optional. I feel like it gives the furniture a more professional look, a little less like you built it out of 2×4 😉
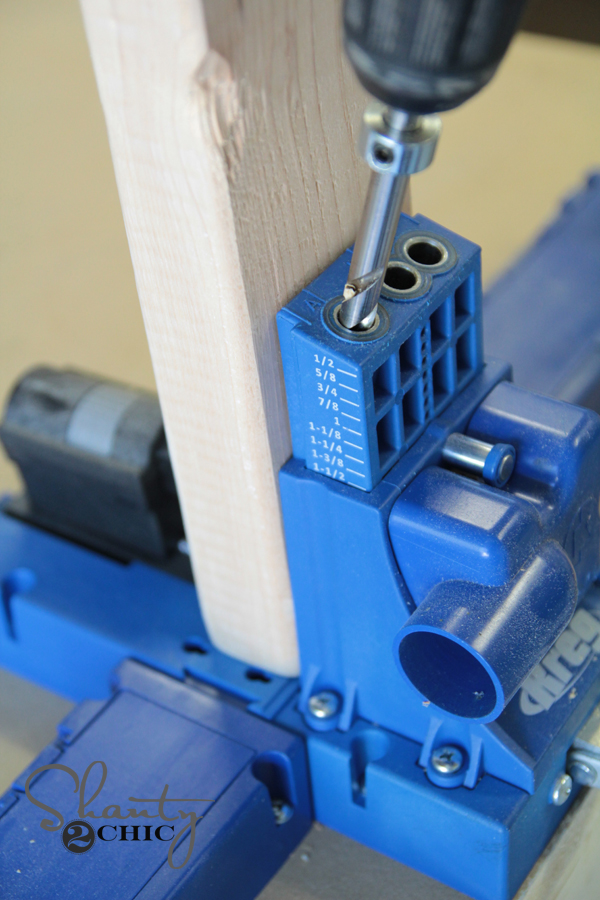
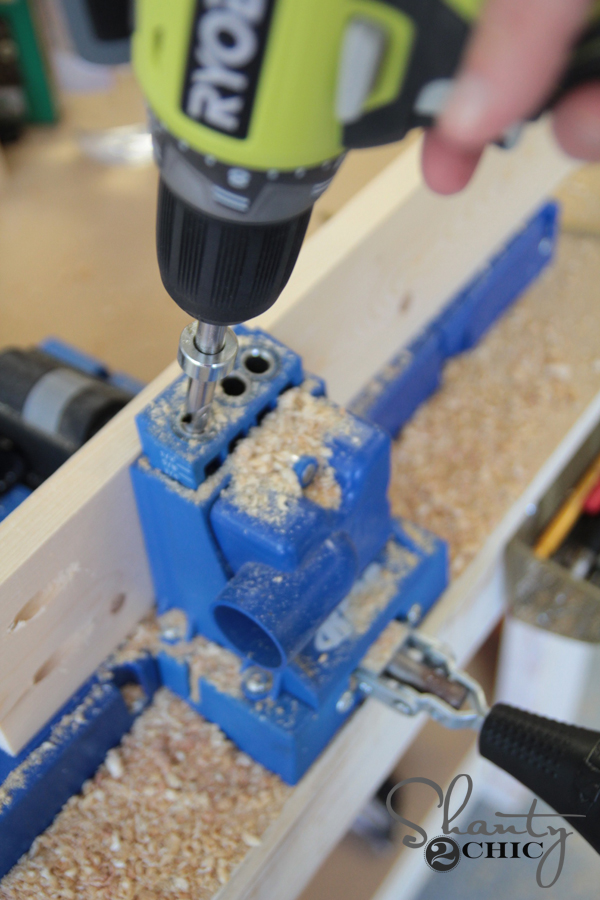
I started with the bed. I used my Kreg Jig on both pieces. Many of you ask which Kreg Jig to start with. There are many to choose from, and we have used and own most of them. We totally recommend starting with the K5. It is larger than some of the other models, but it’s more used friendly, and you will instantly become hooked. Trust. You can check it out HERE on Amazon!
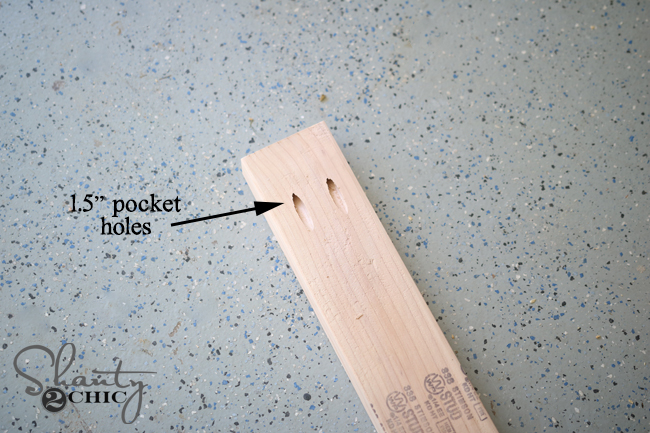
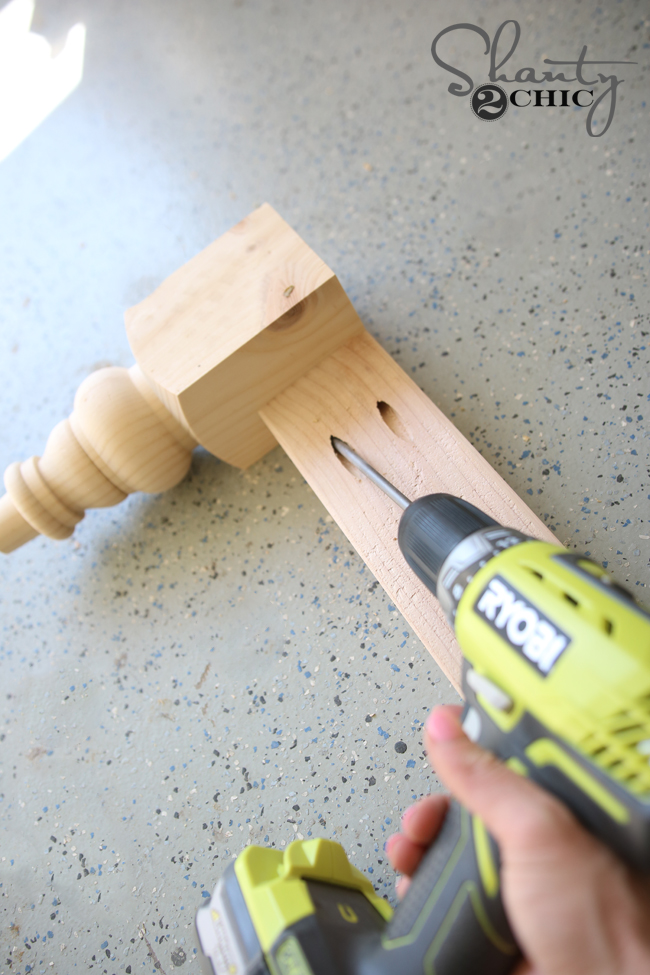
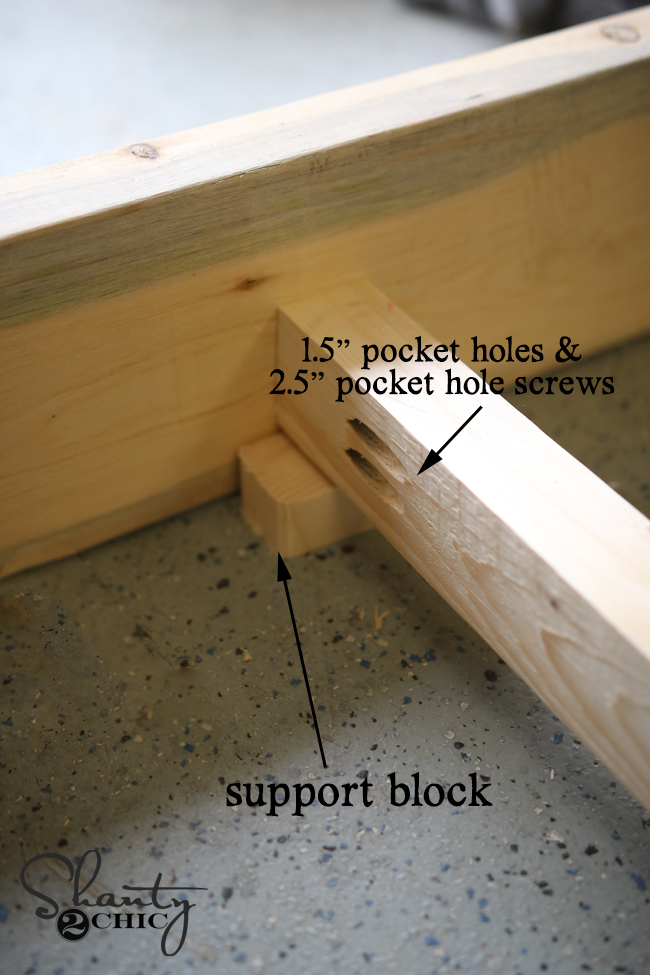
I started by making all of my cuts on my miter saw, and then I made the pocket holes. The bed is made from 2x boards, so I made 1.5″ pocket holes.
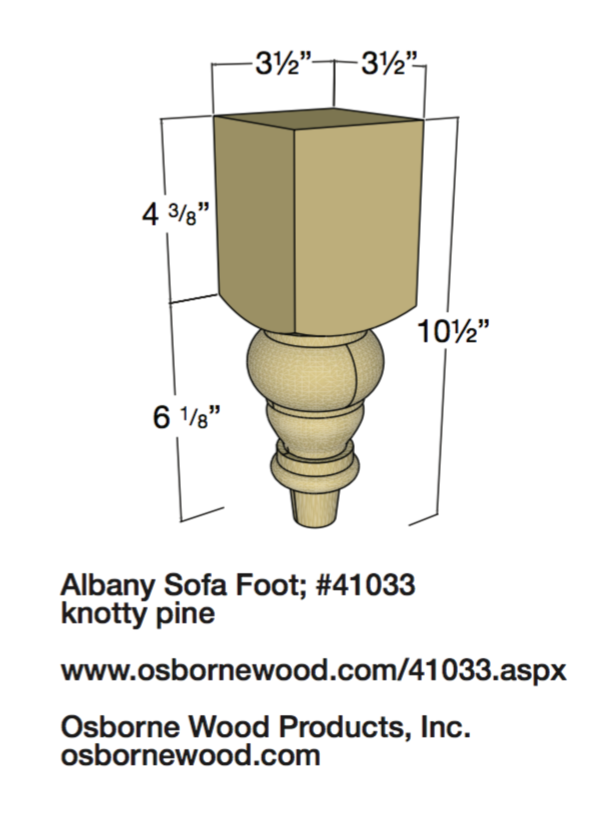
I used my Ryobi drill to attach the sides of the bed to the feet of the bed with 2.5″ pocket hole screws. The feet! I forgot to tell you about those 🙂
We got these from our good friends from Osborne Wood, and you can purchase them HERE! and you can also find them on Amazon HERE!
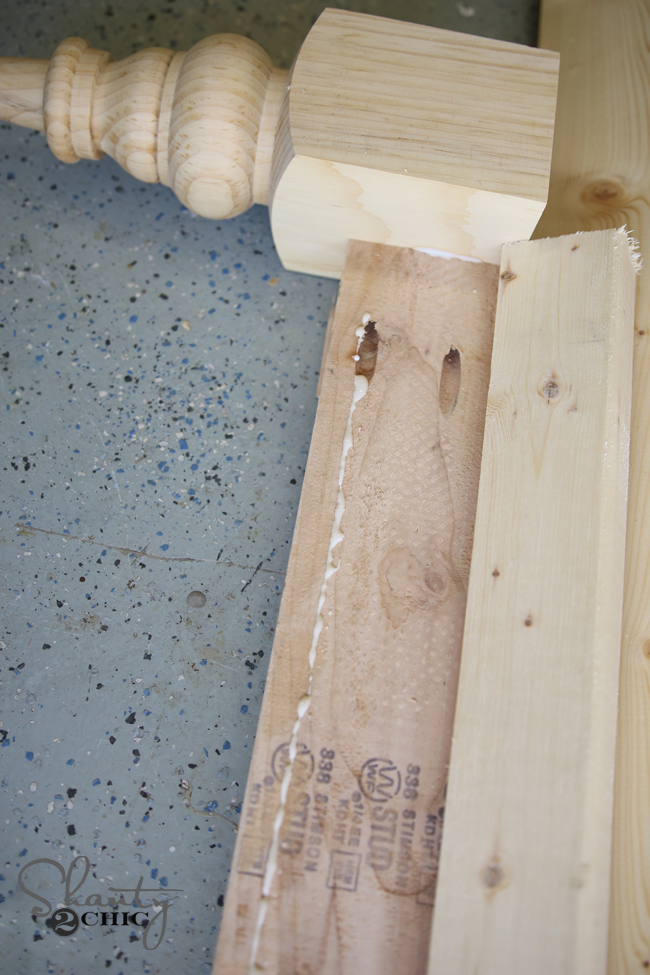
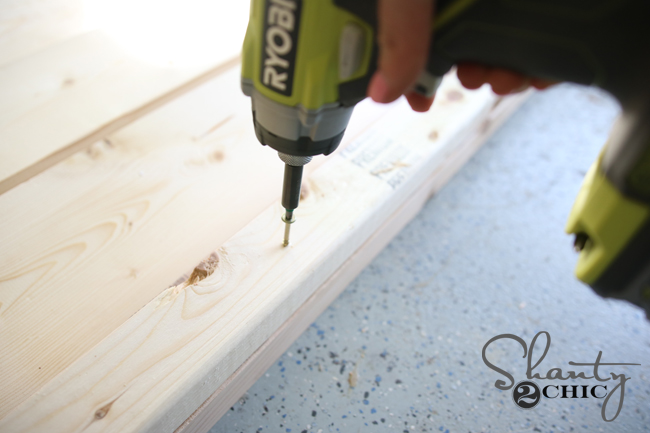
Next, I attached my side support boards with wood glue and 2″ torx screws. I used my Ryobi impact driver for this part, but you can use a drill as well!
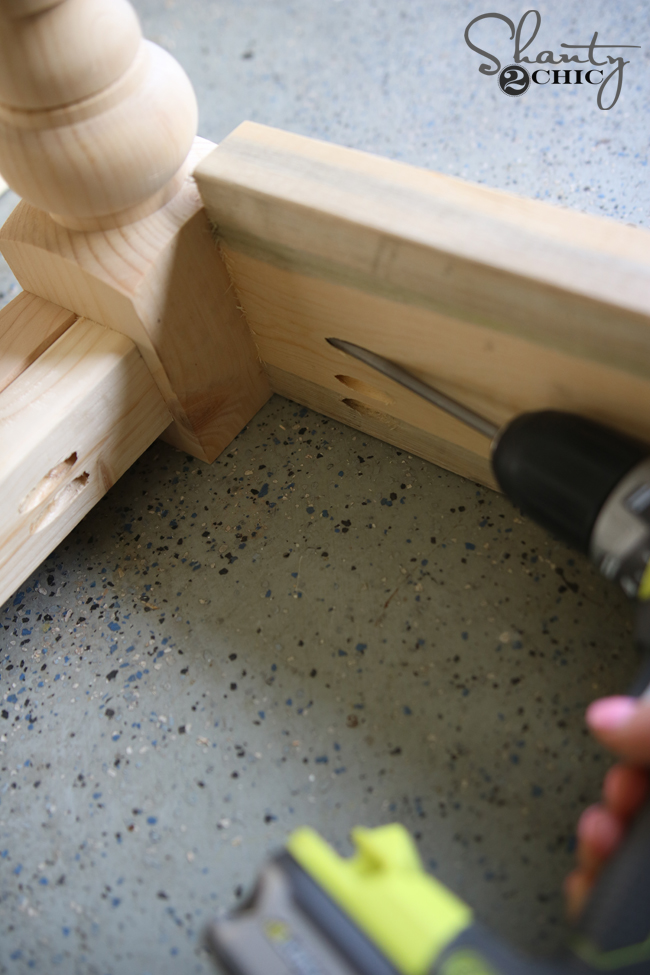
Once I had both sides done like this, I attached my back and front pieces to form the frame of the bed. I use wood glue and 2.5″pocket hole screws through the pocket holes and into the feet to attach this part.
The center support board was next. I used a few small scrap blocks cut to the right size to hold this board in place while I attached it with pocket hole screws.
Your final step on the bed is to attach all of your runners that will hold the mattress. I used my Ryobi brad nailer to hold each of these in place. The bed should look like this at this point…

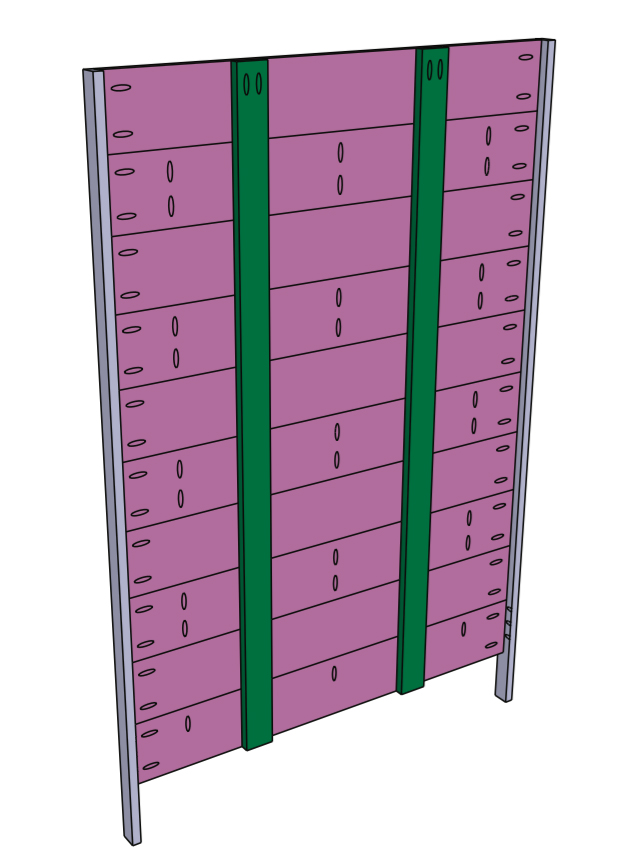
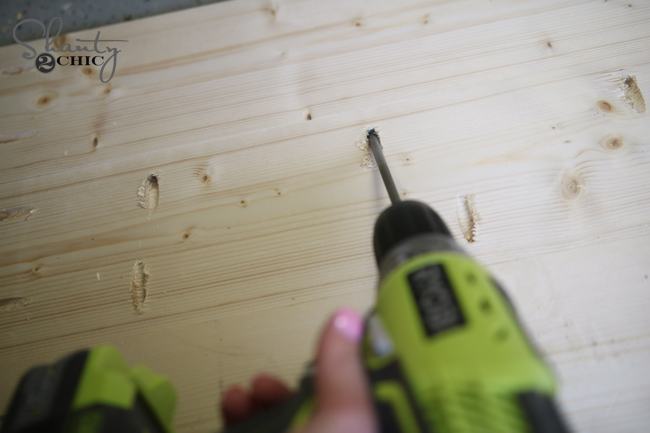
Now for the headboard! I started by making all my cuts for the planks. These are all the same length, but will get different pocket holes. Some will get pocket holes on the short ends only, and others will get them on both short ends and down the long sides. These will all be 3/4″ pocket holes since you are using 1x boards, so be sure to adjust your Kreg Jig before making them!
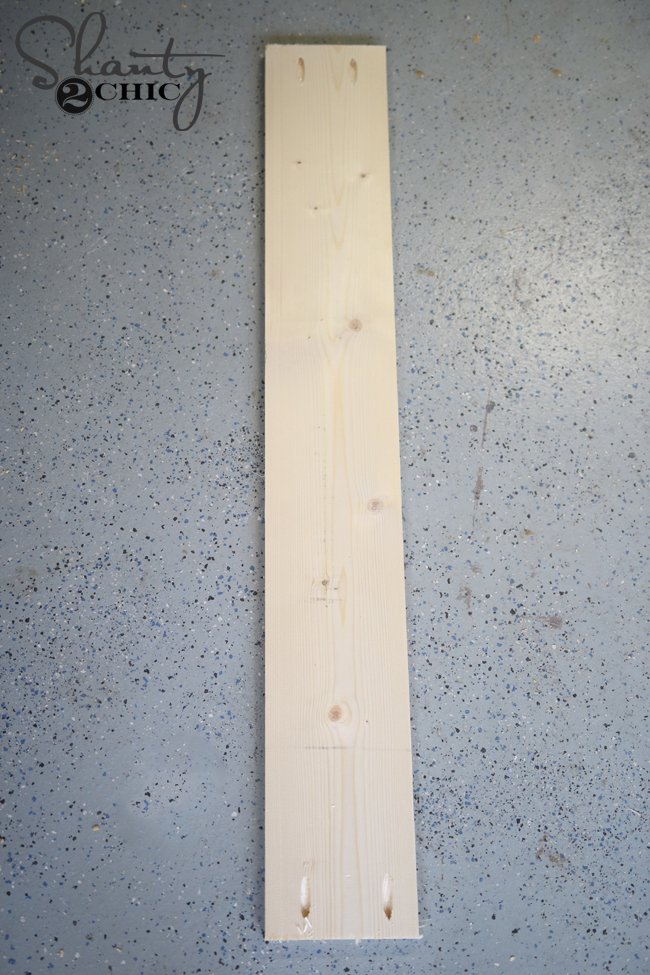
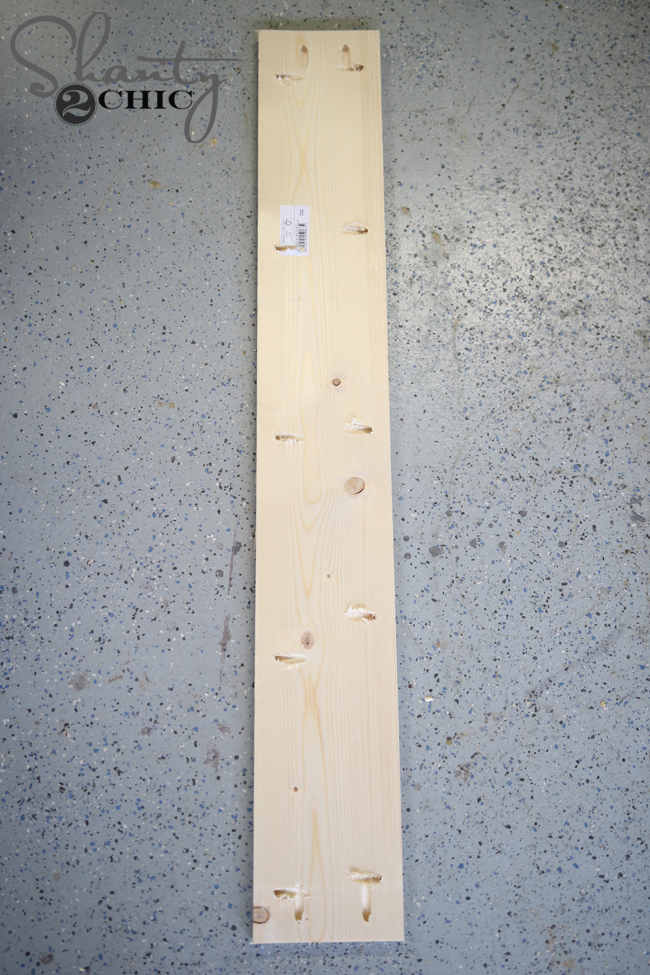
You can see in this picture how you will alternate the boards with the pocket holes when you attach them.
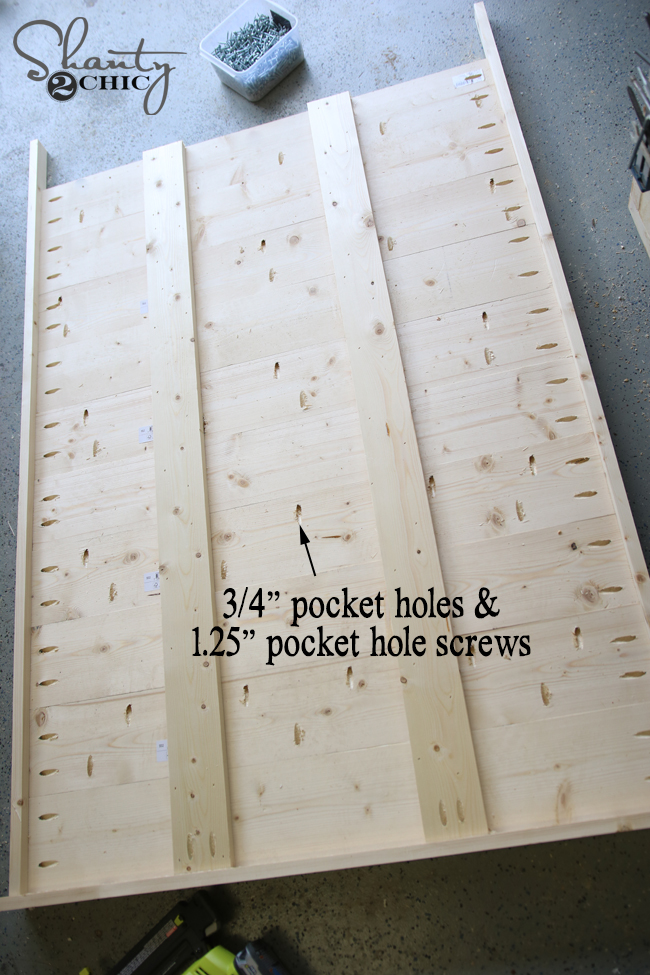
I used 1.25″ pocket hole screws to attach all of the boards on the headboard. I did all of my planks first.

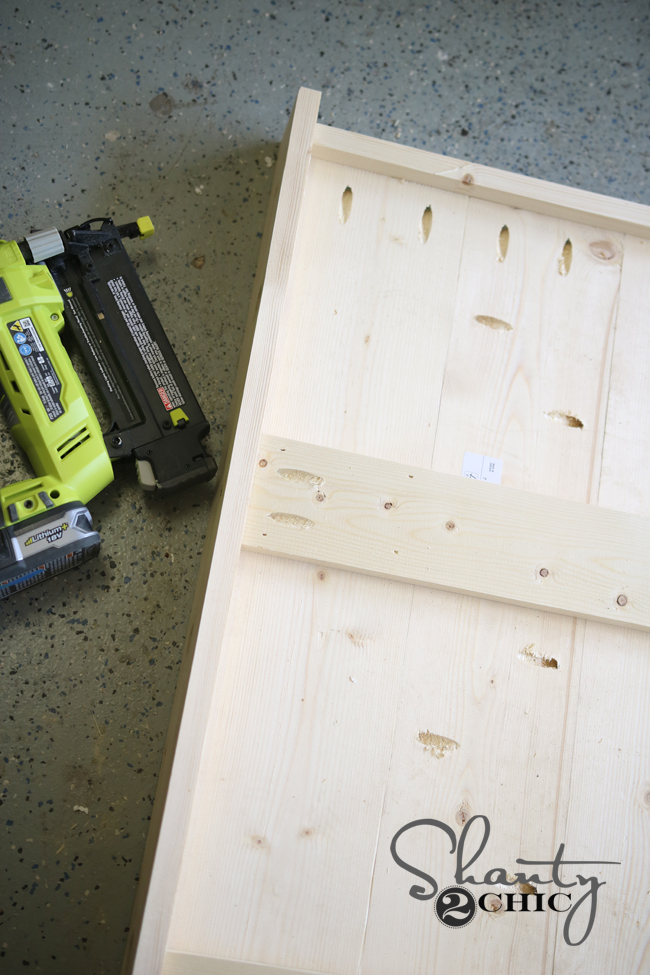
Next, I attached my 1×2 boards down each side using the same screws.


I attached the back support boards with wood glue and 1.25″ finish nails and then attached the top board with pocket hole screws through the support boards and into the top.
Another shot…
My final step before staining was to cut and add my cove moulding. This is really simple. I cut at a 45 degree angle and hold the moulding in place to mark how long I need to cut it. It just wraps along the top. I attached this with wood glue and small brad nails.

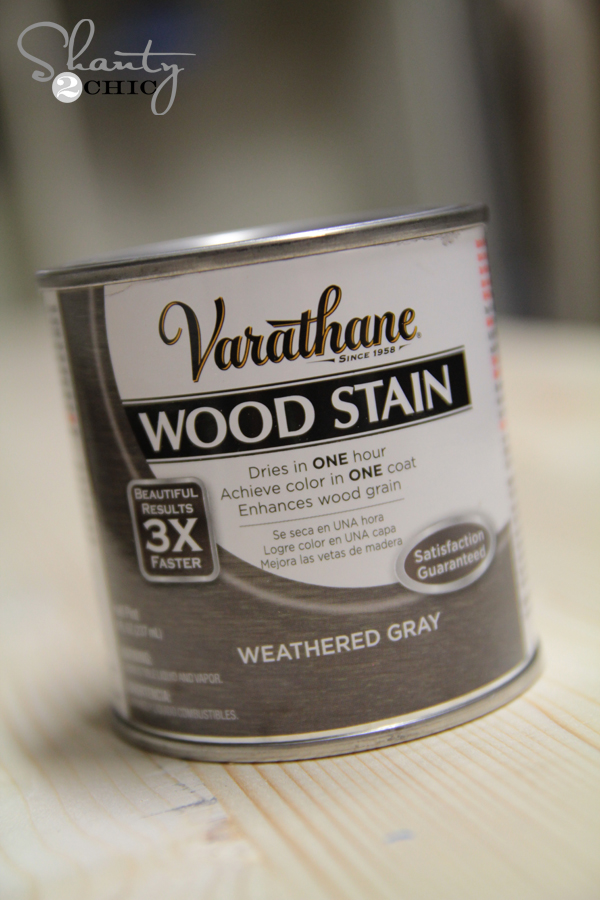
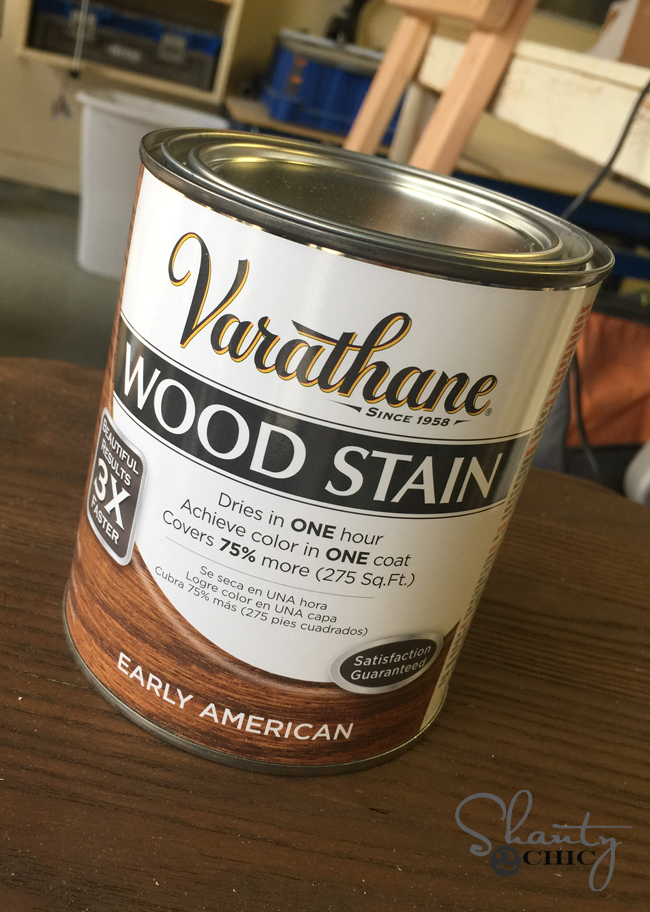
Time for stain! I used a mixture of stains to create this finish. I love the weathered grey finish by Varathane at Home Depot, but to me it can look a little too blue. So, I like to mix it. I added some Early American, about equal part of each. Just mix it with a stir stick and you’re ready to go!
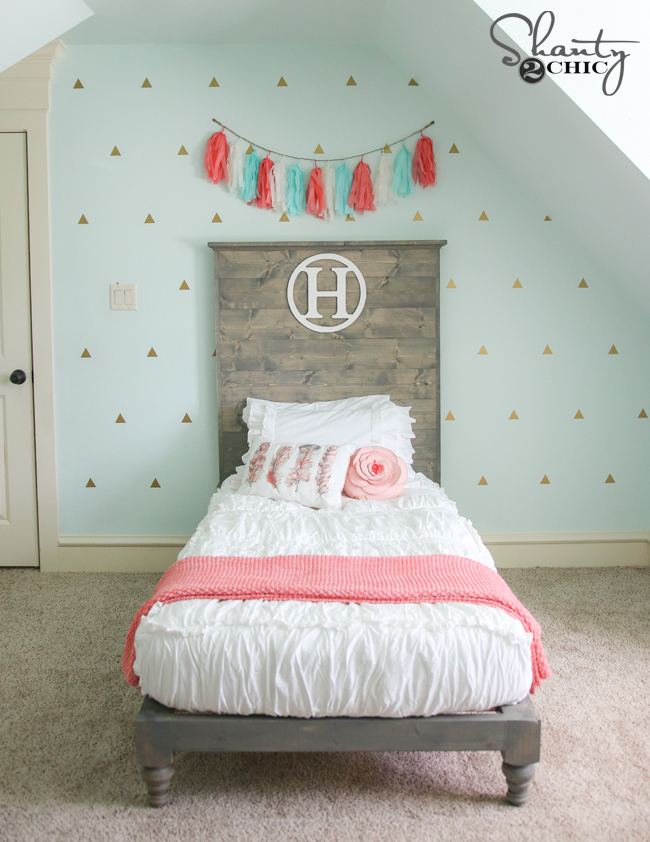
Here it is all finished up and in her room!

Now for the fun stuff….
The bedding is AMAZING. I discovered Beddy’s last year when I was redoing my other daughter’s room and I seriously fell in love. It’s zipper bedding, to make it easy for the kiddos to make the bed. And, you can’t tell! I have been amazed how well it holds up to washing and drying too, which I have had to do a lot of with my littlest one. Check them out! You will love their products! You can also find them HERE on Amazon!
The wall decals are from Urban Walls… LOVE.
The H is an MDF piece I found at Michael’s super cheap and painted. I attached with command strips in case I ever don’t want it there.
The two pink pillows and throw blanket are from Target.
The wall color is Embellished Blue by Sherwin-Williams SW-6749 and the trim color is Antique White by Sherwin-Williams.
The cute little tassel thing above the bed is from Hobby Lobby.
Whew…. I think that does it.
Let me know if you have any questions at all and thanks so much for stopping by!
~Whitney

One of the Great part of the site
One of the best part of the game .
This is an amazing site,
I love your work! It seems to me that you are doing a really useful job. Many people are interested in seeing such solutions and then applying them in their interior.
Great content, thanks for this wonderful content!!
Indeed, this is some amazing stuff.
Thanks for sharing this post with us. I have come across your site while searching the issue with Instagram and found this site useful. I like this site for entertainment
I like your commenting for promoting
Very impressive. I liked the fact that it was easy to use.
Thanks for sharing this post with us. I have come across your site while searching the issue with Instagram and found this site useful. I like this site for entertainment. Thanks again.
It looks great. And the steps described are so easy to get. Thanks pal for sharing the pos.
Good Bed. Thanks for sharing. I will buy it
Nice post, thank you so much.
I love twin platform beds. Thank you for sharing all these important tips. I am going to make one for my daughters.
Hey, you daughter’s bed is so beautiful. She is so lucky, she have you 🙂
Can you give me some tips on how to make such a beautiful bed for my son?
It looks great, your post is helping me a lot. I would love to see more about it. Keep sharing and updating us. Such a useful post
Thanks for sharing the helpful tools.