
I am in the middle of “musical rooms” at my house with the new baby on the way which also involved moving the kids playroom. I have spent the last few weeks building, revamping and painting this area. My latest project was changing up the old frame wall. I showed you guys how I fabric matted my old frames. This time around they will be getting a pop of color 🙂 Fun!
I am using the old frames from the wall and will also be adding a few new ones. To start, you will need a frame. I found all of mine at Walmart and Big Lots for under $3 a piece. I like to get all different styles and shapes.
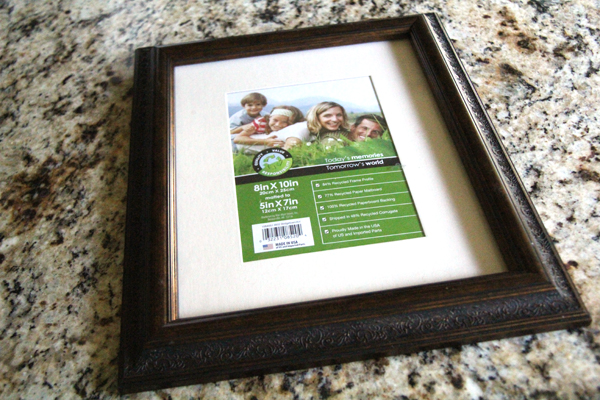
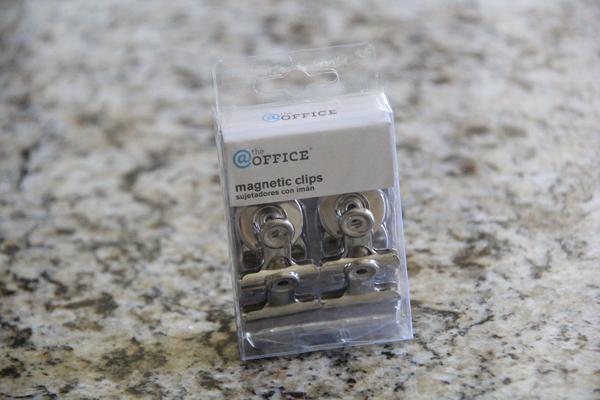
Remove the glass and all the other goodies that come on the inside of the frame. I spray painted all of my frames with 1 coat of Rust-Oleum Painter’s Touch in Cardinal Red. I also purchased a couple packs of these clippies from Walmart at $1.88 for 4. They also got a coat of Cardinal Red.
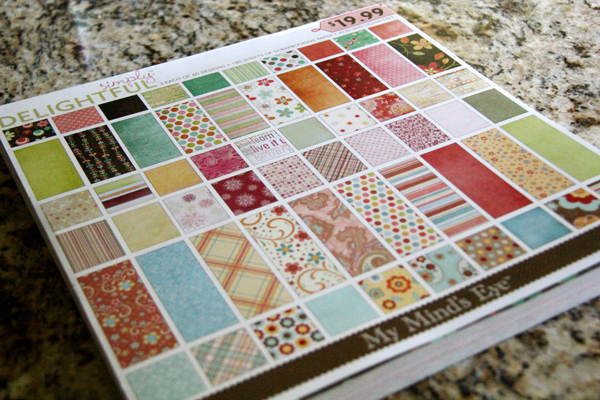
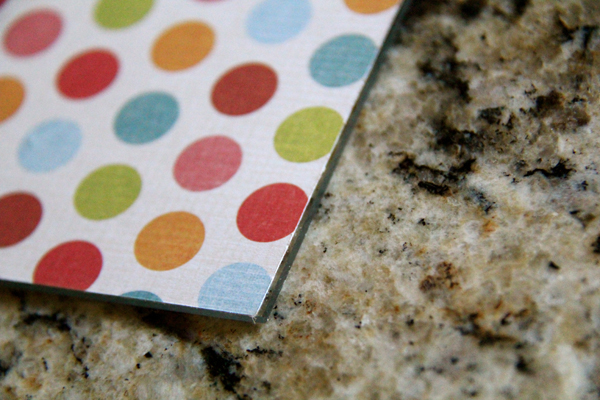
I decided to use scrapbook paper for my backgrounds. It’s cheap and comes in just about every color. I wanted to use the colors from the new play kitchen I built so I went with this book from Hobby Lobby at 1/2 off. I have lots of extra paper but the kids will take care of it 🙂
I then used a craft knife to cut around the mat or glass of each frame.
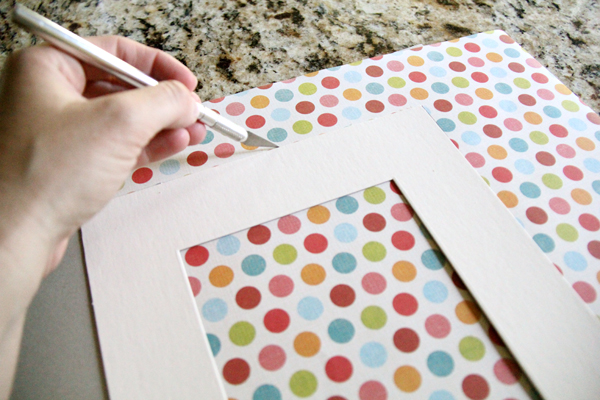
Then, I sprayed the glass with Elmer’s spray adhesive and stuck the paper down to it. I realized after doing this once that it is much easier to attach the glass to the paper and then cut. Oh shwell.
Then, just put your glass back in the frame. I like to include the mat and any cardboard that came with it in there behind the glass to keep it good and tight.
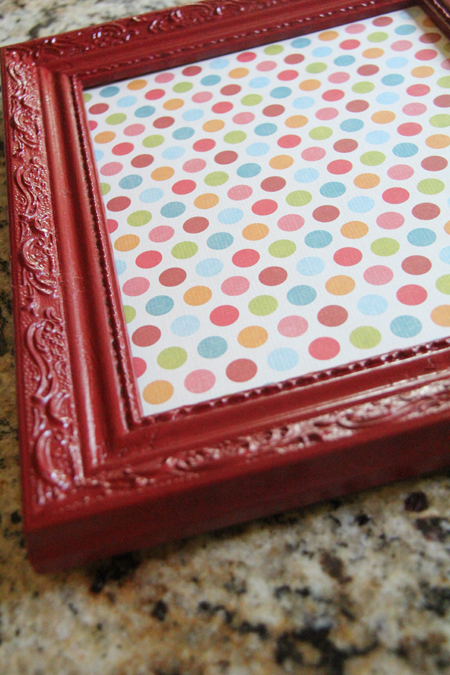
I used a little hot glue to attach my newly red clips to the top of each frame. These are super cute and make it super easy to change your pictures out often.
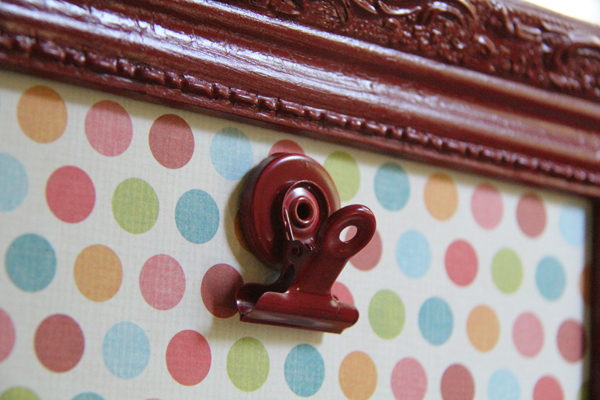
Then, just attach the perfect picture!
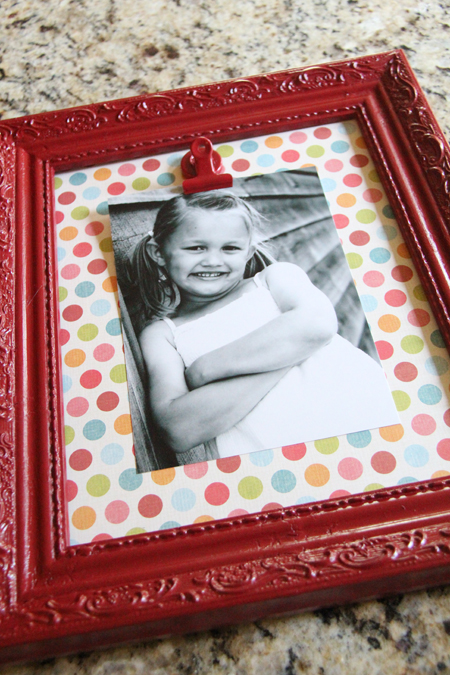
I finished several for the play room wall but I have more to go. 5 kiddos means lots of frames 🙂
Here they are for now though…
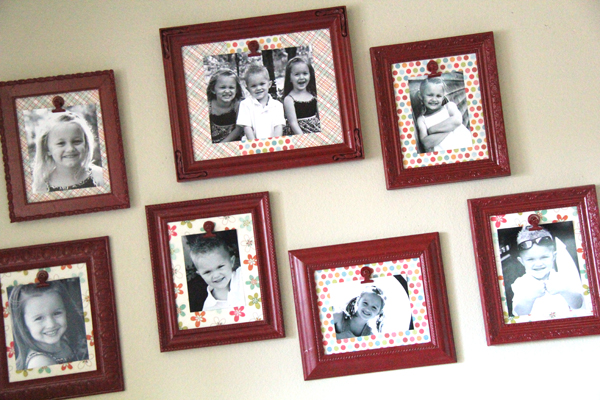
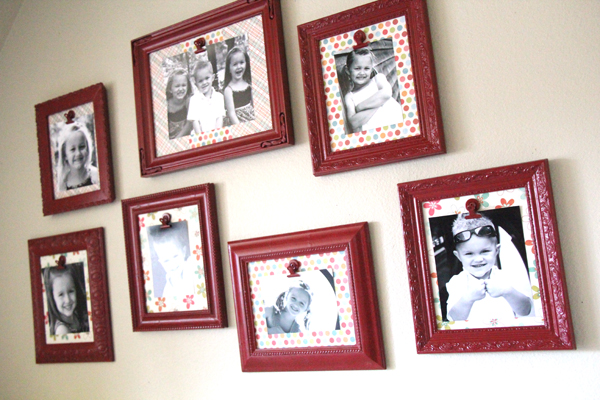
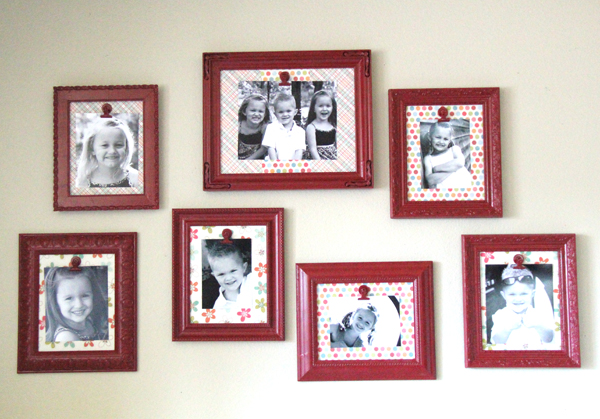
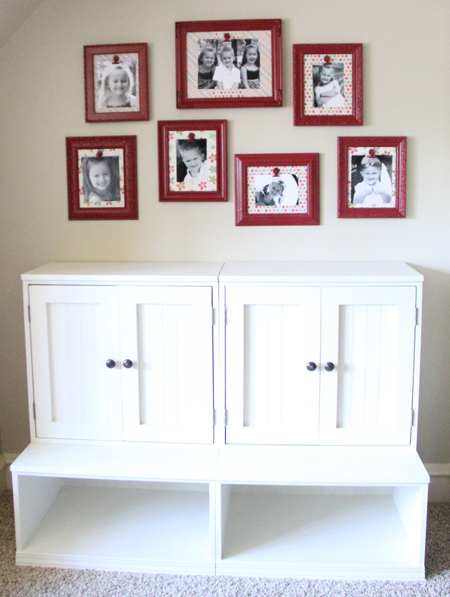
Hope you like them! They add just the color that I need and I revamped all of them for almost nothing!
Thanks so much to Tam at Sew Dang Cutefor asking us to guest post! And congrats on that sew dang cute new baby ;-)!!
Make sure you go check out our post and others over at Sew Dang Cute!

doing this today!!!! thanks for the great idea….
thank you for thew adorable idea. I made two for my daughter’s room and they look great. my question is did you prime the clip before painting? Mine kept dripping. thanks
Very specific directions! Thank you soooooo much for sharing. I can’t wait to make mine. I just became a grandmother for the first time and I need to put up pics and I want to be able to keep them updated as he grows so fast. Thanks, thanks, thanks.
What size frames did you use? It looks awesome! I’m not so good @ this type a thing 😉 ~ Thanks!
may be a dumb question. Did I miss how you attached the clip? Magnetic paint? nail? glue?
I just read through it and it says hot glue:-)
I just finished this frame project for my entry way. It turned out great. Such a cute idea. I hate taking frames apart and trying to get the picture perfectly straight! I blogged about it today and linked to your post, so I thought I’d share the link. 🙂 http://bsnovelwritingblog.blogspot.com/2012/07/pinterest-and-soap-successes.html
I used to have a refrigerator full of stuff. Now with grandkids, they can all have their own frame in the playroom for their art work. My kids grew up with the four colored tupperware cups so I think I will try one of each color so they know whose frame is whose.
Awesome and bargain idea! Perfect for gifts and for our house! Thanks so much for sharing!
Super cute! And the bunch of them looks great all together!
jamie @ sewrockin.com
I saw this on Pintrest. What a great idea! I love it and definitely going to make these! Thanks for the inspiration 🙂
What a great idea I can’t wait to try this!
Love this idea! Thanks for sharing.