I jump around projects like crazy! I just start working on whatever sounds fun at the moment so this week I tackled more of my laundry room.

If you remember my last Laundry Room post this is what I started with…
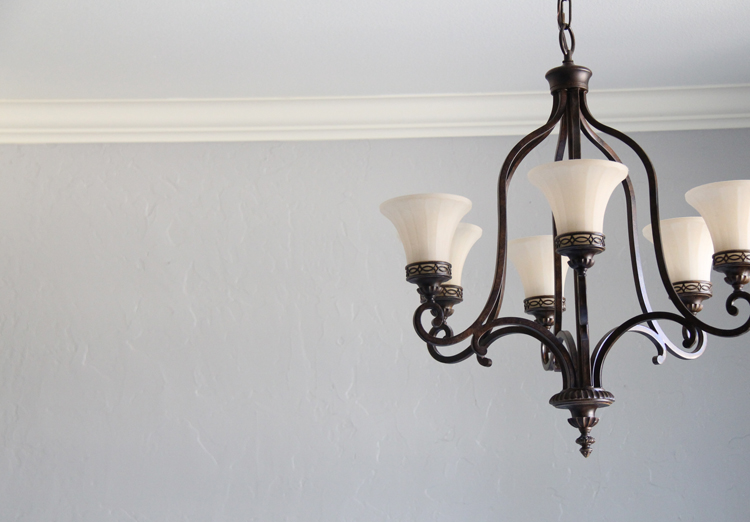
 This is where I’m at now! Not done but getting there! I added crown molding this week:) This was my first experience with molding and I’m pretty pleased with it!
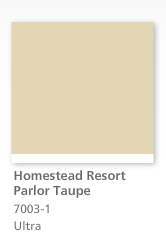
 I painted the walls Gray Area by Bher and the ceiling with a white to match my trim. Our texture is very thick and there was not a tape on the face of the earth that made a smooth line between the two. So…..crown molding it was!

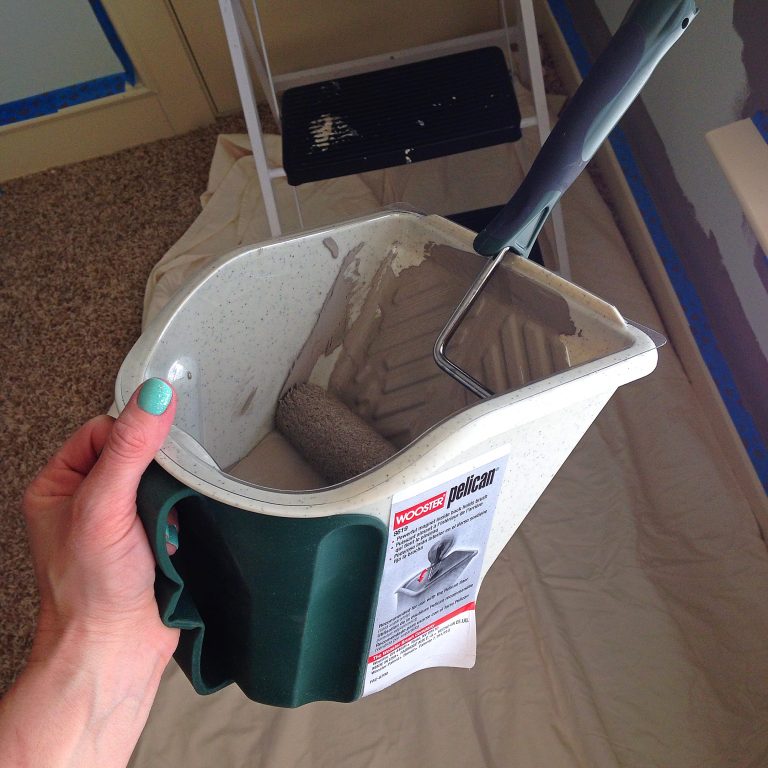
I painted the molding before I put it on the walls and this made my job sooooo much easier!

I purchased these little cuties at Home Depot ($4.00 each). They are no miter corner pieces and these also made my job soooo much easier! Straight cuts, no mitering ~ yes please! ( I also painted these before I put them up).
 I used Liquid Nails and 2″ finishing nails to put the corner pieces up first and then i measured the cuts for the trim.
 I also used Liquid Nails on the trim and then hammered it up with 2″ finishing nails.

This was so quick and easy and only cost me $16!!!


 So, what started out as a cover-up ended up better than expected! I love it so much that I’m ready to start in my other rooms!!!!
Thanks so much for stopping by and HAPPY FRIDAY!!!!!
~Ashley


Nice touch!!!
That looks fantastic! If you have a chance, would you mind emailing me the color of paint you used? I’m looking to paint our bathroom grey-toned and having a hard time finding a good shade. I love what you used. My email is getprettywithlaura@gmail, thanks! 🙂
Just emailed you. Thanks!
Gorgeous! I discovered those corner pieces a few years back. My hubby headed up to Dallas to watch the race at TMS, so I decided I’d put up crown molding myself in our daughter’s room. I jacked up the miter cuts (naturally; the last time we did crown, he was around to help for that part), so I went out to get more trim. Found the corner blocks and was done in NO time. And it looks SO much better than trying to cut in. And it makes repainting so much easier in the future!
Looks awesome! I’ve been dying to do crown moulding but have put it off due to the miters. I need to find those little corner pieces! Thanks as always for the inspiration!
Looks great! Just had a thought…if you switch your washer and drier places wouldn’t the doors open towards each other making switching the laundry a lot easier?? Your hook-ups may not reach but just a thought. 😉
Thank you Cindy! I can actually take my doors off and have them swing the other way. Pretty cool feature but of course I haven’t gotten around to it in over two years;) Every time I unload the washer I think ‘I really need to switch these doors out’….. but then I move on to something else:) I may tackle that today! Thanks for motivating me!
Oh my goodness! I love it so very much! Thanks for the idea!
Thank you Amber! It was EASY!
So inspiring!! Love what you are doing. You are so creative! This is a fabulous laundry room. Makes me want to redo mine!
Thank you Stephanie! I can’t wait to have it finished!!
I jump around from project to project too! Once in a while I actually complete one 😉 Your room looks great!! And I love the corner pieces. I just might have to try that. Good job!!
Thank you so much Nancy! It makes DIY’ing more fun when it is sporadic;) I love the corner pieces too! It was a very simple project!
I love the idea of no miter corners! Great job!!!
Thanks so much! It made the cost a little higher but it was worth it!
Very nice! That’s gotta feel good to accomplish a project like that!
Thank you Jenny! I want to add the molding in my other rooms now! They look so bare now:)
looks great. you sound like me on your projects today i work on the chalkboard, tomorrow the nursery, the next day the den…haha
Thanks! It keeps everything fun and interesting:) Probably not the most efficient but it’s fun!!!
I love it! It looks so great… I’ve never seen those corner pieces before, what a great idea!
Thank you Katie! They make it so easy!!!!
Looks great! Love your homemade pedestals! Unfortunately I paid the unnecessary bucks for the matching ones when I got my wm and dryer. I saw a tutorial for how to make a pedestal shortly after. Ugh, why didn’t i think of that?!
Jen
Thank you Jen!
I love it! I totally forgot about those corner pieces! I just spent an hour cutting mitered edges for frames I made. I wonder if they make really small corner pieces?!?! I also used Liquid Nails for the first time…not too bad! 🙂
Thank you Stephanie! They do make smaller corner pieces…like tiny! LOVE liquid nails btw:))))
Your laundry room came out wonderful !! I need to redo mine soooo badly!
I love those corner thingies !! How cool is that ~
xoxo
Lori
Aw Thank you Lori! They were a little pricier but well worth the time saved!!!!