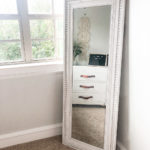
DIY Full Length Mirror
Come build the cutest DIY Full Length Mirror with free plans and an easy to follow tutorial!
Ingredients
- 1 3/4" laminated pine project panel
- 2 1.25" wide casing
- 2 3.4" basic molding
- 2 bagged wood half circles
- 2 1 x 2 x 8 pine or whitewood
- 1 16' x 60' frameless mirror
- 1 mirror adhesive
Instructions
- Cut List
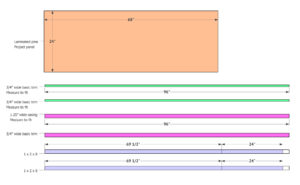
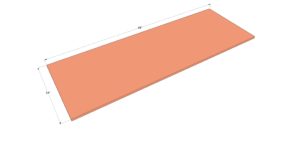
- The base of this mirror is a laminated pine project panel. You can also use 3/4” plywood. Cut the plywood to the size above, or have the hardware store cut it for you.
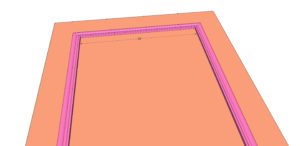
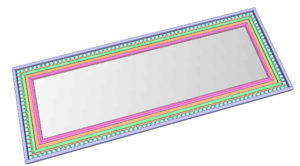
- Use a pencil to mark draw a line around the mirror. You want it to be evenly spaced both vertically and horizontally. Add the first layer of trim on the outside of this line. I used 1.25” pine casing from the hardware store. Any thin trim piece will work! Attach these trim pieces using wood glue and 3/4" brad nails.
- Attach the outside trim next. This is 1x2 boards. Cut the short sides to size and attach using wood glue and 1.25” brad nails. Next, measure and cut the long sides and attach them the same way.
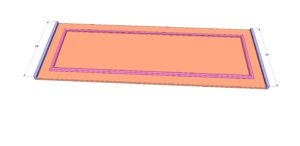
- Attach the half circles next. These will line up flush against the outside trim boards, and you will attach each one with wood glue and 1” brad or pin nails. I found it helpful to lay all of mine out first and then glue and nail.
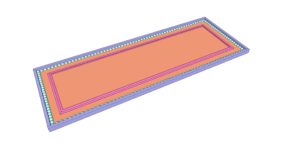
- Attach the half circles next. These will line up flush against the outside trim boards, and you will attach each one with wood glue and 1” brad or pin nails. I found it helpful to lay all of mine out first and then glue and nail.
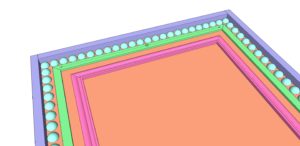
- The final piece of trim to add is the small 3/4” trim. This will sit just to the outside of the half circles. If you can’t find trim this size, you can easily create it by cutting a 1x4 or 1x6 board to 1/4” thick with a table saw. Attach each piece using wood glue and 3/4” brad nails. Repeat the same thing with the longer trim. Each of these trim pieces will be cut at a 45˚ angle.
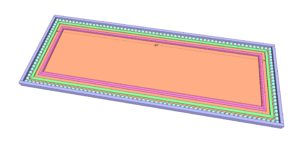
- After adding your finish, add a large amount of mirror adhesive to the middle of the project panel. Attach the mirror in this space and secure it down until it dries.
- Click HERE to print these plans!