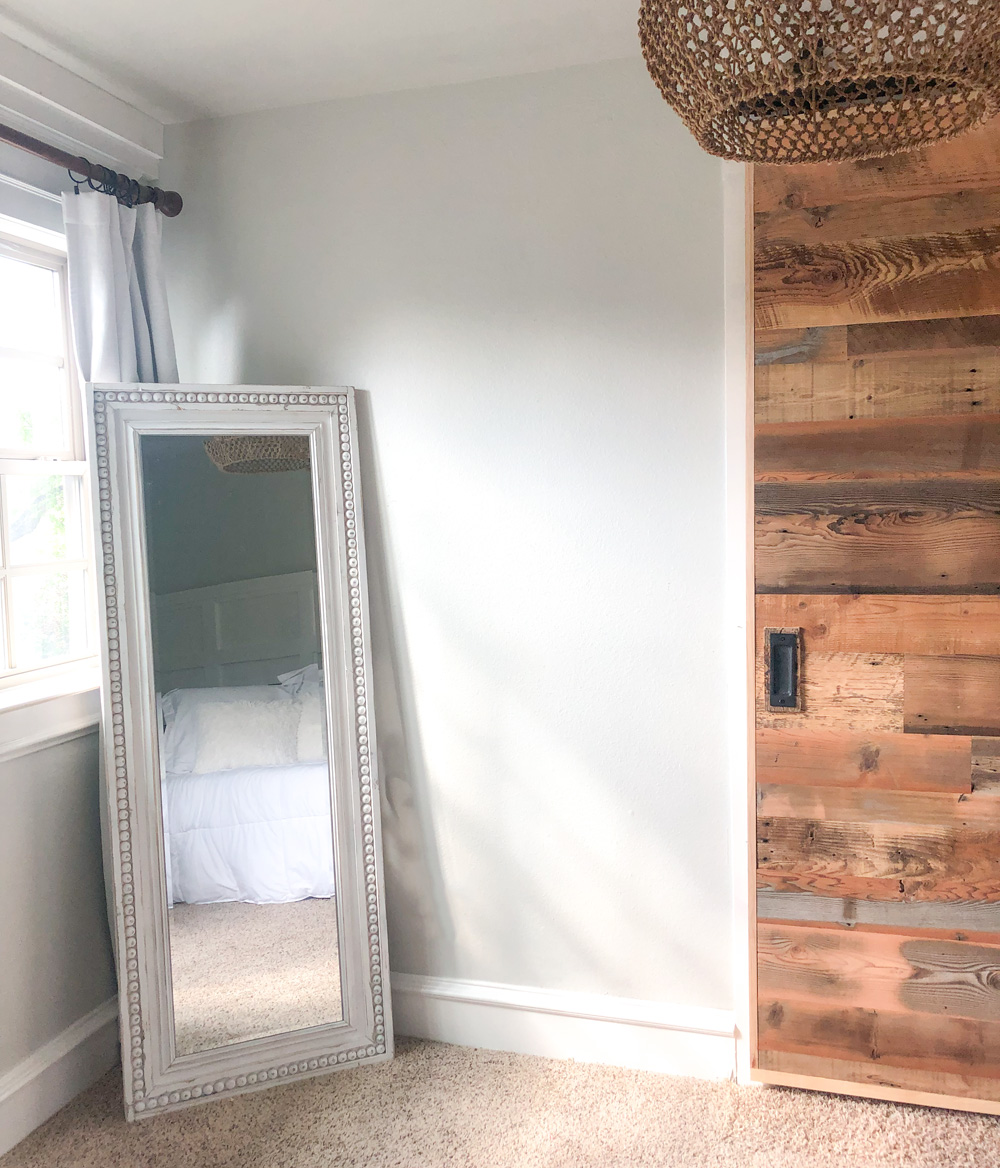
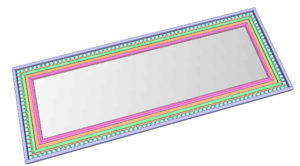
Come build this super cute and inexpensive DIY rustic chic full length mirror with free plans and easy to follow instructions!
Click here to jump to the plansI recently gave one of my older daughters a new room, and I have been busy completing projects for it. She requested a full length mirror, and that’s just what I gave her! Wait until you see how cute this turned out!
Table of Contents
Step 1
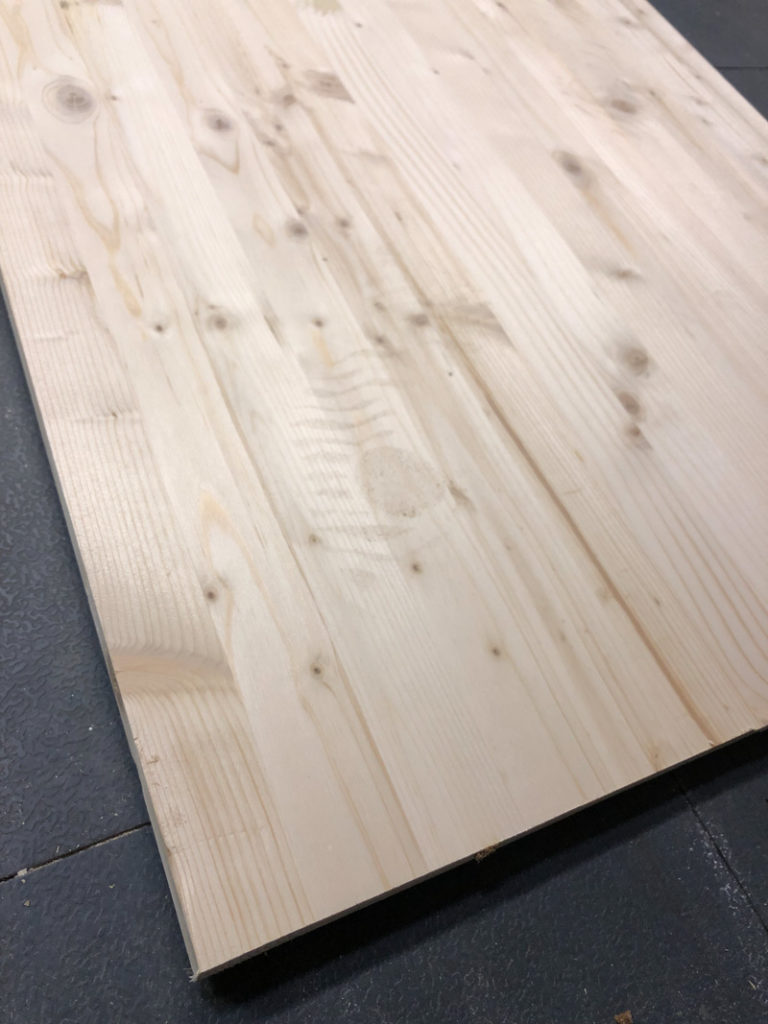
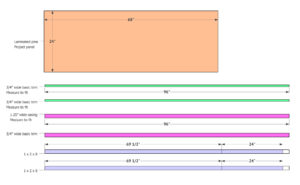
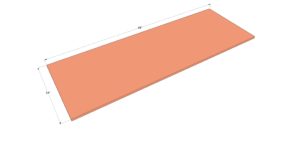
The base of this mirror is a laminated pine project panel. You can also use 3/4” plywood. Cut the plywood to the size above, or have the hardware
store cut it for you.
Step 2
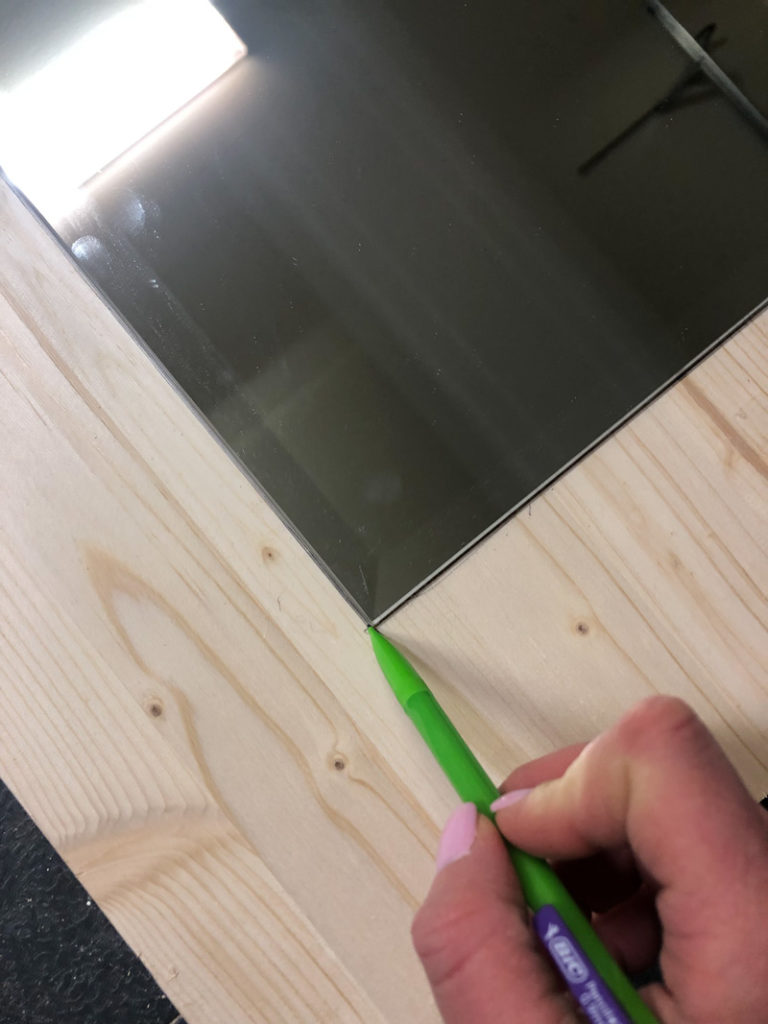
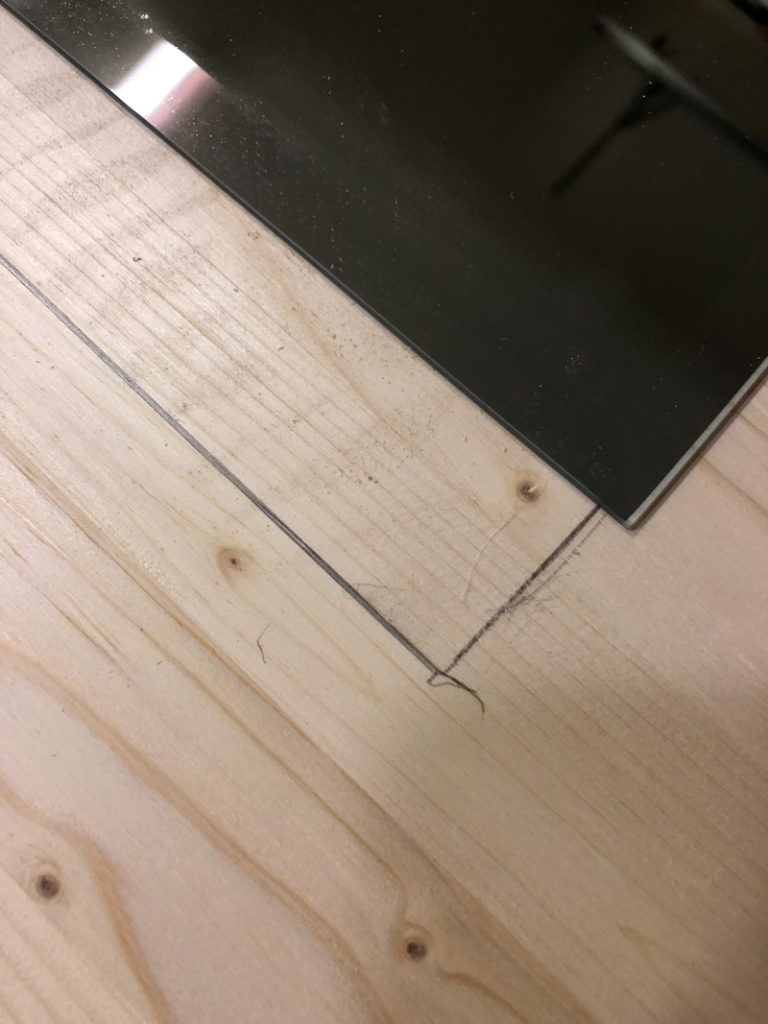
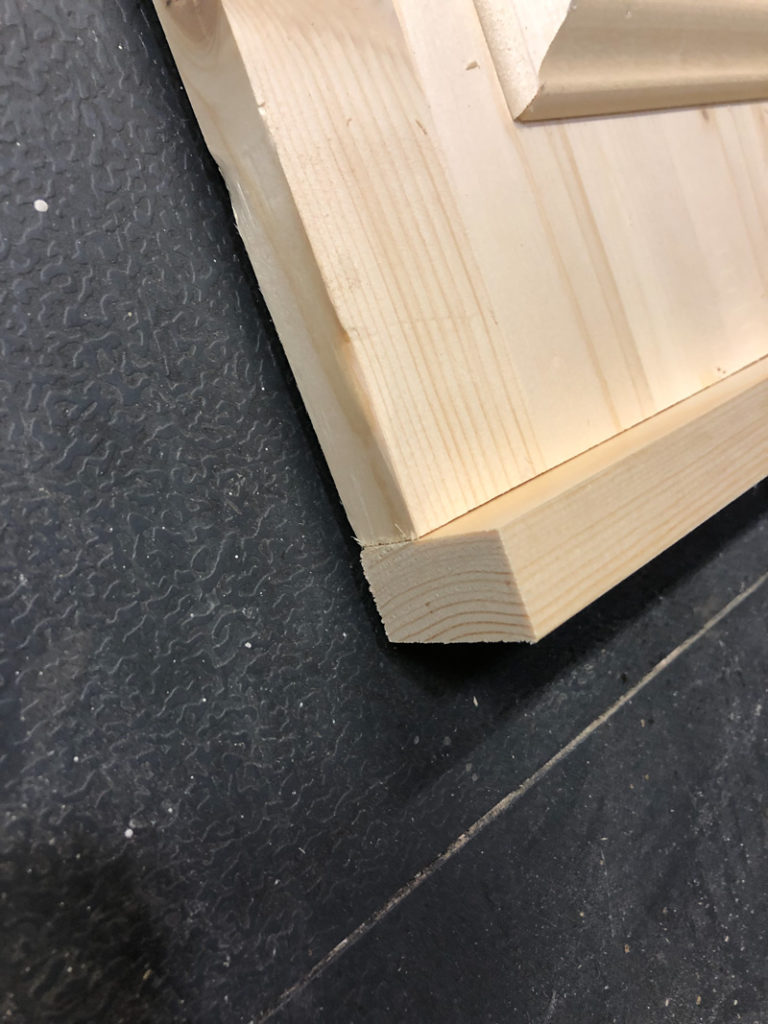
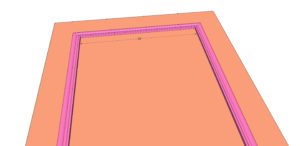
Use a pencil to mark draw a line around the mirror. You want it to be evenly spaced both vertically and horizontally. Add the first layer of trim on the outside of this line. I used 1.25” pine casing from the hardware store.
Any thin trim piece will work! Attach these trim pieces using wood glue and 3/4″ brad nails.
Step 3
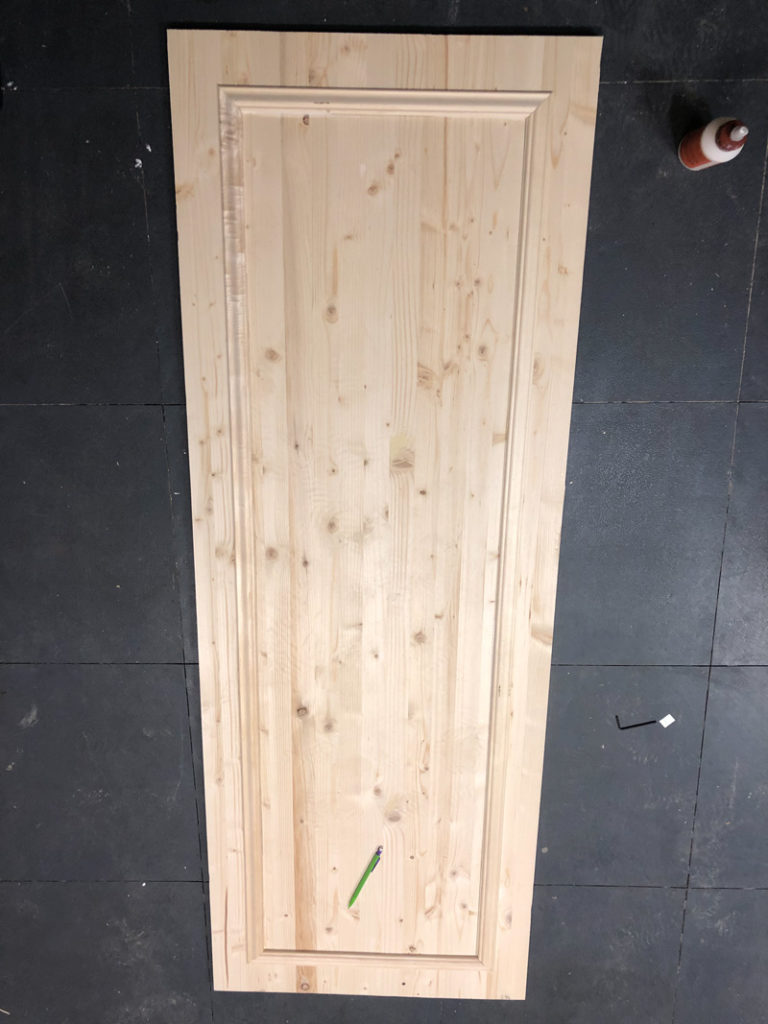
Attach the outside trim next. This is 1×2 boards. Cut the short sides to size and attach using wood glue and 1.25” brad nails. Next, measure and cut the long sides and attach them the same way.
Step 4
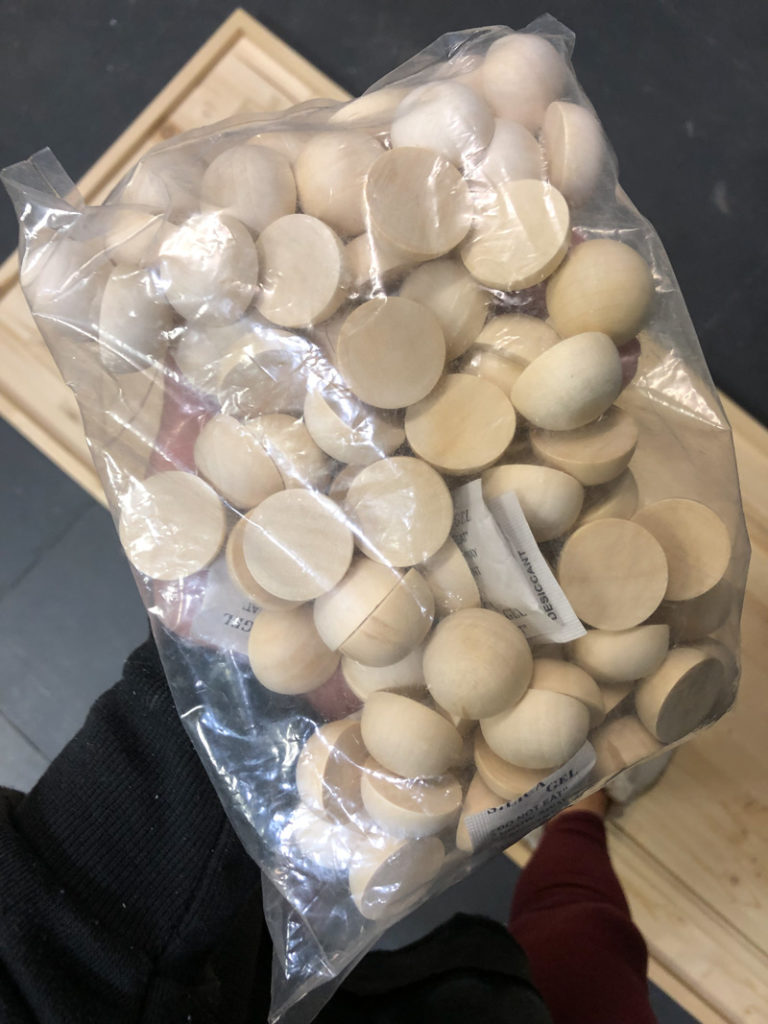
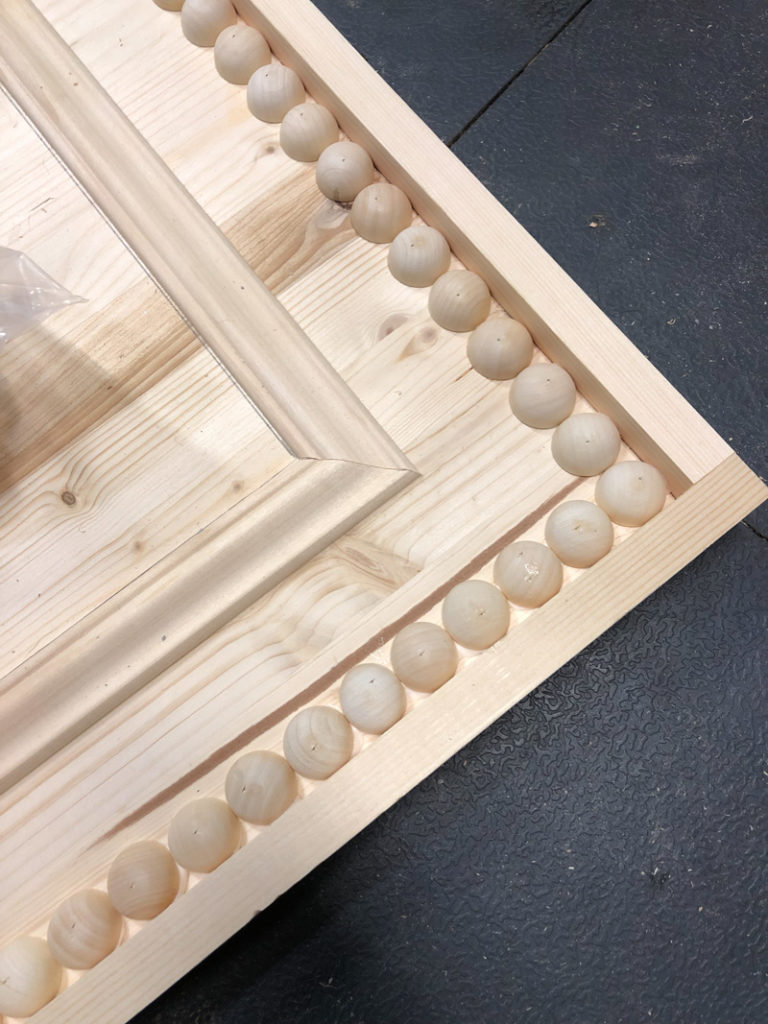
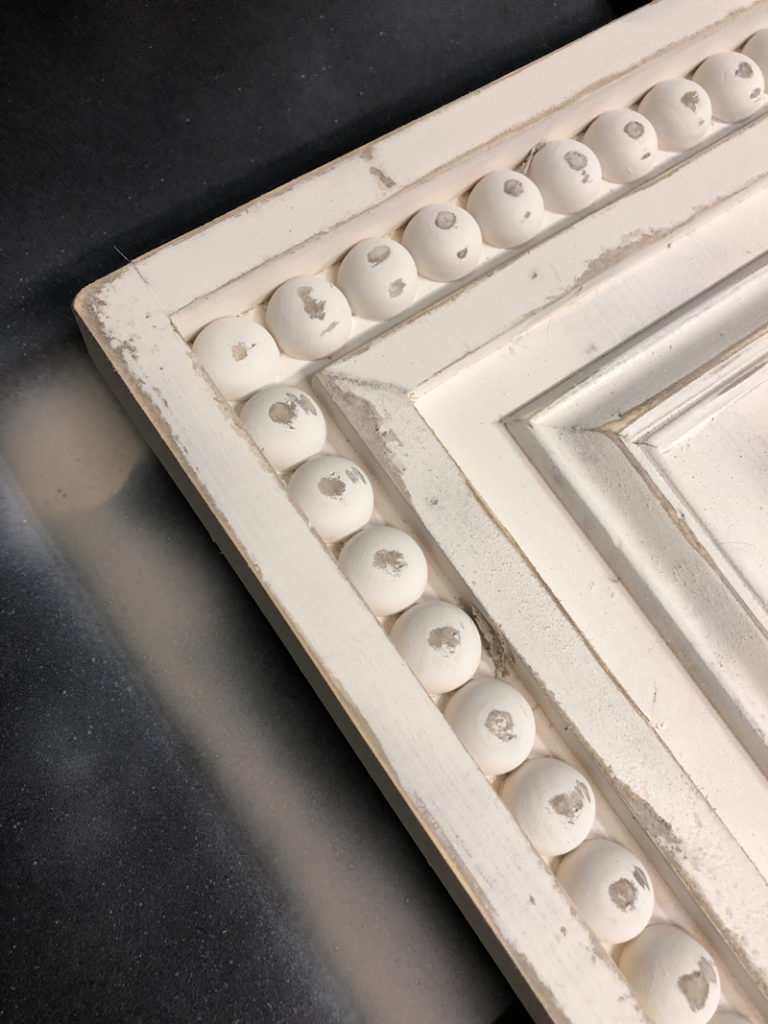
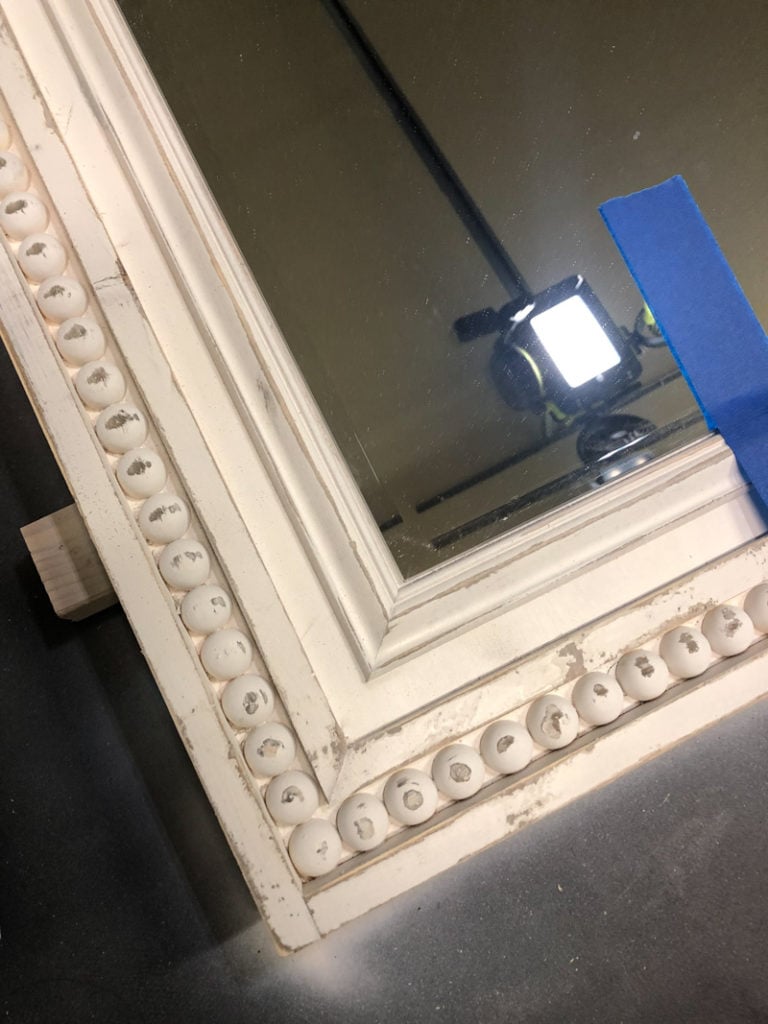
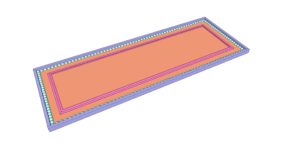
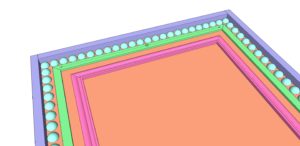
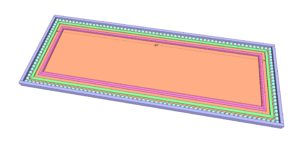
I found the BEST half circles on Amazon! These were super inexpensive and shipped Prime… Yeah! You can see them below. You will need 2 bags of these for this mirror. ** I PURCHASED THE 1″ CIRCLES
Step 5
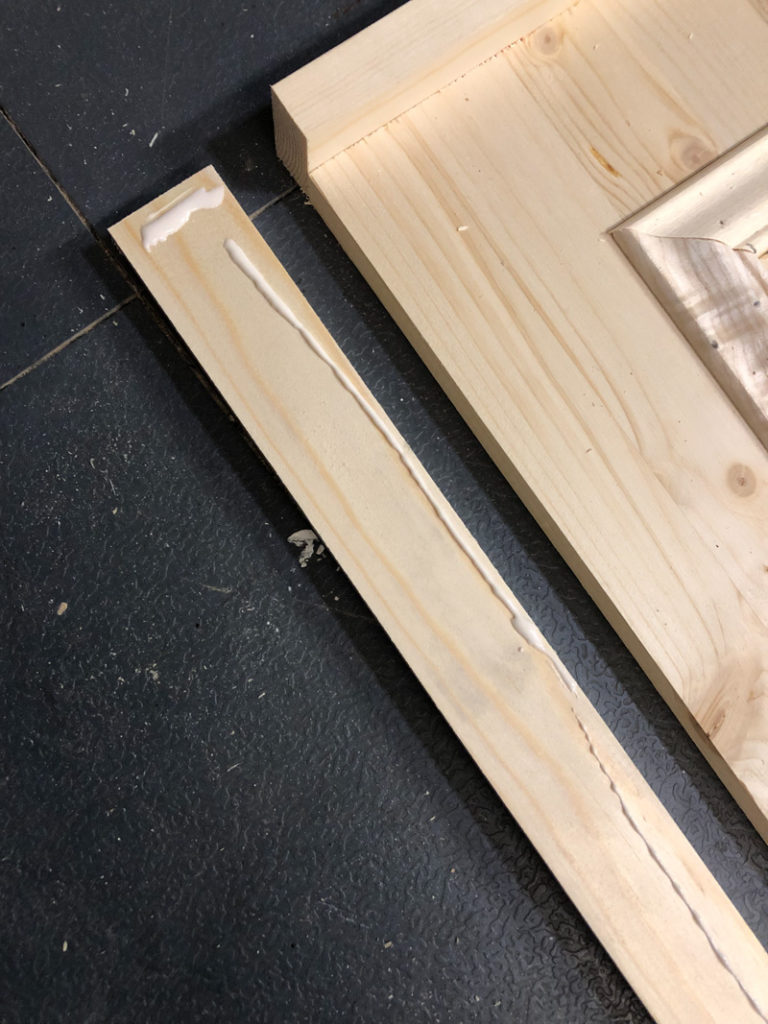
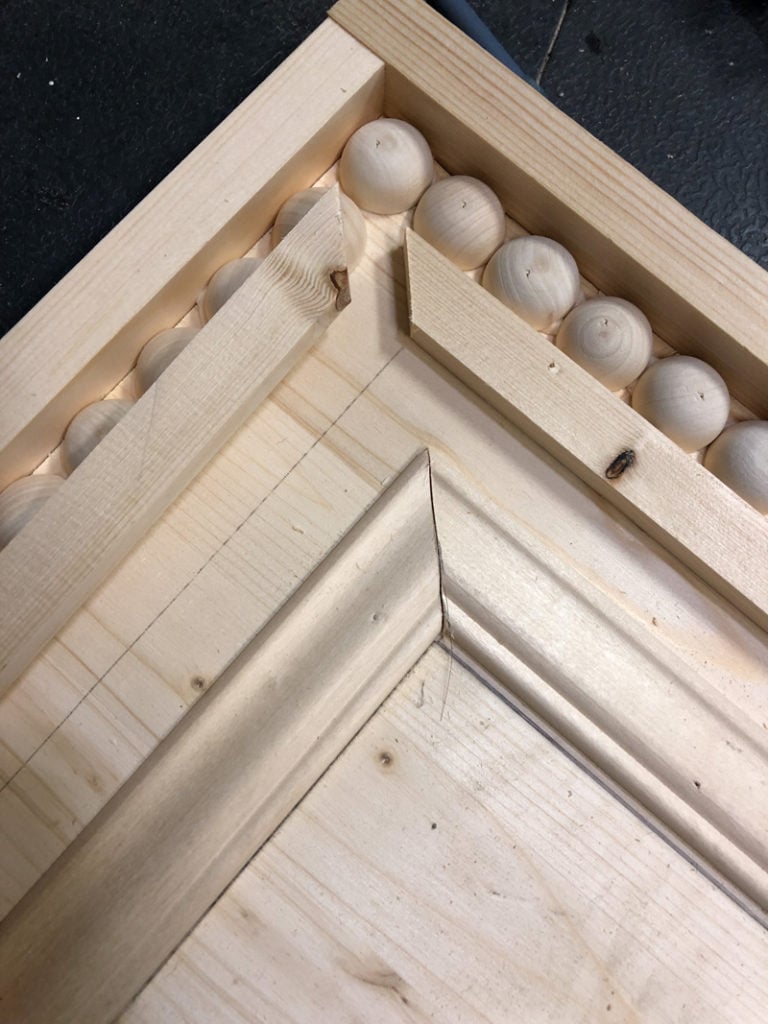
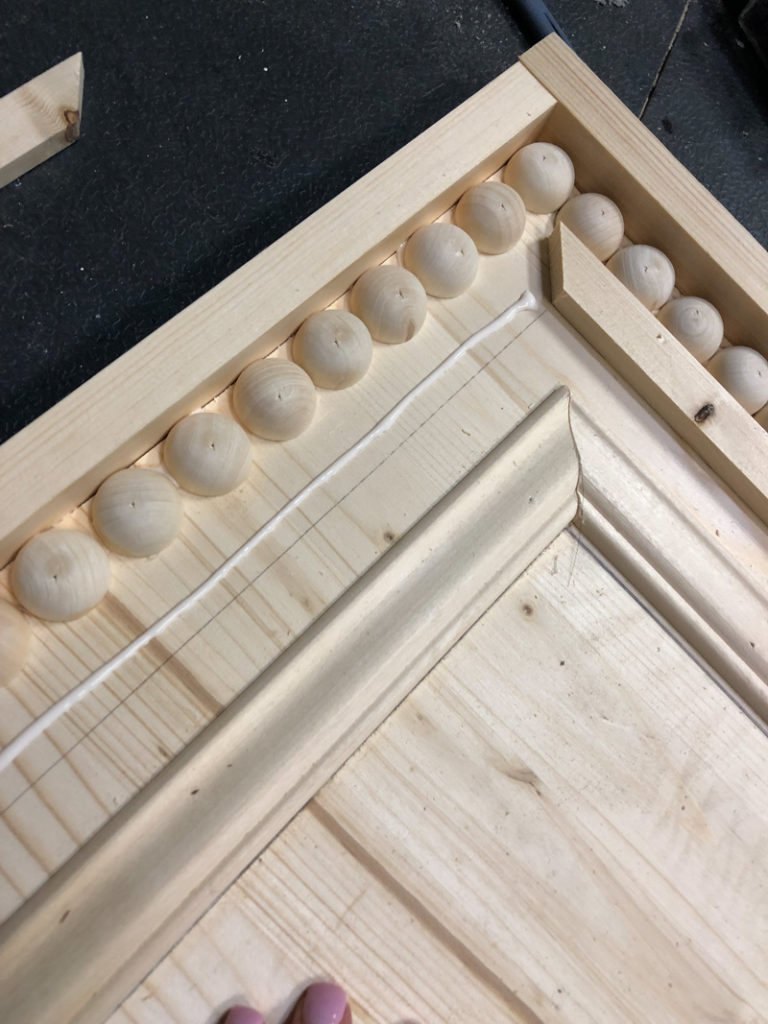
The final piece of trim to add is the small 3/4” trim. This will sit just to the outside of the half circles. If you can’t find trim this size, you can easily create it by cutting a 1×4 or 1×6 board to 1/4” thick with a table saw. Attach each piece using wood glue and 3/4” brad nails. Repeat the same thing with the longer trim. Each of these trim pieces will be cut at a 45˚ angle.
Step 6
To create this finish I started by lightly staining the outside of the mirror. I didn’t stain the whole thing, just the parts I planned on sanding.
Here is the stain I used on this part!
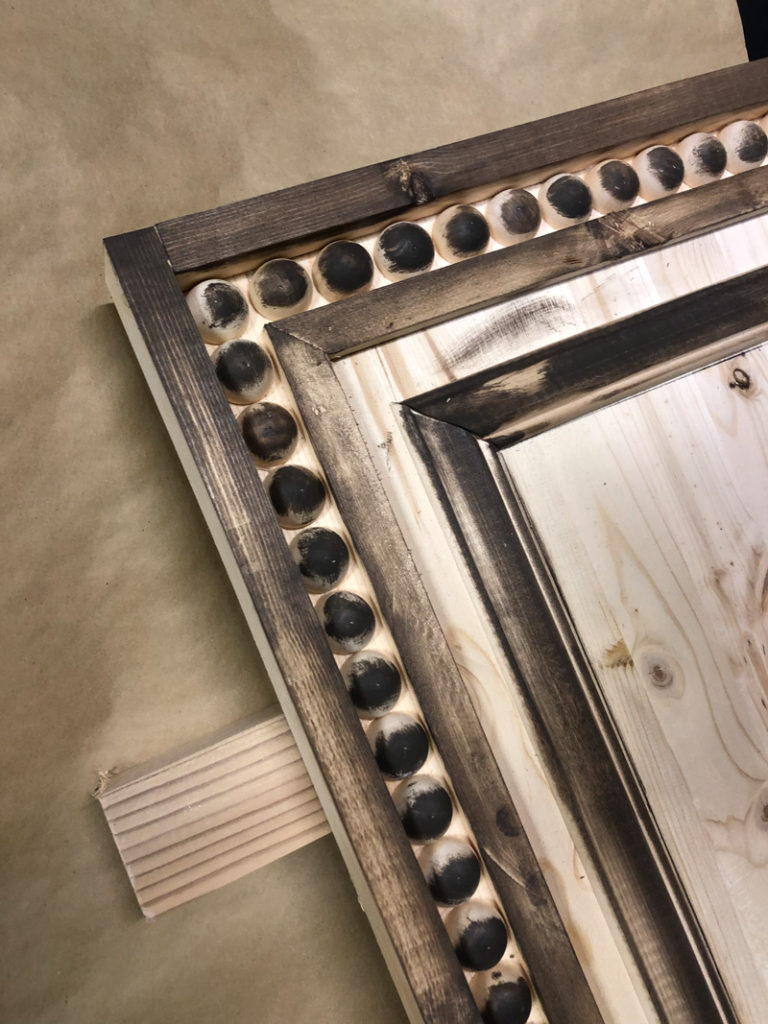
After that stain dried, I spray painted the entire thing. You can see it here drying. This is the spray paint I used.
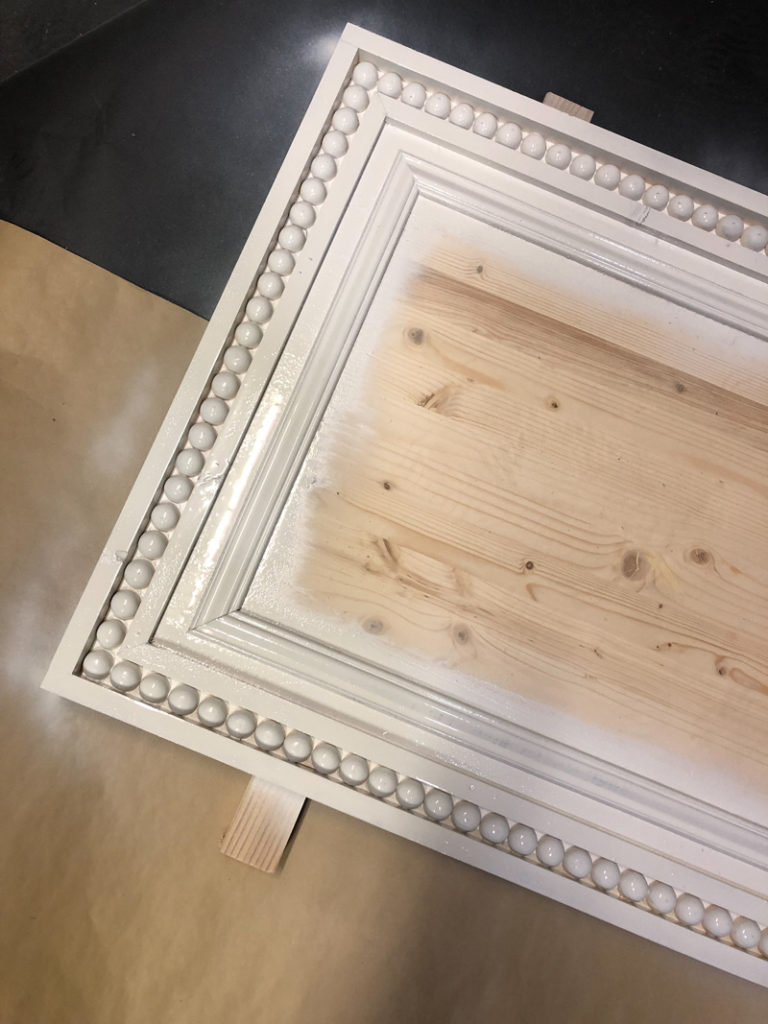
After that dried, I sanded the entire thing down to expose the stained wood under the paint. I LOVE the finish!
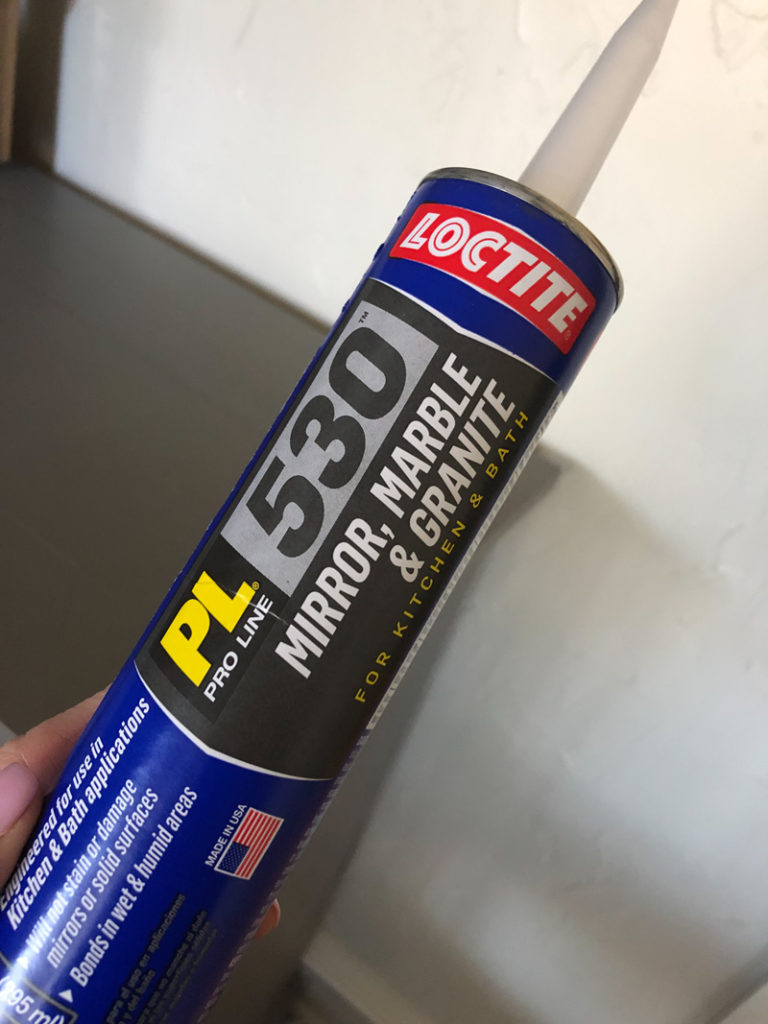
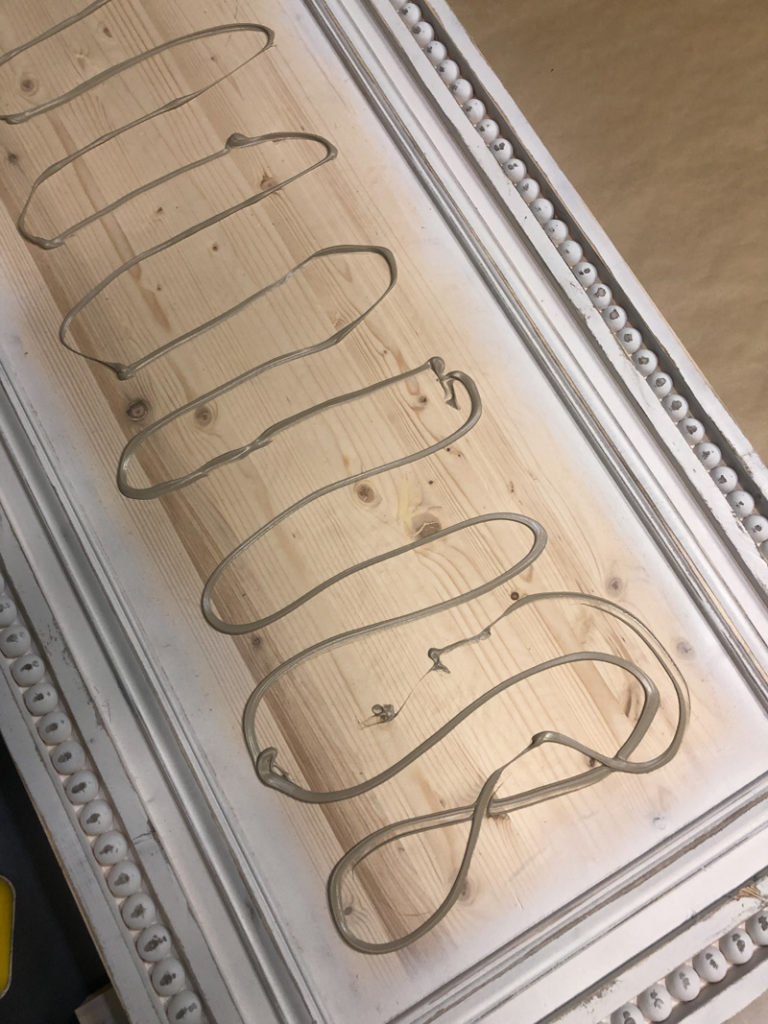
After adding your finish, add a large amount of mirror adhesive to the middle of the project panel. Attach the mirror in this space and secure it down until it dries.
This is the mirror adhesive that I used for this project…
This is the mirror that I used for this project. It is 16″ x 60″ and the best price I found for this size.
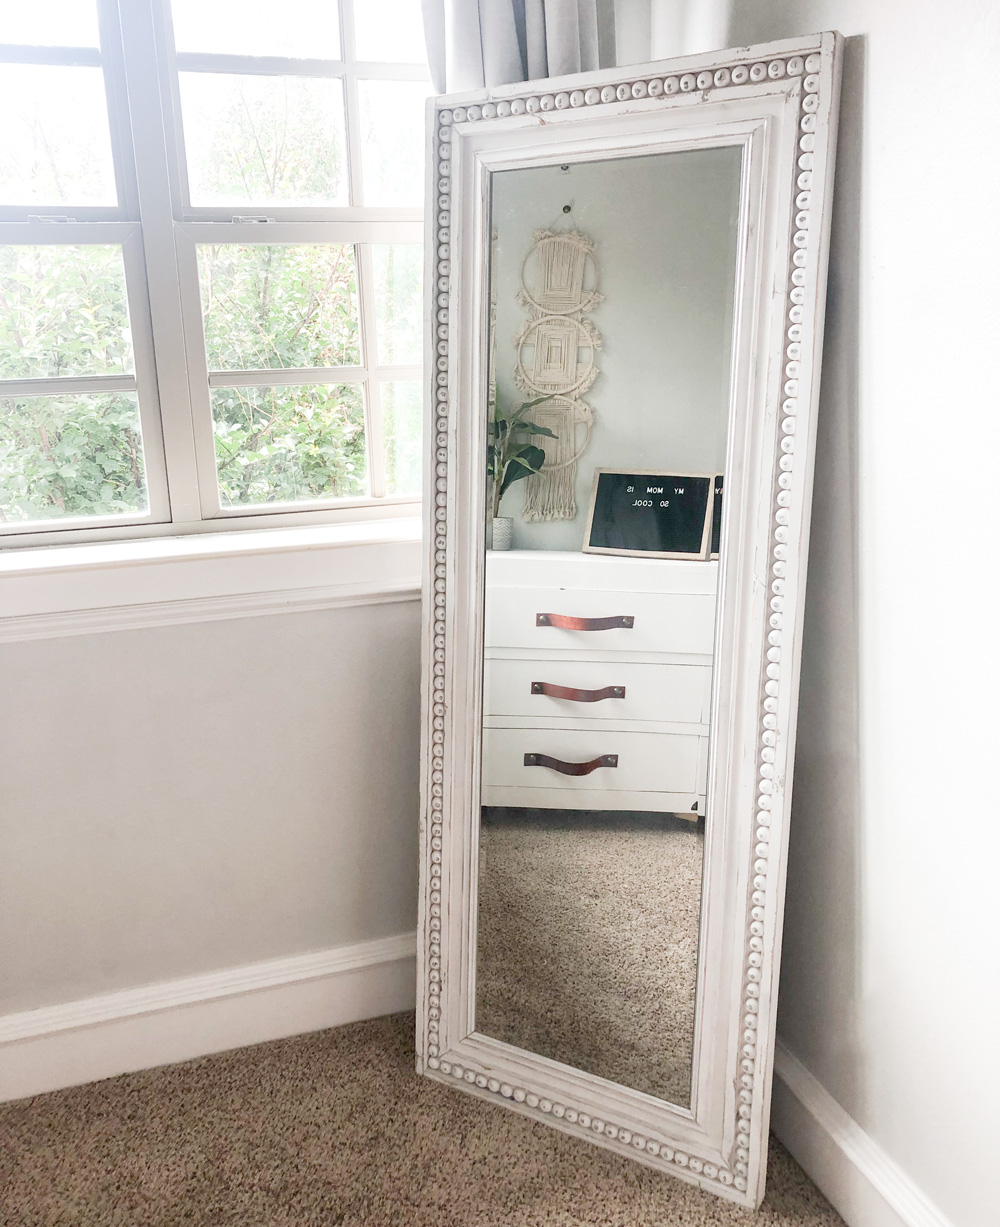
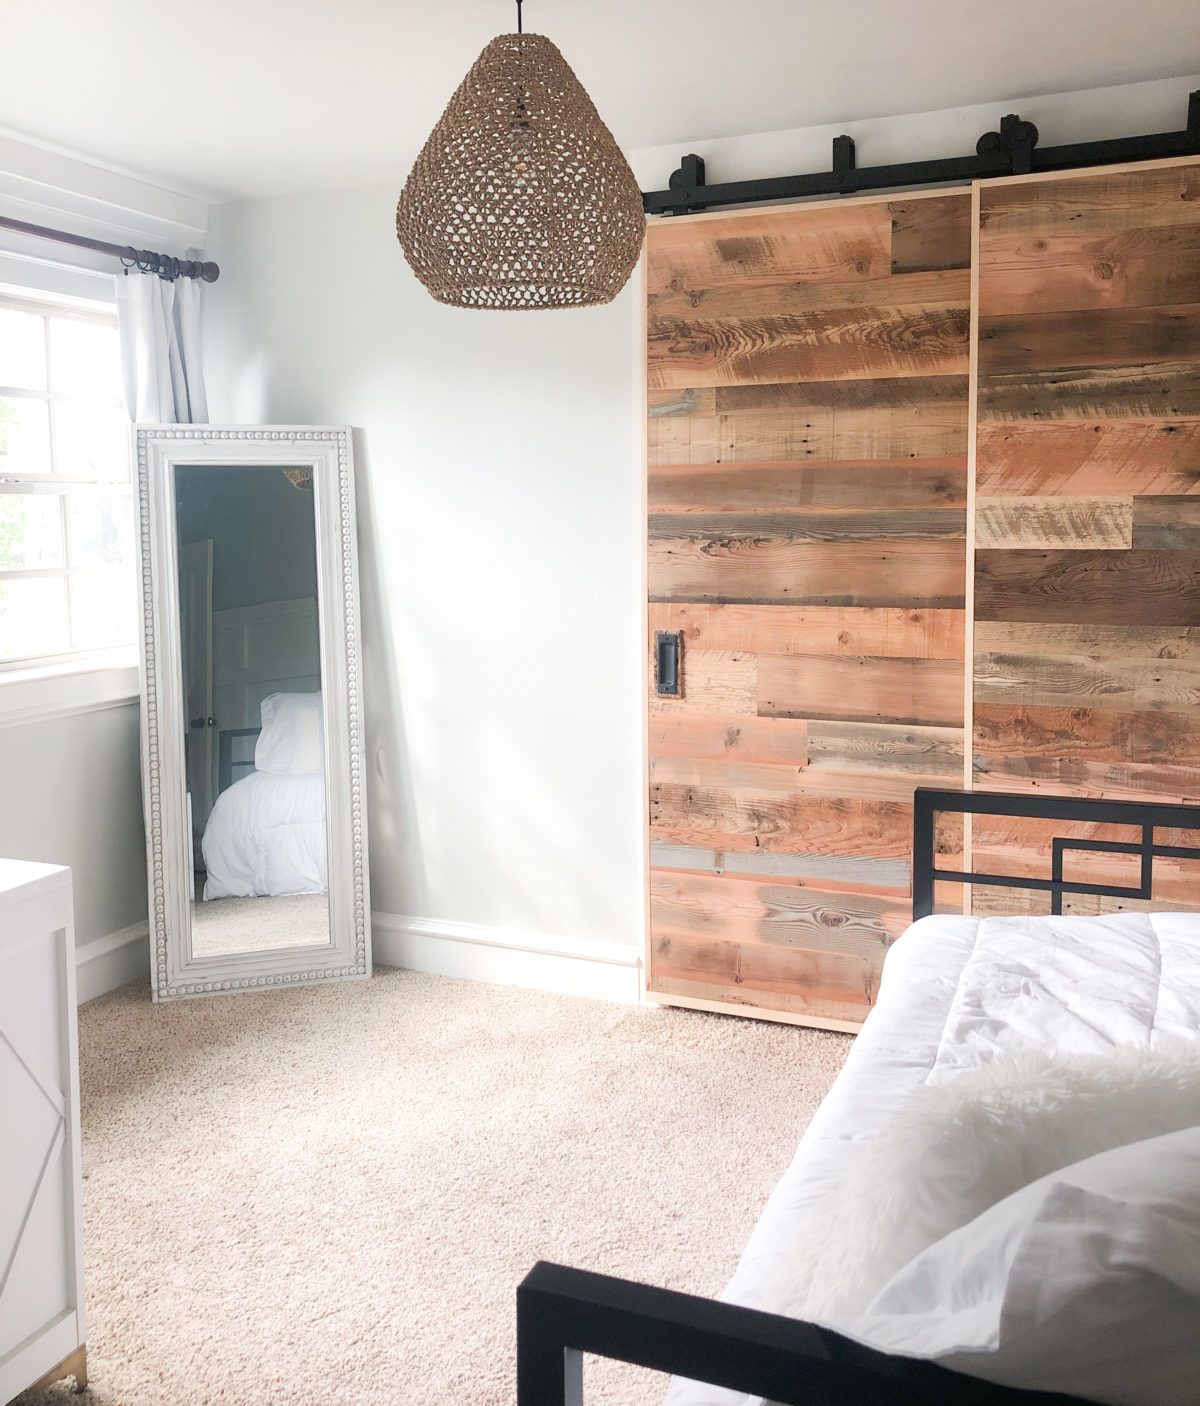
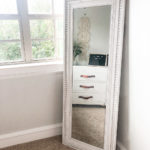
All finished up!
Here she is all finished up! I LOVE LOVE the finish! And, I have one happy girl!
Let us know if you decide to build this DIY rustic chic full length mirror.
DIY Full Length Mirror
Supply List
- 1 3/4″ laminated pine project panel
- 2 1.25″ wide casing
- 2 3.4″ basic molding
- 2 bagged wood half circles
- 2 1 x 2 x 8 pine or whitewood
- 1 16′ x 60′ frameless mirror
- 1 mirror adhesive
Instructions
- Cut List

- The base of this mirror is a laminated pine project panel. You can also use 3/4” plywood. Cut the plywood to the size above, or have the hardware store cut it for you.

- Use a pencil to mark draw a line around the mirror. You want it to be evenly spaced both vertically and horizontally. Add the first layer of trim on the outside of this line. I used 1.25” pine casing from the hardware store. Any thin trim piece will work! Attach these trim pieces using wood glue and 3/4″ brad nails.
- Attach the outside trim next. This is 1×2 boards. Cut the short sides to size and attach using wood glue and 1.25” brad nails. Next, measure and cut the long sides and attach them the same way.
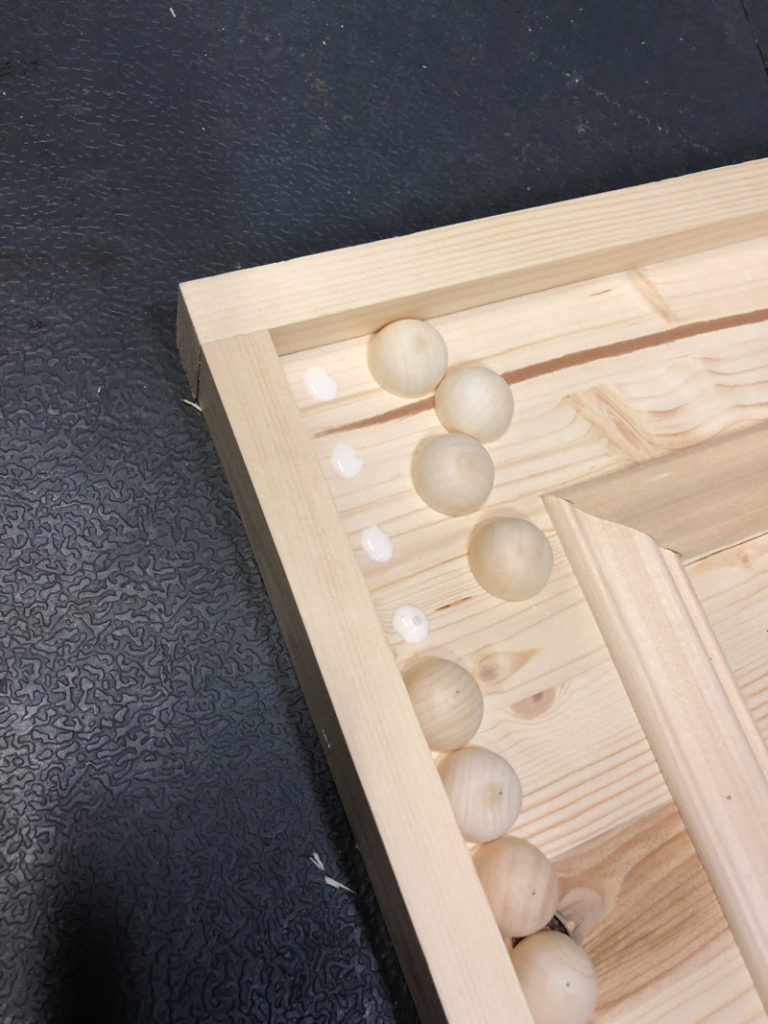
- Attach the half circles next. These will line up flush against the outside trim boards, and you will attach each one with wood glue and 1” brad or pin nails. I found it helpful to lay all of mine out first and then glue and nail.
- Attach the half circles next. These will line up flush against the outside trim boards, and you will attach each one with wood glue and 1” brad or pin nails. I found it helpful to lay all of mine out first and then glue and nail.
- The final piece of trim to add is the small 3/4” trim. This will sit just to the outside of the half circles. If you can’t find trim this size, you can easily create it by cutting a 1×4 or 1×6 board to 1/4” thick with a table saw. Attach each piece using wood glue and 3/4” brad nails. Repeat the same thing with the longer trim. Each of these trim pieces will be cut at a 45˚ angle.
- After adding your finish, add a large amount of mirror adhesive to the middle of the project panel. Attach the mirror in this space and secure it down until it dries.

- Click HERE to print these plans!


Can you share the stain and paint colors you used?
Hi! How much did this project come out to?
Perfect. But I’m into business and instead of half wooden spheres, I am placing seashells around mirrors that I make and sell.
Thanks.
Very cute, but I didn’t see the link for the mirror. love it
Very cool! Love the wooden circles. And your message that you see in the mirror is cute! I hope your daughter wrote it to say thanks! 🙂
This mirror is AWESOME and substantial! Beautiful work! Where did you find the laminated pine project board? Thanks!