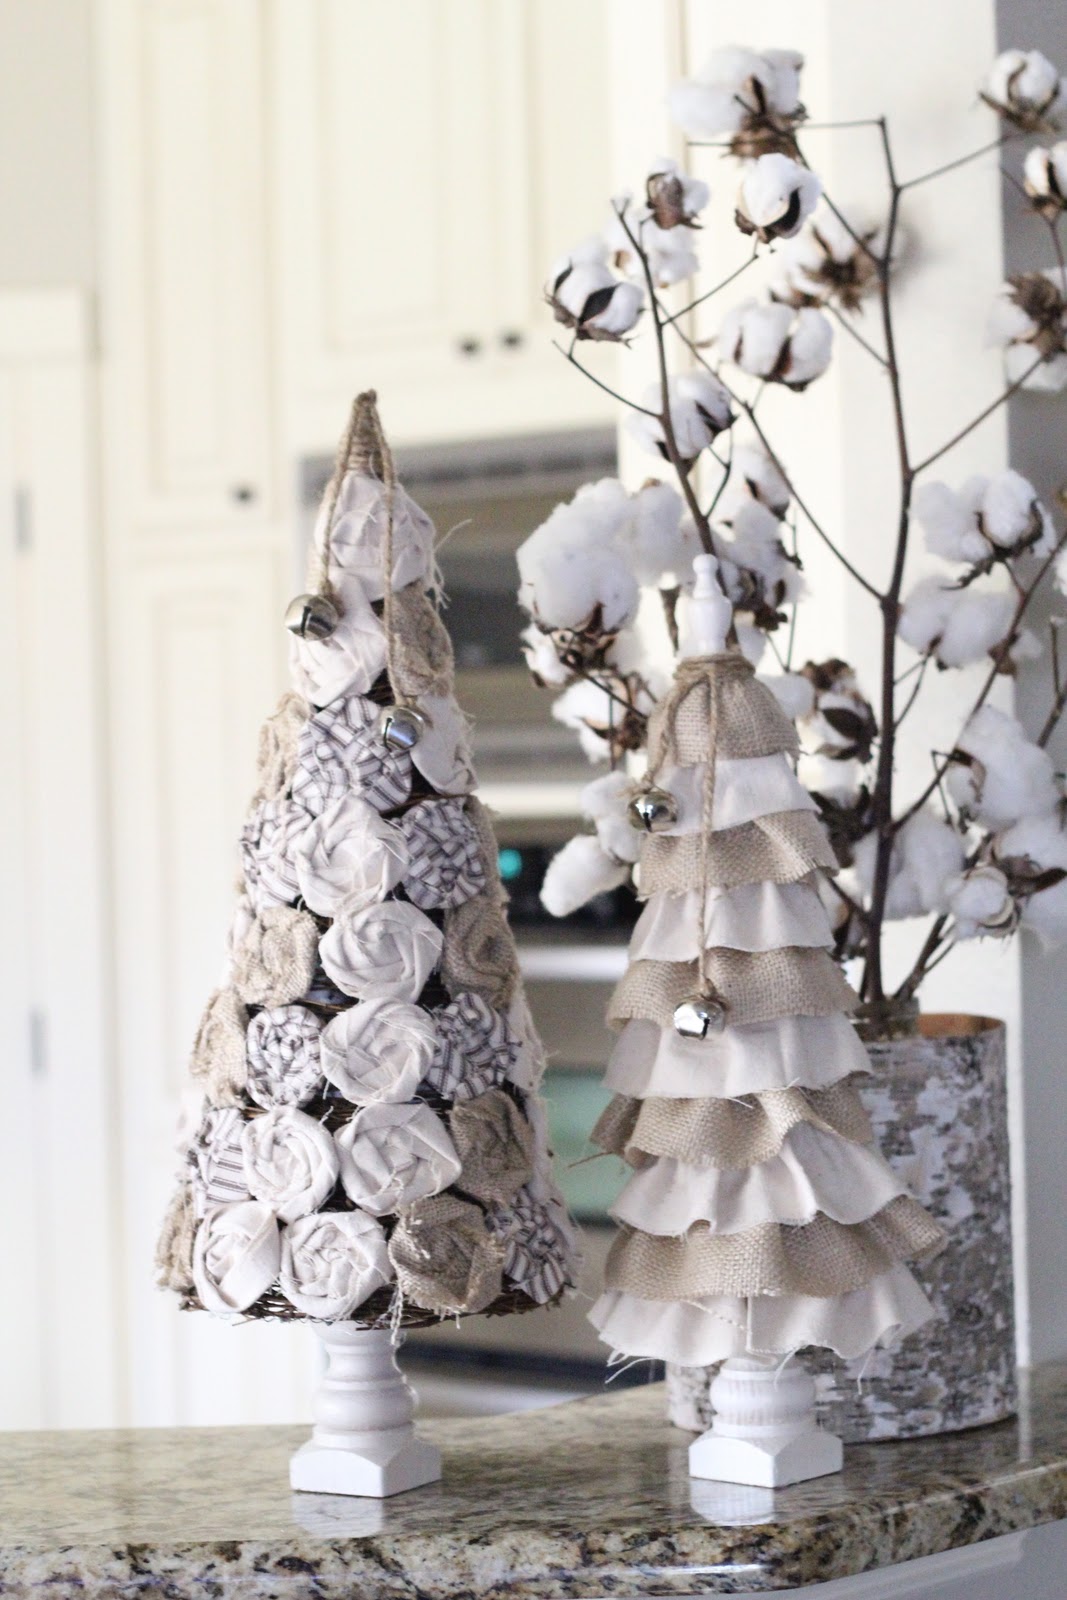
I promised you more trees and guess what? This baby requires no sewing! I have been thinking that my ruffle tree was looking a bit lonely on the bar all by herself so…

Don’t they make a cute couple? I think so!
Here’s how I made my rosette Christmas Tree!
I started with a grapevine tree I purchased at Hobby Lobby for $3.50. I wanted the vine to show a bit under the rosettes which is why I went with this rather than foam.

For this tree I used 3 different fabrics. I used the same burlap and drop cloth canvas I used on my ruffle tree and I also used a ticking fabric I found at Joann’s.

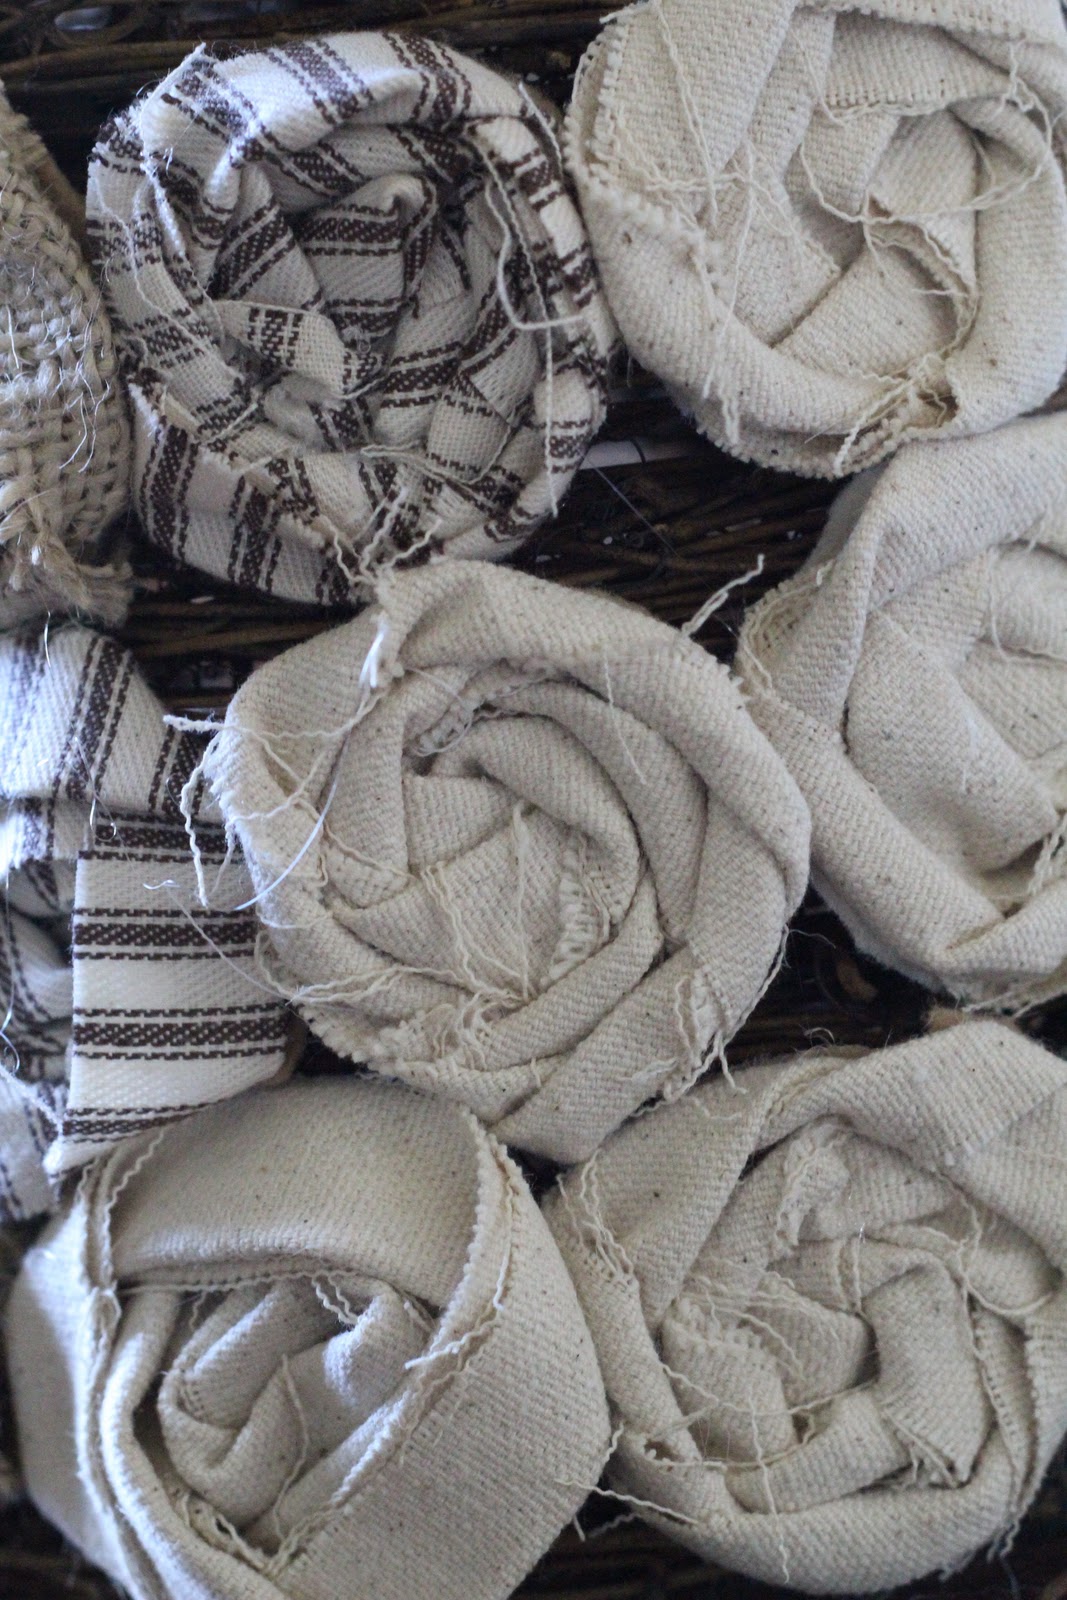
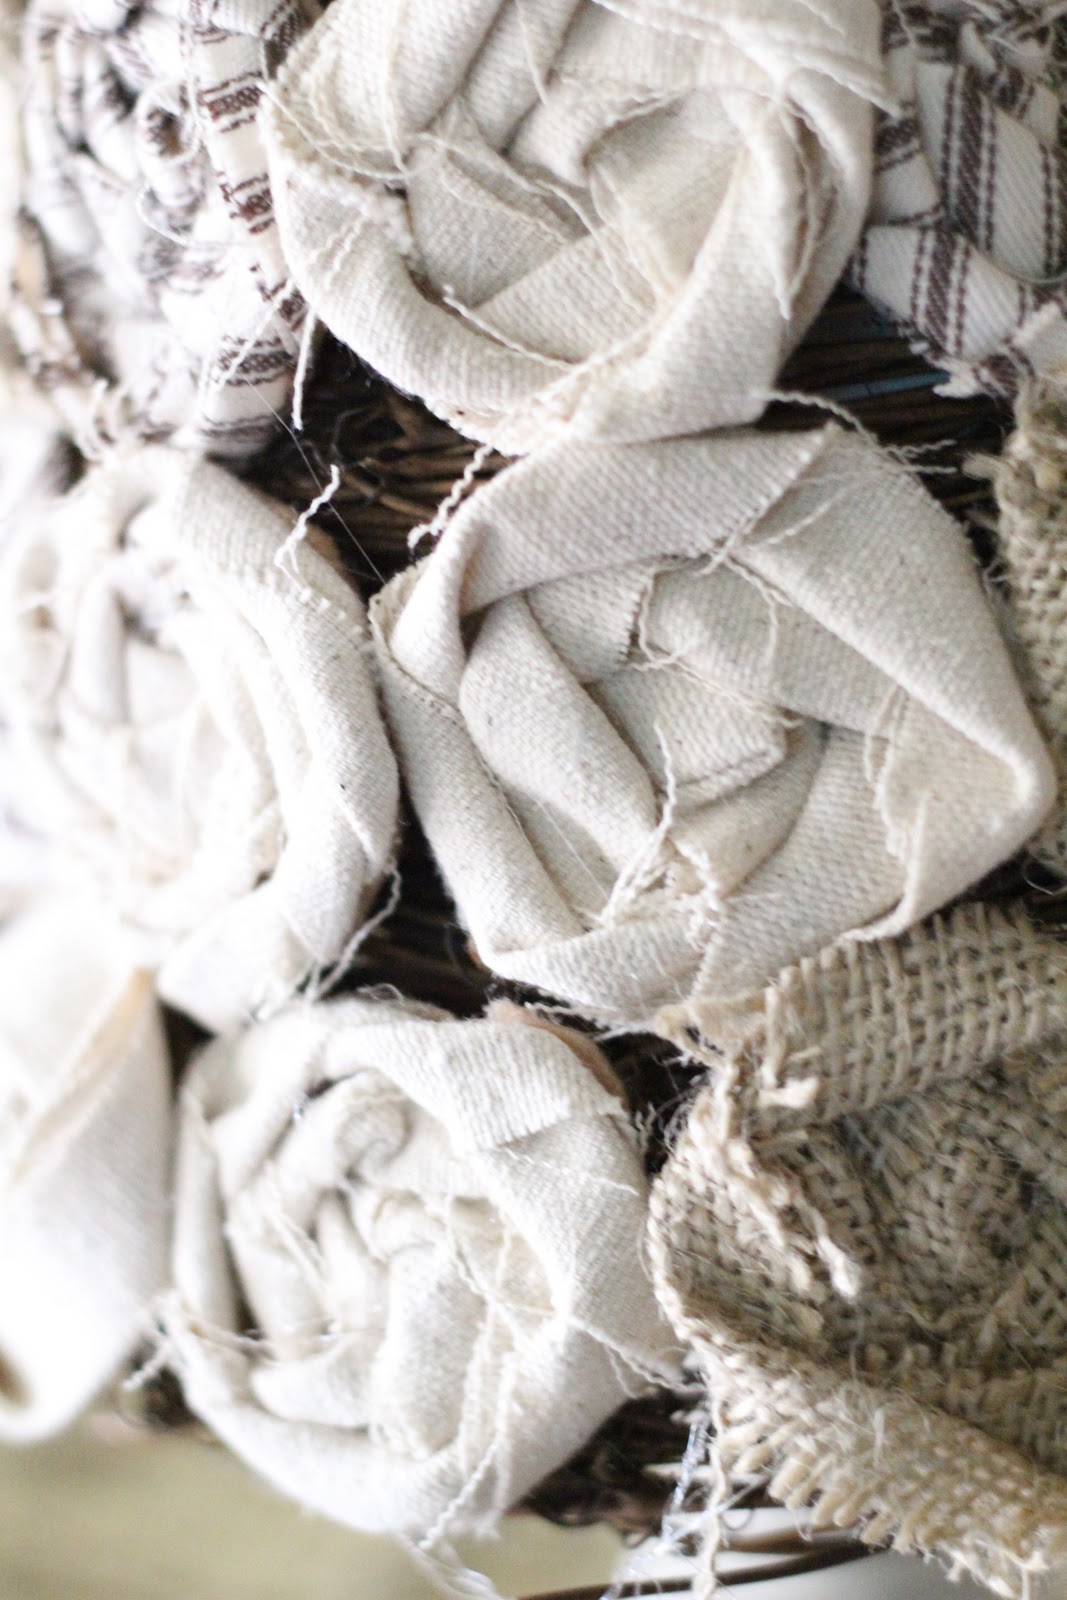
I cut strips of each fabric about 1 1/2 inch thick and about 14″ long. Then I used my rolled rosette method I shared here to make my flowers!
I would make about 8-12 at a time and then cut them out.
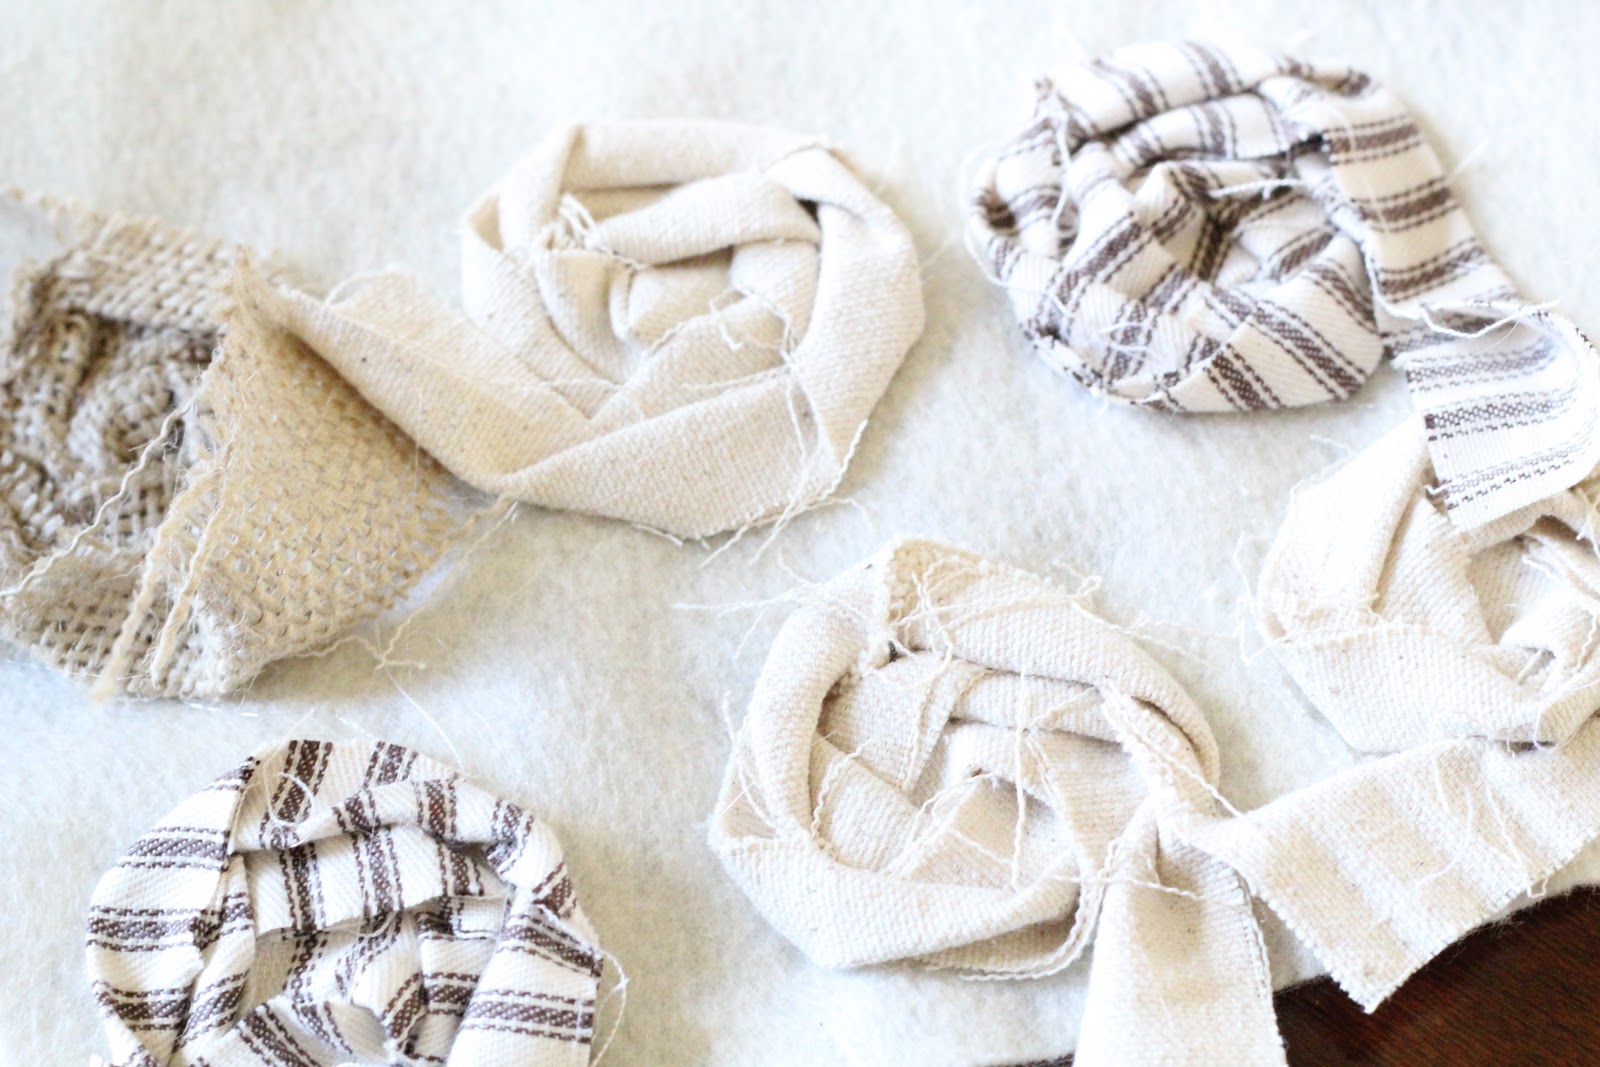
Once I cut them out I glued them to the tree. I had no pattern in mind… Just used the old eyeball method.
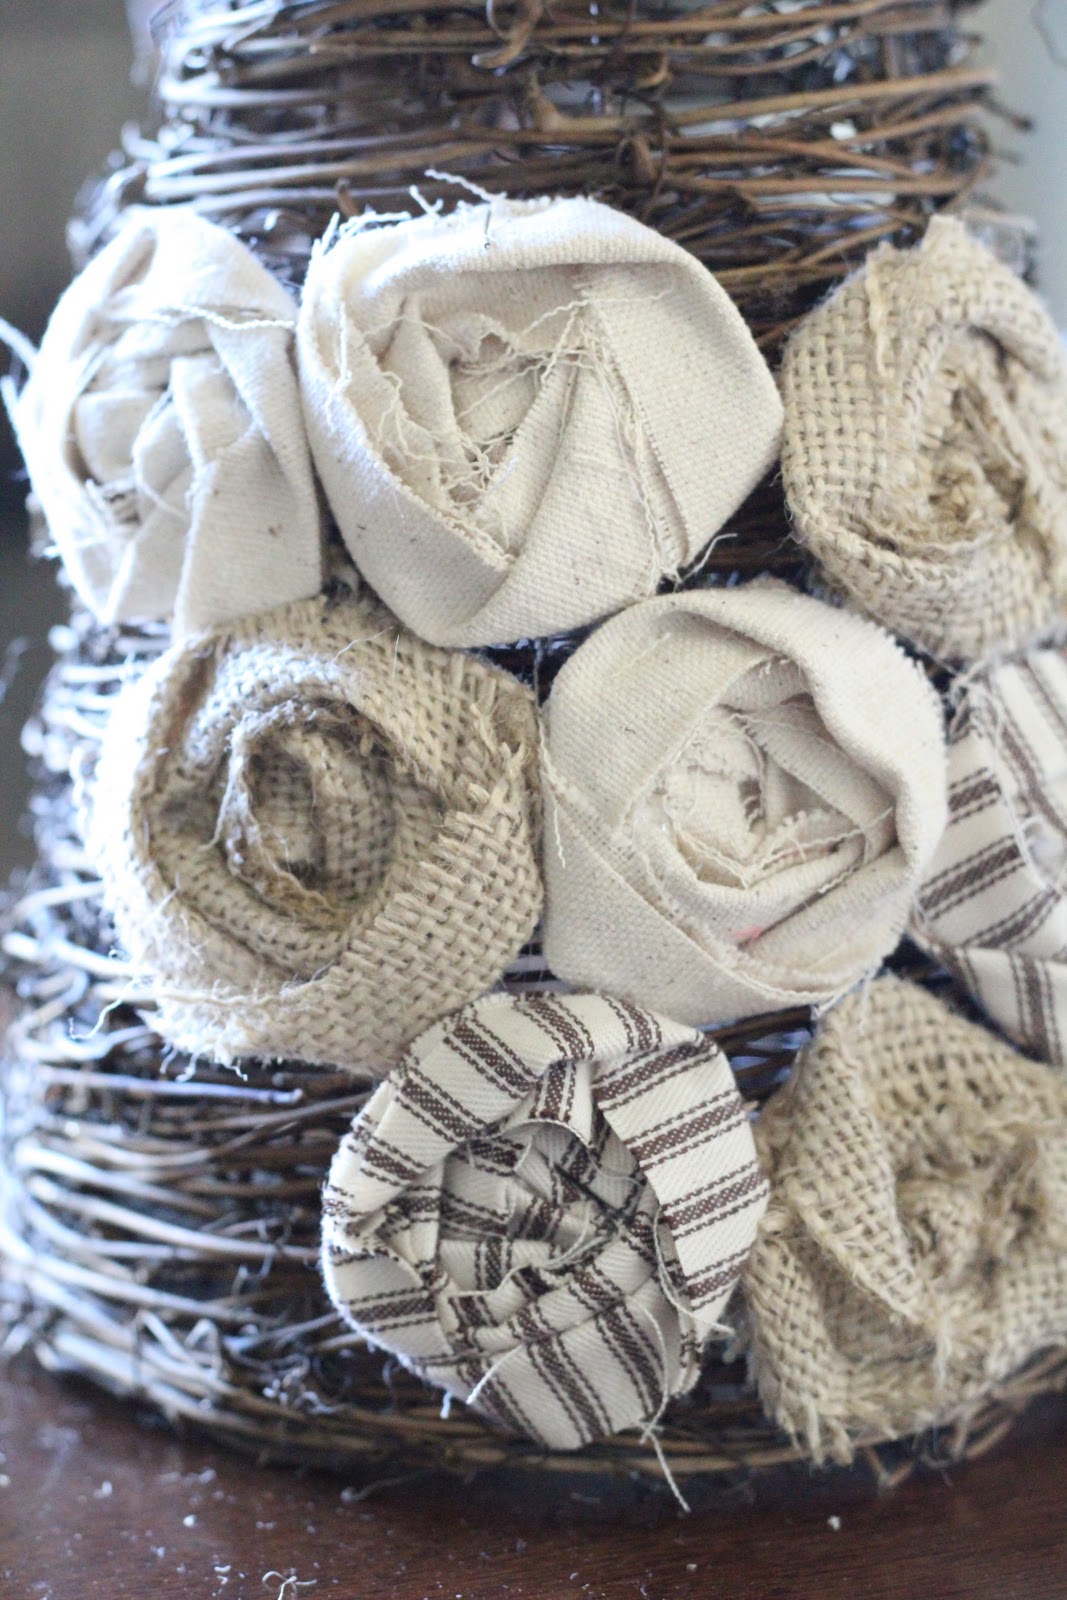
More progress…
I did this all the way to the top. I won’t lie… This wasn’t the fastest project I have ever done. It did take the better part of an afternoon and evening to get these flowers all rolled. But… I am so pleased with the results!
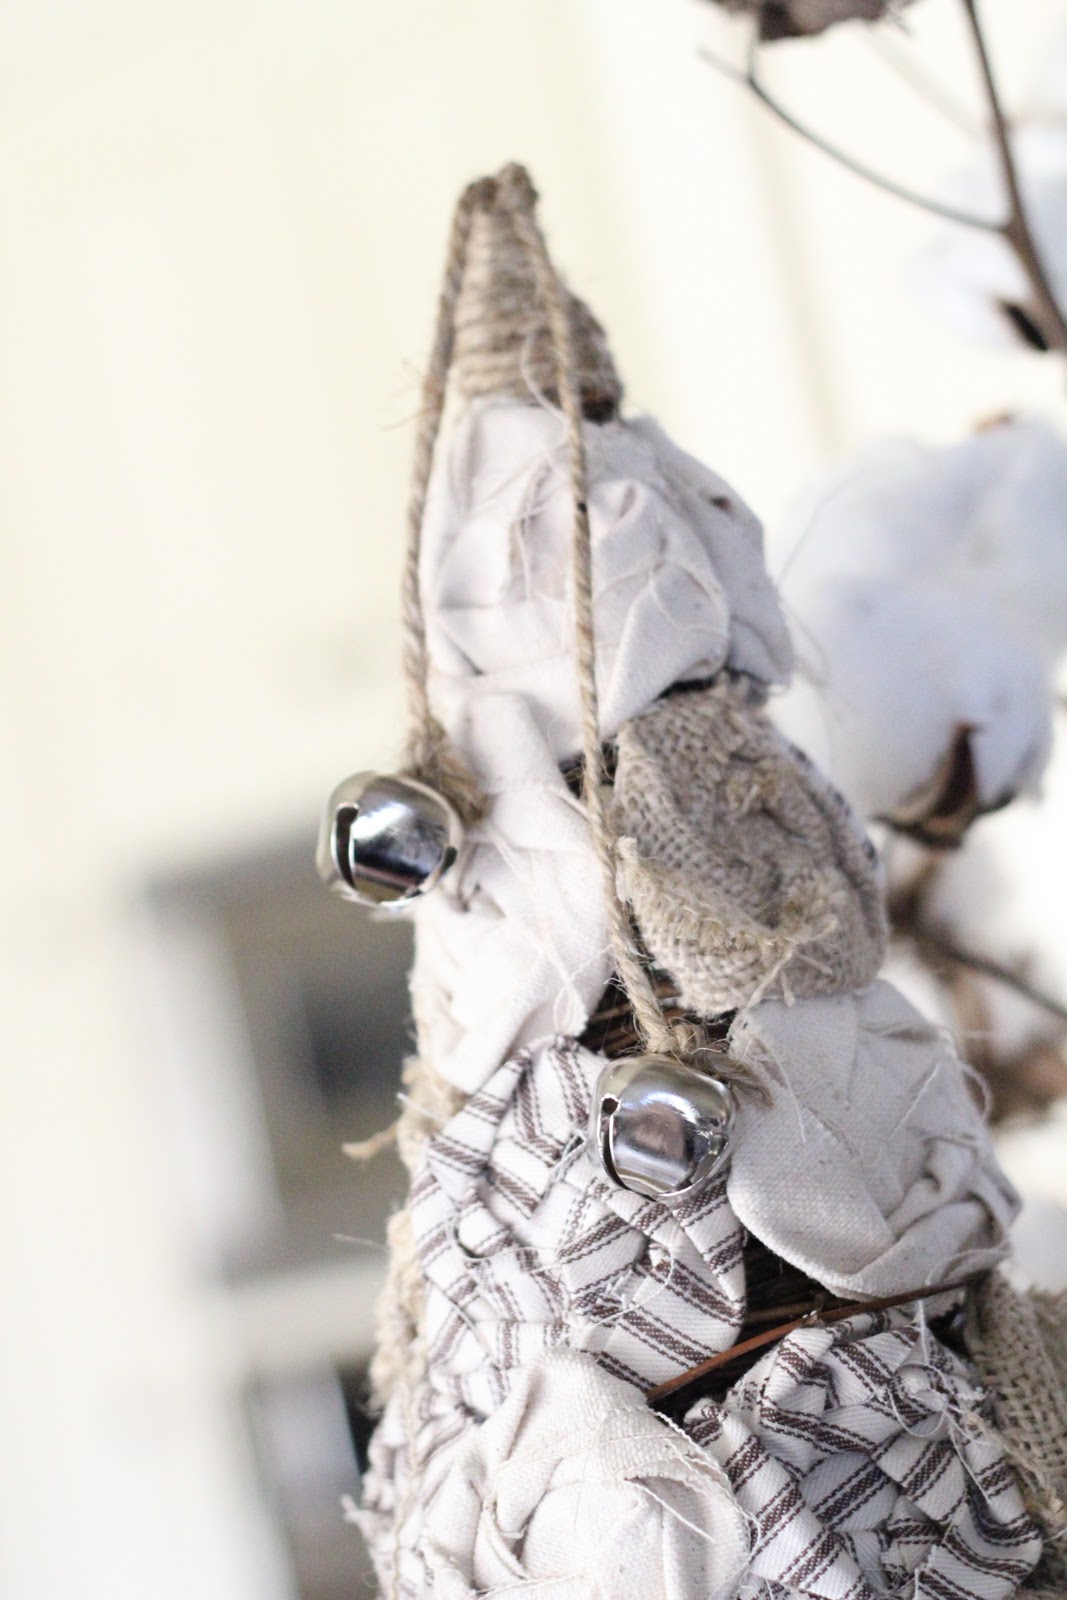
Here was the top when I finished the flowers.
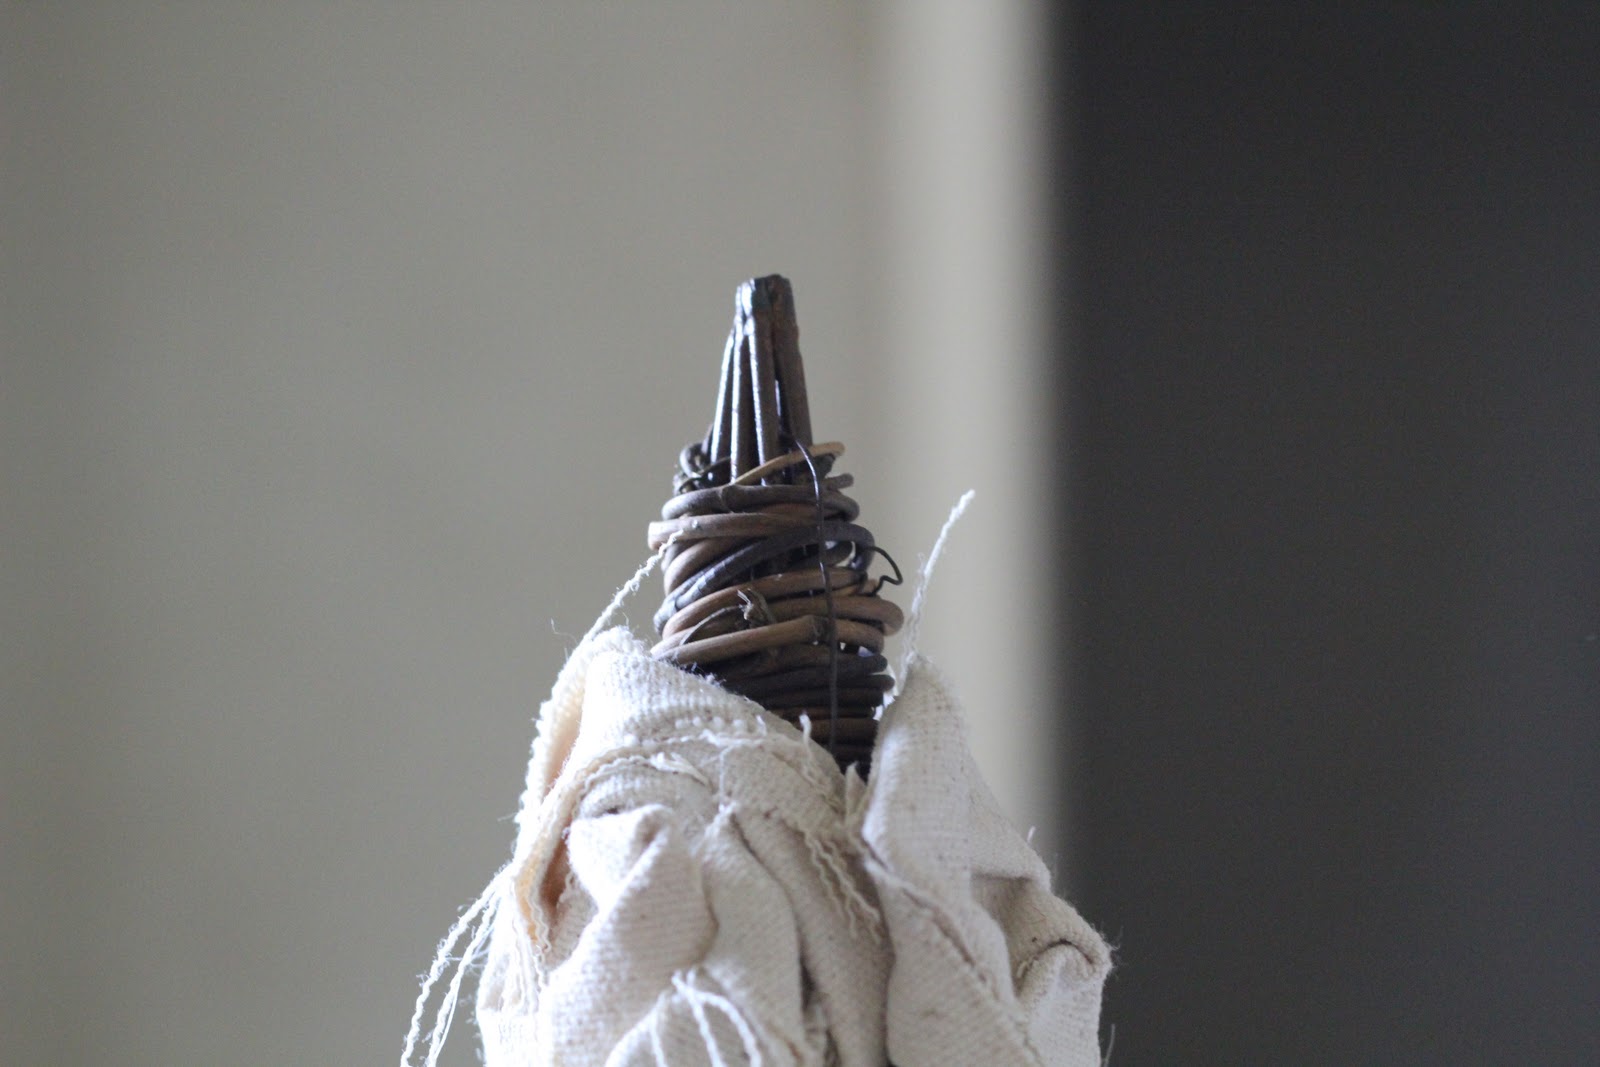
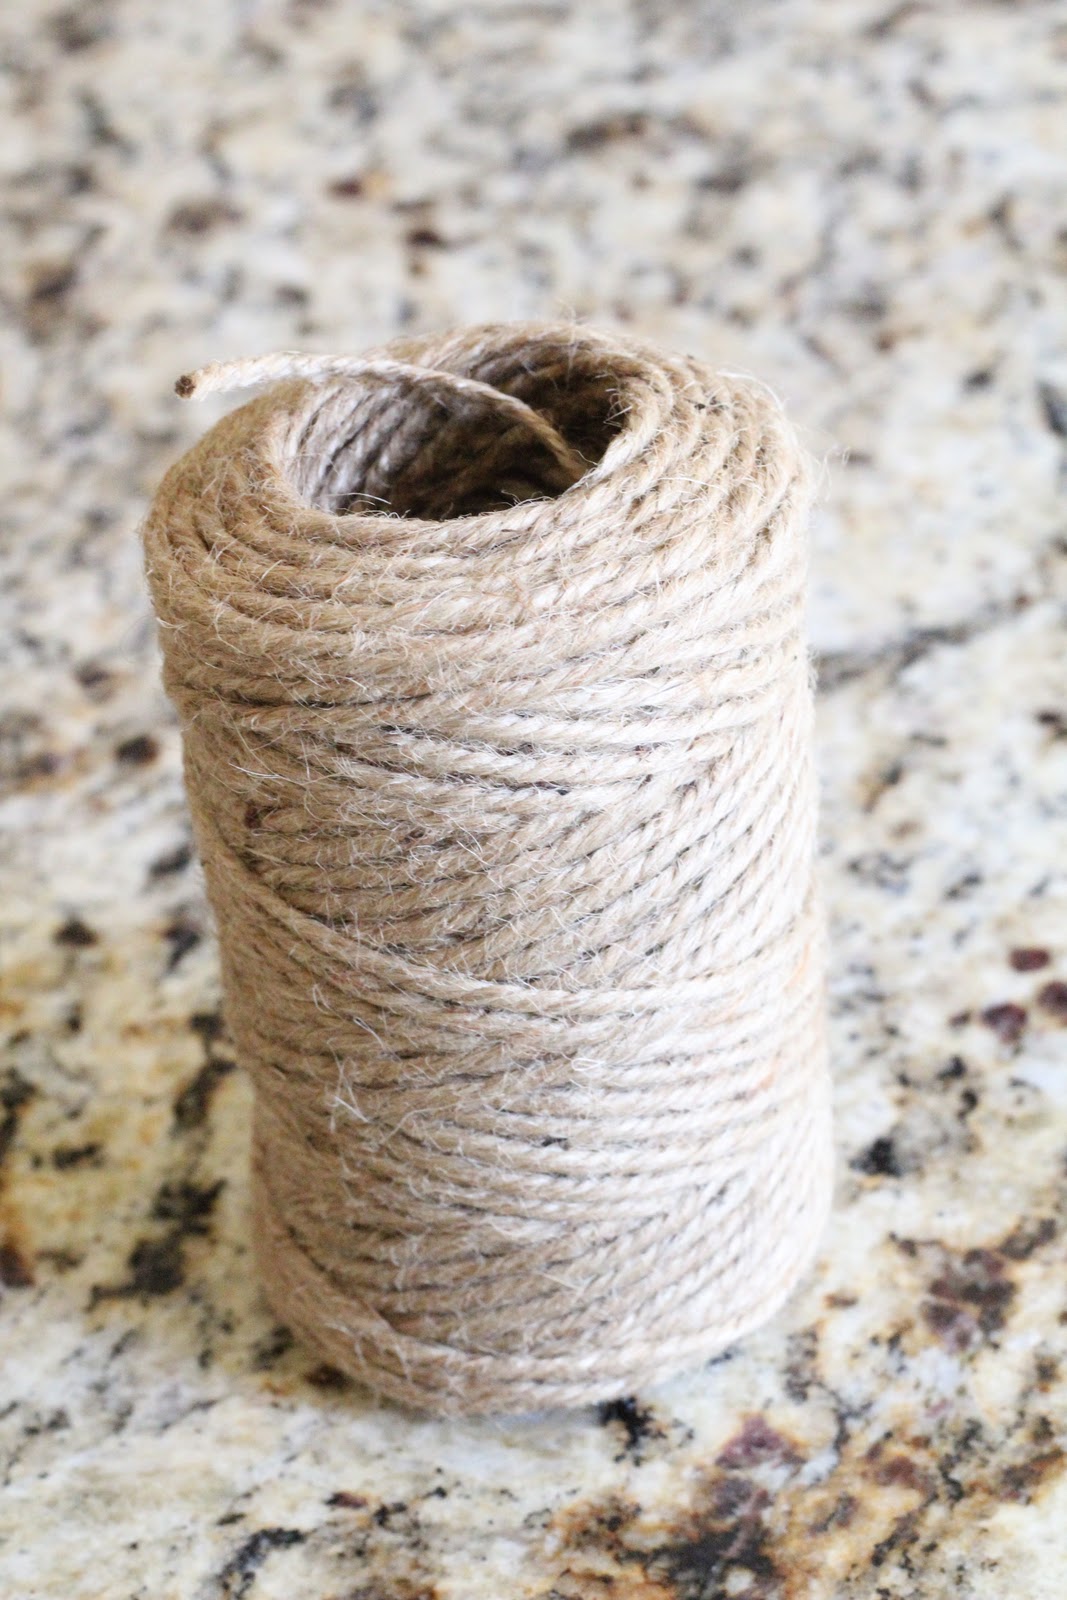
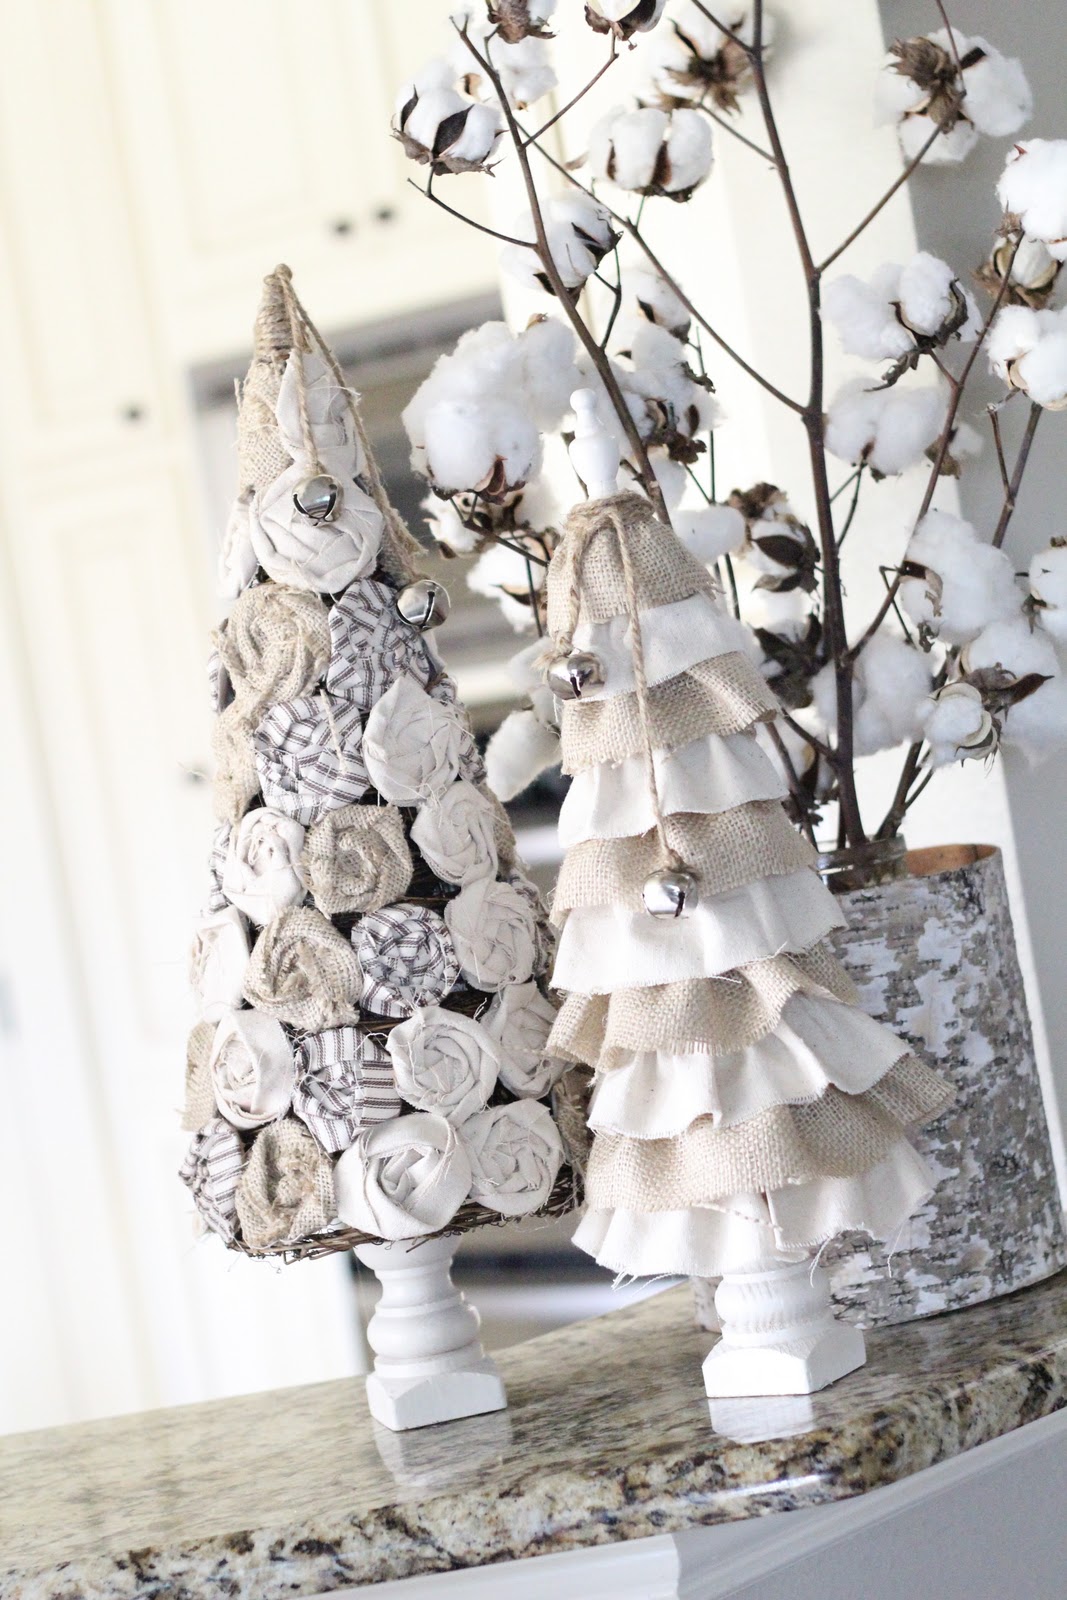
You can leave it like this or if you like twine as much as I do you can finish off the top with it. I used twine to wrap the top and add a couple jingle bells.
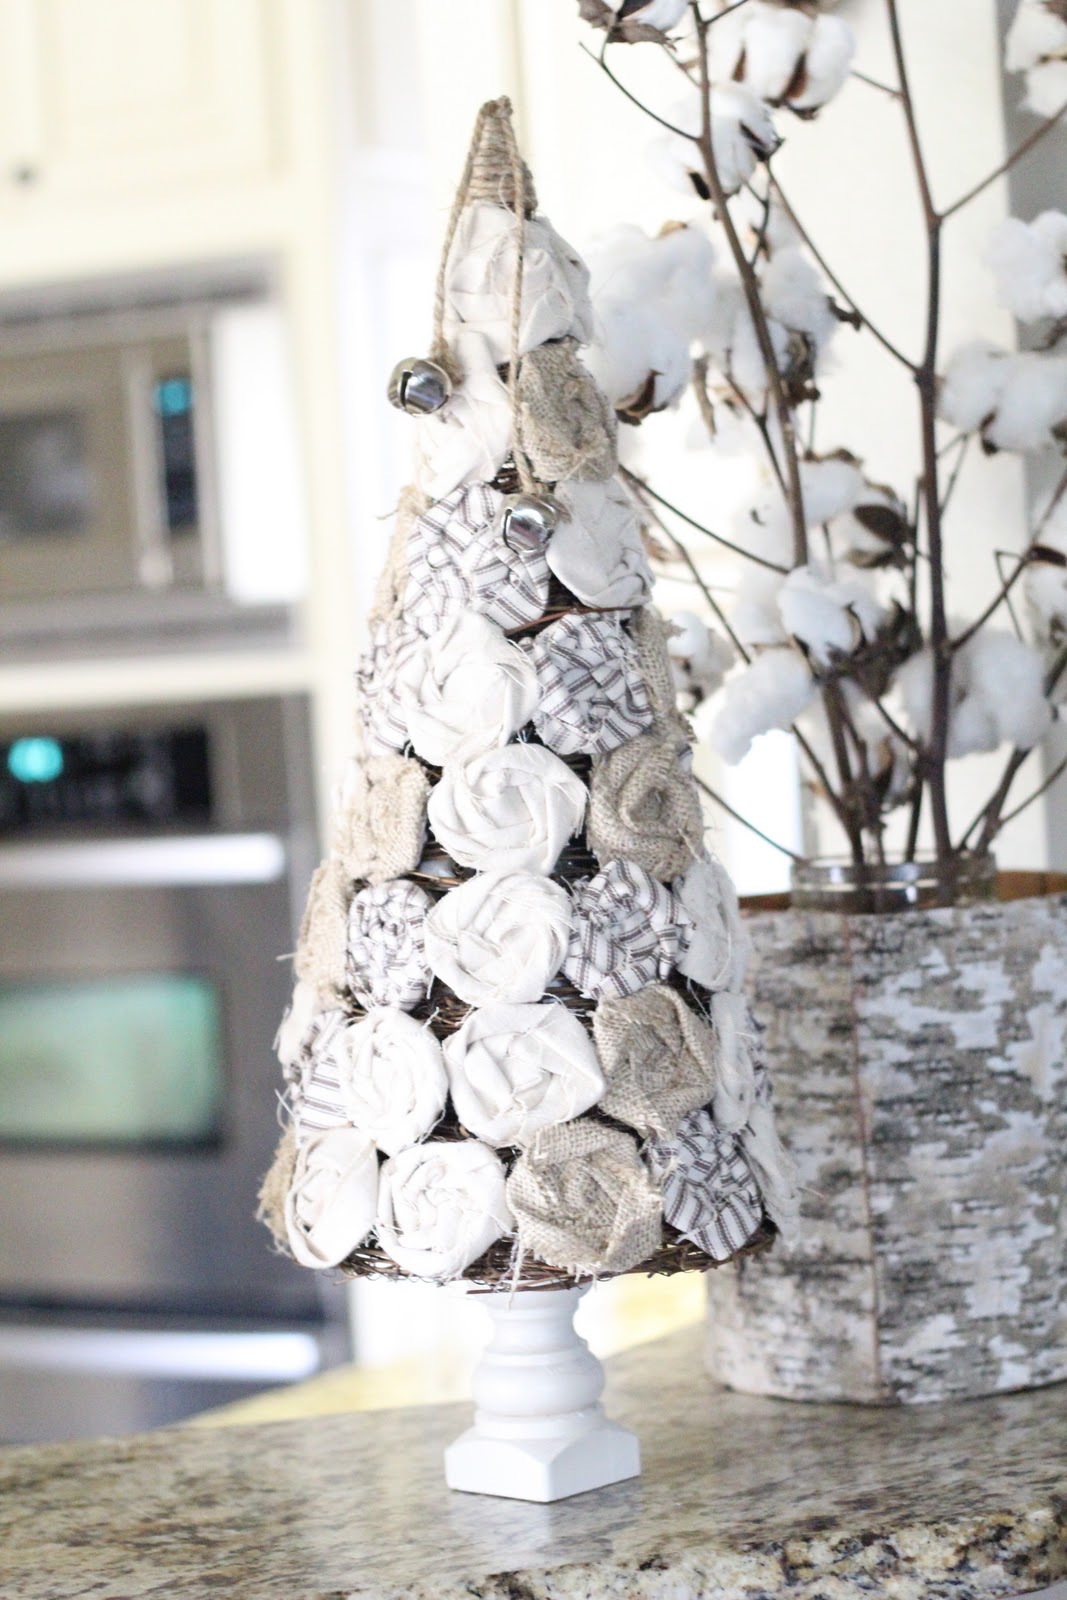
I did like the look of my other trees on the base so I filled the inside of this tree with styrofoam and attached a base just like I did on the ruffle trees.
That’s it! If you own a hot glue gun, you can make this tree! Once you finish your tree you will be a rolled rosette champion! Here’s a few more pictures of mine…
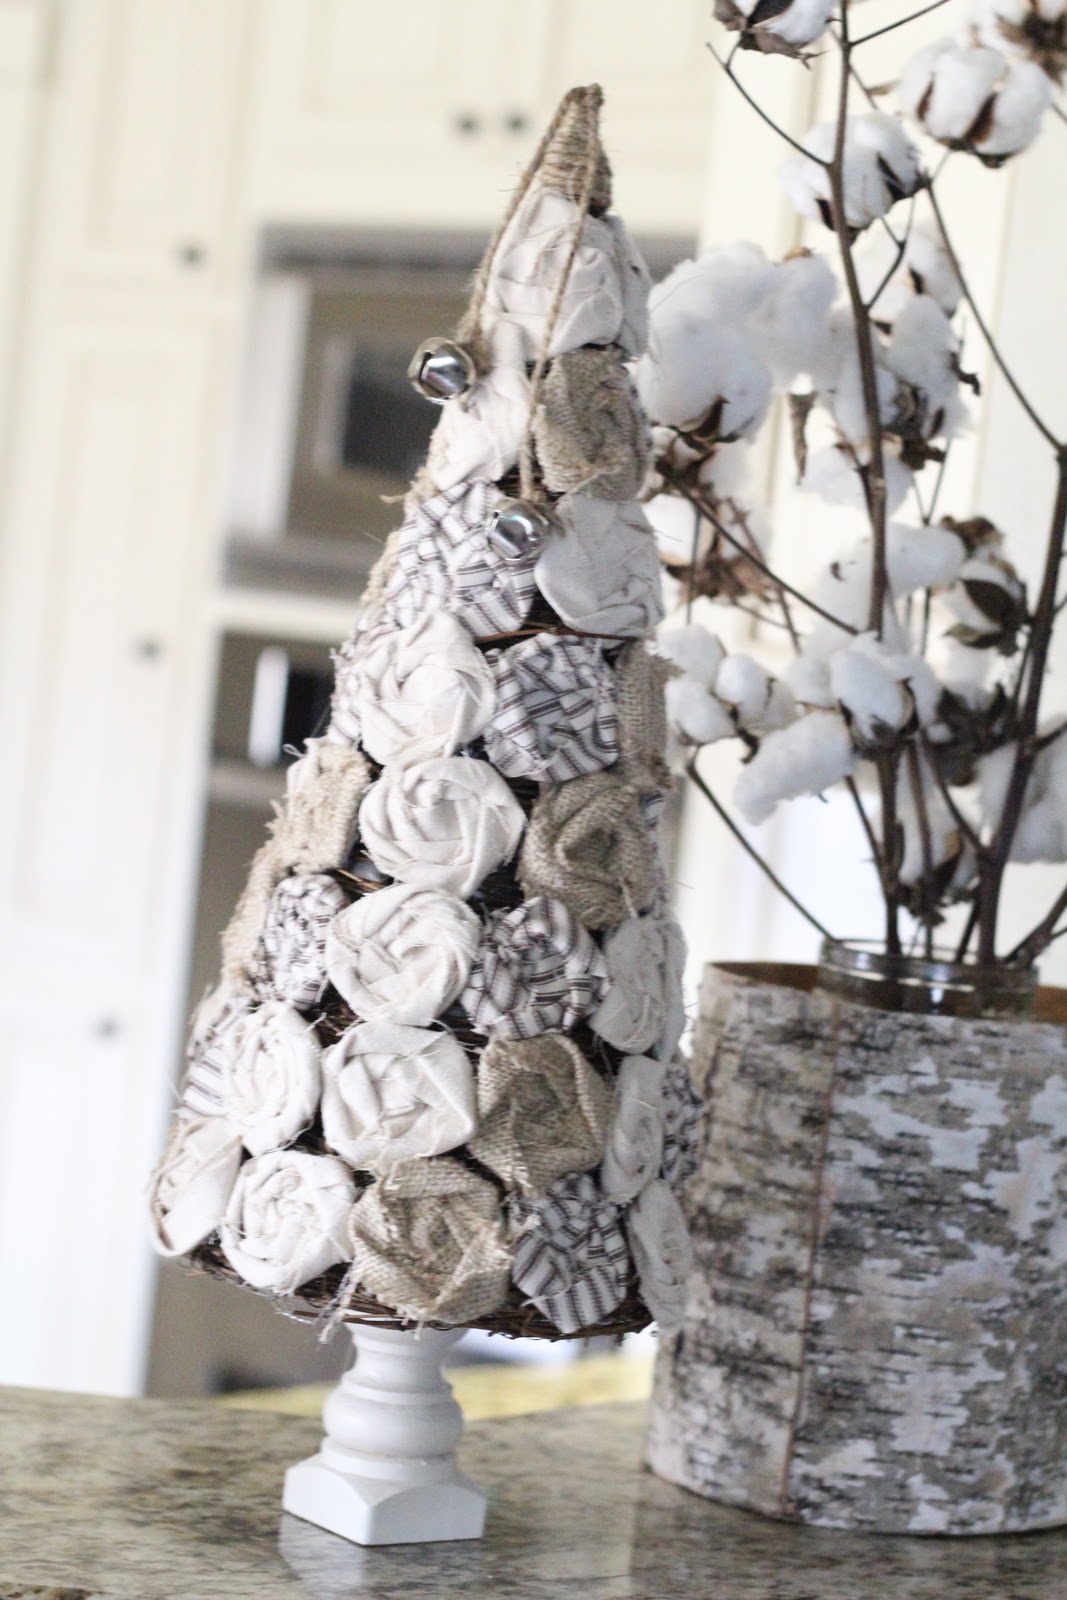


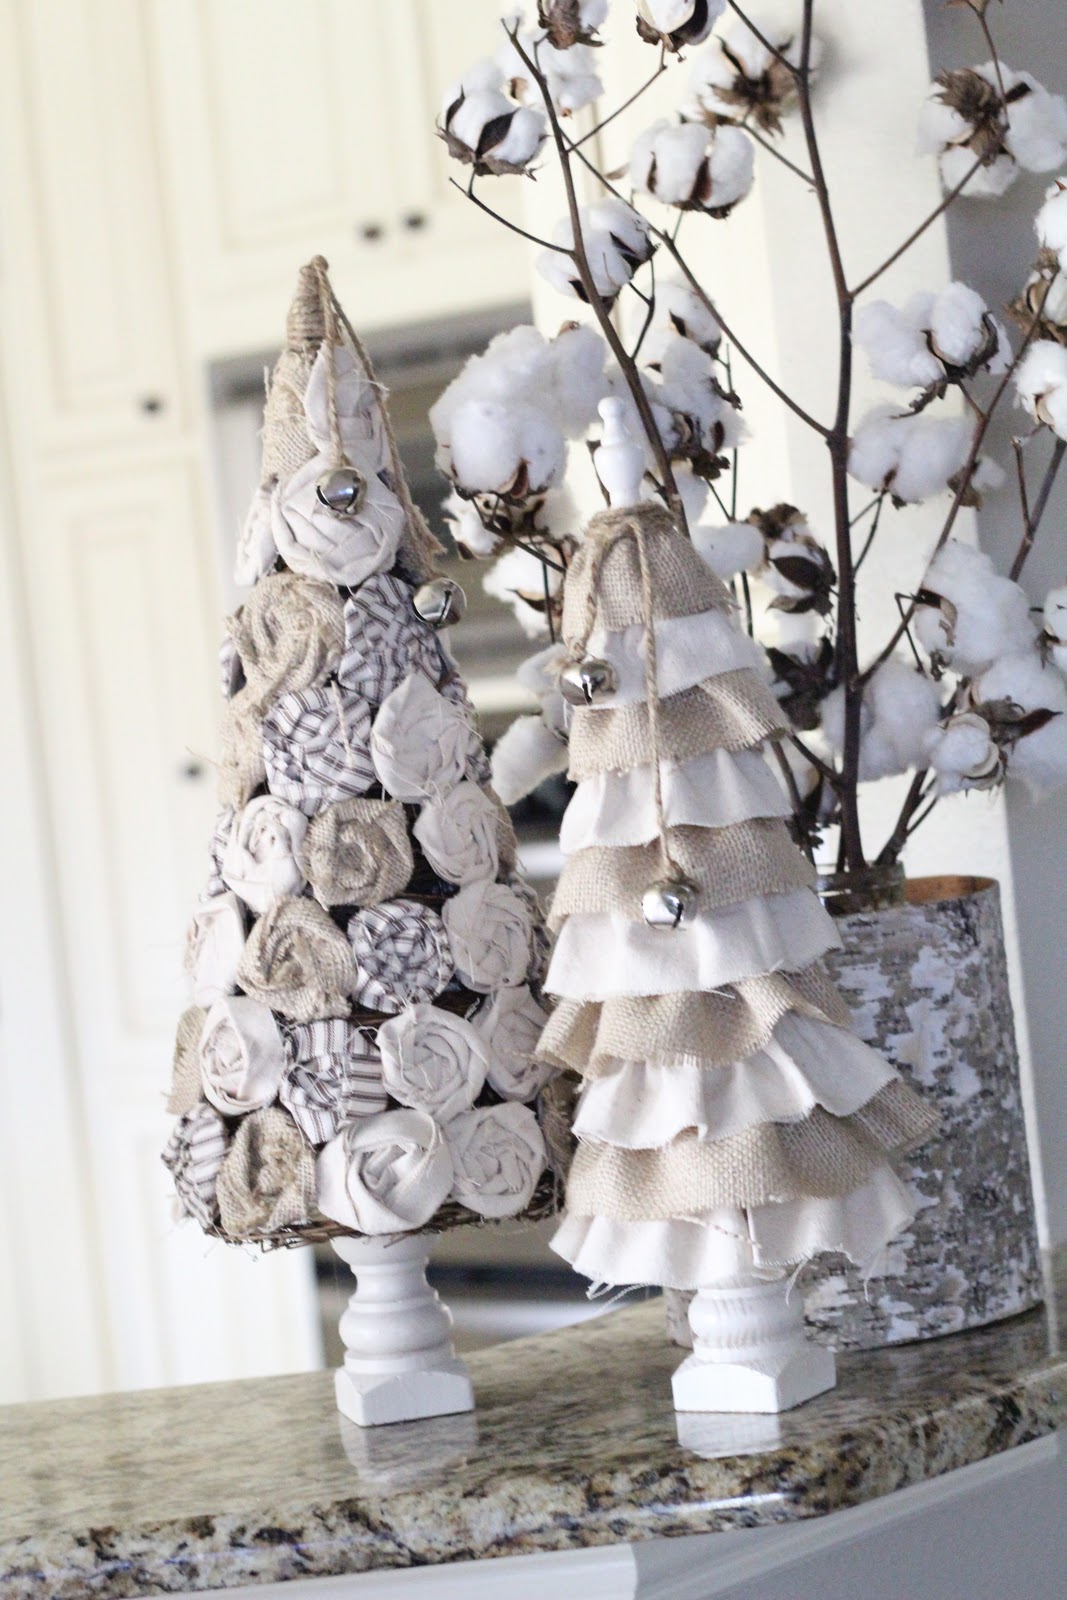
Hope you like them!! Remember… Directions for the rosettes can be found HERE!
Thanks so much for stopping by! We have some really exciting things happening this week on the blog so stay tuned!
Have a great week!!
~Whitney


I love you and want to be your friend, so you will come over to my house and make cute little ruffle and rosette trees with me… Just sayin'. 🙂
I love the rosette tree, it's so pretty! And yes, they make a good couple.
hugs
Sissie
I love it. You are one crafty lady.
I love your tree. Just beautiful!
The ruffles and the rosettes are the PERFECT team. Too cute.
Cute, Cute!!!!
I love this and can actually make it! Thanks so much for sharing- I just need to go get a grapevine tree!
I love it. Great idea. I also read your rosette tutorial. I've been wondering how to make them. Thank you!
Love it! So simple and so cute!
Your blog is always so inspirational. I was wondering what to do this season because we are leaving for 3 weeks… I think I have my answer.
So cute!
Wow-these trees are adorable-love the earthy crunchiness of the burlap with the nautical ticking- love that they are on stands too!! Sooo cute!
I'm in love with rosettes and this adorable tree!!
Well I just happen to have burlap and tons of drop cloth left over from my slip covers! I might have to go get me a vine tree tomorrow!
Great mind think…. I bought the same fabric from Joann's