Hey there! I am so excited to share a fun, easy and cheap project with you all!

I love it so much that I want one for every room in my house;)
Here’s how I made it for $17!
 ~ I purchased 5 – 1×3 furring strips and 1 – 2×2 scrap from the scrap bin at Lowe’s (you only need about a 4″ piece)
~ I cut 8 pieces at 36″ and 8 pieces at 20″. I then cut 4 pieces of the 2×2 at 9.5″ (Lowe’s will cut your boards for you also).
~ I also bought one 1/4″ sheet of plywood at 36×20″.
 I finished my shopping trip with a package of 1/2″ wood screws and 8 metal angles. The angles are back with the roofing products. There is a huge shelf of metal pieces (fun:) and these are about $.60 each.
 I started by nailing the short furring strips to the 2×2’s (4 on each side). I used Gorilla Glue wood glue to secure.
 I then added the long furring strips to each end also using nails and Gorilla Glue wood glue and then finished the build by attaching the 1/4″ plywood to the bottom with wood glue and nails. (I just nailed it into the bottom of the furring strips).
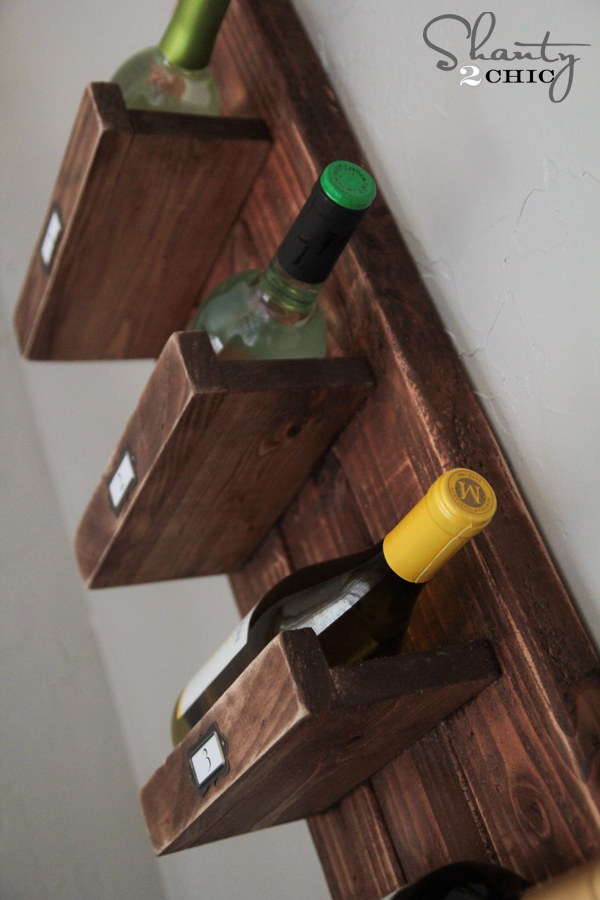
 EASY! Before applying the finish, I beat the crate all over with a hammer, bolts, basically anything I could find to rough it up. I also used a flathead screwdriver and dragged it across the boards.
 I used my favorite Rust-Oleum Dark Walnut Stain to finish:)

To achieve the industrial look I was going for, I added 1 angle at the top and bottom of all four edges and secured them with the wood screws. Easy right:))


This was one of the quickest projects I have done and so cheap:)
If you love it, I would so appreciate pins:) Thanks so much for stopping by and have a great week!
~Ashley

Love this idea! Will definitely try it when I get my own house. A great pin!
Thanks so much Rita! I appreciate it::)
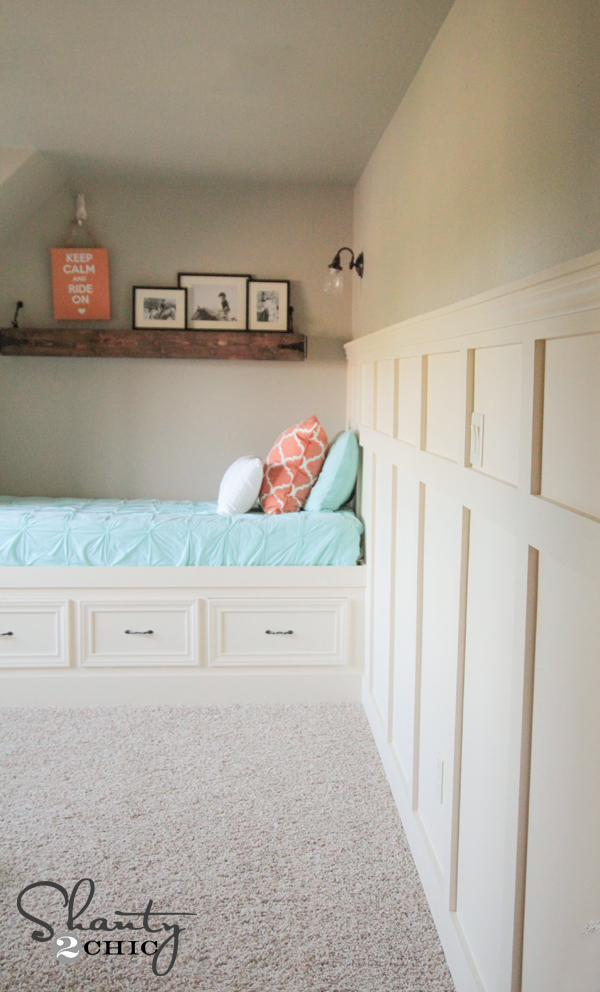
I love the crate… and I also love the fabric of the pillow and the throw! Do you know where they were purchased? I have been searching everywhere for a decorative throw, and that is exactly what I want!
Hi Sarah, the fabric is by Waverly and I purchased it at JoAnn’s. I got the throw for $19 at IKEA:) Thanks so much!!!
at what point did you attach the bottom? And did you glue it or screw it on? I’m going to make one but add a top with hindges and use it for a coffee table! Sounds easy enough. Thanks for sharing!
Great idea Claudia! I think I was half asleep when I wrote this post last night and I completely left off the instructions for the bottom:) Thanks for catching that…I have updated it:)
Gorgeous. I love it. I pin it and will try to make some that fit under my bed in the summer. Thanks so much for sharing.
Greetings from Germany
Catrin
Great idea Catrin!!! Thanks so much:)
This will definitely be pinned!! It’s perfect and brings a wonderful rustic look into a room. Great project, great tutorial!!
Thank you so much Jan!
Beautiful! LOVE it! I need to go to Lowe’s this weekend. Did you treat the wood with anything after staining? I’m afraid the wood stain will ruin the fabric inside.
Thanks Sophie! I didn’t treat it with anything but I would suggest giving it plenty of time to dry. I haven’t had a problem with it rubbing off on the fabric:)
Wow! It looks awesome! I already pinned it! Thanks for sharing this great post!!
xo Becca
Thank you Becca;))
Terrific project! Love the addition of the metal brackets.
Thanks so much Korrie;)
This is a great project! I “pinned” it. 😀
Thank you so much:))
Love this! I’m going to have to find a spot for at least one of these somewhere!
Thanks Jill:))
This is soooo perfect for the dresser we just finished. It has drawers at the top and an open space at the bottom.
This is awesome! Thank you for sharing this!
Fun! Thanks so much Rhia:))
So do these not have a bottom? Just curious. They look great though! Love the idea of using it for blankets at the end of the bed
Eek, thanks for catching that Brooke! I left that part out LOL! I used 1/4″ plywood:)
Love it, thanks for sharing!
Thank you Adriana:))
Ashley, great fast build, you could even add casters on the bottom to make mobile (then your kids will think it’s a wagon – good and bad!). Thanks for the plans.
Great idea Jaime:) Thanks so much!
So pinned this….. For 2 reasons, one I LOVE it, two….I want to remember to make it lol
LOL! Thanks Teresa, I do the same thing:) Pinterest has become my to do list:)