So excited to share this next build with y’all! I was needing a small side table to set next to my arm chair, and I am loving how it turned out. It was super ways to build, and the cost of lumber was under $30… Heck yah. Love that price tag 😉
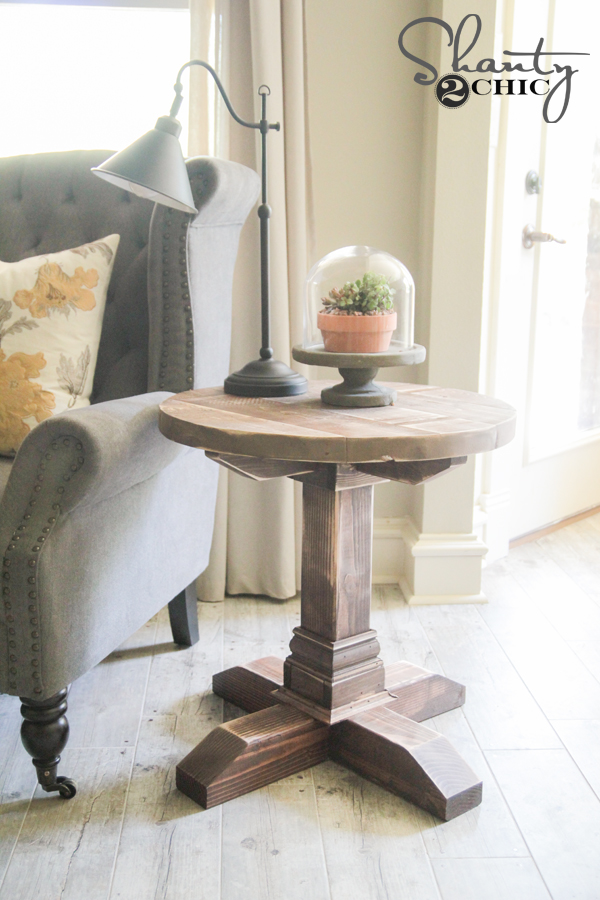
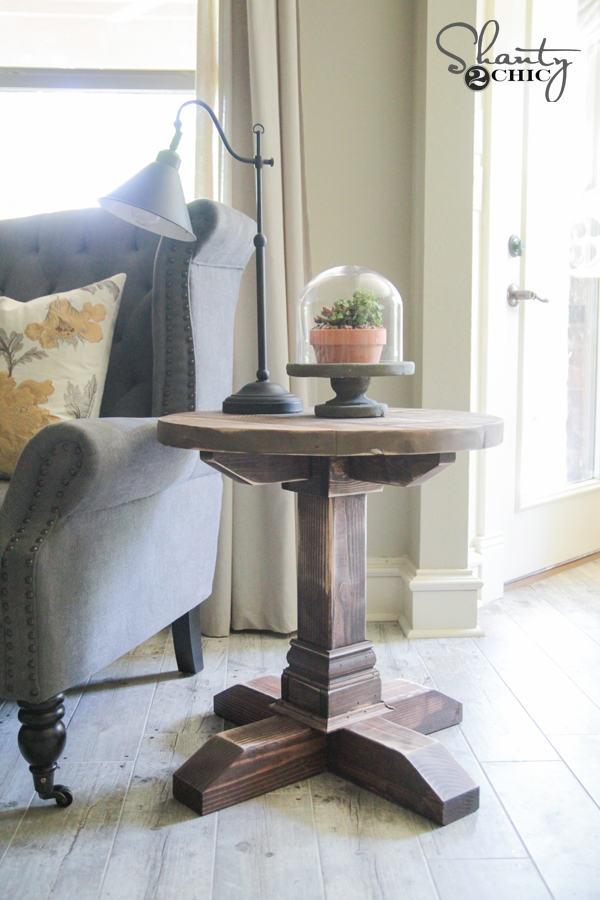
Here is how my DIY round side table turned out!
This is a really simple build! I will say that you want to be sure your saw cuts 4×4 if tackling it. Some 10″ saws are not big enough to fit the 4×4 under the blade. I will walk you through the entire build here, and you can download and print the free plans by clicking HERE or the button below!

I started by cutting and assembling the table top. This uses 5 2×6 boards. I cut each of them to size and then I tried something new to me on each board. We had the opportunity to tag up with Clint Harp last week. You may have seen that if you follow us on Instagram. He is the brains and builder behind all of those amazing tables you see on HGTV’s Fixer Upper. Such a cool guy.

You guys should check out his website Harp Design Co. where you can see his work, and they also sell really cute goodies in their shop.
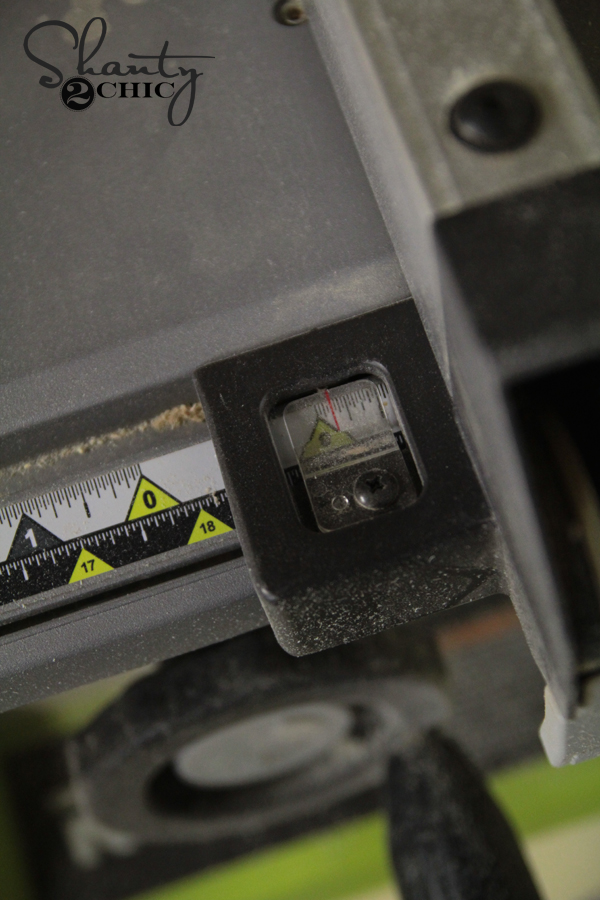
He gave us lots of fun advice and tips! One of our favorite was cutting the edges of our 2x boards straight using a table saw. Many of you may already do this, but it’s new to us, and I LOVE the outcome. First, I just set my table saw fence to 1/8″.
Then, I just ran both sides of each piece through the table saw to cut off the rounded edge.
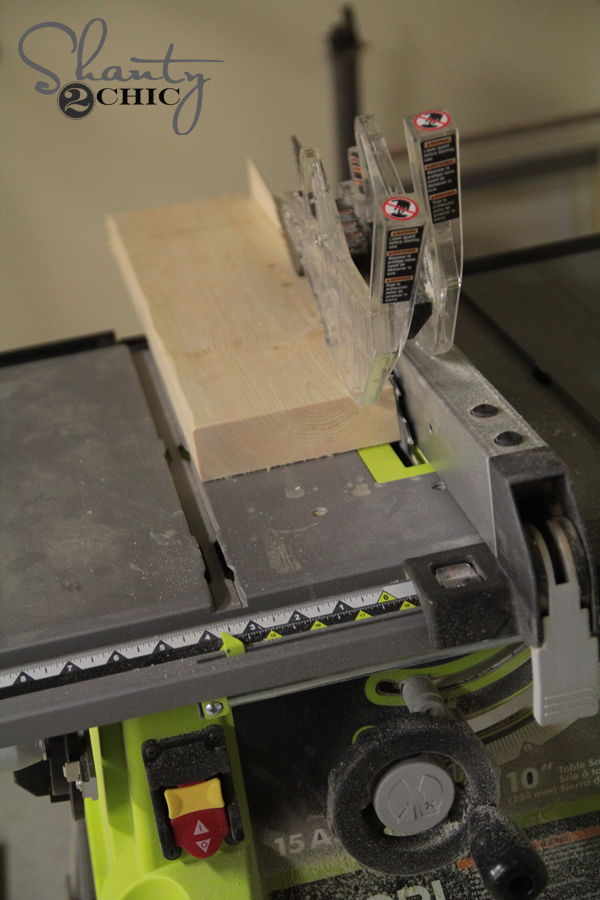
The outcome is a straight edged 2×6 which I love. This does cut a small length off of each board, so make sure to keep that in mind when building your pieces. It didn’t make too much difference on this project.
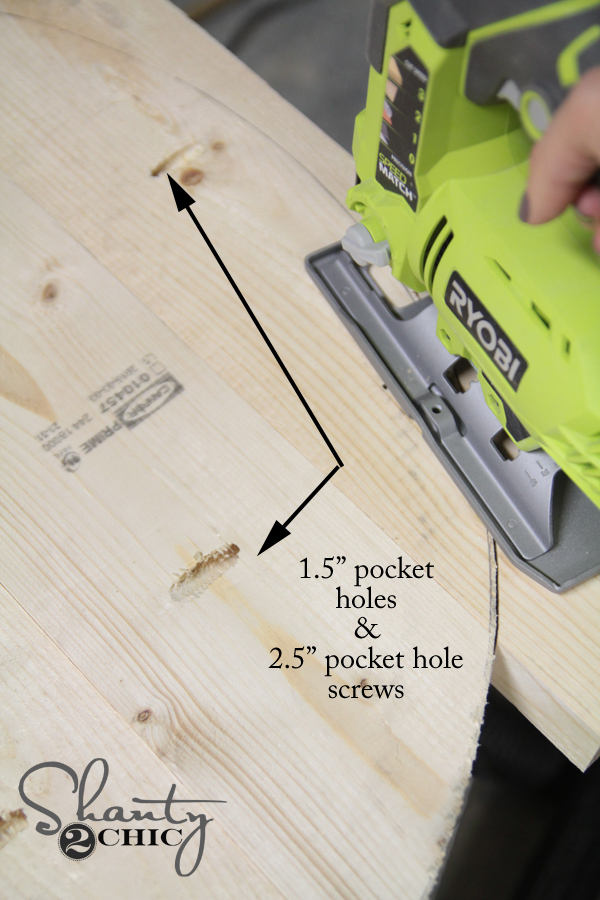
After cutting all the edges, I added 1.5″ pocket holes to each board using my K5 Kreg Jig.
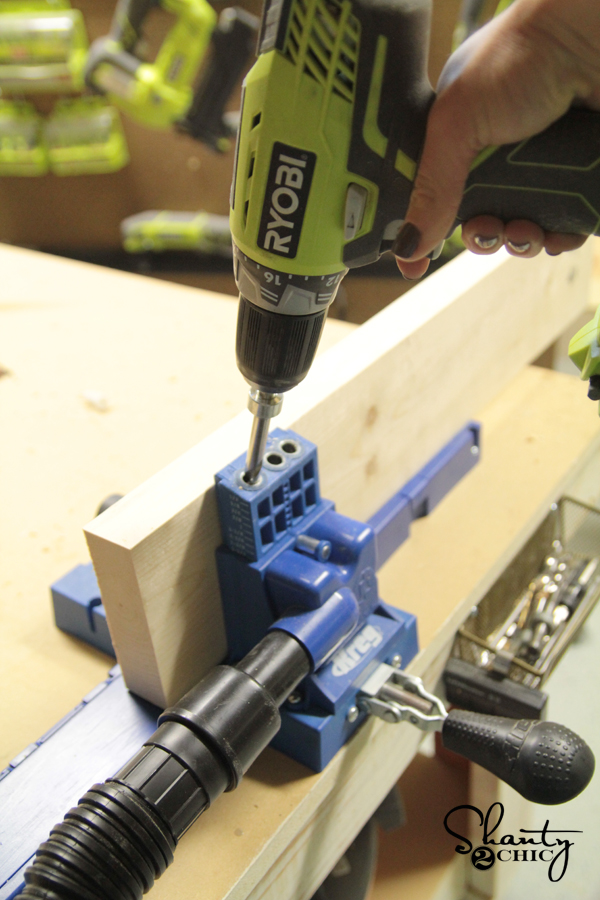
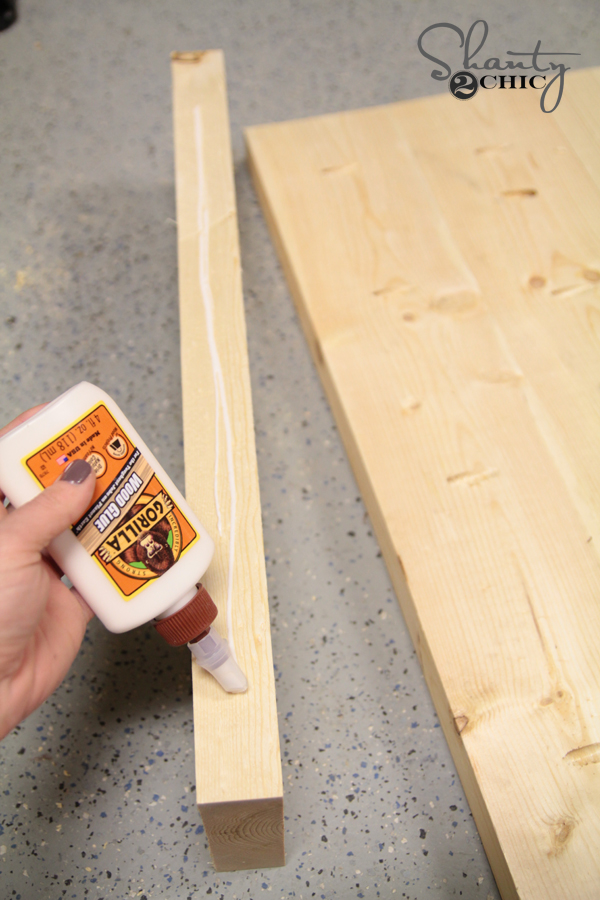
The plans will show you suggested locations to place pocket holes. I attached each of my boards using wood glue and 2.5″ pocket hole screws.

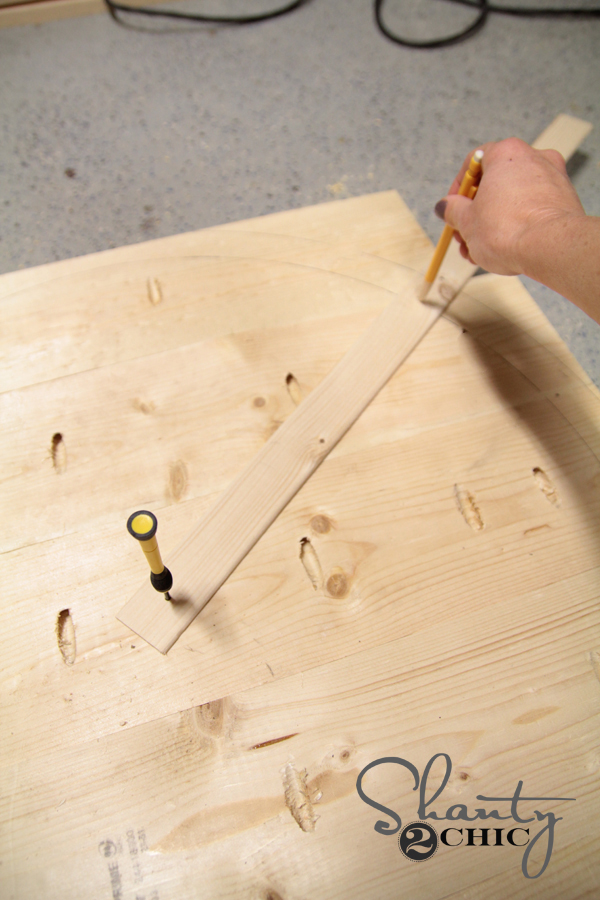
To draw the circle, I used a long thin piece of wood. A yardstick works great for this as well. I placed a small hole in one end and measured 13″ over since I needed a 26″ circle. I drilled another hole at that point. I put a small screwdriver in one of the holes and placed it in the middle of my piece. Holding that in place, I used a pencil in the other end to go around and make the circle.
Next, I used my Ryobi Cordless Jig Saw to cut around the circle I drew. Simple!
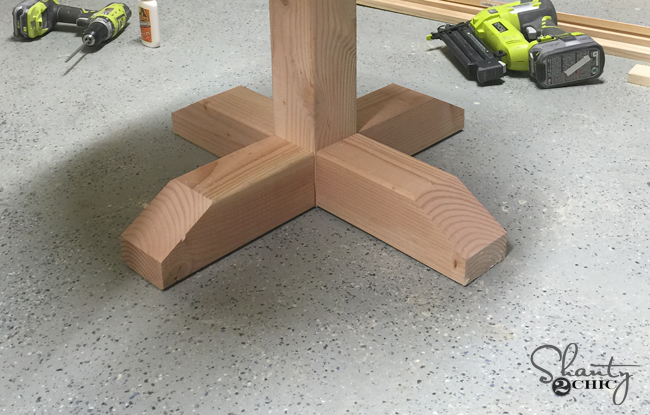
Once I had that completely cut out, I started on the base. I cut the leg for the base as well as all 4 feet. You can see here the angle I cut off for each foot.

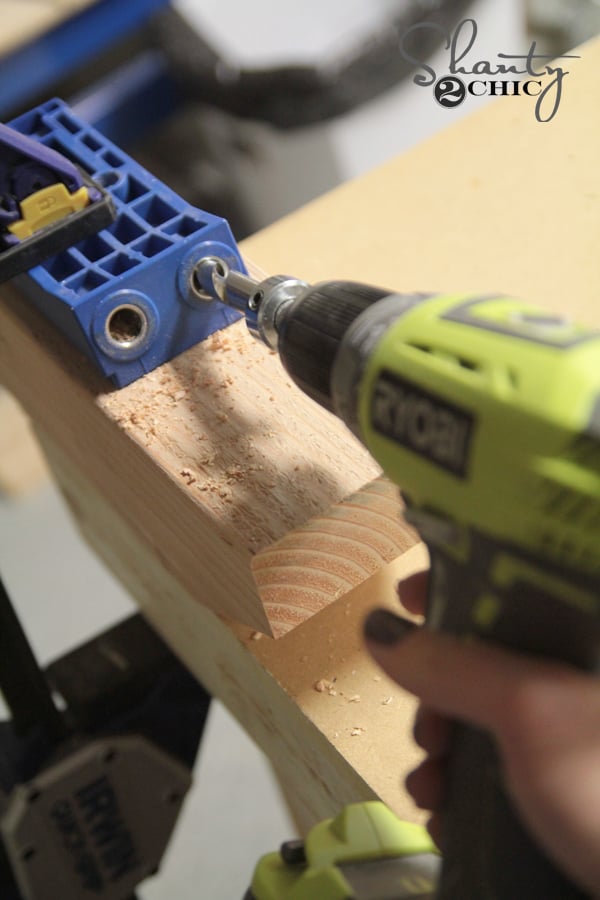
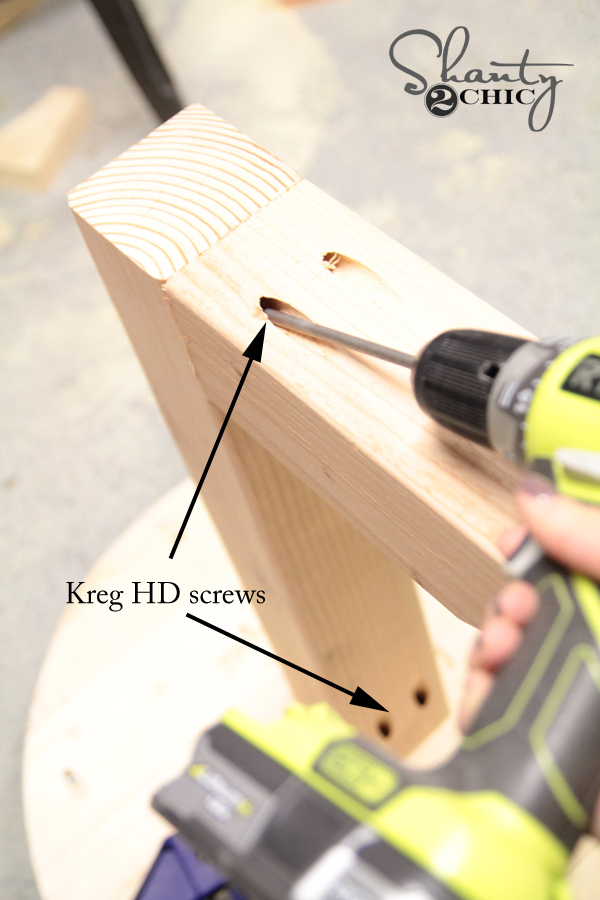
I used my Kreg HD Jig to put pocket holes on the bottom of each foot and I also added some to the bottom and top of the table leg.
I first attached the leg to the table top using HD screws, and then I did the same with each of the feet.
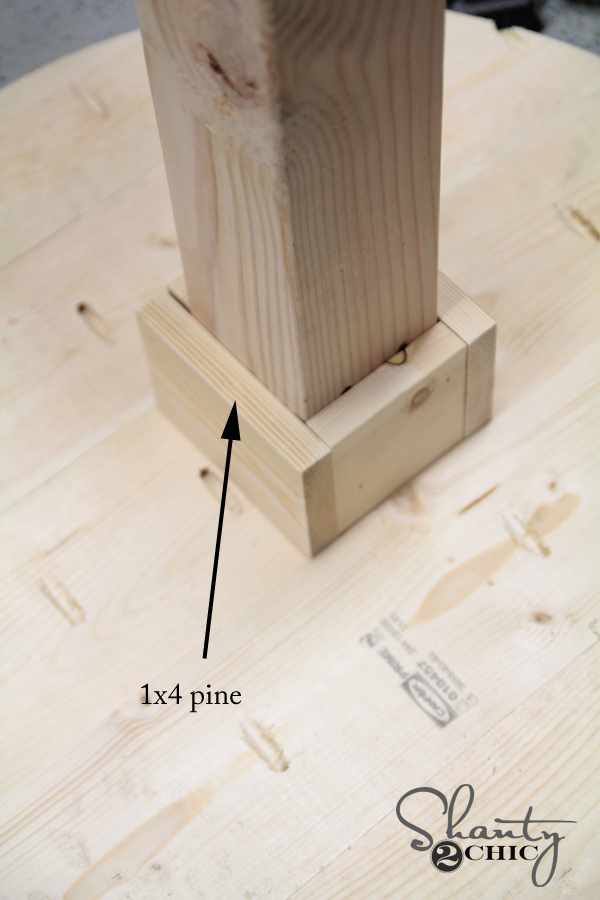
I wrapped the top of the leg in 1×4 pine to cover the pocket holes. I used wood glue and 1.25″ brad nails to hold it in place.
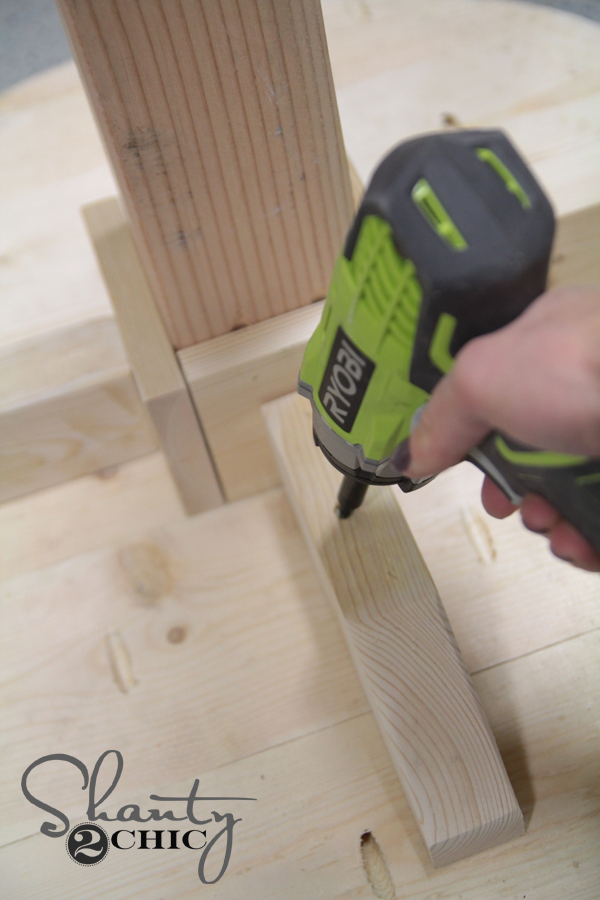
I cut the table top braces and attached them using wood glue and 3″ wood screws through the bottom of the brace and into the bottom of the table top.
Now to wrap the base of that leg! Here is what it looked like before wrapping it…
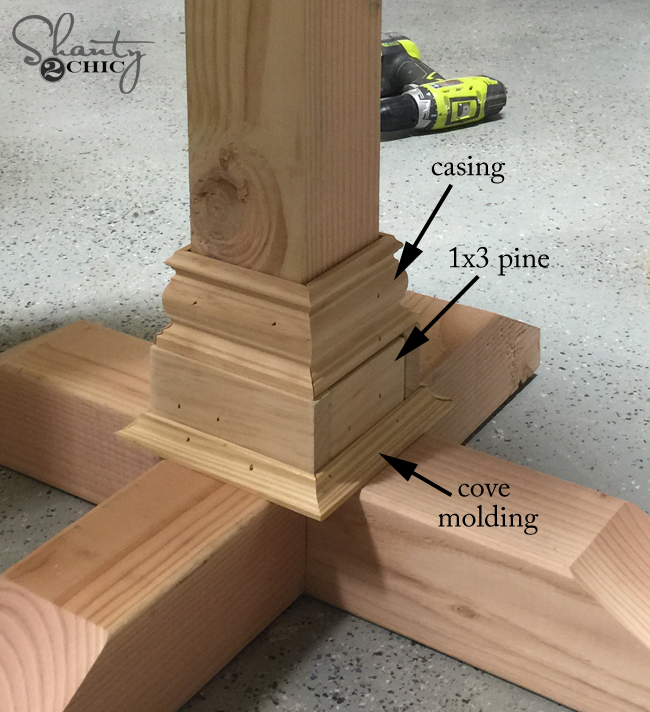
I added 1×3 first to the bottom and then added a casing on top of that securing everything with wood glue and 1.25″ brad nails.
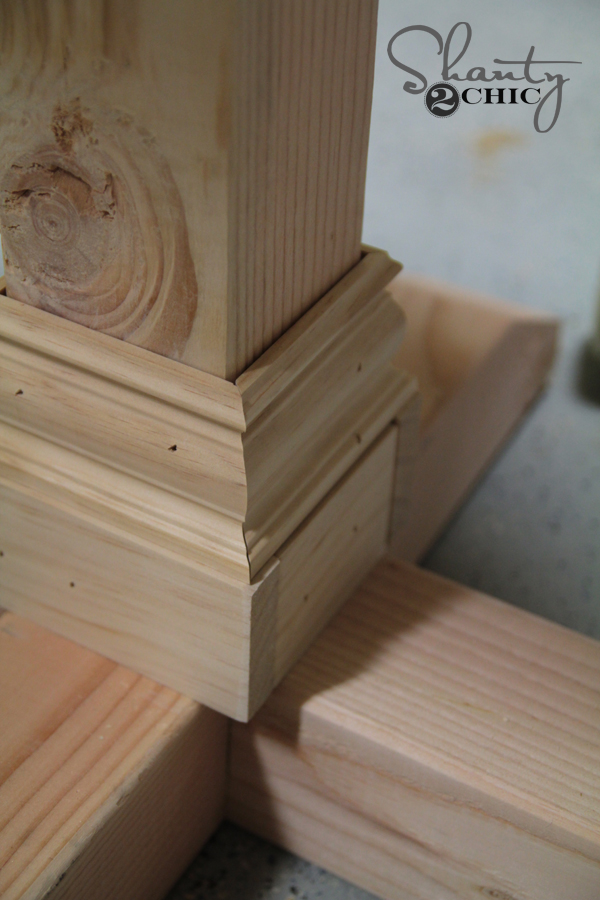
Last, I added a small cove molding to the base of the 1×3.
DONE. My final step was staining it. I used Varathane stain in Dark Walnut for this one. Once it was dry, I used my Ryobi Corner Cat sander to distress the entire piece. I love the outcome!
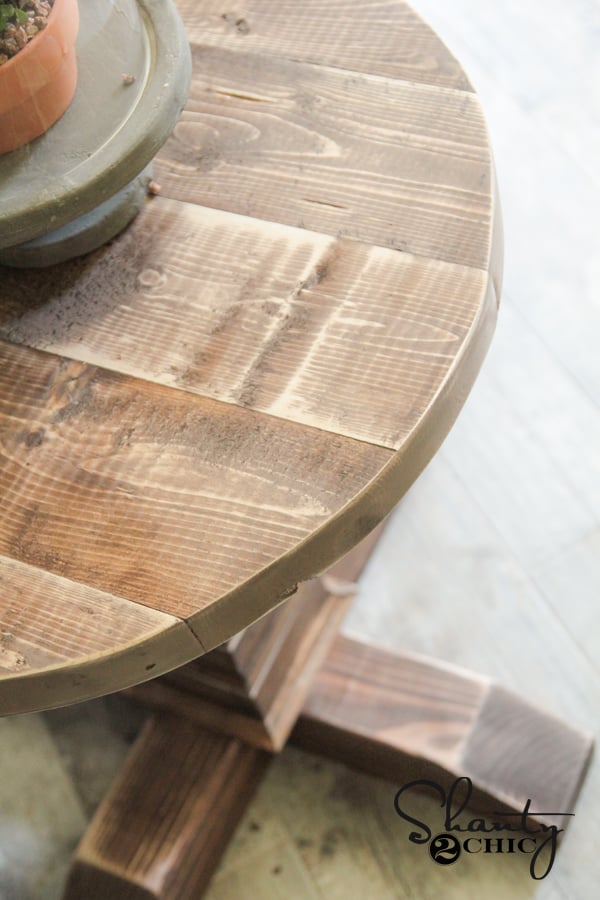
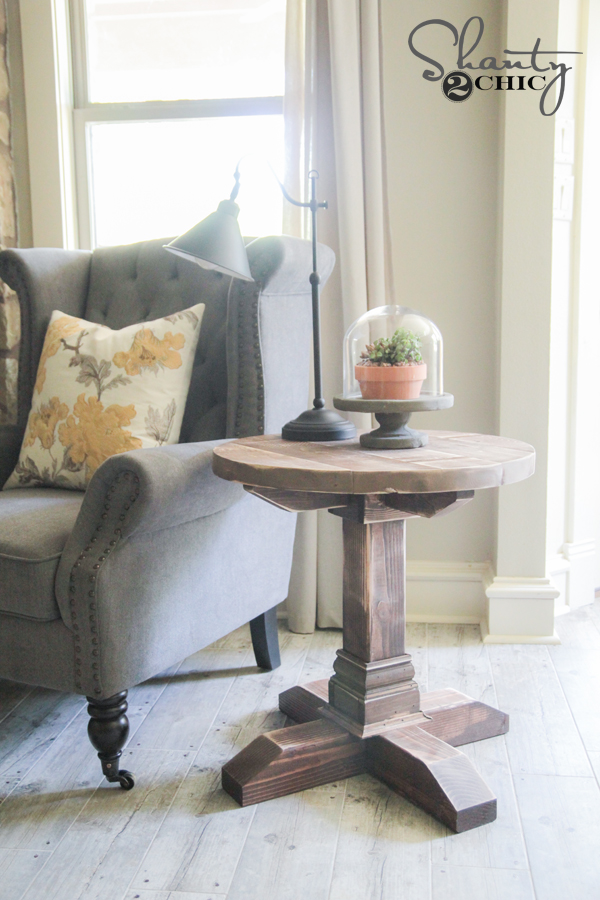
How cute is that?
For anyone wanting to know… I found the chair at Home Decorator’s HERE. The cute little concrete and glass cloche is from Save on Crafts HERE. I found the pillow at Home Goods and the lamp at World Market.
Thanks so much for stopping by guys! Let me know if you have any questions at all!
~Whitney


We are having a bit of a time getting a straight cut with our ryobi jig saw….is there some trick you could offer up on getting an even cut? Which ryobi jig saw did you use and which blade? Thanks!!
Does anyone know the name of the casing they used? i have looked at home depot and menards and cannot find it. my wife really wants this casing for our table.
We have just learned that trick of trimming off the rounded edge. I use all of the scraps too for various other projects. Love the table, it really is a great style and the finish is beautiful.
We just finished building this table from your plans. Did you use any prestain conditioner on the wood, or any finish? I really like the color and vintage look you came up with but am scared to start staining just yet! Thanks!
Do you think this same method of circle cutting would work on the pedestal table you made that is octagon shaped (Ana White plan)? I’d prefer that table top be round but not sure if I am up for experimenting. 🙂
Hello 🙂 Super cute! Did you seal this particular piece?
This is beautiful.
I am thinking of using the legs you made here with the triple pedestal farmhouse table you made but using only 2 legs. I’m not sure if this design of the legs will hold up to that weight and stress though! 🙂
Gorgeous work as always. Thank you for the inspiration and tips!
Do you buy 1×3”s and 2×3”s, or do you cut them down from 1×4’s and 2×4’s on a table saw?
Could you share where you got the casing from please? I am having trouble finding some without being primed. Thanks
So sorry Jo just seeing these… I get mine at Home Depot with all of the moulding. They come in long 16-20′ pieces, but they have a saw stand set up so you can cut the amount you need. Hope this helps!
This is perfect for that space, and you have taken beautiful photos! I love it!
Thank you Pauline!
I really love and want a table like that. So elegant
and sturdy.
Thank you Laura!
Great table! Thanks for sharing the plans and step by step. Now just to find a place to make it! ha ha.
Thank you Kelly!
Love this table! Thank you for such a detailed explanation! How long do you estimate this will take the first timer?!
Great plans! Thanks for such a hip and well done tutorial. You girls are amazing. Now if I could just figure out where to out it….
Thank you so much Marian!! Made me smile 🙂