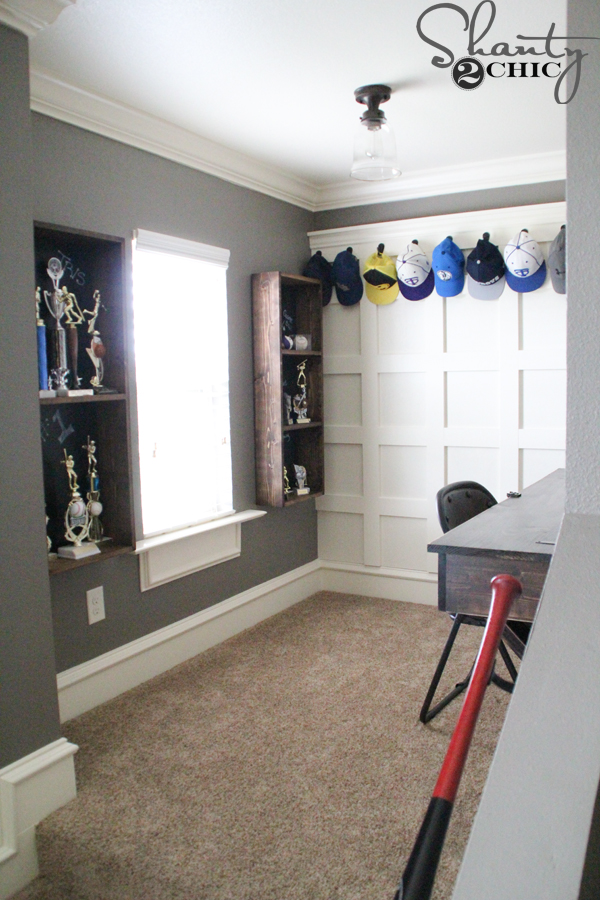
I’ve made my kids a lot of pieces for their rooms over the years but this one, by far, got the most attention from my 11-year-old!
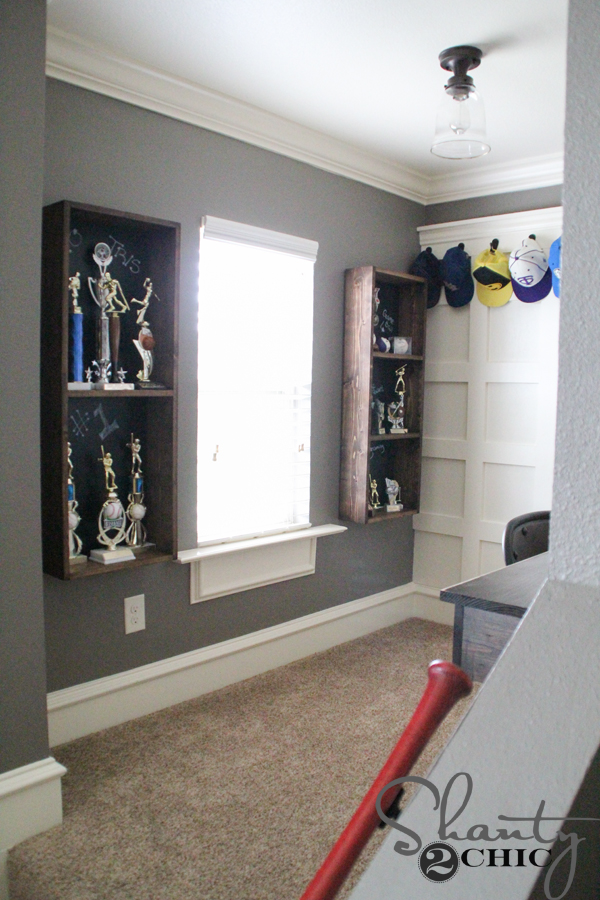
Like most boys his age, he loves his trophy collection. They can get really cluttered and I wanted to give him a cool space to display them. I came up with these trophy storage shelves and put chalkboard on the back of them so he could write messages or note what the trophies were for – he think this is really cool 😉 Mom points!!!
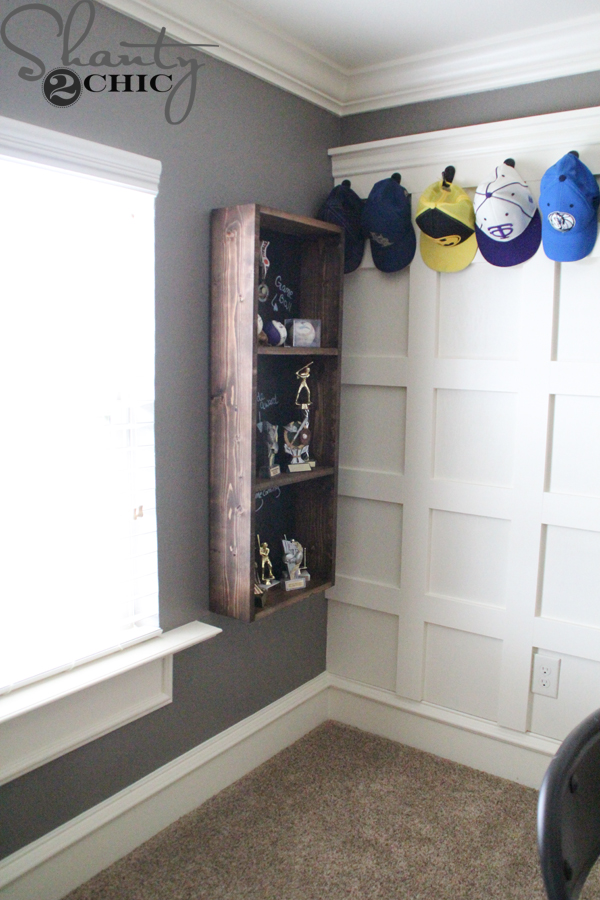
These are so simple to build and modifications can be made easily! Each shelf is 42″ x 16″ and I was able to build them for about $25 each. Here’s how!
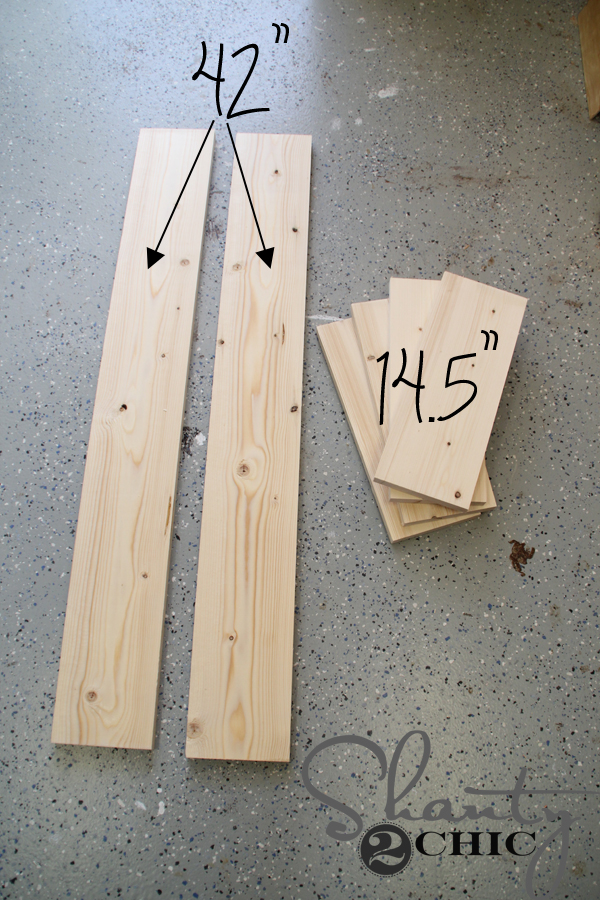
I used 2 1x6x8 boards and cut 2 pieces at 42″ and 4 pieces at 14 1/2″ (this is for one shelf).
Next, I drilled two 3/4″ pocket holes, with my Kreg Jig, at both ends of each 14 1/2″ board.

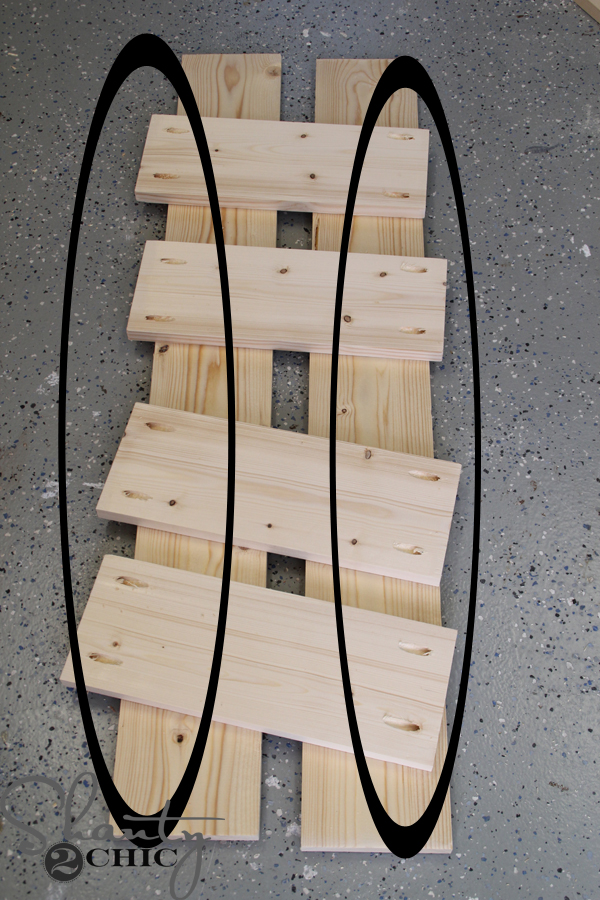
Then, I attached a 14 1/2″ board to the top and bottom of on of the 42″ boards with Gorilla Wood Glue and 1 1/4″ pocket hole screws. The edges will be flush.
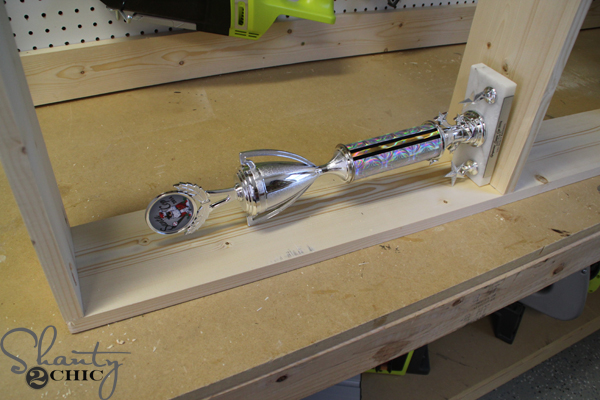
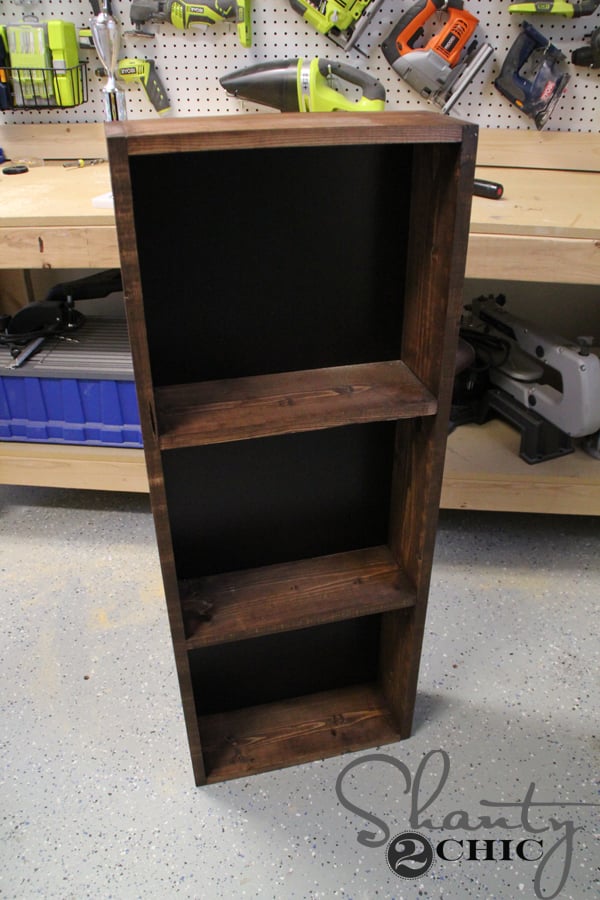
Before adding the middle pieces, measure for the trophies. I ended up making one trophy case with one middle shelf and one with two.
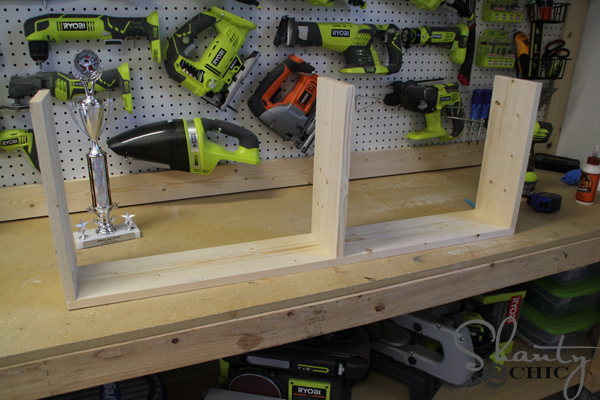
Add the middle board(s) with wood glue and 1 1/4″ pocket hole screws.

Finally, I attached the other long board to the trophy case the same way. (I spaced these boards 13″ apart).
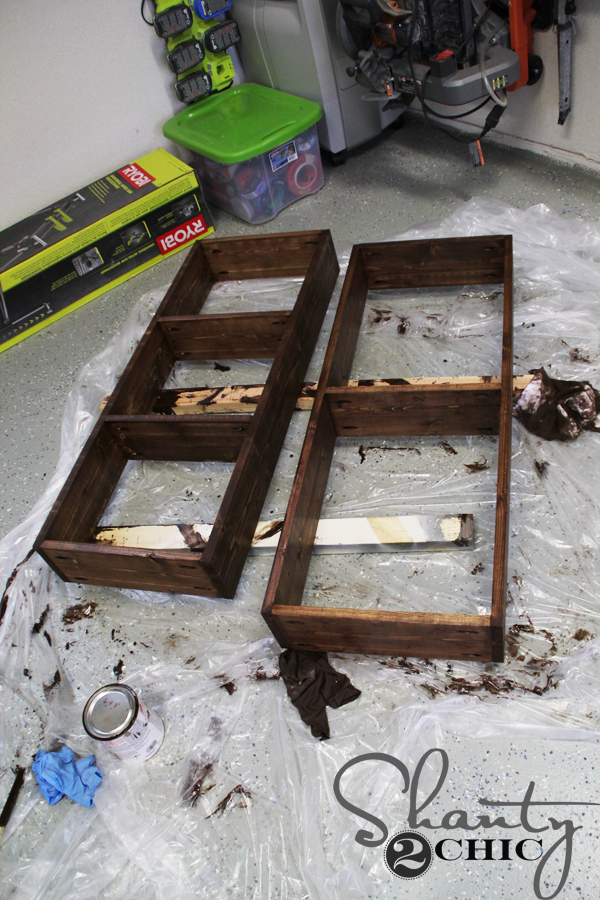
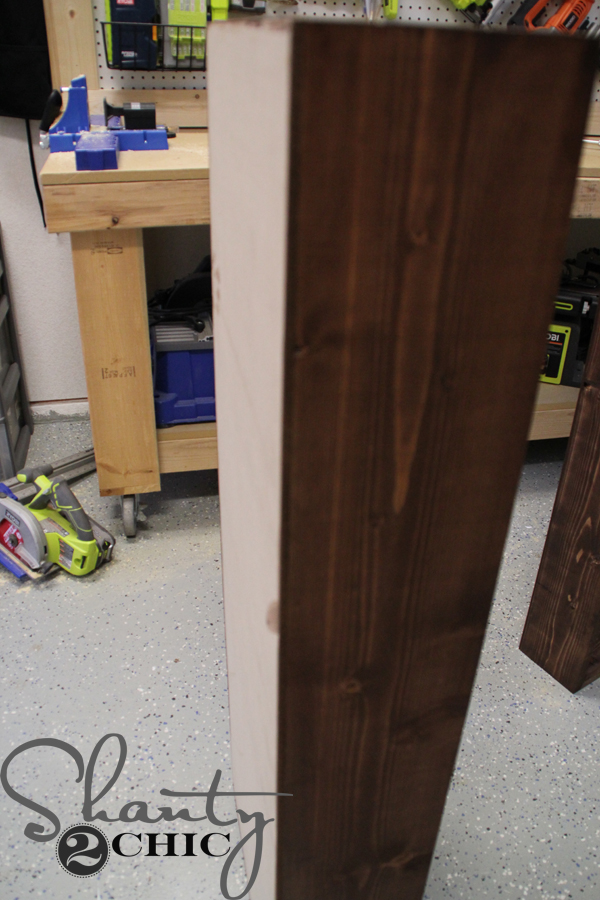
Now to finish! I used one coat of Rust-Oleum Dark Walnut stain all over each piece. I wiped it on with a clean cloth, waited about 5 minutes and blended the stain with a separate clean cloth.
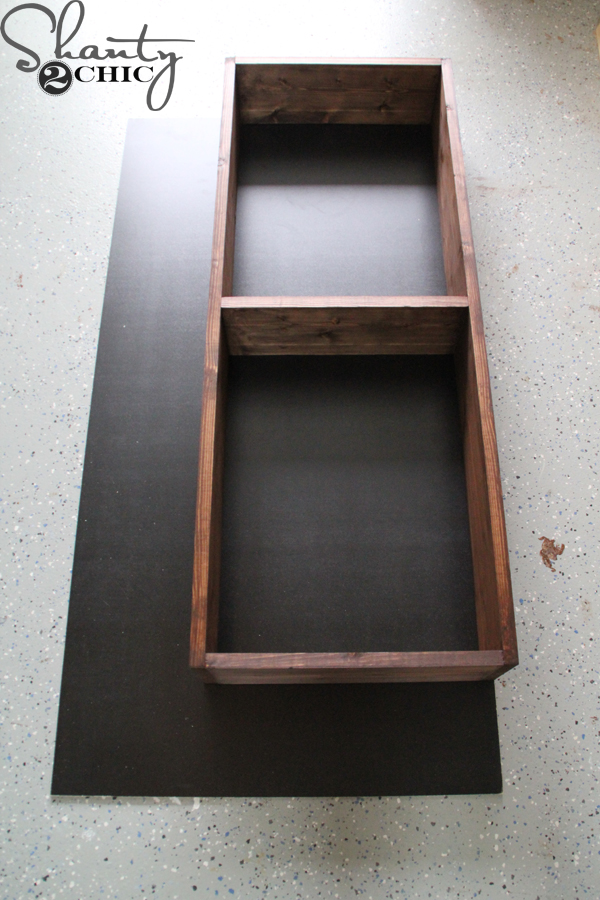
When the stain dried, I laid each shelf on a piece of 2’x4′ chalkboard that I purchased from Home Depot.
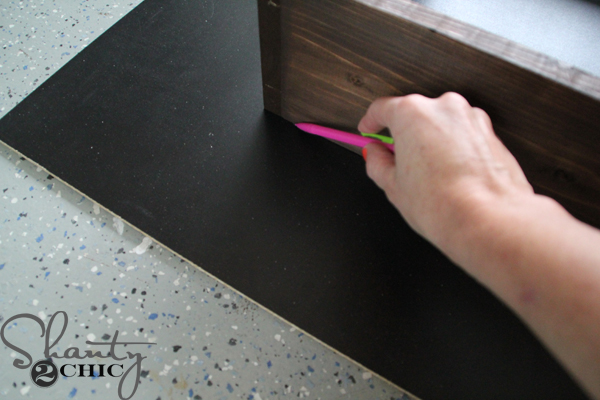
I traced around the outer edge of each case
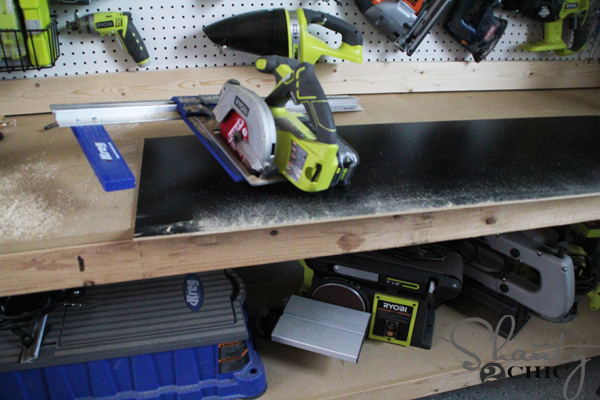
and used my Kreg Rip Cut to cut the chalkboard to fit.
I attached the chalkboard to the case with my Ryobi 18V crown stapler (finish nails and a hammer will work too). Then, I went back with a clean cloth and wiped a little bit of stain around the edge of the chalkboard.
All done! Time to hang 🙂
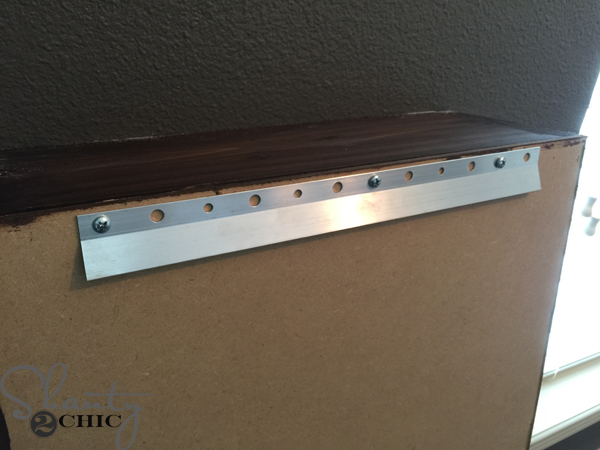
To attach the shelves to the wall, I used these french cleats that I purchased from Amazon. I use these all the time when I’m hanging heavy pieces. These aren’t heavy now but I wanted them to be secure with the trophies on them. (note – the cleats are not added in to the cost of the shelves). The cleats are super easy to install and they make hanging large and heavy pieces so much easier. You just attach one part to the back of your piece

and the other part to the wall. It comes with a little level and anchors. I found one stud and used an anchor for another screw. Then you just slide the piece on! It sits flush with the wall and its super sturdy.
The box below is the cleat that I purchased.

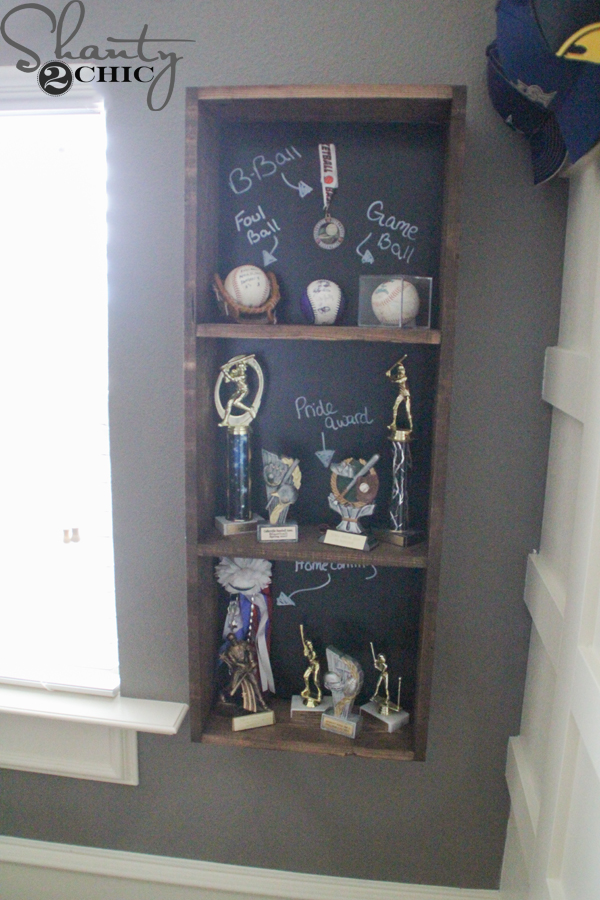
I love having a spot for his trophies and he loves that he has a “really cool spot for his trophies”! He brought his friends up to show them and was so proud (confession: he erased everything I wrote and moved the trophies around, to his liking, after I got pictures 😉 )
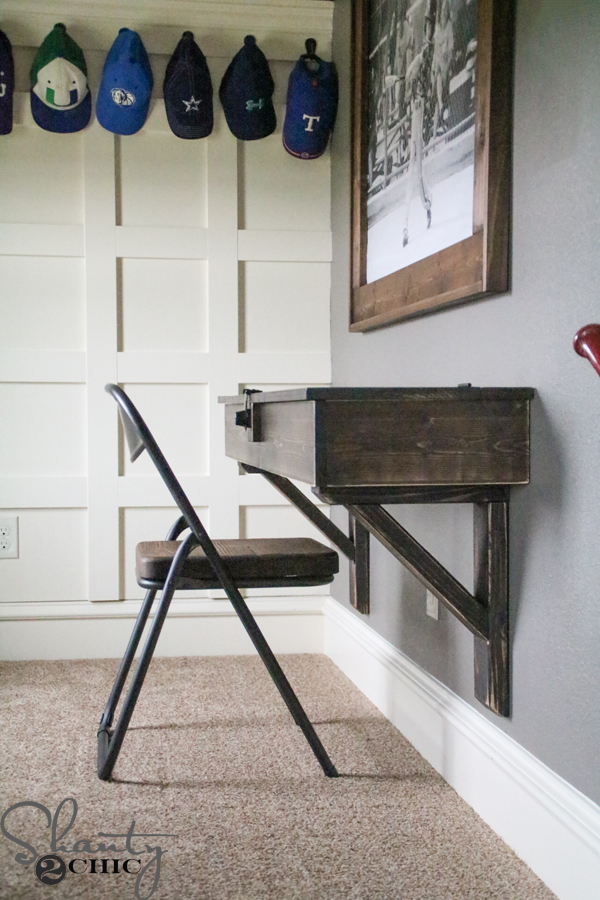
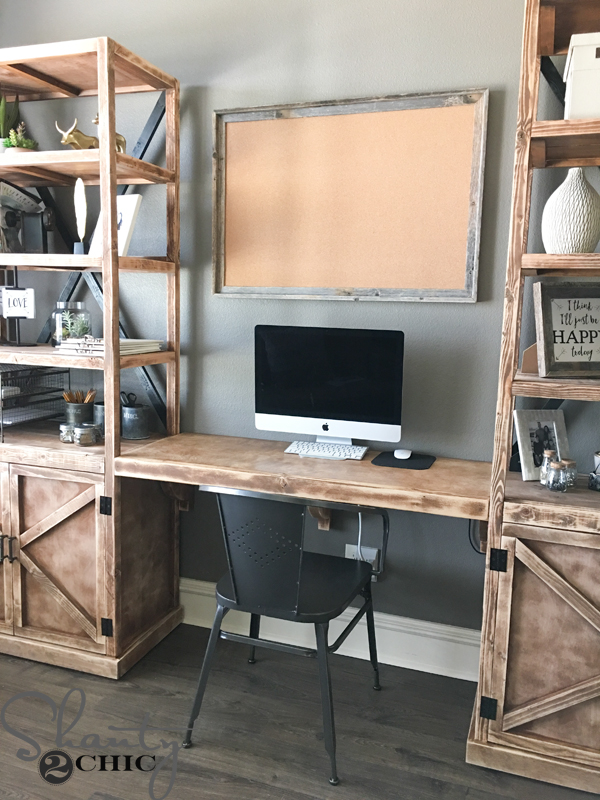
I have a few more ideas for this space up my sleeve and I haven’t shared the tutorial for the student desk or the giant picture above the desk! I’ll be back soon with those!
Like the board and batten hat rack? That’s a DIY too and you can see the tutorial for it HERE!
Other pieces in this space:
Chair – World Market
Wall color – Siene by Valspar
Trim color – Ivory Lace Valspar (match to an oil based paint)
Thanks so much for stopping by!
~Ashley

Why is this gender specific? Seems that the trophy shelves can be for girls too.
What kind of wood do you recommend for this project? And really most diy projects?
Not sure if you’ve elaborated in a previous post, what is your general lighting setup in your workshop. watts/color/# of ballast etc?
Did you use a baseball bat as the stair rail?
So good to know about the french cleat and to see how you installed it. Hanging heavy stuff intimidates me. Oh, and as always… simply wonderful!
Awesome! Thanks for answering my question I had on how to hang heavy pieces in this post. 🙂 This confirms what I thought was used. Thanks for continuing to inspire creativity!
So awesome! I wonder what kind of ideas you would have for displaying medals! Can’t wait to see the desk and picture tutorials!
Thank you Angi! He has a few that I attached to the chalkboard part with command strips but if he had several I would maybe frame a cork board and pin them or do some sort of rack for them to hang on!