Learn how to build this $40 DIY Porch Swing with free plans and how-to video by Shanty2Chic! This outdoor swing will make your porch beautiful and inviting!
$40 in lumber! That’s the best part of today’s project we are sharing with you. Years ago I built a DIY porch swing and my fam loved it. We used it all the time. A year or so ago, Wayfair reached out to us and asked us to try some of their outdoor furniture, so I picked out a beautiful porch swing to update the one I built. I actually passed my original one on to my sister who still uses it now. After only a few months, the Wayfair swing was literally rotting. The finish was turning black and chipping off. I was so bummed, and it made me even more proud of the furniture we build. So, I decided it was time to start designing to replace the piece of junk 😉 That led me to today’s project! Check out this DIY $40 Farmhouse Porch Swing!
DIY Porch Swing
Isn’t it pretty?? This one is super simple! Before we get started, check out our YouTube video tutorial on how we built it HERE or by clicking below!
You can also download and print the DIY Porch Swing FREE PLANS by clicking HERE!
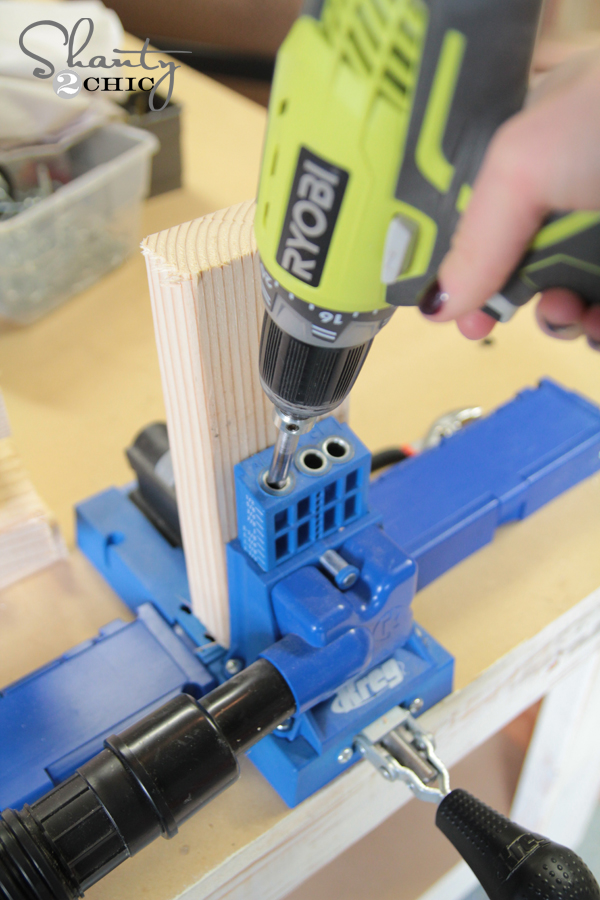
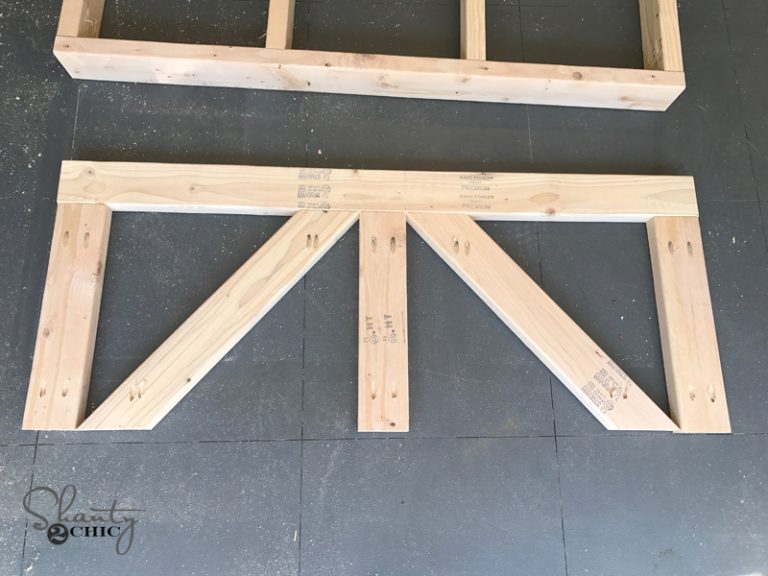
The first step is building the frame of the seat of the DIY porch swing. This uses 2×4 framing lumber. We used our Kreg K5 Jig to make the pocket holes in both ends of each of our smaller boards. These are 1.5″ pocket holes.
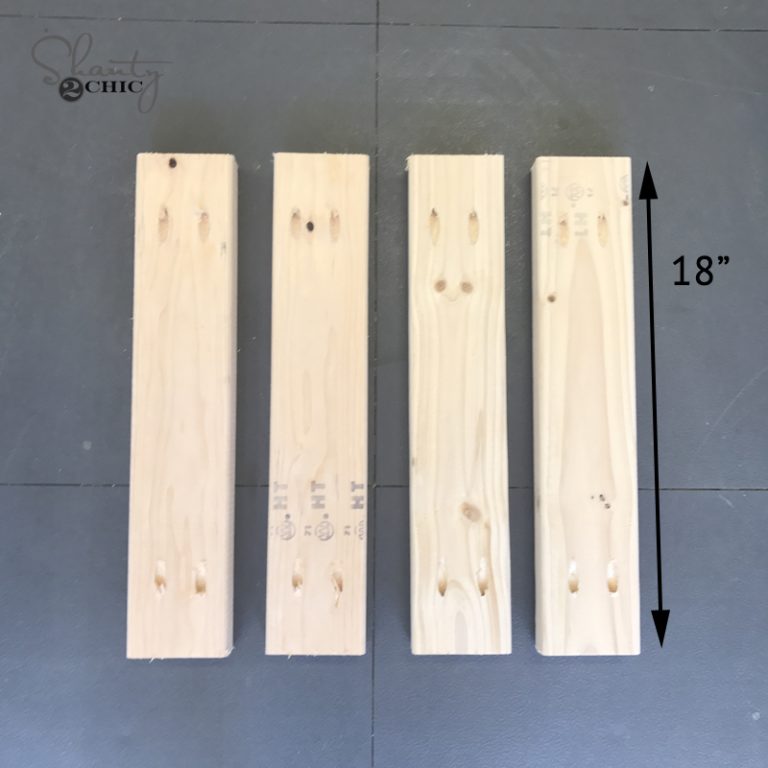
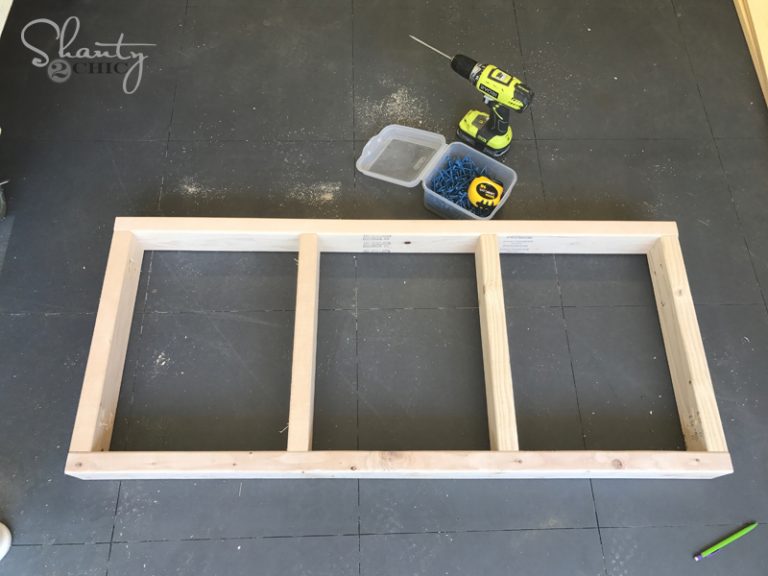
We attached those to our longer boards using wood glue and 2.5″ pocket hole screws. Kreg makes a special outdoor screw called Blue-Kote screws that are designed with a protective outdoor coating making them perfect for outdoor projects like this one. That is what we used on this DIY porch swing. You can find them HERE on Amazon.

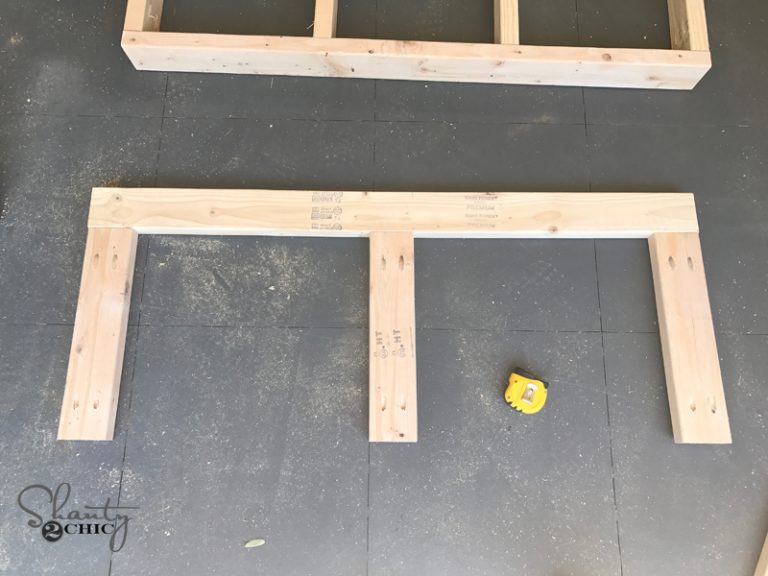
Once the frame was built, we started on the back. This also uses 1.5″ pocket holes. Make sure all of your pocket holes are on the back of the swing back. These will be filled before you finish the swing. We made an “E” shape first by attaching the smaller pieces to the longer board using wood glue and 2.5″ pocket hole screws.
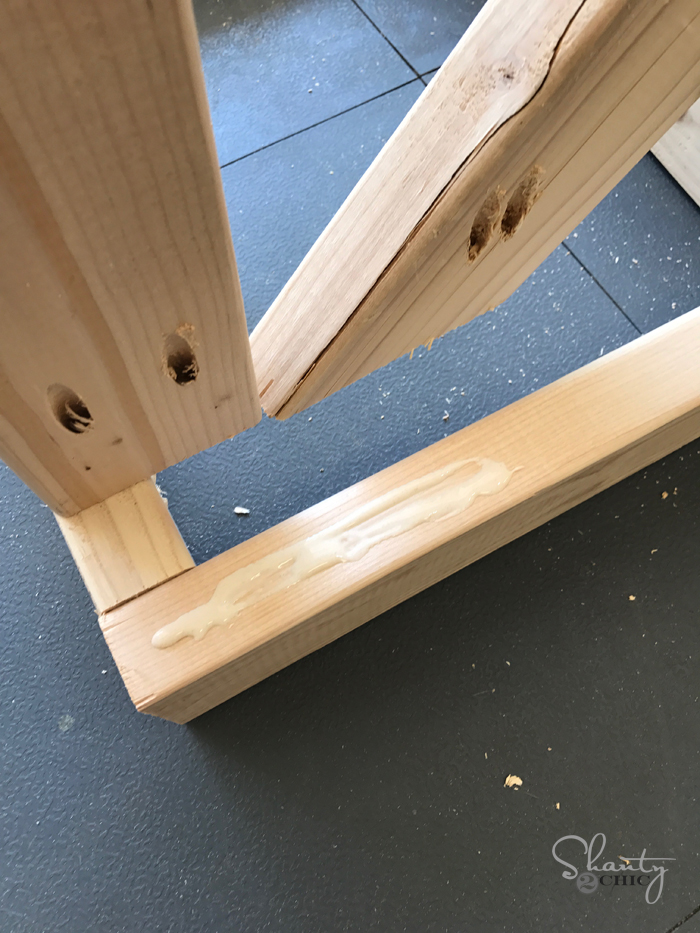
Next, we added the diagonal pieces. You can note the angles in the plans, but I always hold the piece up to the space it’s going an mark it exactly with a pencil to make sure I get the best fit. We set the boards in the Kreg Jig flat on the angles we cut to get the pocket holes to run up and down.
The back of the DIY porch swing is built, and now we attached it to the base frame. We used wood glue and 2.5″ pocket hole screws to attach the two pieces.
Here is a shot of the back of the swing…
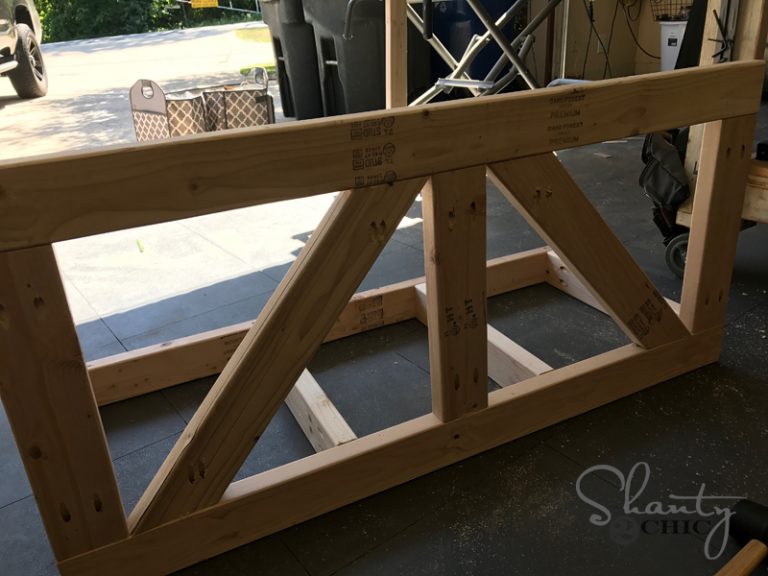
And the front…

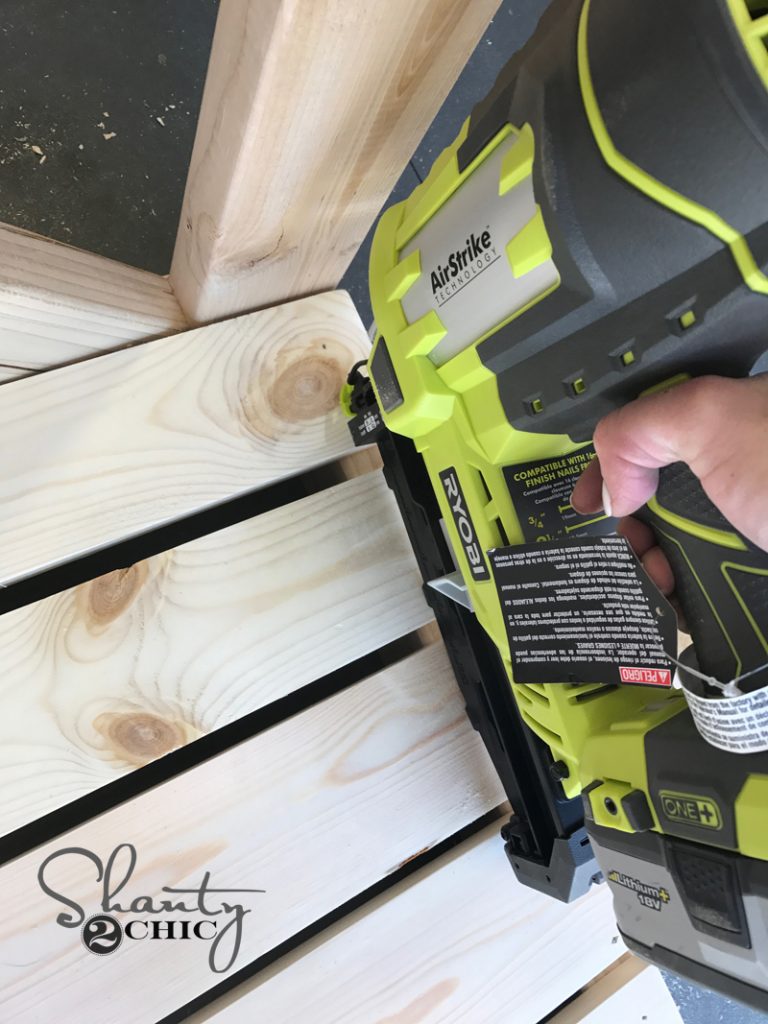
Next, we added our seat slats. We used wood glue and 1.25″ finish nails to attach the boards to the seat of the DIY porch swing. There should be about 1/2″ spacing between each board depending on the width of the boards you use. This allows rain to run through the swing seat.

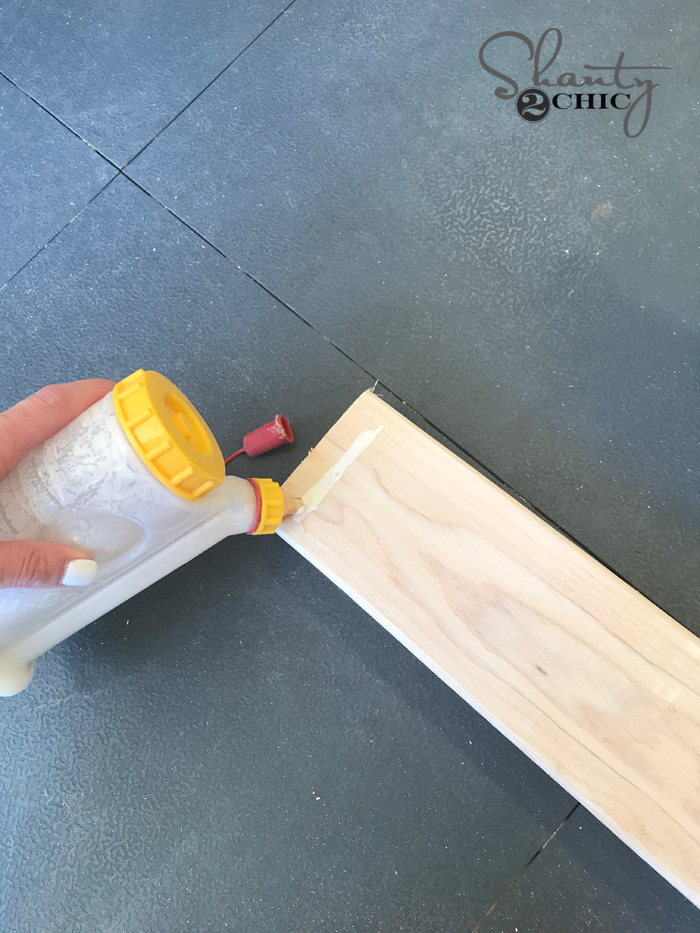
Time for arm rests! We build two “L” shapes as our arm rests. We added 1.5″ pocket holes to the bottom side of both longer boards and attached them to the shorter boards using wood glue and 2.5″ pocket hole screws. See the glue bottle??! That’s our new favorite toy we found on Amazon. It’s called a GlueBot and it’s AMAZING! You can find it HERE on Amazon.
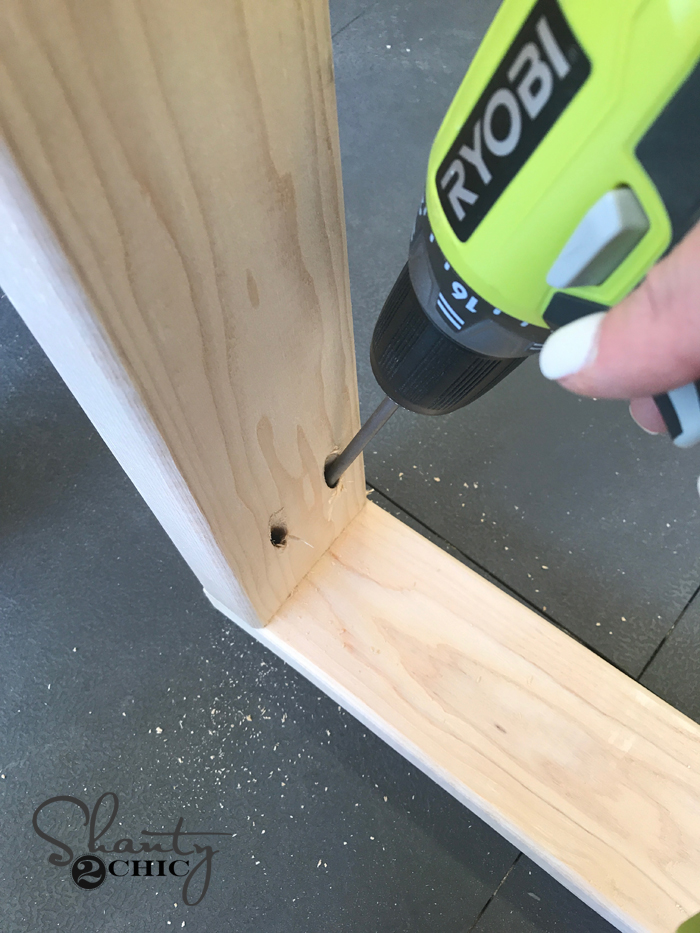

Next, we attached the “L” pieces to the swing using wood glue and 2.5″ pocket hole screws to attach it to the back, and wood screws through the base and into the back of the smaller board of the arm rest.
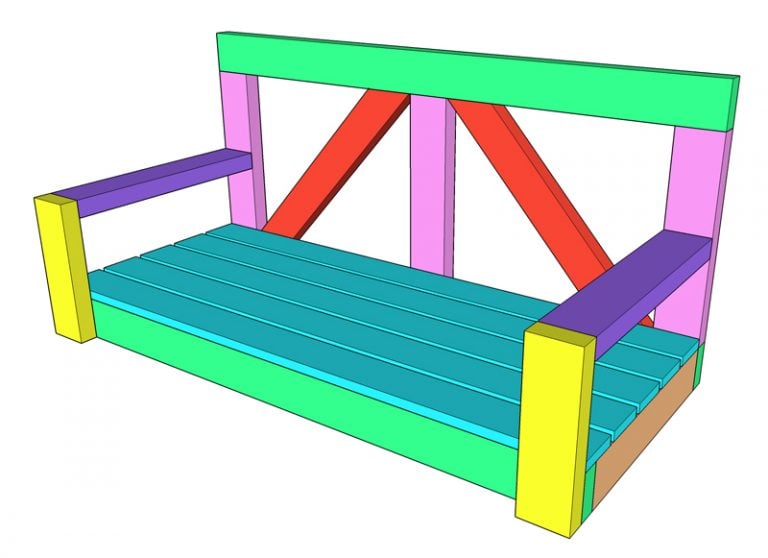
When you’re all finished, your DIY porch swing should look like this!
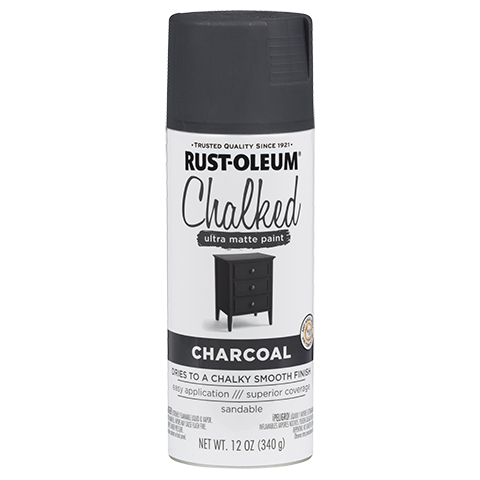
We used Rust-Oleum Chalked Paint in Charcoal to finish our swing. We also used a coat of outdoor finish on top of it to protect it from the sun and rain.
Each swing will hang differently depending on where you are hanging it from. Make sure to use the right hardware to hang yours. We touch on it a bit in the video, and you can also see how I hung my last swing HERE, which is how I chose to hang this one as well.
Here she is hanging up and ready to go!

Hope you love it as much as I do! Thanks so much for stopping by! Let us know if you have any questions at all!

The supply list says 2x4x6 framing lumber but the cut list has them as 2x4x8. I believe the cut list is the correct length.
In the supply list it has 5 – 2x4x6 and 3 – 1x4x8, but on the cut sheet you’re showing 2x4x8 not 6’. I admit I didn’t double check the size on the cut sheet because I assumed the supply list was accurate, but looking at the cuts it seems I may need the 8’ boards instead.
you didnt write how long chain do i need ?
Are there plans for a 5 foot swing ?
Thank you
Just finished making this with my daughter for my wife’s birthday. My eight year old daughter and I completed making this, painted it, and hung it in one afternoon. Thank you for the plans! It turned out great and the whole family loves it. We had some great daddy daughter time on Father’s Day weekend too. Thanks again the plans were wonderful.
So why did I buy 1x6s if you don’t even need them. Thanks for wasting my money.
It never says anywhere to buy 1×6 boards ?♀️
Hey Cait, these were free plans that they let you use to build your swing. Stop being an ingrate and simply return the 1X6’s you snobby SOB!
whoa chill. be thankful for this information.
I’m building this swing for my wife for Mother’s Day next weekend. I’m gonna make it 5 feet instead of 4. Do you think I need an extra brace under the seat for support? Thanks.
I was just wondering what top coat u used on this? Thanks
Hi Ladies so thankful for your channel I had a question about wood…. Will that spray paint keep the wood from rotting? Even if we don’t purchase pressure treated wood?
I was just wondering what top coat u used on this? Thanks
Oh ladies I do have all this “hanging” around! I just redid our bathroom with planking and have extra! All I need is hardware! Loved the video and I plan to have my teen boys who love woodworking put this together!! Thank you so much!
What do you think is the minimum width porth this swing would be good on? This is an amazing looking swing!! Thank you!!
Do you know the weight limit for this bench?
Would this be easy to convert into an outdoor sofa rather than a swing? If so, any tips on how to do that? Thanks so much!
Thank you for the awesome plans. It took me 2 four hour sessions to complete this. I can’t wait to have the kids swing on it. content://media/external/file/16820
YES! I’m so happy about this!! I’ve been searching for at least a year for plans of a porch swing like this!!
It’s lovely! I love the idea of porch swings. Thank you for sharing your plans to help us make our own. Have a great day!
I would love love love it if you could do plans for a stand, for those of us who don’t have a porch roof (or rent and can’t hang stuff like that) and would love to build a free-standing porch swing in this style!
I was getting ready to ask the same question????
Same! Would love plans for a stand. I’m sure it would be simple, but don’t trust myself to do it without a plan.
Just bought the materials for this swing. Hardware and all it was over $90. The chain was $17 by itself.