I am in the middle of “musical rooms” at my house with the new baby on the way which also involved moving the kids playroom. I have spent the last few weeks building, revamping and painting this area. My latest project was changing up the old frame wall. I showed you guys how I fabric matted my old frames. This time around they will be getting a pop of color 🙂 Fun!
I am using the old frames from the wall and will also be adding a few new ones. To start, you will need a frame. I found all of mine at Walmart and Big Lots for under $3 a piece. I like to get all different styles and shapes.

Remove the glass and all the other goodies that come on the inside of the frame. I spray painted all of my frames with 1 coat of Rust-Oleum Painter’s Touch in Cardinal Red. I also purchased a couple packs of these clippies from Walmart at $1.88 for 4. They also got a coat of Cardinal Red.

I decided to use scrapbook paper for my backgrounds. It’s cheap and comes in just about every color. I wanted to use the colors from the new play kitchen I built so I went with this book from Hobby Lobby at 1/2 off. I have lots of extra paper but the kids will take care of it 🙂

I then used a craft knife to cut around the mat or glass of each frame.

Then, I sprayed the glass with Elmer’s spray adhesive and stuck the paper down to it. I realized after doing this once that it is much easier to attach the glass to the paper and then cut. Oh shwell.

Then, just put your glass back in the frame. I like to include the mat and any cardboard that came with it in there behind the glass to keep it good and tight.

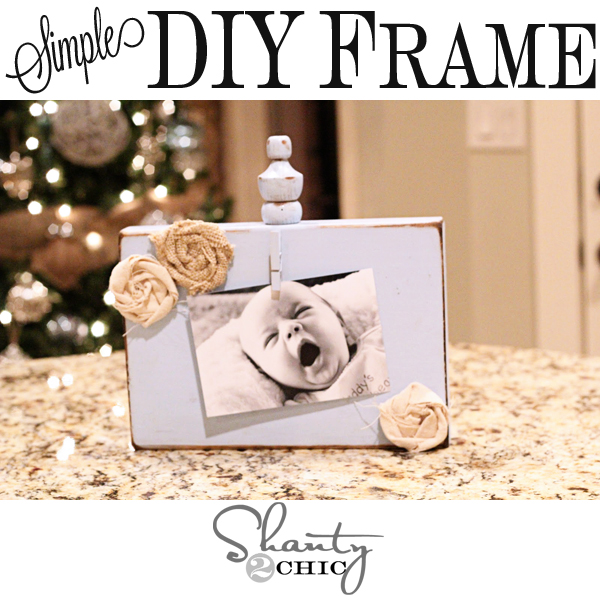
I used a little hot glue to attach my newly red clips to the top of each frame. These are super cute and make it super easy to change your pictures out often.

Then, just attach the perfect picture!

I finished several for the play room wall but I have more to go. 5 kiddos means lots of frames 🙂
Here they are for now though…


Hope you like them! They add just the color that I need and I revamped all of them for almost nothing!
Thanks so much to Tam at Sew Dang Cutefor asking us to guest post! And congrats on that sew dang cute new baby ;-)!!
Make sure you go check out our post and others over at Sew Dang Cute!

Love this idea! So great for our new house!!
I like the idea! I am going to use this and place several clips on one frame so I can put the smaller pictures of my kids in a group and take it to work.
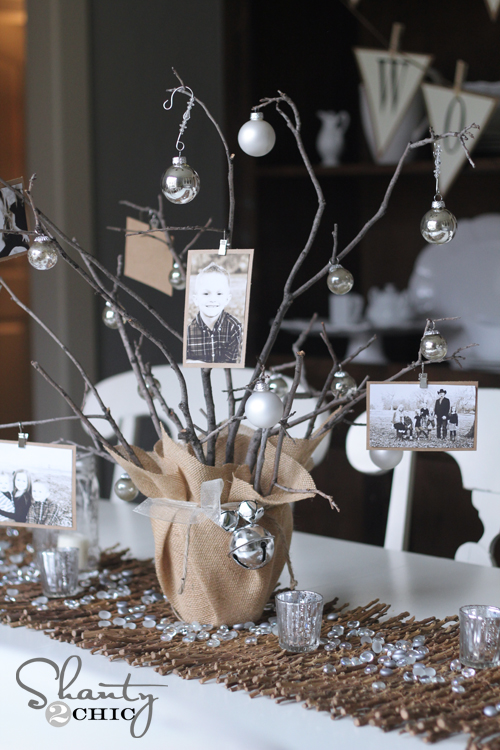
Hey Tara!! I did something similar in this post below for my sister for Christmas one year! I need to make myself one now 🙂
https://www.shanty-2-chic.com/2009/12/shanty-photo-art.html
Love it Whit!!!! Looks awesome!!!
Thanks Kim 🙂
They look great! I love this idea because it makes it so easy to change the photos frequently.
You guys make the BEST uses for those magnetic clips. Love it!! once again…well done, you creative geniuses you.
what a neat and colorful idea! love the placement of your frames, too, how they aren’t so perfect looking. more whimsical and playful like that!
i absolutely love love love this! the red is fantastic and the clips are so vertile to let you switch out the art you’ll display. BRILLIANT
Wow, these turned out really great. I love that you could use these to display kids art work as well … hmm, I think I need to make a Walmart Run
That is a really neat idea and it looks great!!
I absolutely LOVE the way these turned out, that color is perfection too! Thanks so much for sharing this tutorial, I’m going to put it on my (very long) to-do list!
I love this! Two things I love best are the clips you used (genius) and the color. I like that you used a dark red, it makes it look so classy! Oh and I love, love that all the pictures are black and white! This is a fabulous project!
Susan
This is my kinda of project! They turned out great–I want to try this soon!
LOVE it! I have a blank stair well that now has has a purpose!
Love those!!! what a great inexpensive idea!!! I am putting frames on my list for tomorrow! Thanks!!!
Cute! I’ve seen those frames at Wally World for such a steal! Love how you added the clip to change the photos easily! And it looks pretty!
Jen
Scissors & Spatulas