I will be linking this to
Hooked on Houses Holiday Party
Hooked on Houses Holiday Party
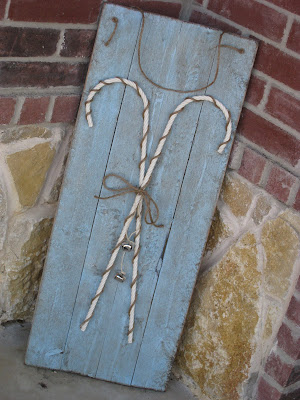
Hey guys! So, I’m still decorating for Christmas and still loving it!!!! Thought I’d share my latest creation with our blogging friends!!!! I love candy canes almost as much as I love snowflakes so I had to make this as soon as I thought of it!!!
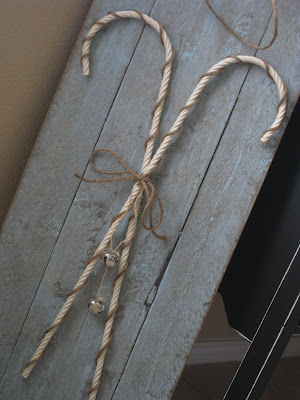
Presenting the Candy Cane Display and she has all of my favorites ~ candy canes, distressed wood, jingle bells and of course twine!!!
Here’s how she came to be…
2 outdoor candy canes purchased from Wal-Mart
painted a S2S favorite Rust-oleum Heirloom White.
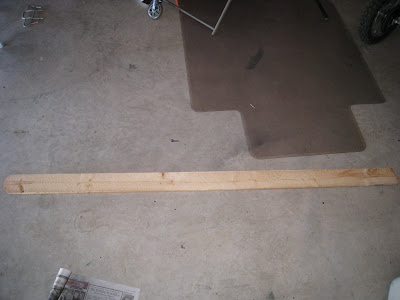
While the candy canes were drying I began work on two fence panels purchased at Home Depot
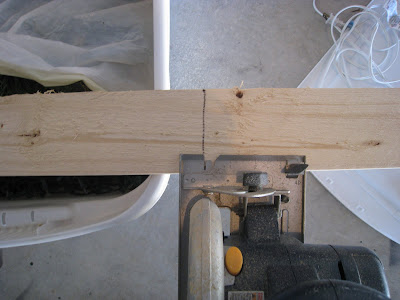
I found their half way point and gave them a quick zip with my Ryobi battery powered circular saw (this made four 3ft pieces).
Next I used the lazy mans hammer and nails (aka Gorilla Glue Epoxy ~ it’s like cement!) and attached all four newly cut boards together and let dry.
Now back to the candy canes…
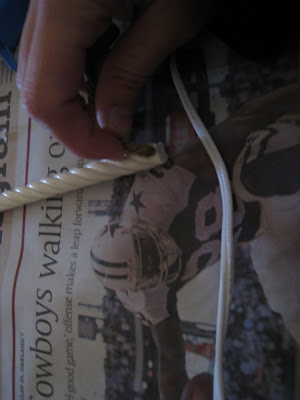
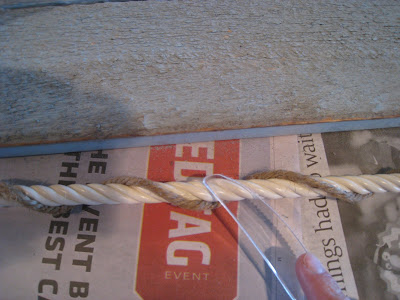
I used my hot glue gun to wrap 4ply jute twine around each candy cane.
So sweet…I could just eat them up!!!!
Back to the boards…
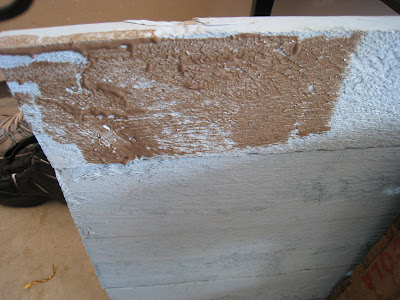
As soon as the Gorilla Glue Epoxy was dry I spray painted the board a shade of blue…
and glazed with another S2S favorite ~ Ralph Lauren Smoke Glaze!
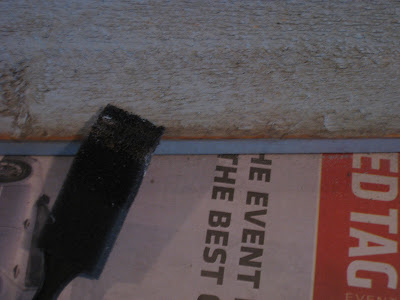
A little distressing of the edges with my 3M sanding block and a brush over with Minwax Red Mahogany stain gave the perfect aged look!
When the board was dry I used Gorilla Glue Epoxy to attach the candy canes to each other and then to the board.
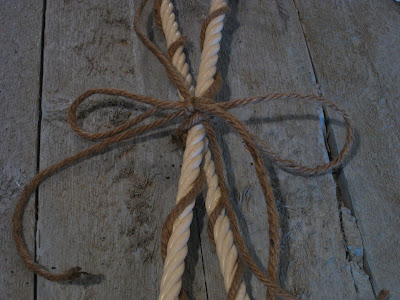
Next, I used 4ply jute twine to tie a bow around the candy canes where they were attached together
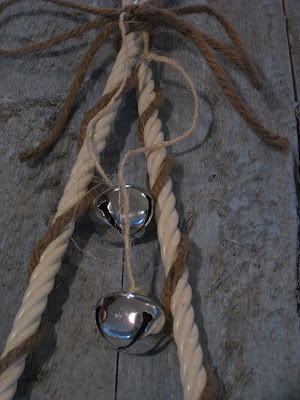
and added some sweet jingle bells with 1 ply twine to top it off!!!
Now for one final detail…
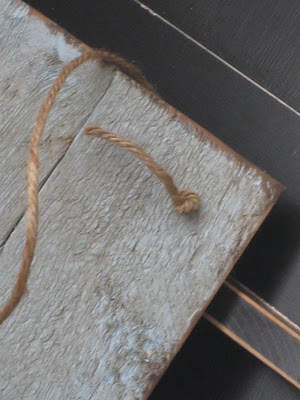
Even if I prop this piece I want it to look as if it is meant to hang so I drilled a hole at the top two corners
and slid 4ply jute twine through the back and tied knots on the front side!
Not sure where I am going to put her
propped inside…
maybe in the corner on the front porch…
For now I’ll just have fun moving her around the house…she is just so darn cute everywhere I put her!!!!
Reminder!!!! You all have 1 week to get those projects done for out Rust-oleum Revamp Link Party and Giveaway!!! You can get all the information for it HERE!!!
Also….don’t forget to stop by our Etsy shop ~ The Shanty Shoppe ~ where we have this new shanty along with many others available for purchase!!!!


UPDATE:



















Oh My, that is too cute !
Oh I love this! Thank you for the tutorial.
Everything you touch turns to gold! :o)
What a darling idea! :o)
Sincerely ~ Tricia Anne
If I saw this in a store I would totally buy it! Thanks so much for sharing! This one is filed at thecraftersfilebox.com.
These rock!! Perfectly beautiful holiday decor.
What a really super looking project! And I don't think you could've picked a better color for the board *swooning*…
Have a great Sunday!
Anne
very cool!!
thanks
barbara jean
Very cute! I'm ready for some time off so I can get crafting too! 🙂
I like this. I saw these people sticking a million of those candy canes along the edge of their grass today and I thought-that's going to be a pain when they cut the grass. I like your idea much better.
I absolutely love these! I'm having a love affair with candycanes this year. I can't seem to get enough of them. Last year it was snowflakes – this year, the canes. I sooo want these babies in my home!
Great Holiday prop idea! Love it!
Ashley,
Good job! Very creative display. Of course I love the twine. I hope you had a wonderful Thanksgiving!
Blessings,
Traci
That is darn cute… I would have never thought of painting candy canes… rustically cute!
Passing the Kreativ Blogger Award on to you! Check my blog for the image and rules
Love it!
Very cute idea. Love how you painted the candy canes, I would have never thought of that.
Thanks for sharing your how to!