
Happy Monday! I hope you all had a great weekend!
I am here today sharing another quick, simple and easy Shanty Storage Solution! I love to organize, especially when I can do it real cheap. My latest victim… My belts! I created this super simple belt organizer that hangs in my closet. It makes my belts so easy to get to and I will be making my girls one next. Here is how it turned out…
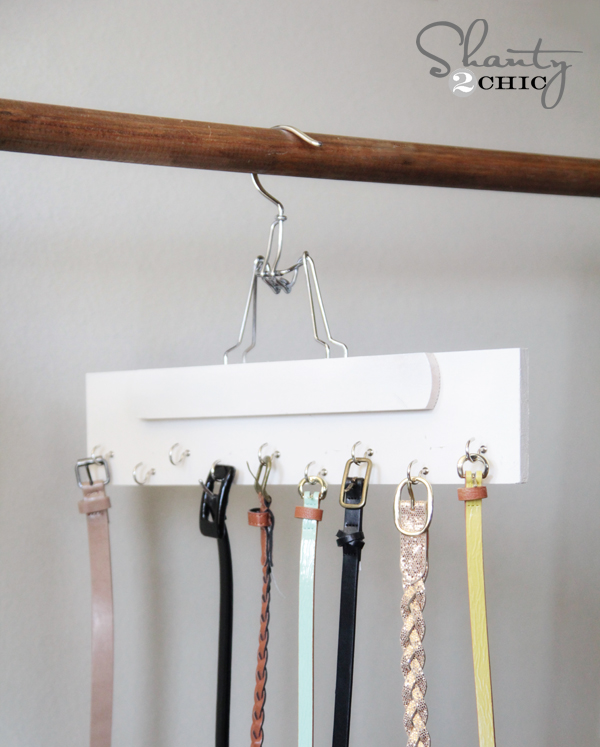
Now, I think to fully appreciate it’s awesomeness, you must first look at how they have been hanging…
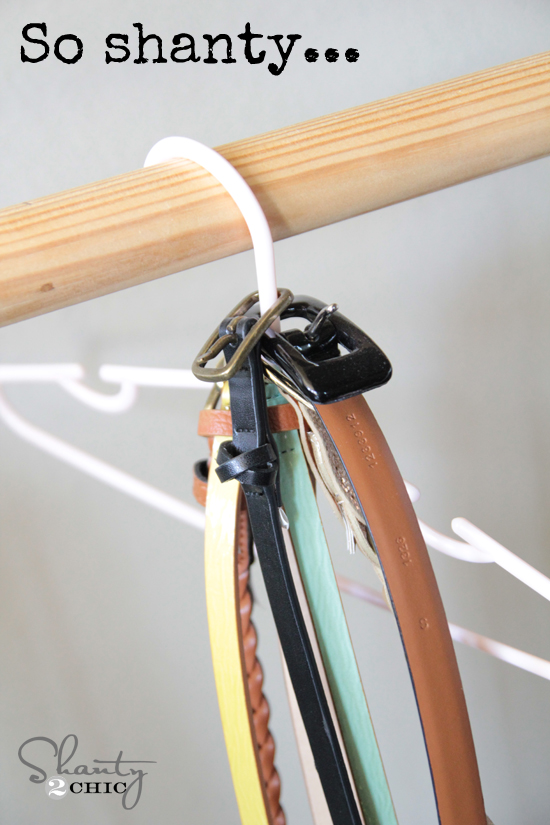
Let’s talk about annoying when you need that belt on the bottom… You gals hear me?? It was time for a change.
This DIY Belt Hanger is so simple… Just 5 easy steps!
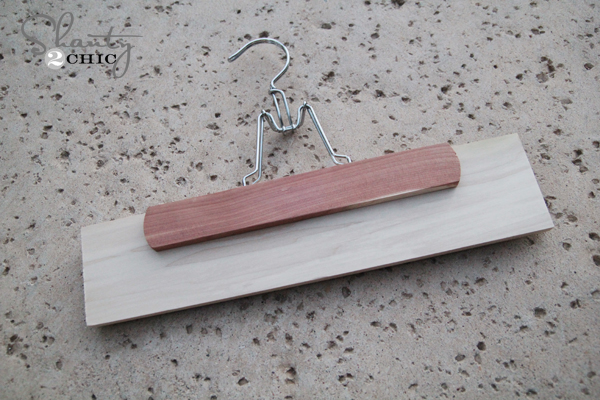
Step 1 – Get your supplies! I used a wood pants hanger. You can find these at Target, Wal-Mart, the dollar store and lots more places. I also used Gorilla Wood Glue.
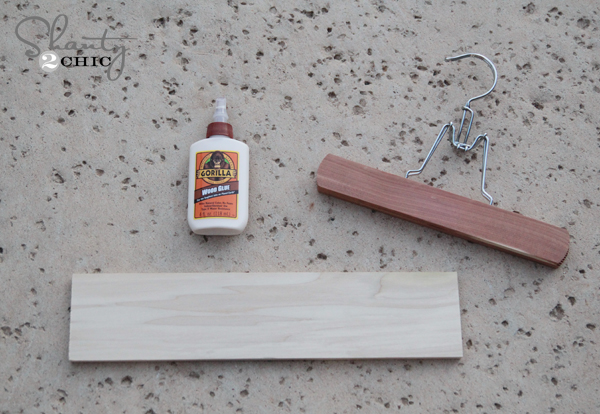
I also used a small piece of wood from Home Depot. You can find this wood at your hardware store or craft store. I bought the 24″ piece and cut it down to 16″. You can have the hardware store cut it for you if you can’t do that yourself!

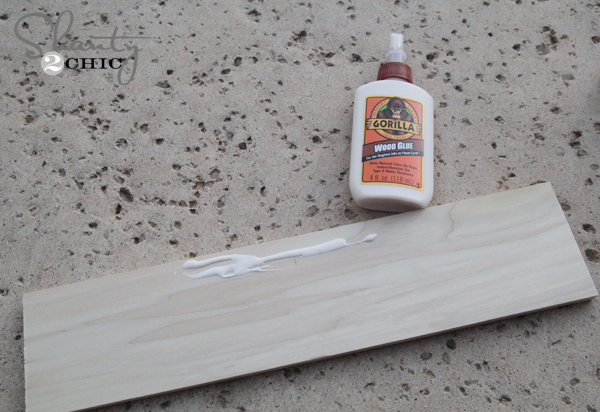
Step 2 – Put a line of Gorilla Wood Glue on both sides of your wood like this…
Step 3 – Attach your hanger by clipping it on the wood… Like a pair of pants 😉
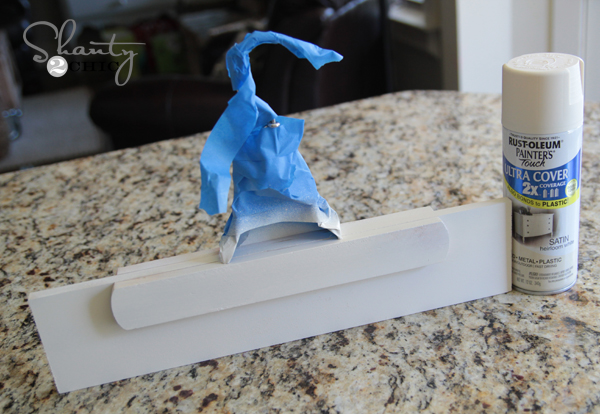
Step 4 – After that is dry, tape off your metal part and give it a coat of your favorite spray paint!
Step 5 – Attach some cup rings into your wood. I just eyeballed this part! I put 8 on one side and 4 on the other for my wider belts. I found these silver ones at Target.
That’s it. I told you… Easy peasy!
Here are a few more pics…
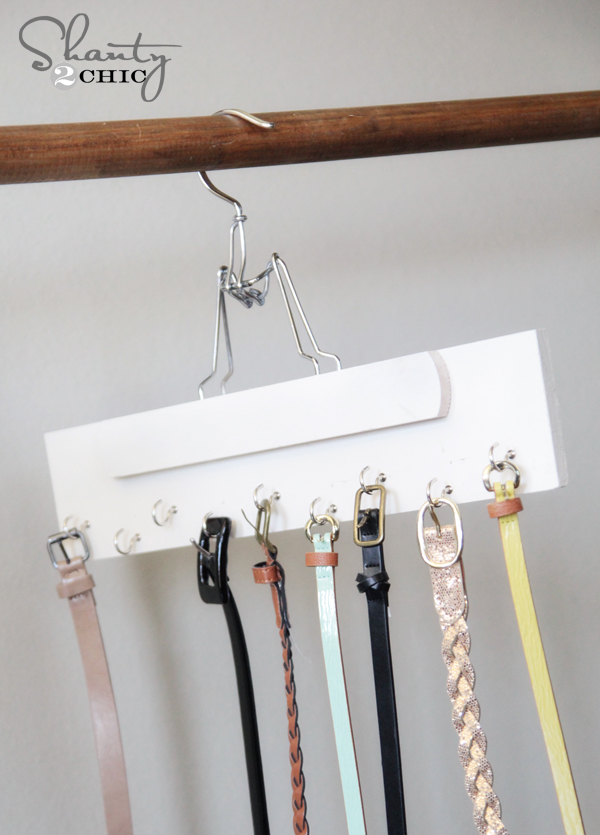
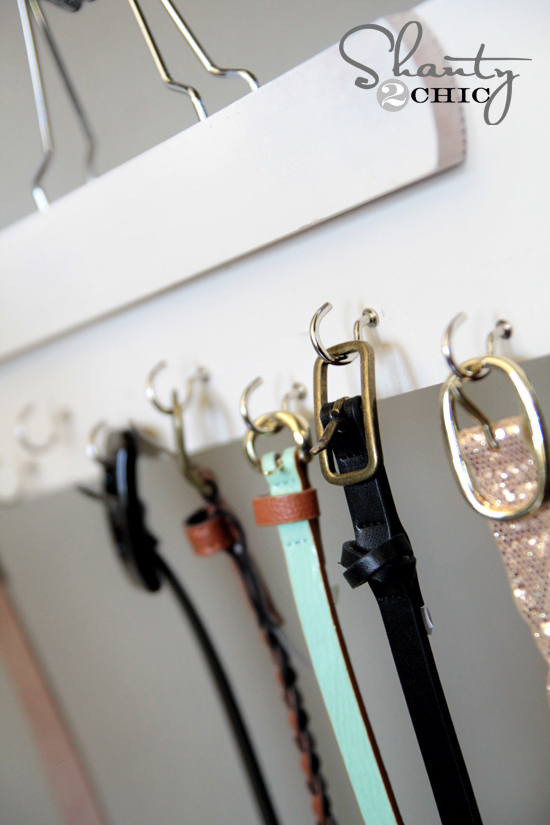
I hope you love it as much as my belts do! I would love for you to share and PIN this baby below! Thanks so much guys!
~Whitney

I have noticed you don’t monetize your site, don’t waste your traffic, you can earn extra bucks every month.
You can use the best adsense alternative for any type of website (they approve all websites),
for more info simply search in gooogle: boorfe’s tips monetize your website
I’m thinking this would be a good organizing idea for my sewing room.
Do you need a drill for the cup rings or how do you attach them to the wood? Also, were they just with hardware at Target? I think I may make “His” and “Hers” versions for a wedding gift! 🙂
Went to Target today and got my “Pant Hangers”. The ones they have in stock have a plastic attachment by the hook. Everyone of mine broke into while putting it on the wood. Not a good day 🙁
Oh shoot Linda :-(. I got mine at container store and it was all metal. Bummer!
Can you only buy 1 pant hanger at a time or do they came in a package?
I LOVE this idea so much! I’m thinking one for me ‘n my belts & one for my hubbie ‘n his ties ~ maybe just larger hooks? Pinned!
I have spent so much money on belt hooks! This is fantastic!!! Maybe one could drill holes in the board for a scarf holder? I want to make these for my siblings for their Birthday. Thank goodness my sisters are quite practical! TFS!!
Haha that’s great Laura! Love a practical girl like myself 😉
Fantastic! I will be pinning this and making this. Thanks!
Thanks a lot for this post! That’s one of my projects for this weekend! 🙂
Why not just put the cup hooks directly into the hanger?
You totally can Jennifer! I just have more belts than that 🙂
Fun idea!
Thank you!!!
I have a hanger with belts hanging over it just like your were, and yes, I HATE it when I need the bottom belt! I love this belt hanger! Pinning!
Thanks so much Mindi!! 🙂