Happy Wednesday guys!
Build a sturdy outdoor dining table for just $60 in lumber! Free DIY woodworking plans and tutorial for your backyard or patio.
We are back with another plan today. I am THRILLED with how this design turned out. I wanted to design a table using only 2×4 studs and that’s exactly what I did. This one uses 17 of them, which made my cost of lumber just under $60. YEP… $60. Before we get started on the build, you can see exactly how we built it in this weeks YouTube video tutorial HERE or by clicking below!
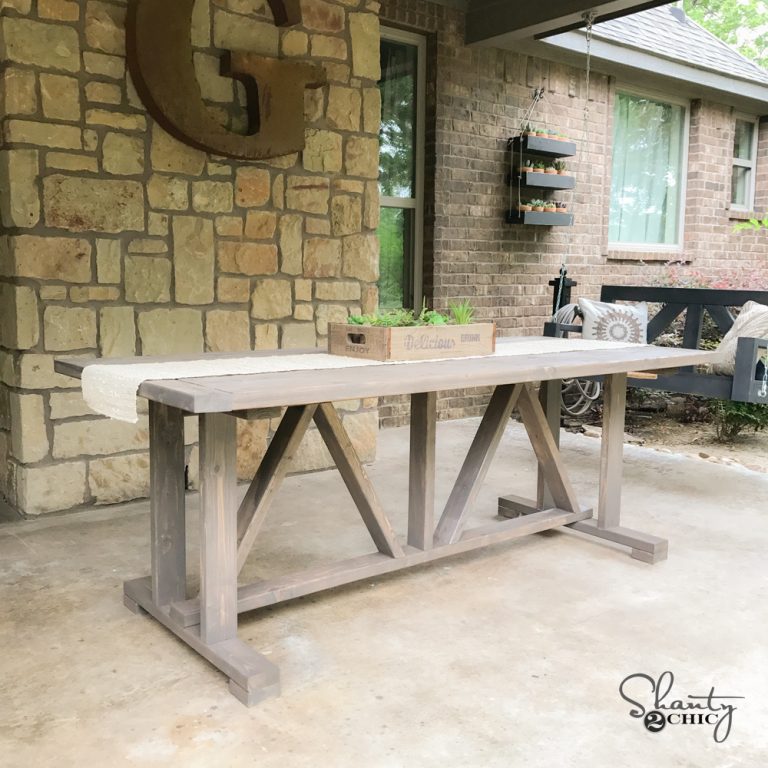
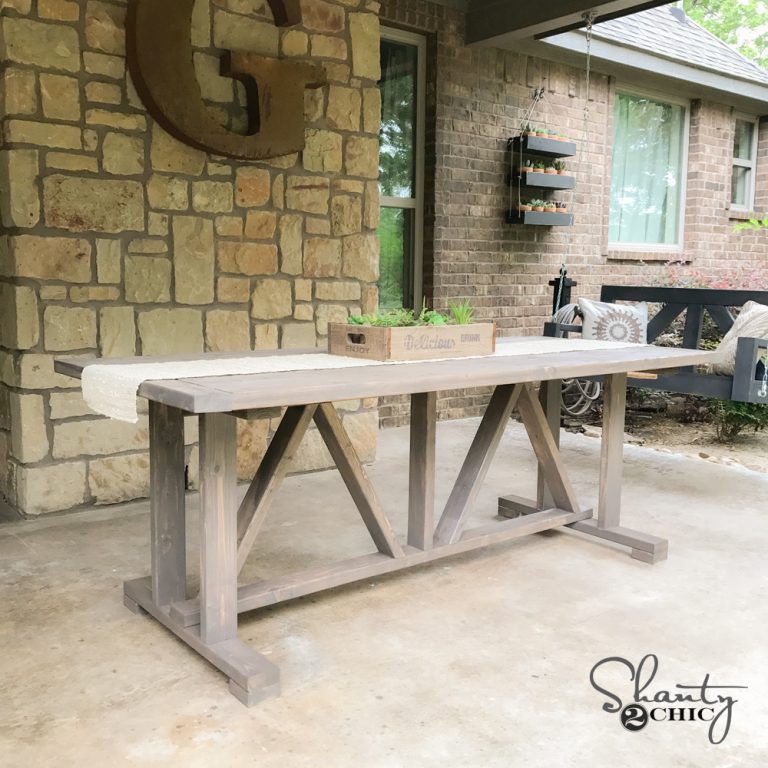
Now look how cute this thing turned out!
Be sure to download and print the FREE PLANS by clicking HERE!
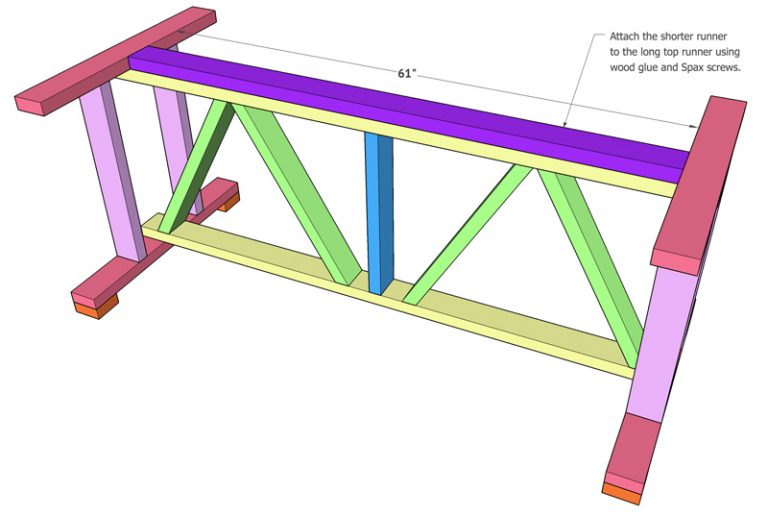
First step is creating two table bases like below.
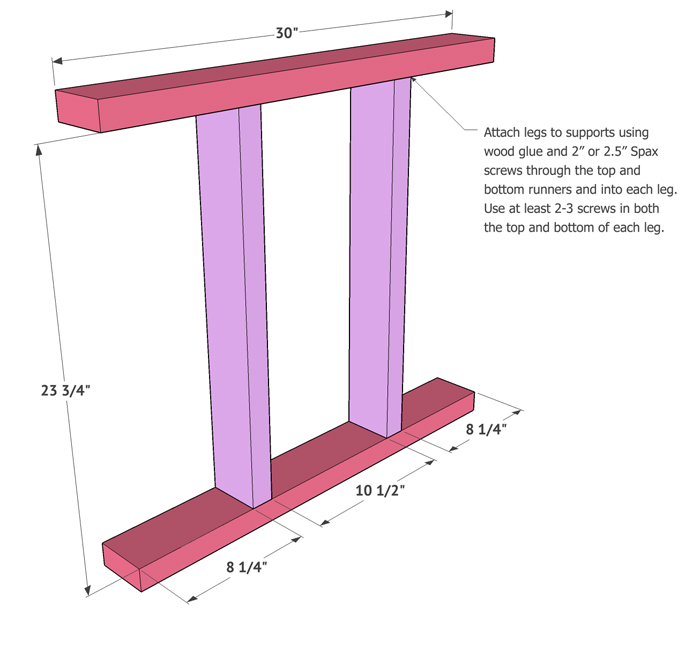
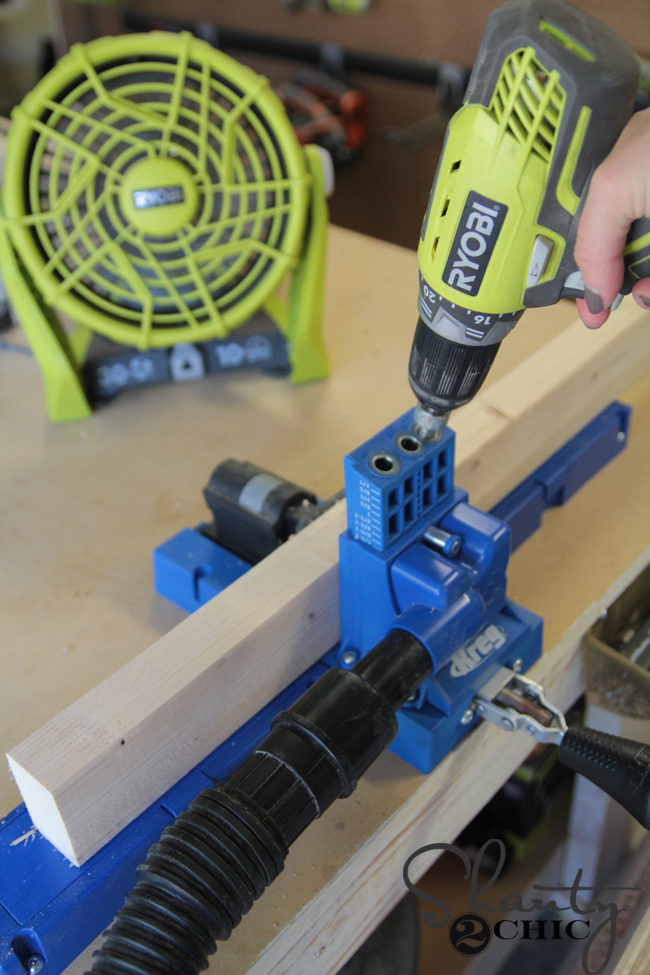
We attached all of the pieces using wood glue and our Ryobi 18V Quietstrike Driver. Guys… This thing is too legit. It basically does all of the work for you, but it’s quiet like a drill not like the traditional driver.

We used 2.5″ Spax screws with the driver to attach the screws.
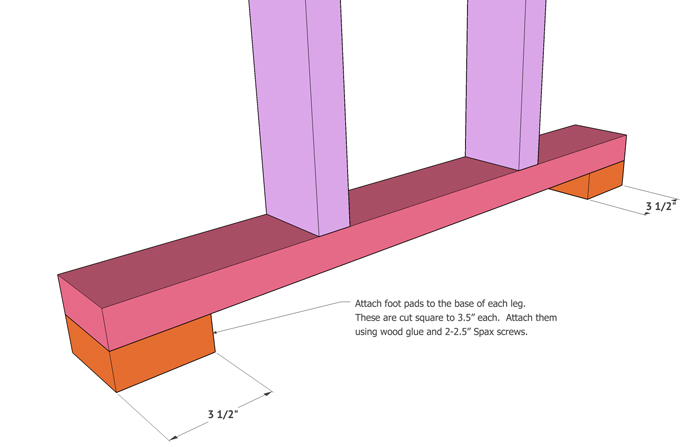
Once the bases were built we added the foot pads. We used wood glue and screws to attach these to the bottom of each leg assembly.

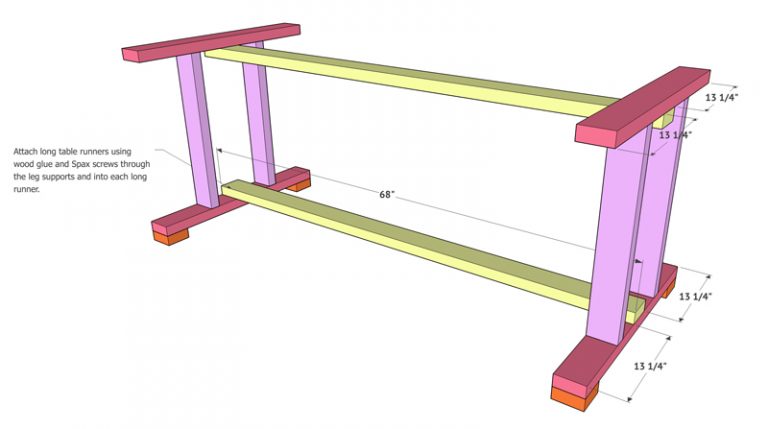
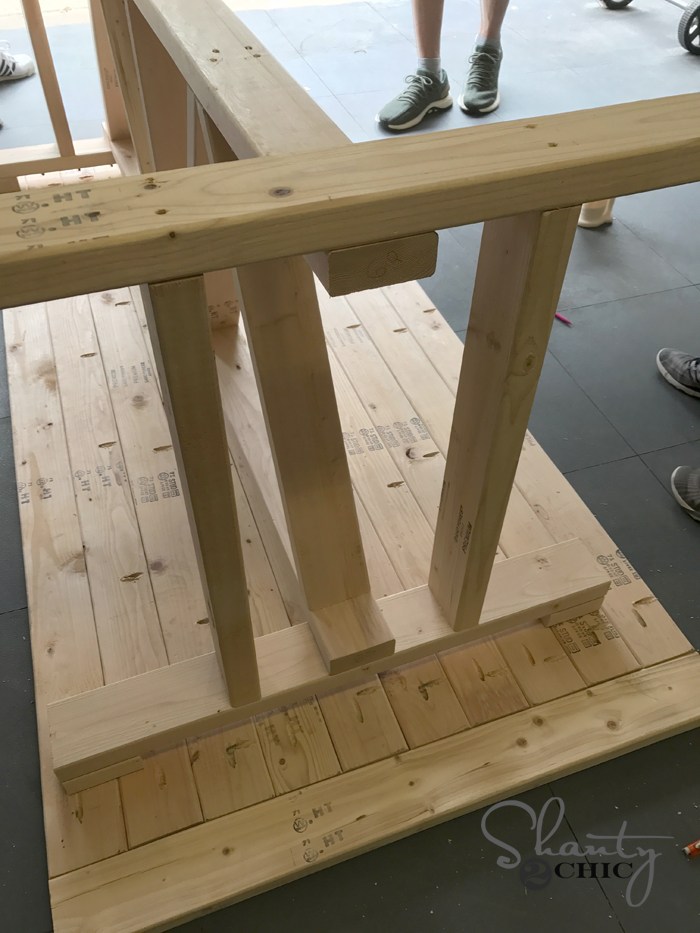
Once the bases were built, we attached the long runners to each base which created the basic bottom of the table. Line the boards up on the center of the both the top and bottom of each leg assembly and attach them using wood glue and Spax screws.

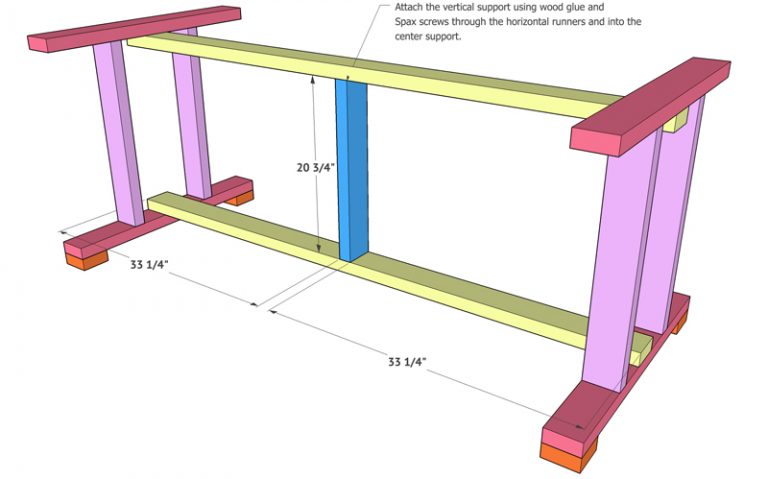
Next, we attached the vertical support board. This will attach to both long runners in the center to support the weight of the table. We attached this board using wood glue and Spax screws.
At this point we attached the diagonal pieces. We like to line the boards up and actually mark our cuts with a pencil to get the best fit. Attach these boards using wood glue and Spax screws.


The final step of the base is attaching the shorter runner that will sit just on top of the the longer top runner. Cut this to fit and attach it using wood glue and Spax screws through the top of the runner and into the runner below it.
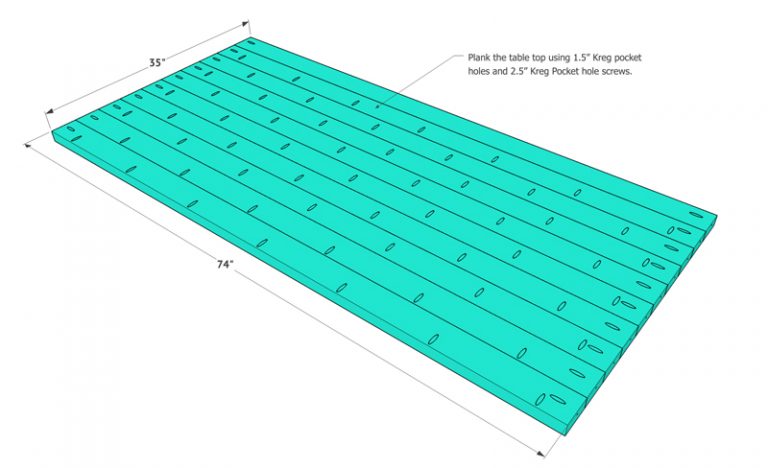
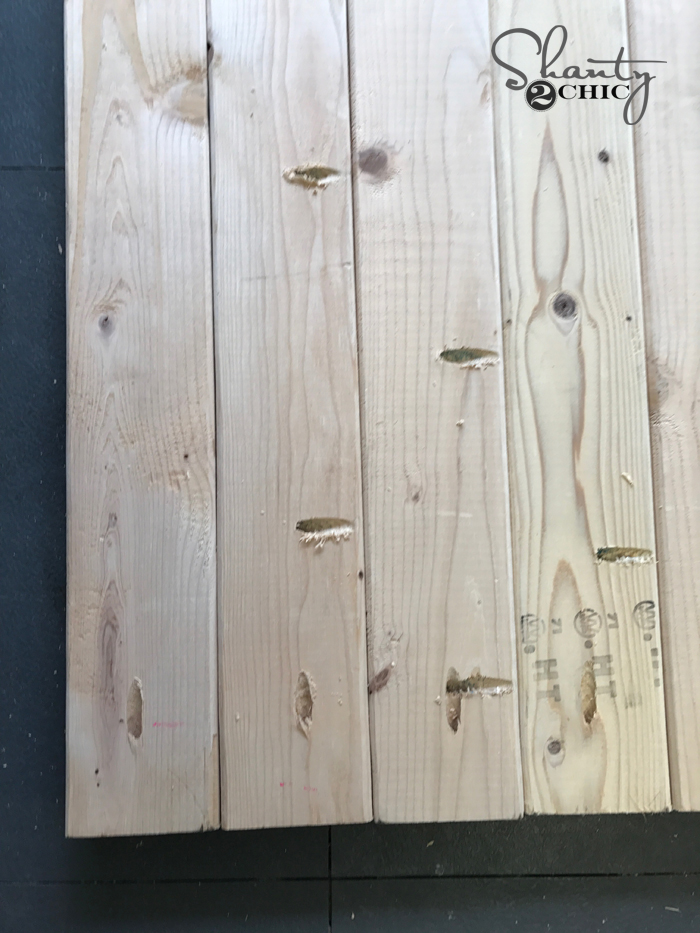
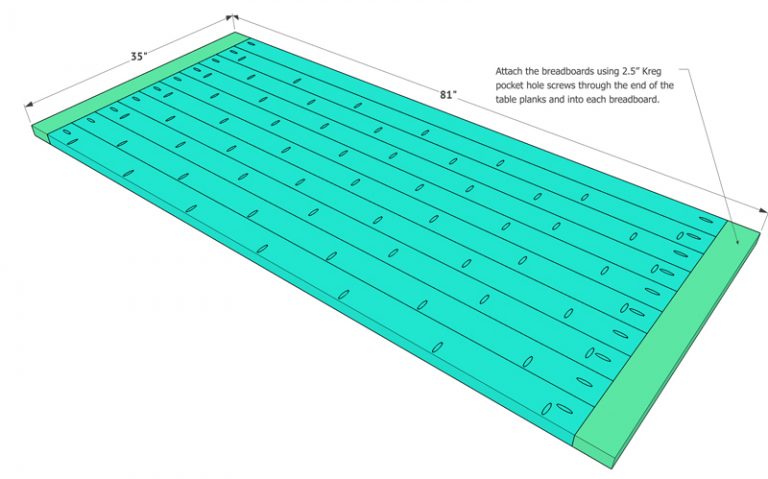
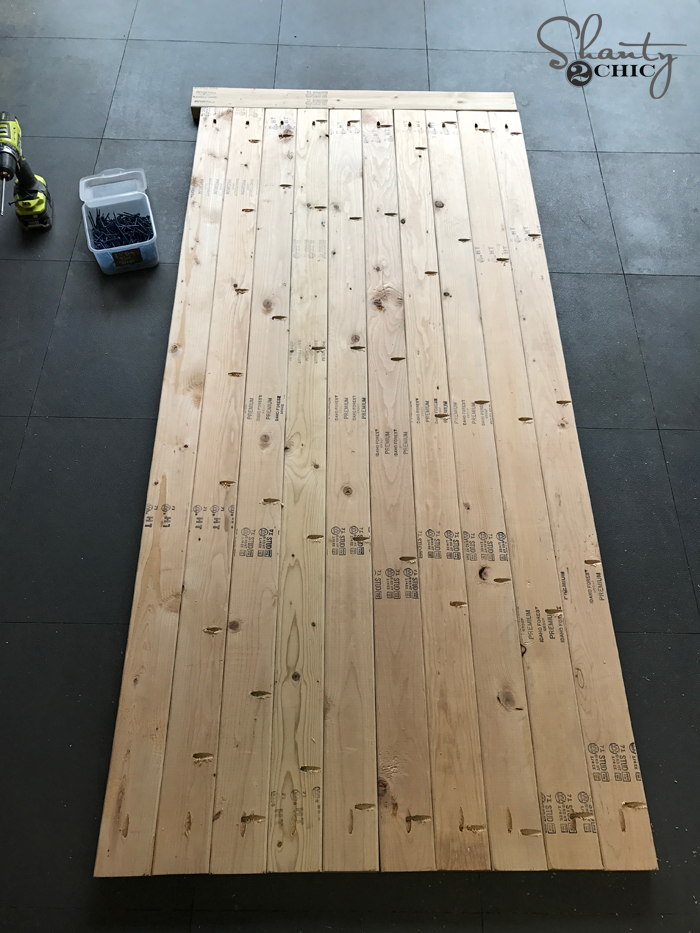
Once the base is built, it’s time to build the table top. We cut all the planks to size and added 1.5″ pocket holes to one side of all but one of these boards using our K5 Kreg Jig. You can find the K5 HERE on Amazon. We also added a pocket hole to the end of each board. We will use those to attach the bread boards in a next step.
Attach the planks together using 2.5″ pocket hole screws.
Now cut the breadboards to exact size, and attach them using 2.5″ pocket hole screws.
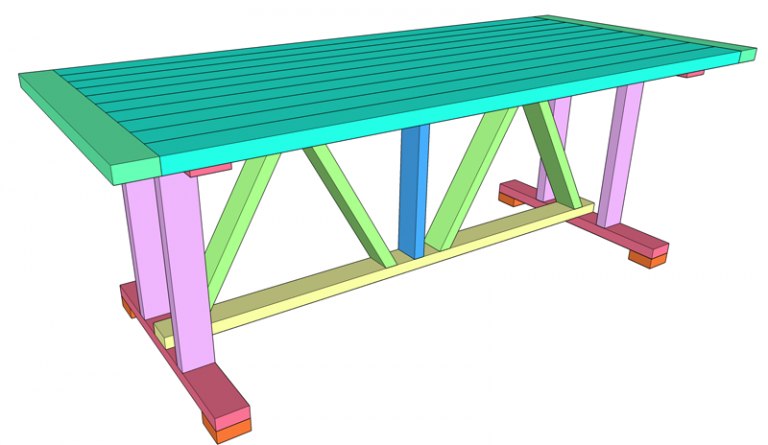
Final step is attaching the base of the table to the top of the table. Turn the base assembly upside-down on top of the bottom of the table top and attach it using longer Spax screws through the base and into the table top.
We stained our table using our fav… Varathane Briarsmoke!
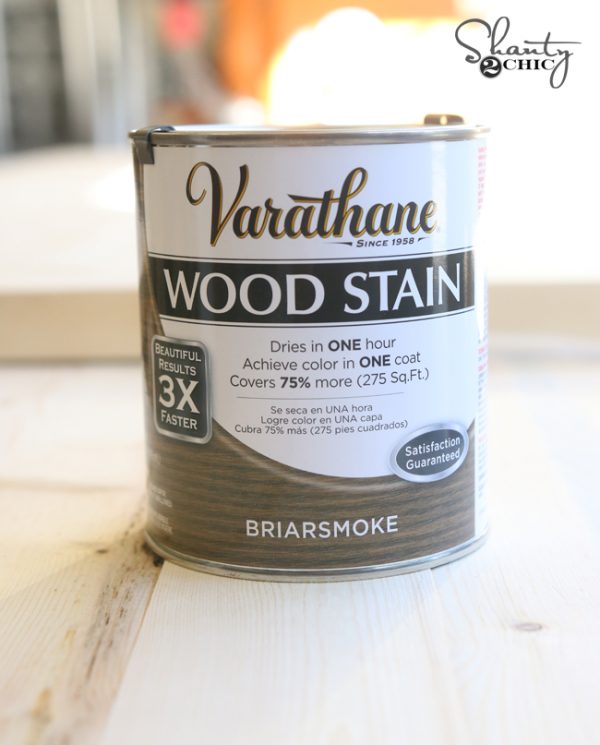
Be sure to add a coat of outdoor protectant like Spar Varnish on top of that since the table will be outdoors!
Here she is all finished up!
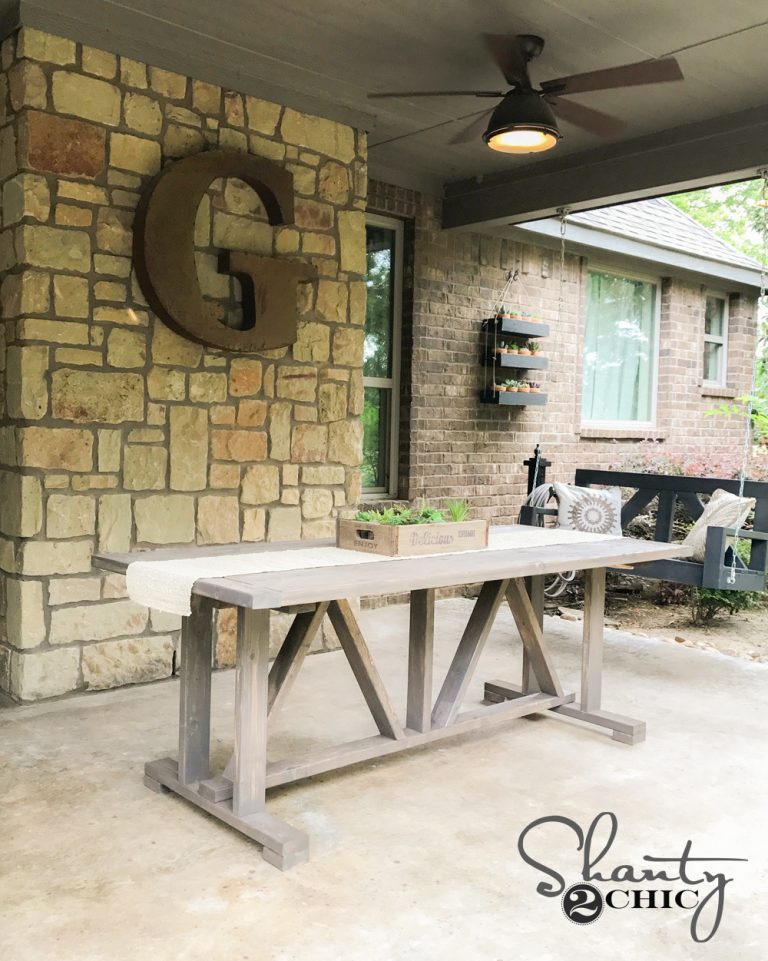
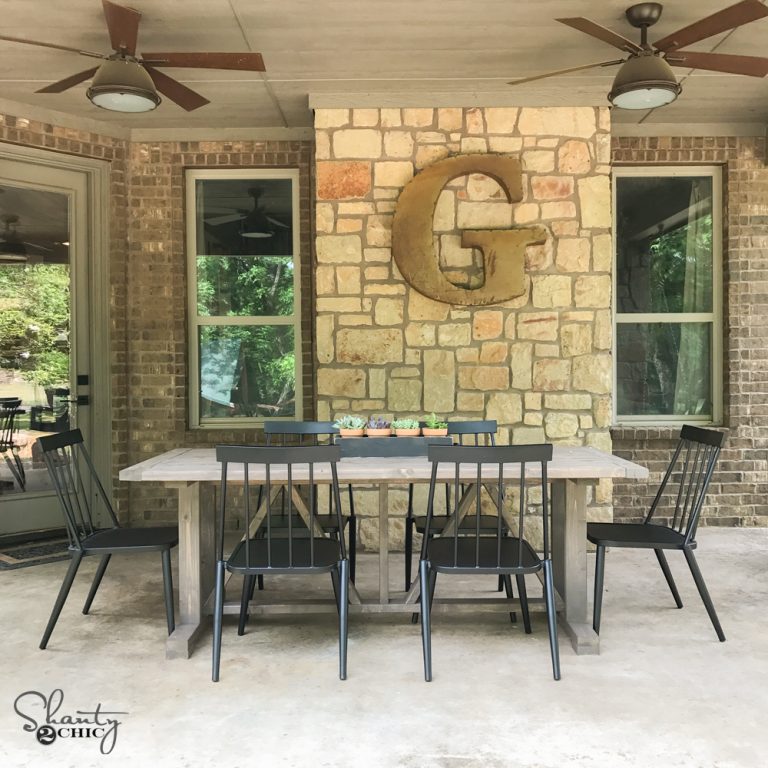
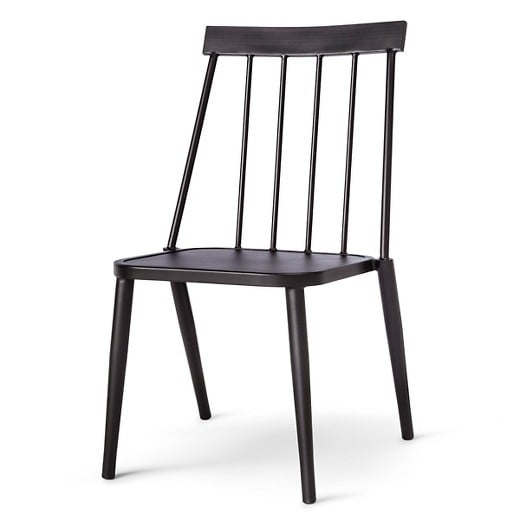
How cute are those chairs??? Those were a great Target find Ashley made and you can find them HERE!
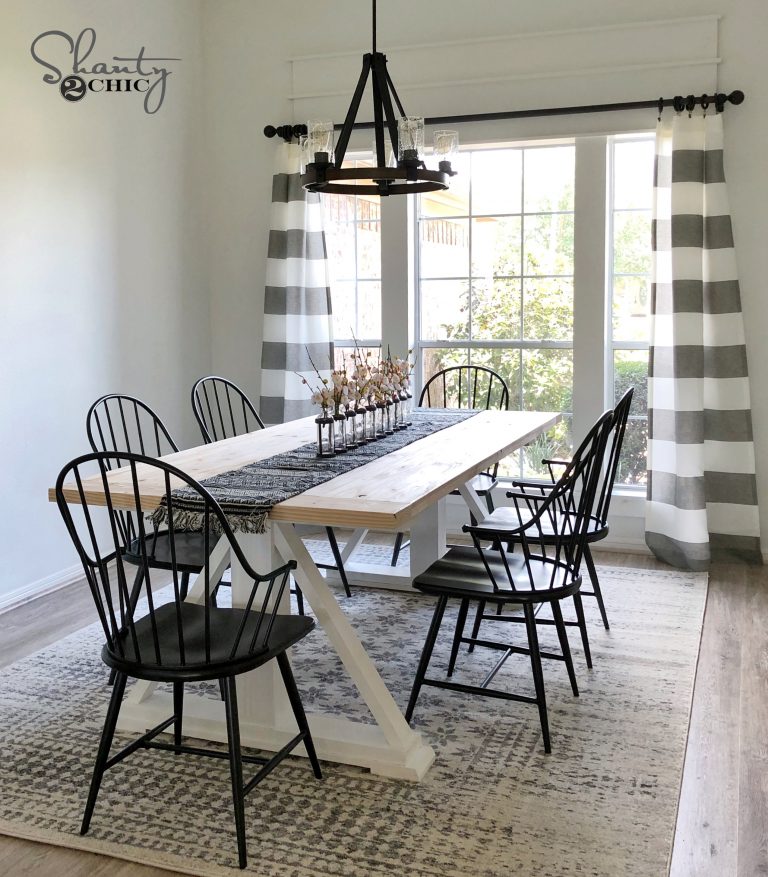
Find more styles in our DIY Dining Table designs! We have over 25 that will fit any budget, skill level and style!


Love this table. This is one I think I can do myself.
I loved the base design and added it to another (farmhouse style) table top. Thanks for the plans. Adjusted slightly, solid and beautiful.
Has anyone tried making it a 9′ or 10′ table and counter height? Tried to figure out the adjustments. If I make it a 9′ can I keep the base the same, except adding more height to it. Another idea would be using 2 x 6 for top vs. 2 x 4.
This is an amazing design and very accessible to build. Thank you for all the info! It makes me so sad that this “$60” table now costs over $200 due to skyrocketing lumber prices.
Did anyone sand down or send through a planer?
I did this over the weekend and it looks great! The plans are so easy to follow. Thank you SO much! That Krig jig is no joke. Absolutely love that you cannot see and of the screws.
That table looks really solid! Loving the weathered lumber look too, much better than the outdoor furniture for sale elsewhere. I’ll just make my own!
Has anyone used 1×4’s for the table top instead of 2×4’s? I’m curious if it looks good and is sturdy.
My husband & I want to make this table but we need to make changes in the size. Could you possibly help us?
We need the table height 36” finished & the finished length 6’.
This will be used on our cabana.
Thank you.
Just an FYI. On the angled pieces, if built to the dimensions in the plans. They should be 32 degree cuts on both ends with the length from the bottom bottom of one angle to the bottom of the other being right at 24.5″.
How would I make this into an 8′ table? Would it change the look of it and the angled pieces? I’m new at this;)
Just make the top longer. Leave the base the same. I cut my table pieces @ 88”. With the end pieces, makes it about 8’
Love this table. Do you think it’s possible to use 2 boards at the middle post, but apart, and then make a hole so an umbrella could go through?
It is 30º for the cut, NOT 43º