
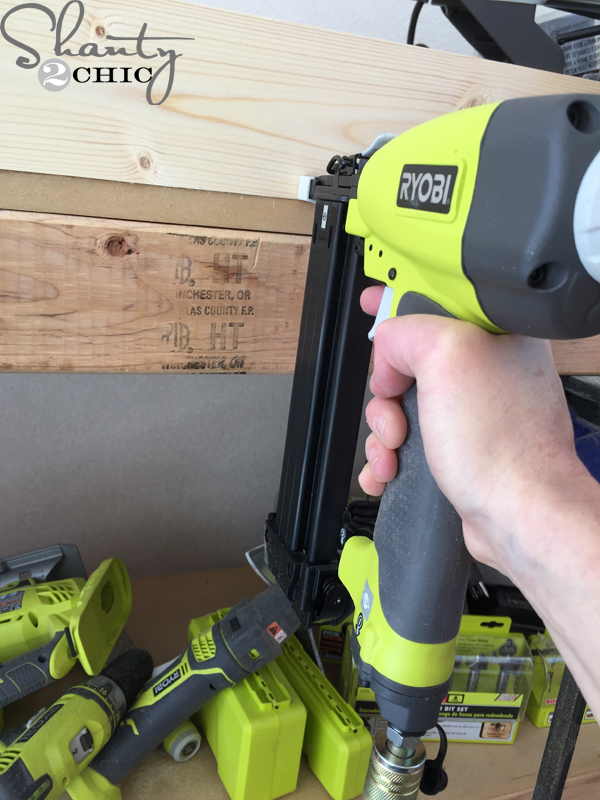
Hey there! We are back for Day 3 in our 12 Days of Christmas series! One of our favorite deals that we have found this season is the new Ryobi Compressor Combo Kit! It is only $199 (at Home Depot and thehomedepot.com) and you get an 18-gauge brad nailer, 16-gauge finish nailer, a stapler, a hose AND a compressor! We each picked up a kit for ourselves and a couple for Christmas gifts! ***Spoiler Alert – Three lucky readers will win a Ryobi Air Compressor Combo Kit! Enter for a chance to win at the bottom of this post!***
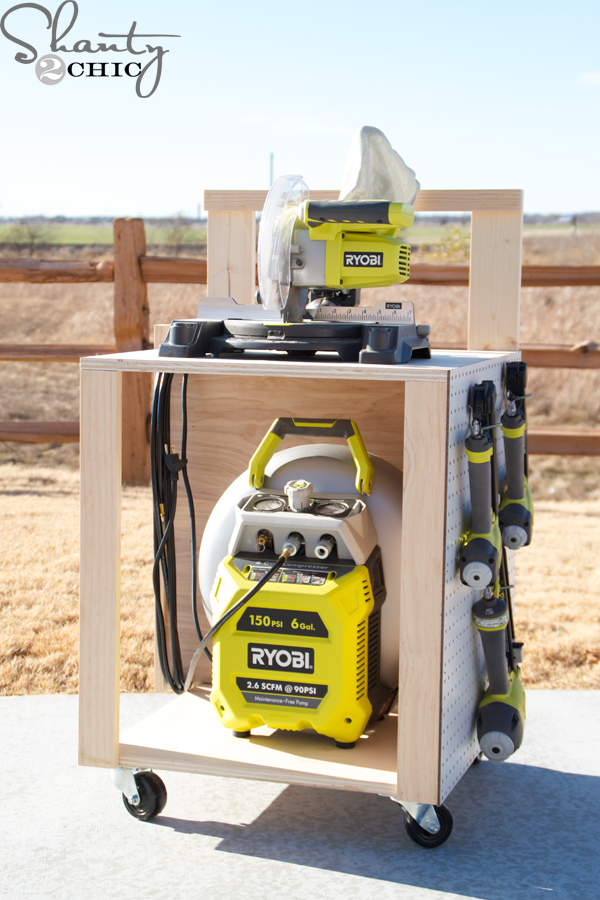 The air compressor isn’t super heavy but we thought having a rolling cart, to move it around, would come in handy. So, we designed this bad boy! It’s so awesome! You can pull around the compressor, nailers, hose and a few extra goodies wherever your project takes you 🙂
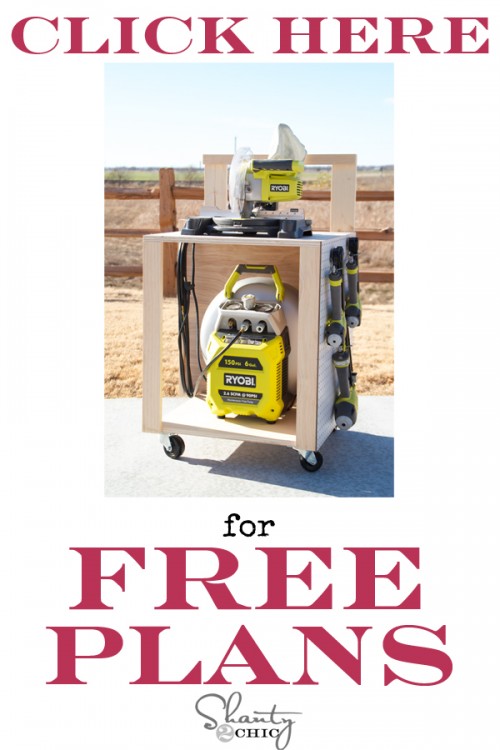
We’ve also got the Free Printable Plans for you. Click HERE or the image below to print your DIY Air Compressor Cart plans!
 I built mine with only my Air Compressor Kit (18-gauge finish nailer) and a saw! Here’s how 🙂 Total cost was about $70 including the casters.
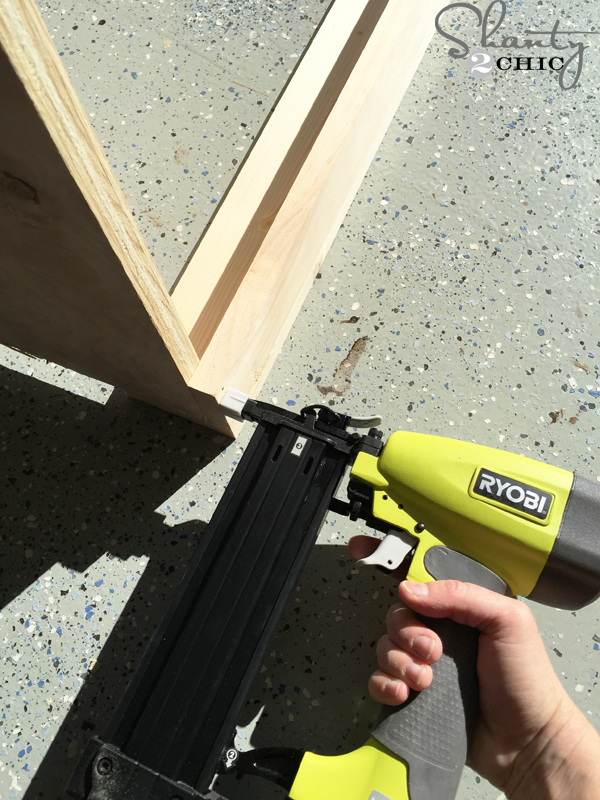
 I started building the back legs. If you have a workbench, it helps to scoot the edge of the legs to the edge of the table. Then just clamp and nail. Make sure to use wood glue 🙂
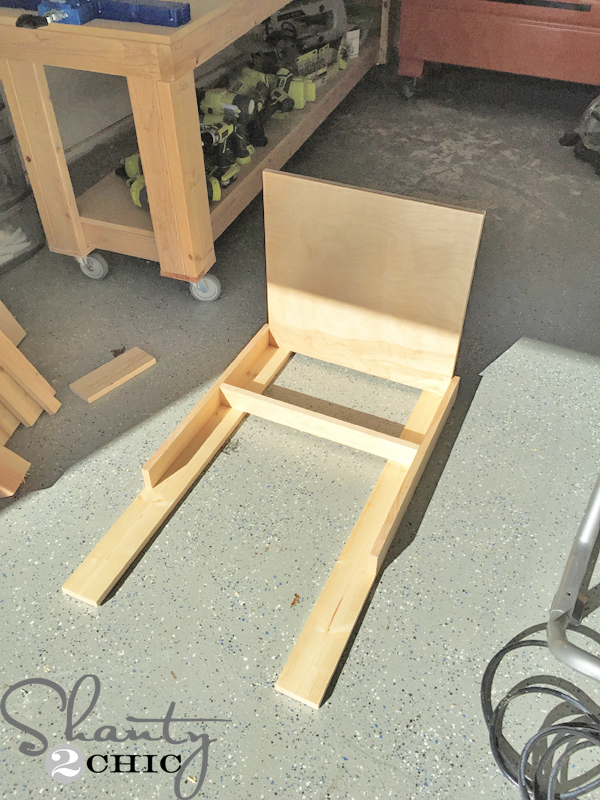
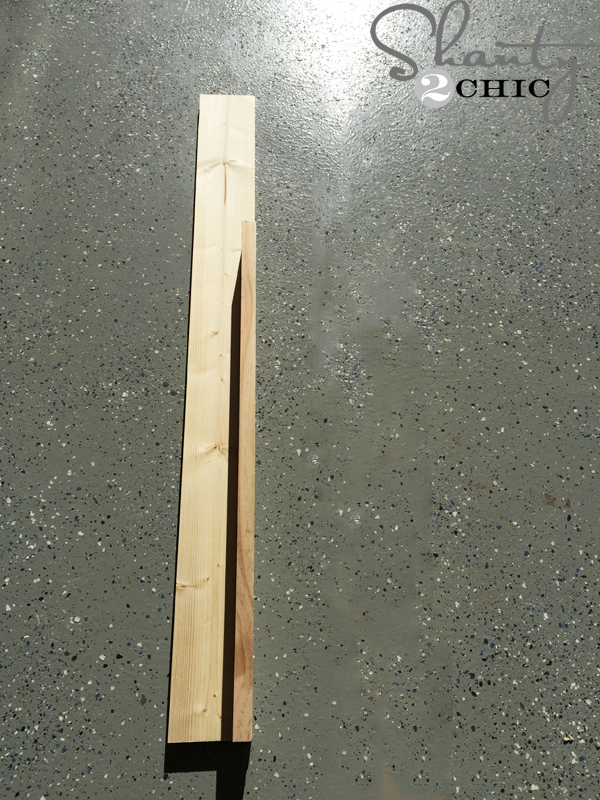 Here is one leg assembled.
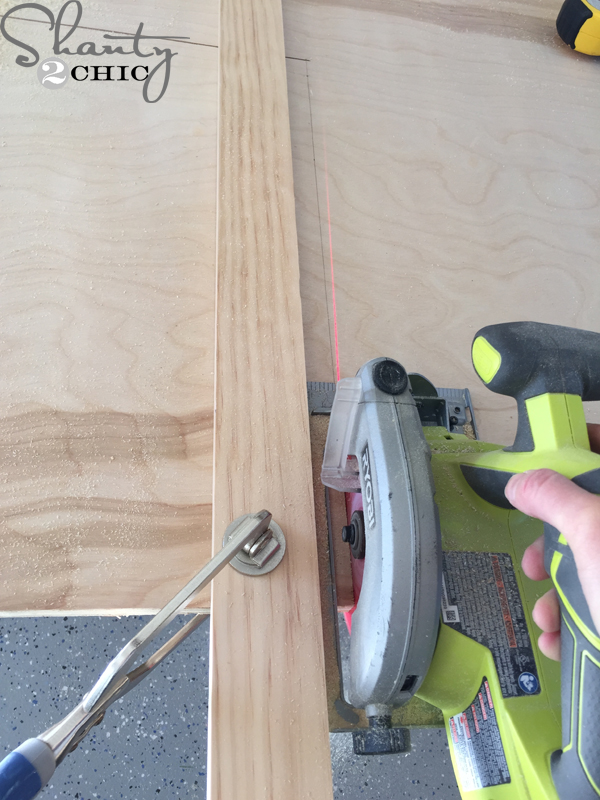 Next, I ripped my plywood pieces. If you don’t have a circular saw, you can easily have Home Depot rip these pieces for you. If you have a circular saw, you can clamp a scrap board to the plywood to use as a guide!
 Once I ripped my plywood, I attached the bottom panel with Gorilla Wood Glue and 1 1/4″ nails.
 Next, I attached the shelf the same way.
 Then, the top handle.
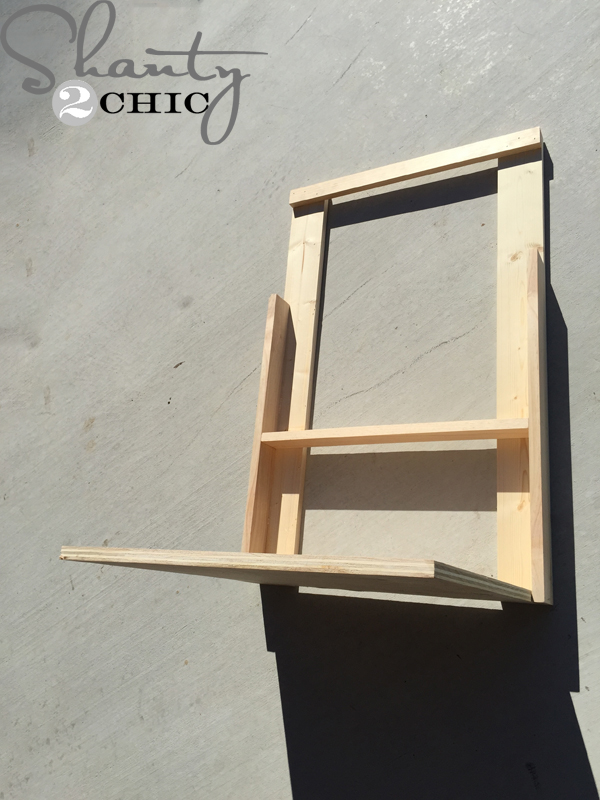
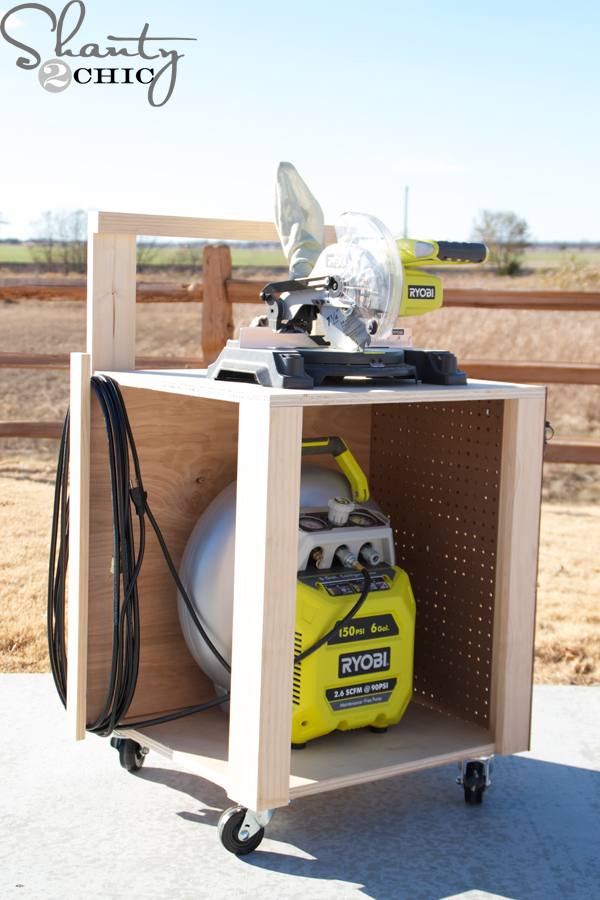
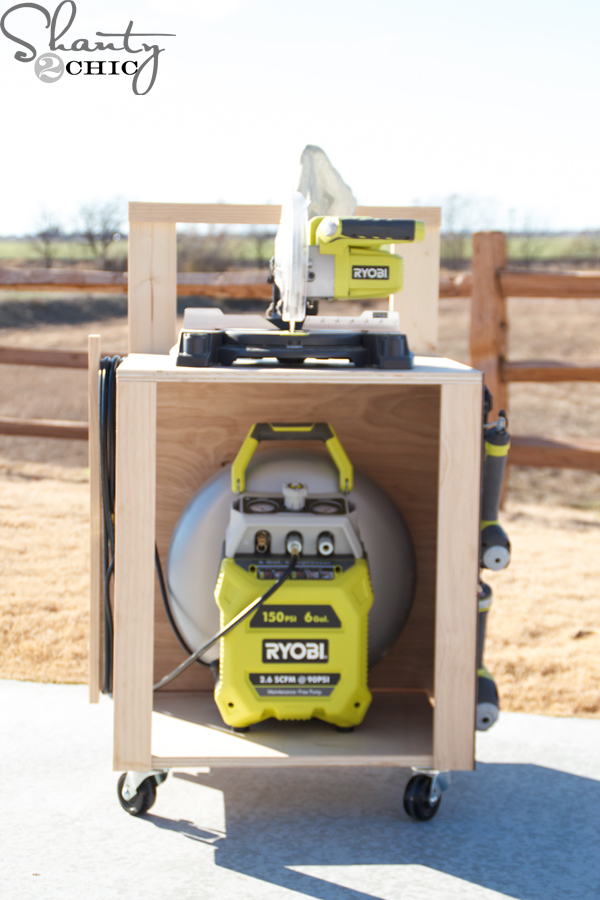
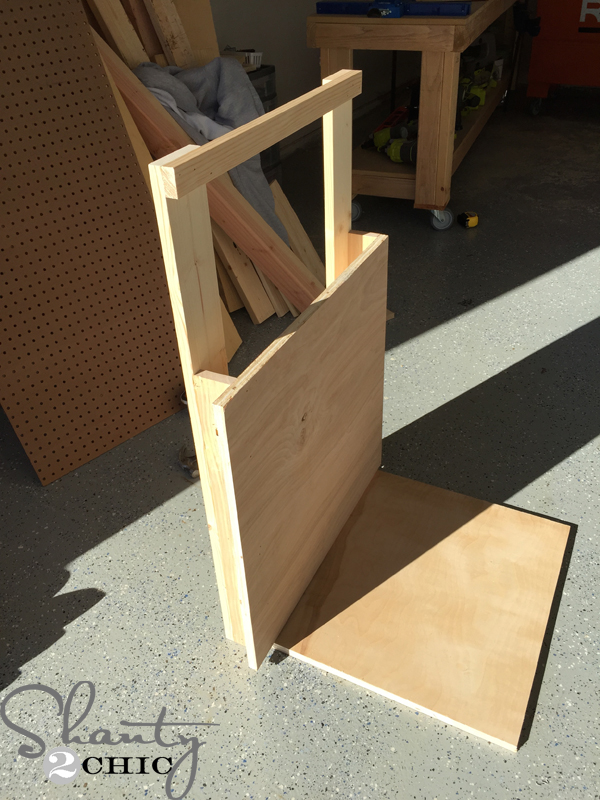 Here it is with the divider panel attached. Before you attach the divider, decide which side you want the cord to wrap. I chose to have my cord wrap on the side that the electrical cord is on because that side will be open and easy to access.
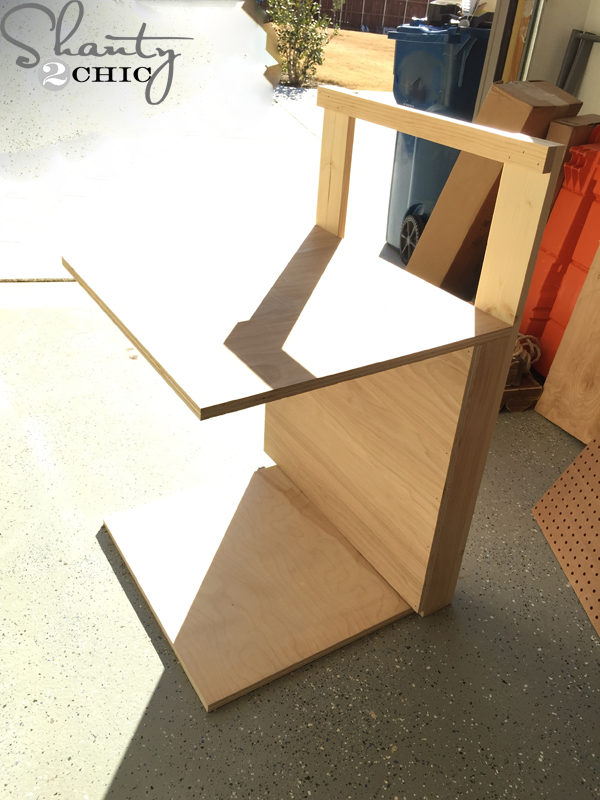 Now the top panel
 Next, I built the front legs (the same way as the back legs)
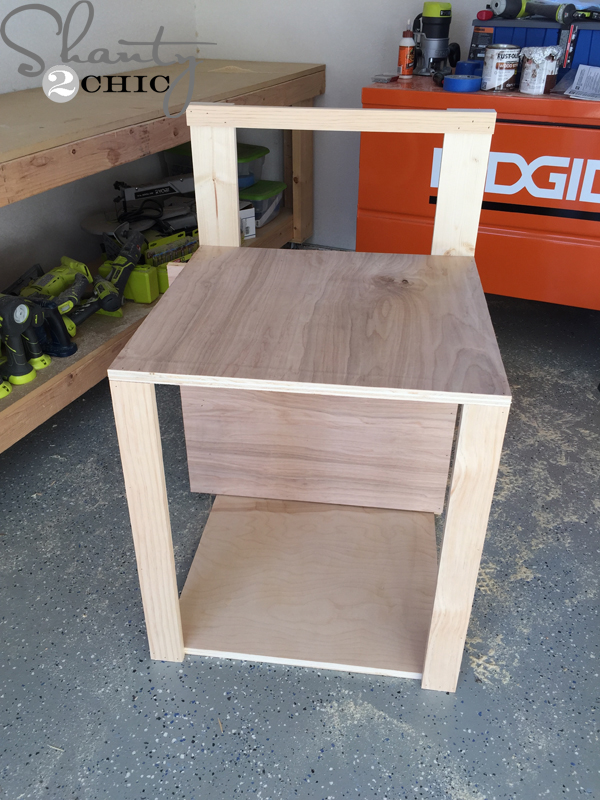 and attached them to the cart. Then, I added the 1×2 on the end of the divider and attached the pegboard to the other side.
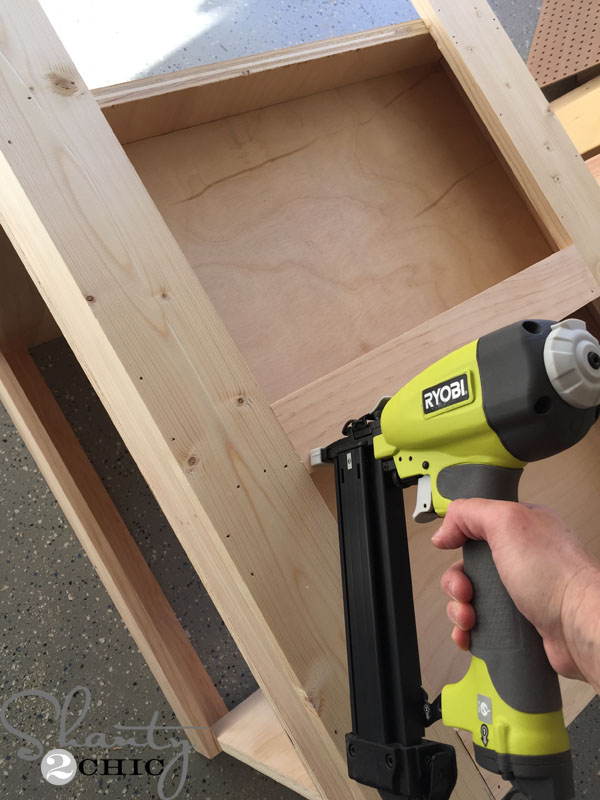 I added the front of the shelves to the back of the cart, added some casters and that was it!
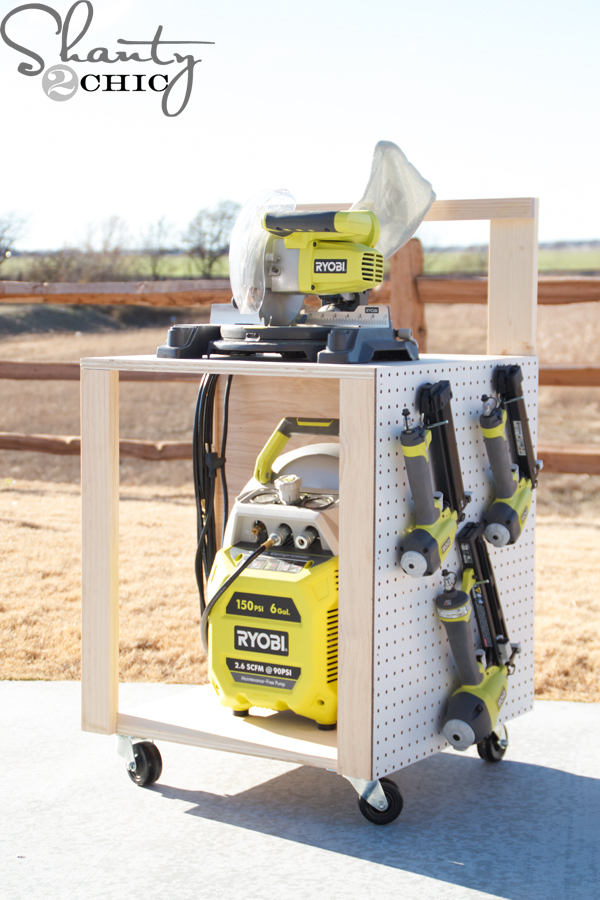 The top makes a perfect spot to add an extra tool or you can leave it open for a work space. I attached my 18-volt miter saw to the top and put a few hooks on the pegboard to store my nailers!

This is such a cool little work cart and we think it would be such a fun gift idea to give the compressor kit and build the cart as the packaging! You could even gift the compressor kit and attach these printable plans to the package (or ask for the kit for Christmas and build one for yourself 😉 )
Happy Building!


I am going to attempt to build this just curious why are the legs attached to the sides of the base and not resting on top of it? I am new to building stuff.
Thank you for sharing the plans!
WAS LOOKING AT RYOBI’S SITE AND DID NOT SEE THIS COMPRESSOR. WAS IT ONLY A LIMITED TIME THING OR SOMETHING? GOOD LOOKING PROJECT BTW.
very nice.. I could use one of these.. although I would either extend the front legs to the floor, or use locking casters there to prevent the unit from rolling.
What size brad nails will I need for this build?
Here is my new air compressor cart for my new Ryobi air compressor set I recieved for Christmas. Thanks for the plans…they were really easy to follow!
Quick question, are you able to toe nail with your brad nailer?
So curious to see who won the air compressors. Any chance we’ll get to find out soon? ps I’m so going to build the compressor cart. love it!
Love this!!!! I would love to win the Ryobi give away!
Wow what a wonderful gift!! I would love to win the Ryobi tools and the compressor. I have found so many great ideas on your blog and the tools would be a thrill to use. Merry Christmas!
Love the cart! It’s perfect for that superb tool set, which I would love to have for myself. It would be so wonderful to pick up a tool that I don’t have to clean before I use it. I’ve been wanting to get a nail gun, but to have that set along with my own compressor would be a dream come true. Thanks for the chance to win this fantastic prize. Have a safe, happy and healthy holiday season. 🙂
You two are amazing! You give me so many idea & it help my creative juices start flowing!!! Thanks you & Merry Christmas!
What an Awesome looking tool cart. Thank you for sharing the plans and for this great giveaway opportunity.
I would dearly love to win this and give it to my dear, sweet hubby of 45 years. He enjoys building things but sorry to say, he just doesn’t have the right kind of tools
So, I don’t have an air compressor. However, add a few more shelves and you have a pretty awesome bar cart! Right!? 😉 Love it girls.
Oh my gosh… I want everything in this picture. That cart is one genius build! Everything on wheels… yes please! And those tools… all of them… are on my wish list. Some of mine are too big and intimidating to use. I’ve held a Ryobi… they are sweet!
Awesome! I signed in and have my fingers crossed! 🙂 love you gals!
What an awesome giveaway, and I love the plans you’ve shared with us too.