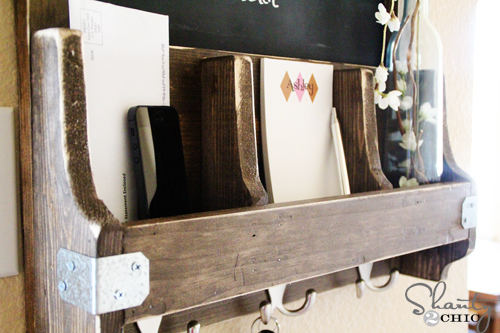
Hey there! I am so EXCITED about this project today! Chalkboards, key hooks and a mixture of galvanized hardware and stained wood are a few of my favorite things and this project has them all!
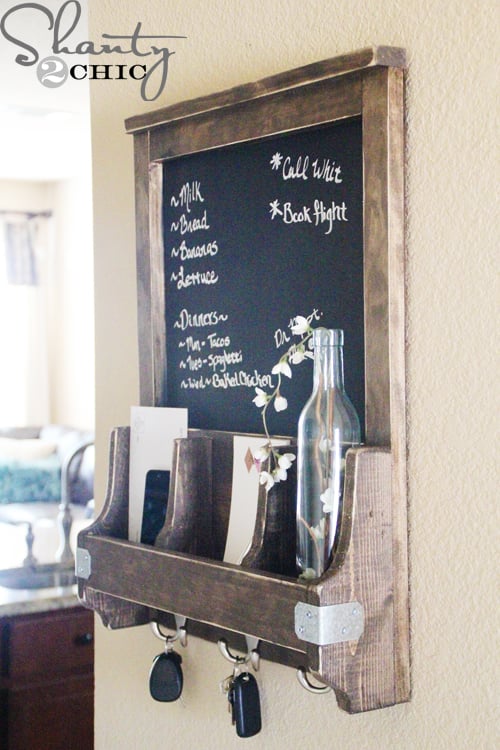 This cutie was SO easy! Don’t let the fancy cuts on the sides fool you! This is a beginner project from start to finish! I was able to make mine for under $20!
Lumber needed:
1 – 1×2 @ 8ft.
1 – 1×3 @ 4ft.
1 – 1×8 @ 4ft.
1 – 1×4 @ 4ft
1 – 2’x4′ Panel of Tempered Hardboard
*This is a great project to put scrap pieces to good use! If you don’t have scraps for the 4ft. boards, make sure to check the scrap boards at the hardware store for a great discount!
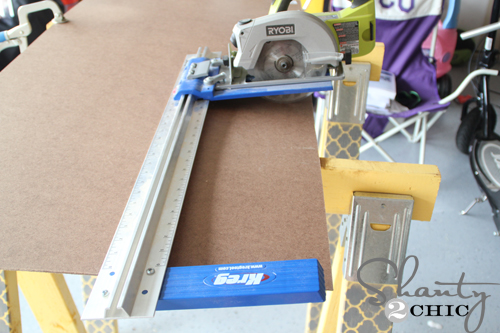 I started by cutting a piece of hardboard at 19″x24″. You won’t even need half of this panel so you can save it for another chalkboard project:) You can have your local hardware store cut this for you! I used my awesome Kreg Jig Rip Cut with my cordless circular saw. The Rip Cut is awesome for cutting down large panels like this!

I sprayed 2 coats of Spray Paint on the hardboard.
While waiting for the Chalkboard paint to dry, I got busy making cuts for the rest of the piece.
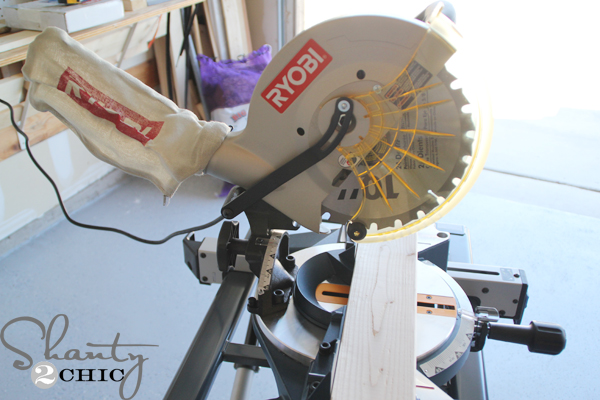 I used my 10″ Compound Miter saw to make my cuts but if you aren’t ready to make the purchase, you can purchase the handsaw below.
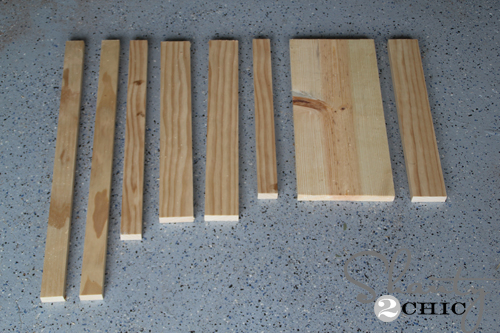
Cut list:
2 – 1×2 @ 24″
1 – 1×2 @ 19″
1 – 1×2 @ 16″
2 – 1×3 @ 17 3/4″
1 – 1×3 @ 16″
1 – 1×8 @ 16″
2 – 1×4 @ 10″ (for fancy cuts)
2 – 1×4 @ 6 3/4″ (for fancy cuts)
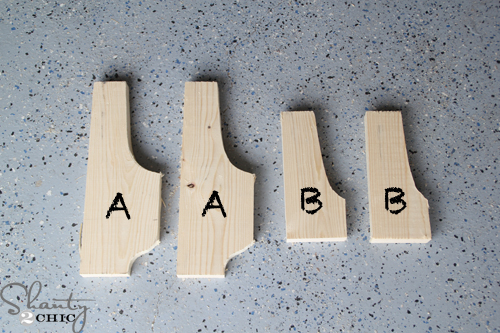 Here’s the part I promised would not be intimidating! Once you make your 1×4 cuts, these fancy cuts are a piece of cake! To make them even easier, I have provided printable templates below. Just print, cut and trace them on your 1×4 boards!


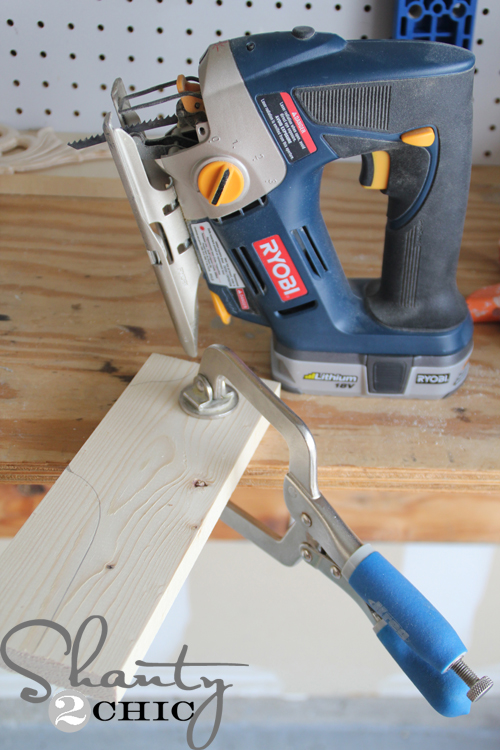 Once you trace the template, clamp the 1×4 down to a sturdy surface and cut away! I love my Ryobi cordless Jigsaw!
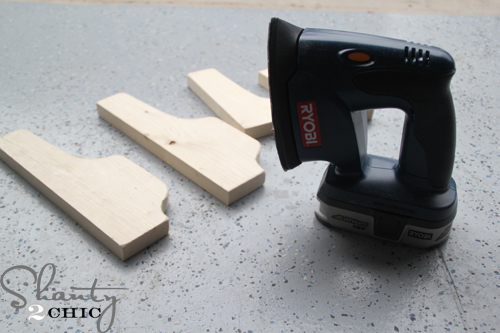 And, you don’t have to be exact on your Jigsaw because you can sand away the bad parts;) WE LOVE our Cordless Corner Cats! It is also an inexpensive tool and by far our favorite sanding tool. Notice it shares the Ryobi battery as well!
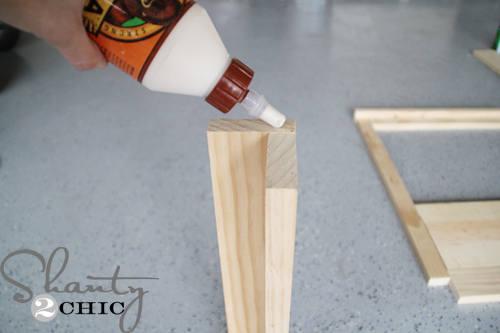 I used Gorilla Glue Wood Glue and nails for every joint! Attach the 2 – 1×3’s @ 17 3/4″. This will make the “shelf” part.
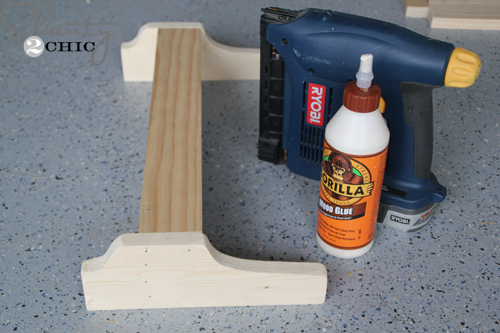 Now, glue and nail the “shelf” to the “A” pieces! I love using my cordless Brad Nailer for projects like this! This is also an inexpensive tool that will share the same battery as the other Ryobi cordless tools;)
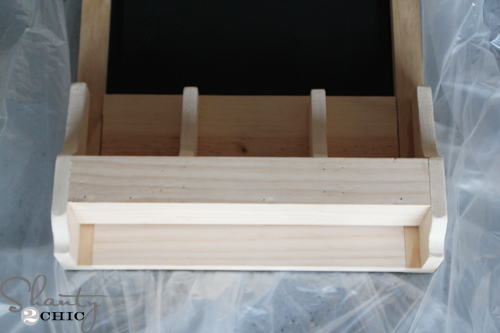
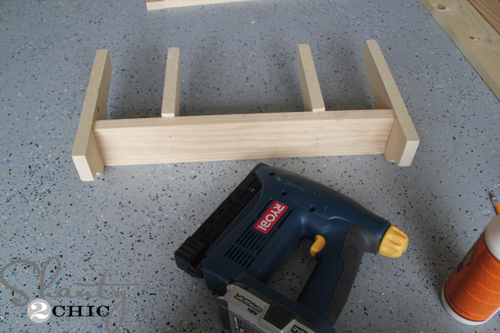 Now, nail and glue the “B” pieces. This will form the dividers. This is the backside of the shelf so the fronts of the “B” pieces will be covered by the 1×3 on the shelf.
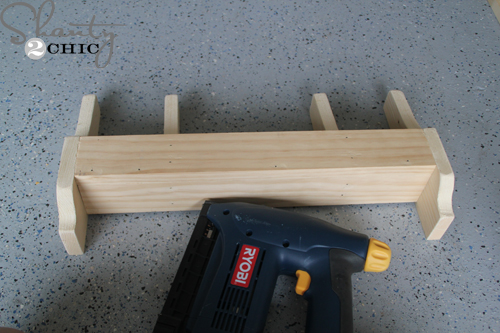
Front view of shelf. Now, set that aside.
Time to frame the chalkboard!
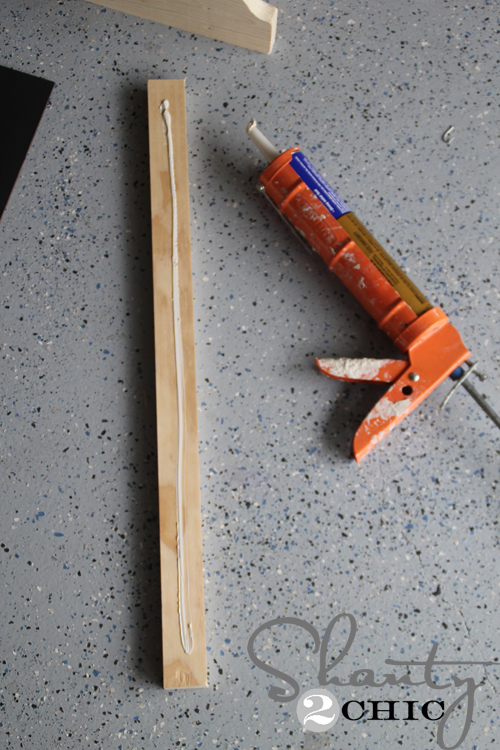 To frame the chalkboard, apply Liquid Nails to the back of the 1×2’s…
 and place them around the chalkboard (flush with the outer edges). The top 1×2 is 16″ and the outside 1×2’s are 24″.
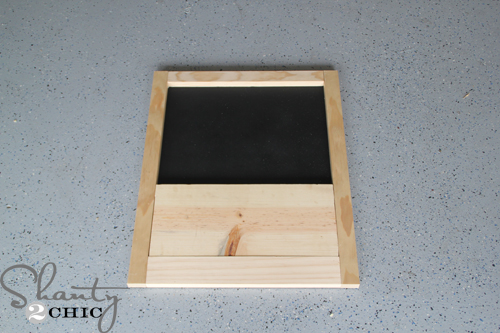 Now, attach the 16″ 1×3 to the bottom of the chalkboard (edges flush) with Liquid Nails. The 1×8 goes directly above that (also attach with Liquid Nails).
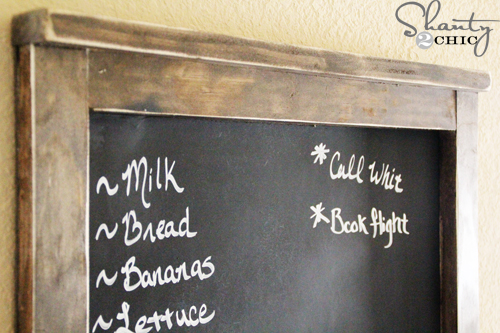
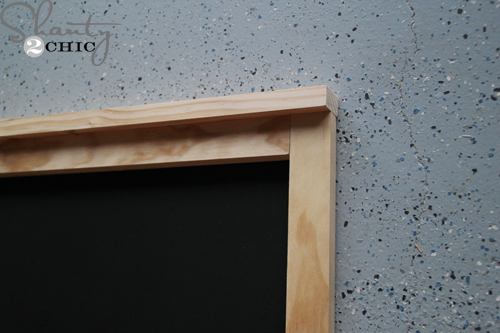 For the top trim, wood glue and nail the 19″ 1×2 to the top. The back edge will be flush with the back of the chalkboard leaving the front hanging over about 3/4″.
 To attach the shelf, apply a thin amount of wood glue and nail from the back of the chalk board into the shelf and dividers. The bottom of the “A” pieces will be flush with the bottom of the 24″ 1×2’s.
Now for the finish!
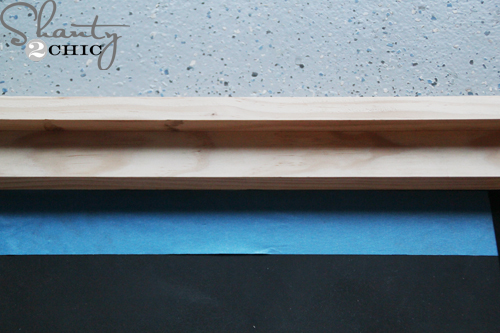 Tape off right under the frame of the chalkboard before you stain. I thought it was easier to stain the piece after assembling (wood glue will not adhere to treated wood). The tape will protect the chalkboard finish.
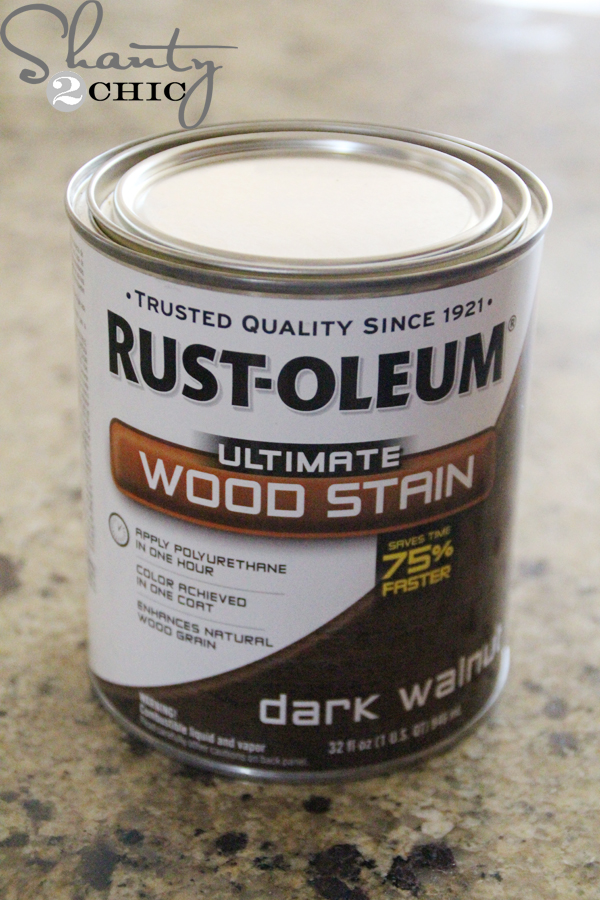 I chose a classic favorite, Dark Walnut Stain to finish this cutie! Just apply one coat with a foam brush and wipe with a clean cloth after 5-10 minutes. Do not wipe the stain completely off, the wiping just helps to make the stain even.
Now for the detail!

I purchased to galvanized brackets and hooks to give this piece some character! Just use small wood screws to attach the brackets! That’s it! To hang it, I used a large sawtooth hanger and anchored a screw into our wall!
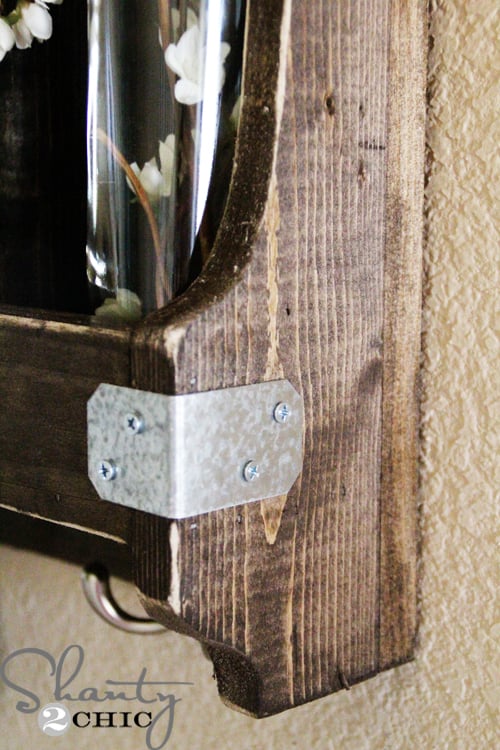 To get the distressed look on the stained wood, I sanded all of the edges with my Cordless Corner Cat!

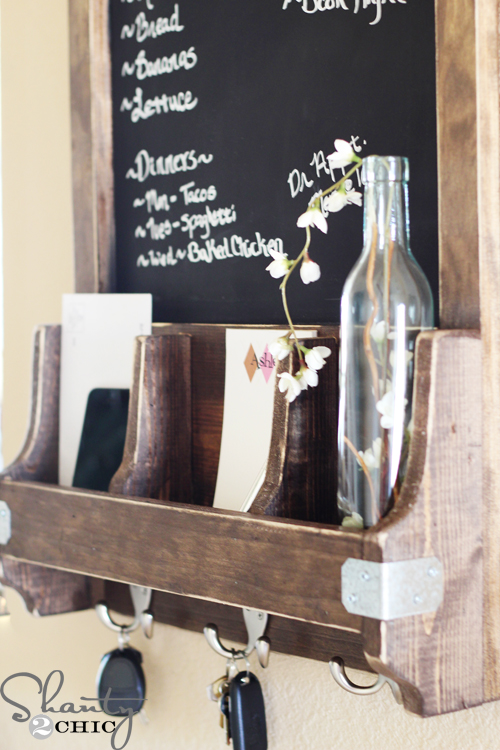

What a great excuse for a “Collect-All”:) Again, this is totally a beginner project and the tools needed are very inexpensive and they share batteries! Go for it;)
If you love my DIY Chalkboard and Key Hooks, I would LOVE your pins and shares!
Thanks so much for stopping by and happy DIY!
~Ashley
I used a chalk pen to write on the chalkboard. It wipes away with a damp cloth. You can purchase the one that we love on Amazon below!

Heading out to my shop to make this now! Hopefully I can get it done before I have to pick my kids up in an hour!
This was our first woodworking project together. Yes, the comments about “template B” being too big are indeed correct. We ended up trimming off a little too much. Anyway,nothing that a couple of well-placed nails from the air nailer couldn’t handle.
For the question “how to mount it to the wall?” We decided to drill and hide a screw with a wooden button. You can see the two buttons clearly in the picture below since we haven’t stained them to match (yet). We used a 1/2″ paddle bit and drilled into the wood approx 1/3 of the thickness. The tip of the paddle made a nice pilot hole for the screw.
We just used some long drywall screws — but if you wanted to put hollow-wall anchors or toggle bolts, that would work, too.
Our plan is to stain the buttons then glue them in place with some wood glue.
How did you hang it on the wall?
I am in the process of putting mine together now and I am attaching the divider piece to the chalkboard piece and there is about a 1/4″ gap from bottom of divider and chalkboard piece that will allow mail to fall through. Is that how it is suppose to or did I do something wrong?
You didn’t do anything wrong. That’s just how the plans are. I realized and adjusted to get rid of that gap.
I’m pretty sure the author never actually built this given the sparse plans provided, and is really just advertising Ryobi.
Bob,
I have this hanging in my house right now and was never paid nor compensated from any company for this post 🙂 it is cute though, huh;) happy building!
Hi! What did you hang it up with?
Unfortunately I could not find galvanized brackets but found some cute hinges!
So I was just looking at the cut list and I don’t understand how template B is also a 1×4?? The two end pieces from template A are flush to the back frame and so are both dividers pieces yet the ends extend past the dividers on the front corners. Am I missing something? I’d really like to make this for a gift.
Hey Stephanie!
Apparently I uploaded template A for both:( it’s an old post so I don’t have the templates anymore. You will need to cut off about 3/4″ from the front of the piece (the part that touches the board across the front. You could print template a and then cut the front off so that you can use it for template B. Hope this helps!
Sent from my iPad
thank you. I had it pinned and finally decided it was time to make it:-)
how did you mount to wall without visable screws? I plan on replicating, but attaching to a brick wall. thanks!
I used this plan as an inspiration for a mail sorter. Thanks for the plans and please let me know what you think. It was my first DIY project…
What type of wood are you using for this project?
Same question here.
My husband and I made this over the weekend and it turned out beautifully!! My only concern was that template b seemed to be too deep. We had to cut those pieces down to fit between the shelf and back of the board – other than that it was spot on! We used a black dry erase board (you just use neon whiteboard markers – including white). We used a gray, semi-transparent stain to give it a weathered look and black key hooks and braces. We LOVE it! Thanks for the info 🙂
It looks like you glue the frame directly to the painted chalk board surface. How is that glue bond holding up? Did you also drive nails through the chalk board surface to help with that joint? Do you think it would make sense to mask the parts of the chalk board that will be glued when you paint it? Thanks!
Where did you get your galvanized brackets? I cannot find any ones I like that are the right size!
Where did you purchase the hooks? Thank you!
I’m finding that the template for the dividers (B) makes them too wide to line up with the ends (A). The front 1×3 pushed them back. Looks like we will need to adjust by 3/4-1″ off the width of B. If we missed something let me know. Thanks for the post!
Did you ever figure out how to adjust for the width of the dividers?