
We’ve creeped over 100 degrees here in Texas and it looks like it’s here to stay for a while! We have a little shih-tzu, whom we named Alvin (our son wanted to name him after the Chimpmunk so that he could yell “ALVIN”) and it was better than most of the other names thrown out there 🙂 He is an inside dog but he wants to be EVERYWHERE we are. The kids have wanted to build him a dog house to get out of the heat but I thought it would be way to hot. So, I designed this Breezy Dog House complete with a fluffy bed, shade and of course, a sign with his name!
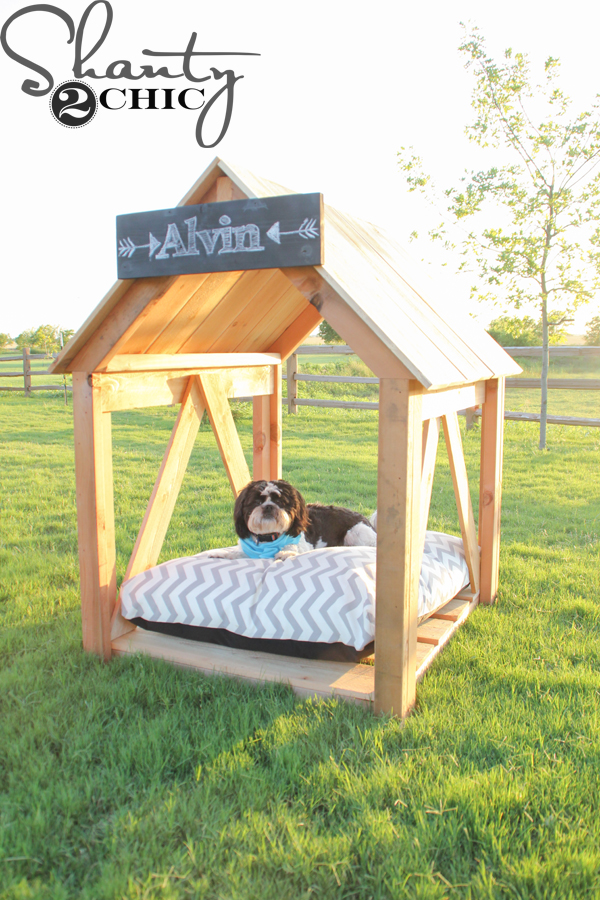
I think we have a happy customer folks! He loves this thing and I had so much fun designing and building it! It was super easy to build and only cost about $70 in lumber!
I designed this house to fit THIS PILLOW that I found on Overstock. I bought the medium size. I hunted for an affordable outdoor dog pillow that was available online for everyone to make things easier. I was the happiest with the look of this and the price and when it came in I was really impressed with the quality.
You can click the image below or HERE to download the FREE PDF plans and follow along with the step-by-step tutorial below!
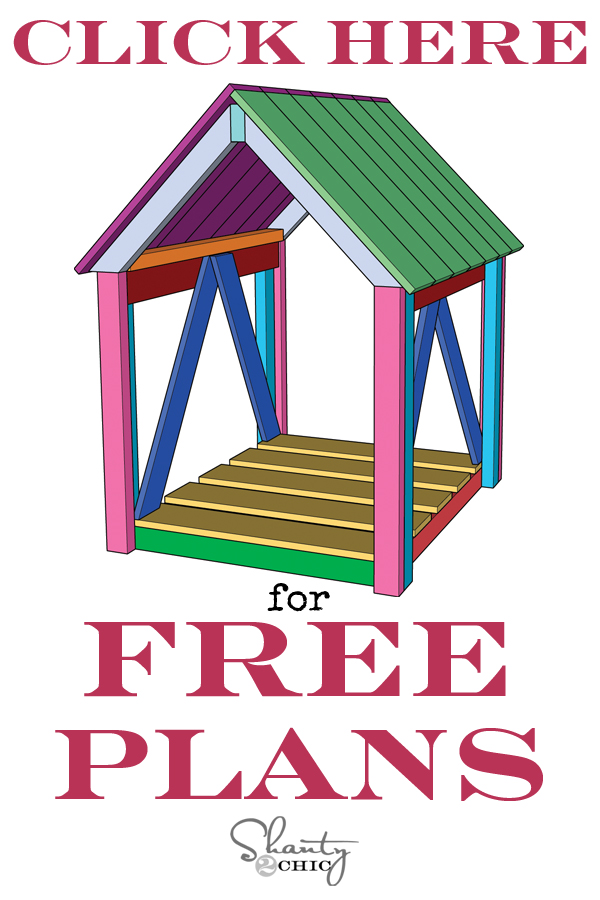
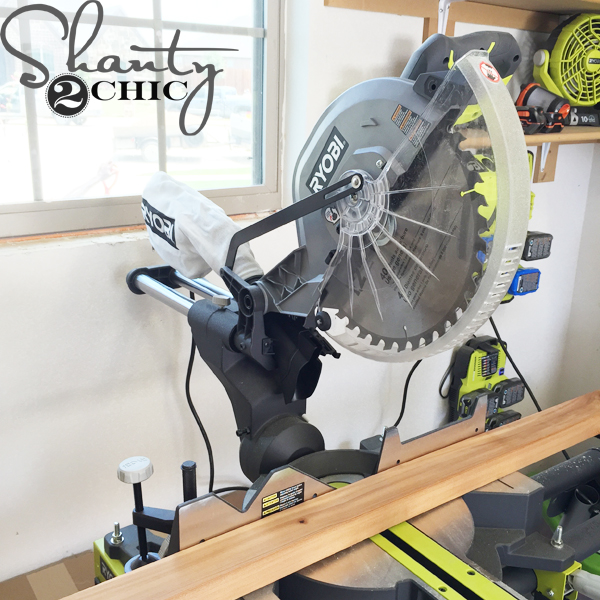
To start, make the cuts for the bottom frame of the dog house.
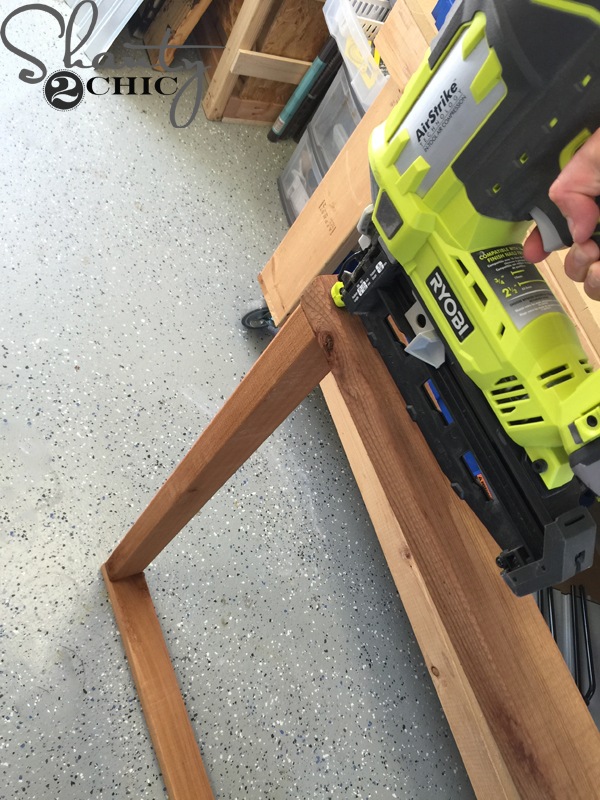
Now, assemble the frame by attaching the side (short pieces) to the long (side pieces). I used my 16 – gauge nailer with 2 1/2″ finish nails and wood glue. Put three to four nails on each joint.
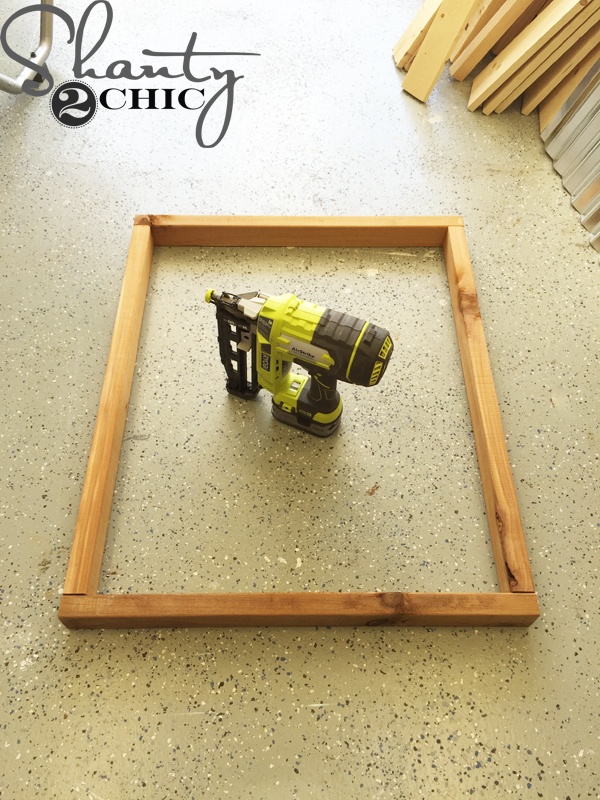
Here is the frame assembled.
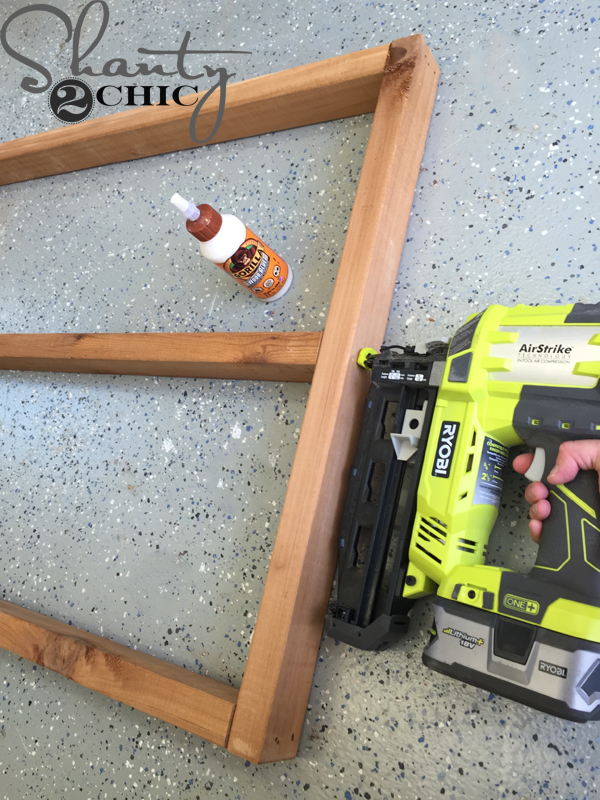
Next, center the middle support board and attach it the same way.

Easy enough 🙂
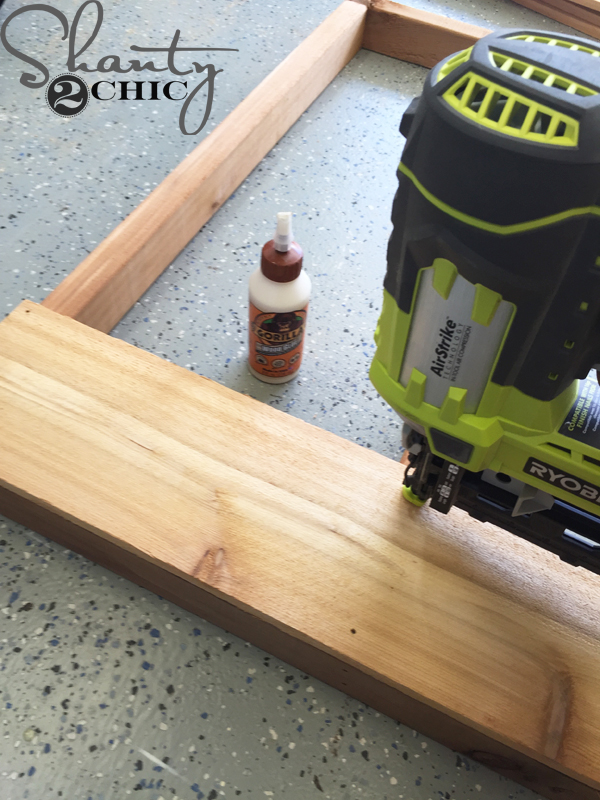
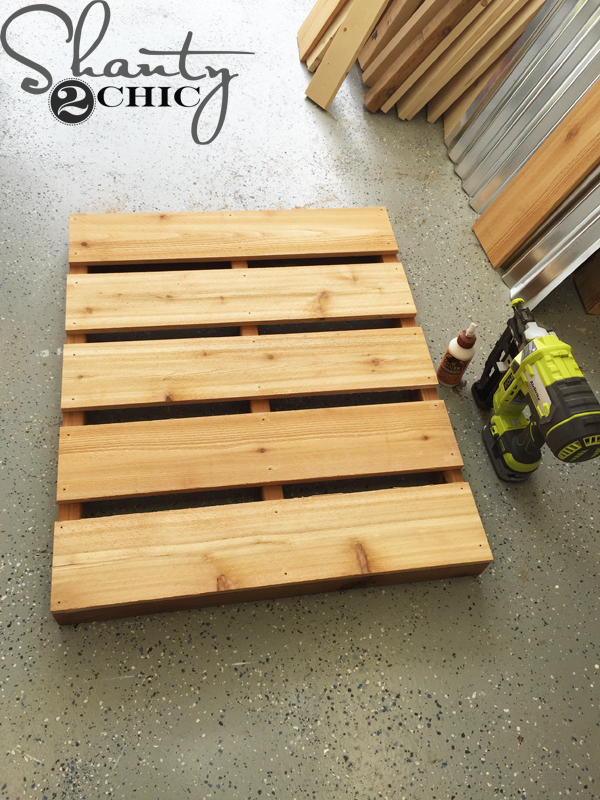
Attach the 1×6 slats to the bottom frame with 2 1/2” finish nails and glue.
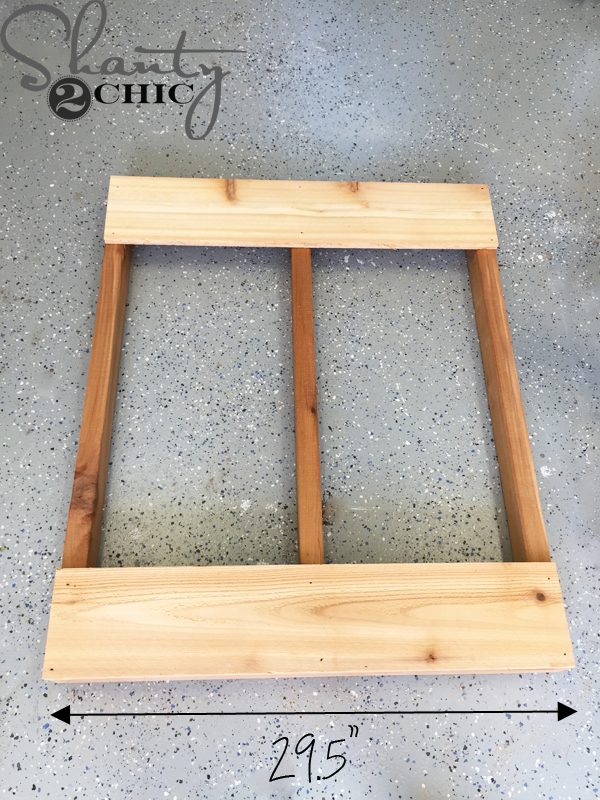
Start with the front and back boards first (these will be flush with the frame) then evenly space the rest of the boards.
Now for the legs!
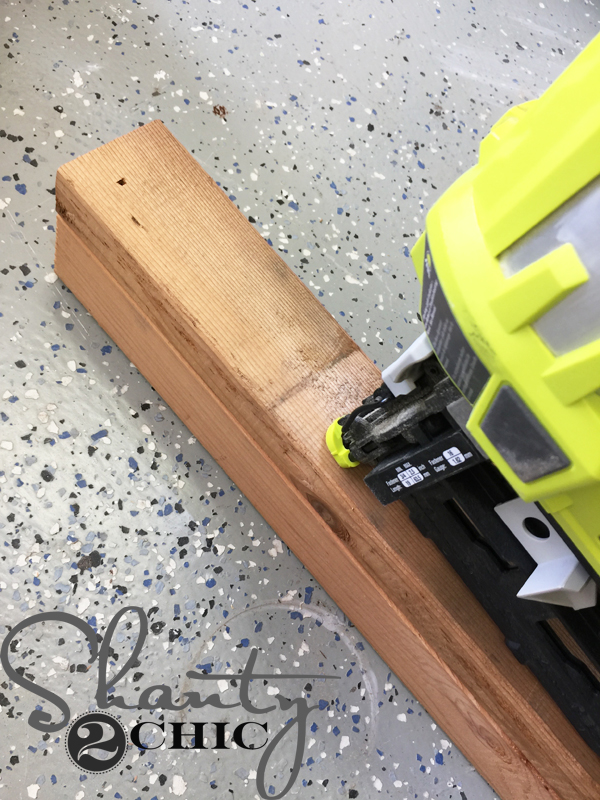
Cut and assemble the legs with 2 1/2″ finish nails and glue.

The legs will look like “L’s”.
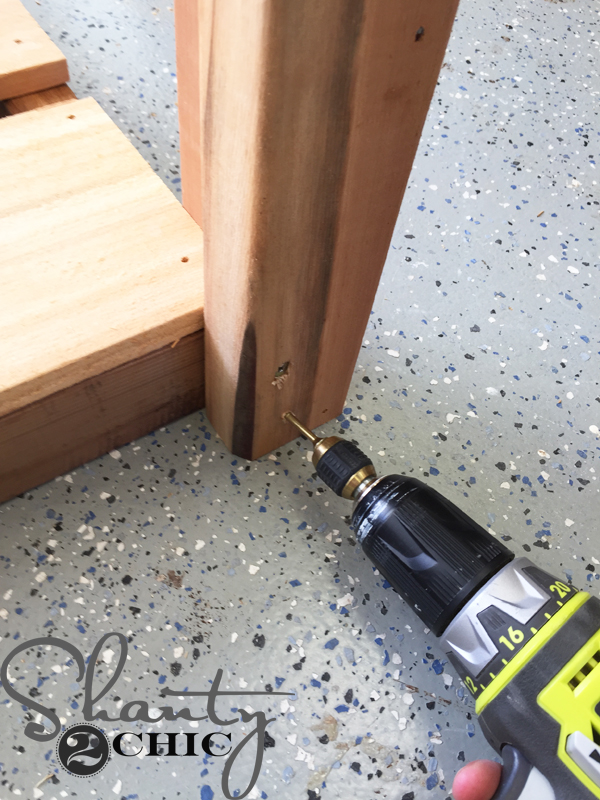
Then, attach the legs to the frame with 2 1/2” wood screws. I used Spax screws to avoid pre-drilling. (The full face of the 2×3 will be on the front and back (short) sides of the frame so that the seam of the “L” will be on the sides (long) of the house.
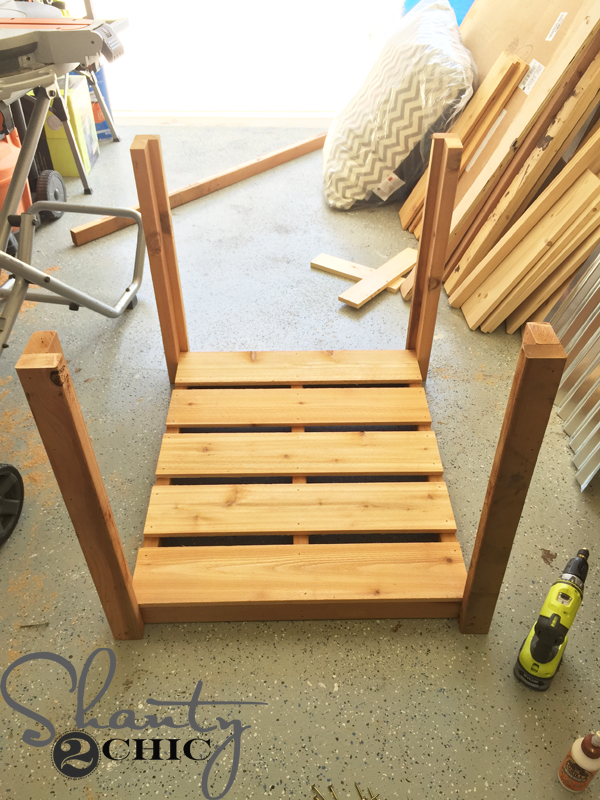
Here it is with the legs attached.
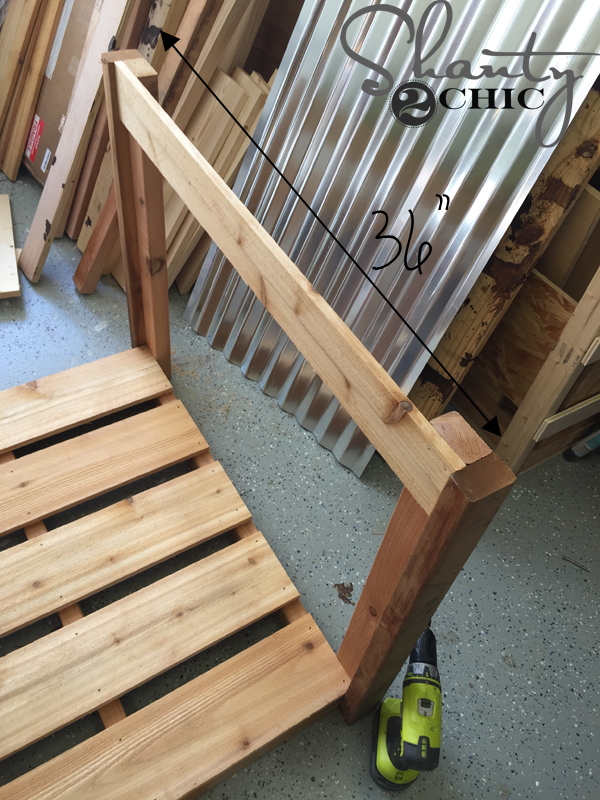
Next, attach the 1×4 cedar board on each side of the house. I attached them to the top of the legs, making the top of the 1×4 flush with the top of the legs. Use 1 1/4” finish nails and glue.
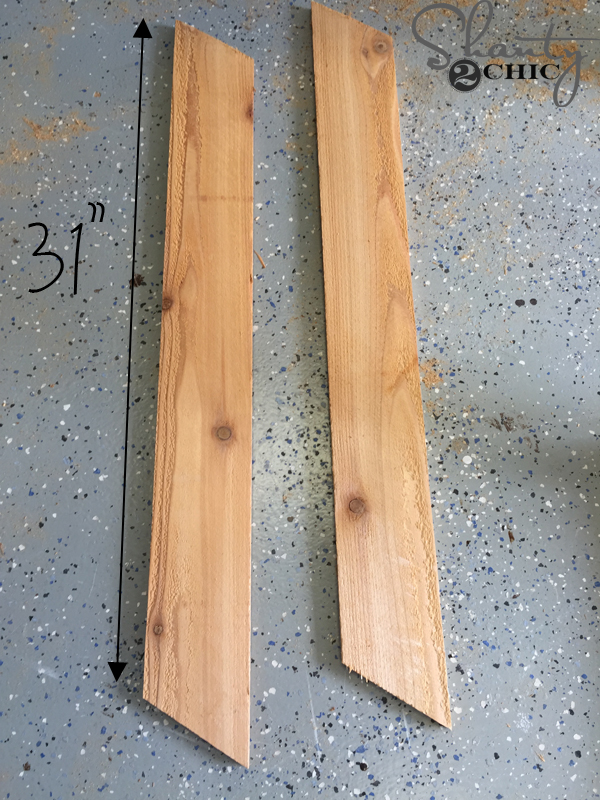
Cut the side angled pieces. These will have 45 degree cuts on both ends and will not be parallel.
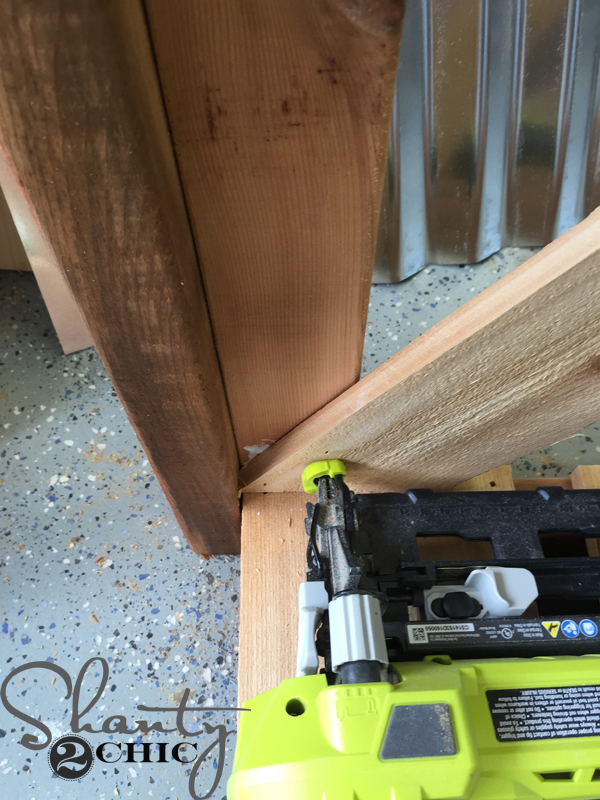
Attach the first board to the inside corner (side of dog house) of the leg with 1 1/4” nails and wood glue. Then attach the second board to the opposite corner.
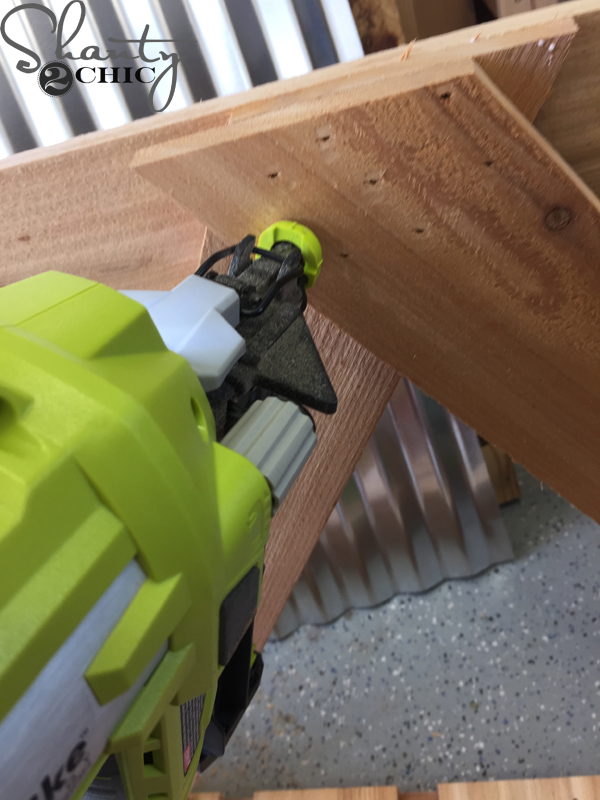
Finally, pull the top of the angled boards up flush with the top of the 1×4 running across the legs. The boards will overlap. Just glue in between them all and put 1 1/4” nails from the inside of the house all the way through the 1×4 that stretches across the top. (The nails will go through all three boards).
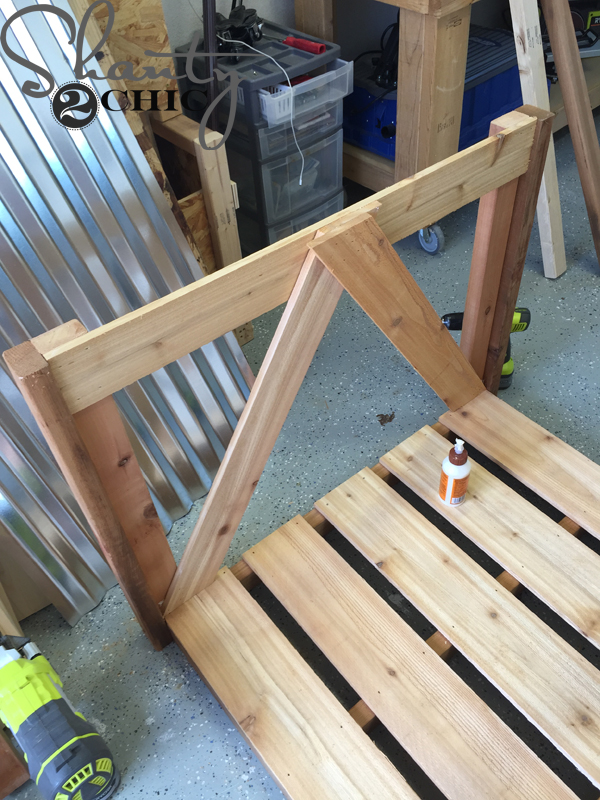
The sides will look like this.
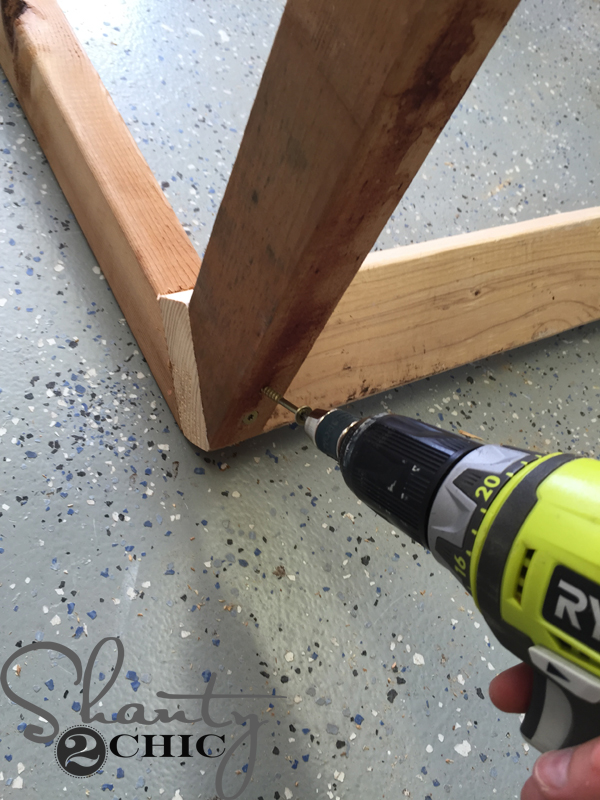
Assemble the roof frame according to the plans. The side pieces will be 45 degree cuts on both ends and not parallel. Attach the mitered pieces to the middle 2×4 with wood screws and wood glue. I used Spax screws.
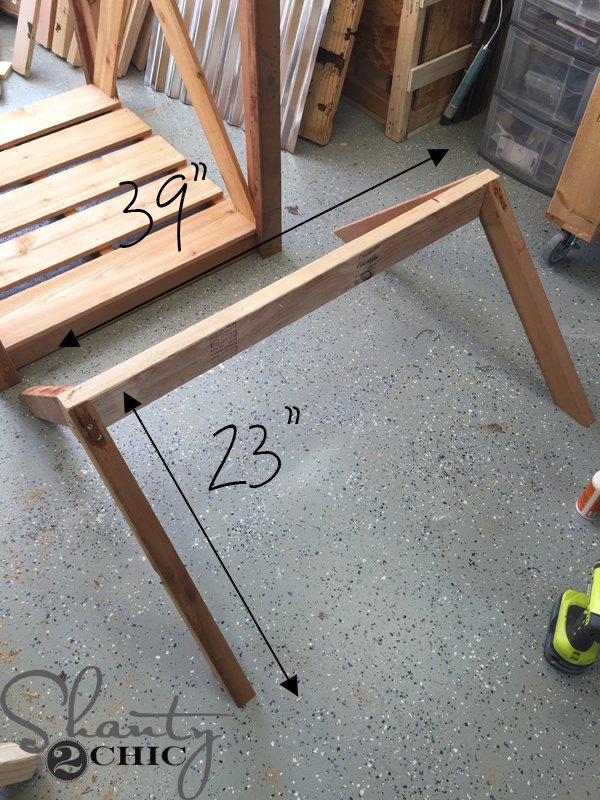
Here’s the roof assembled!
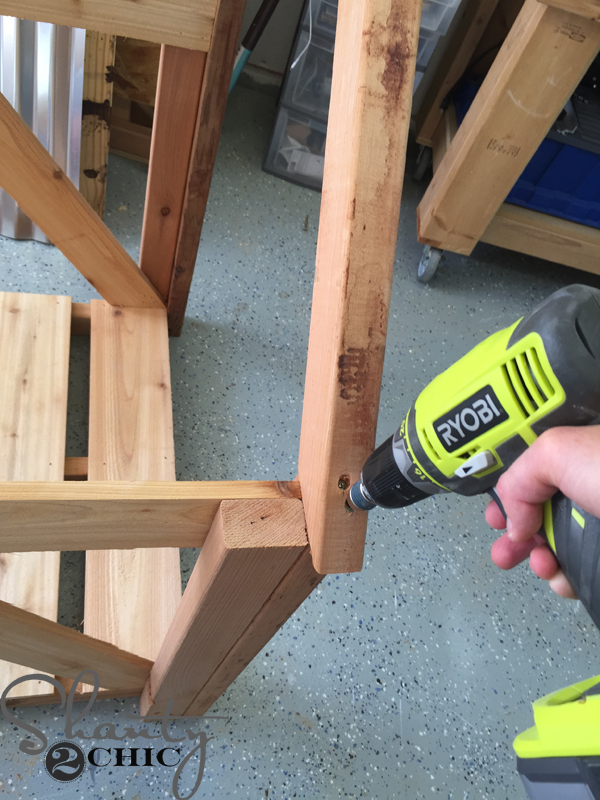
Attach the roof to the house with 2 1/2” wood screws and glue. I drilled from the top of the roof into the 2×3 legs on the front and back of the house. The long point on the 2×3 will over hang the leg a bit, allowing the inside of the mitered 2×3 to be flush with the leg.
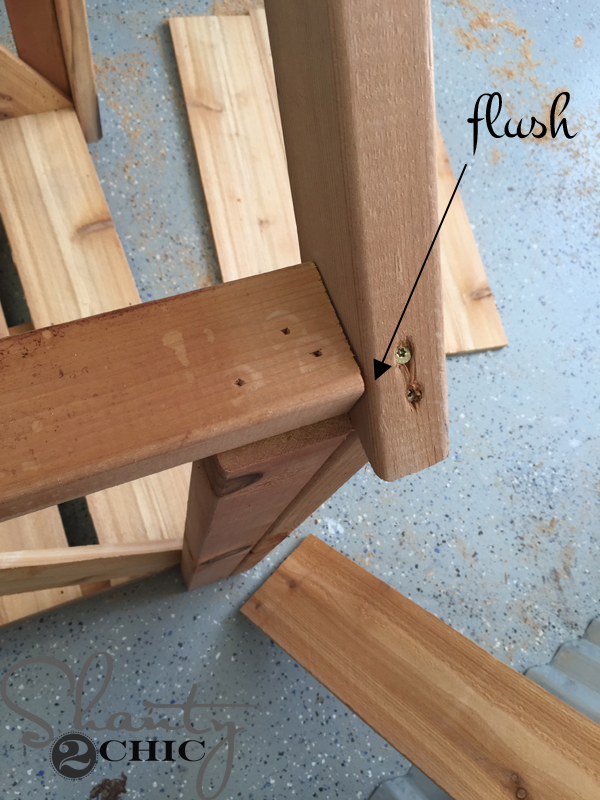
I ran a 2×3 along the top of the legs (on the sides, above the new angle pieces) and attached them with 2 1/2” nails and glue. The edge of the 2×3 will be flush with the roof line. This will give you something to nail the roof slats to.
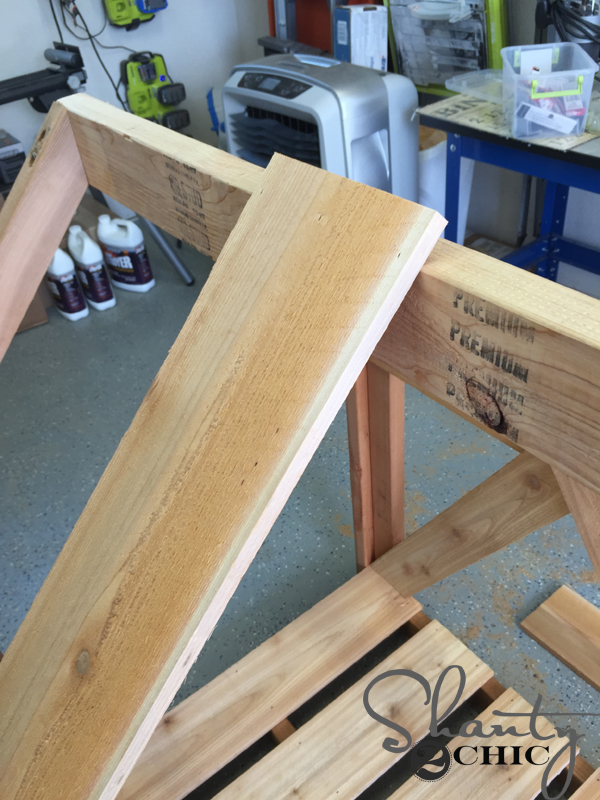
Finally, attach one side of the roof slats.
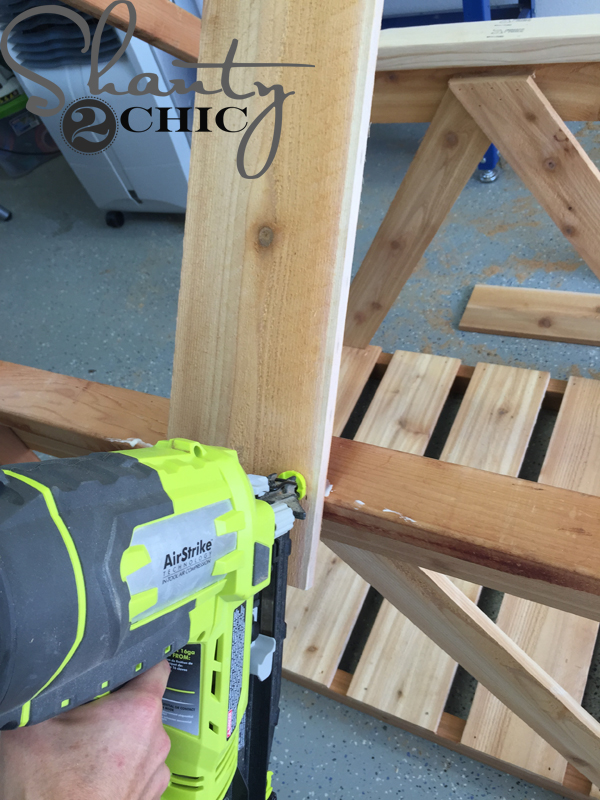
Let them overhang on the top so that they can meet the planks on the other side of the roof. Start with the center board and work your way out.
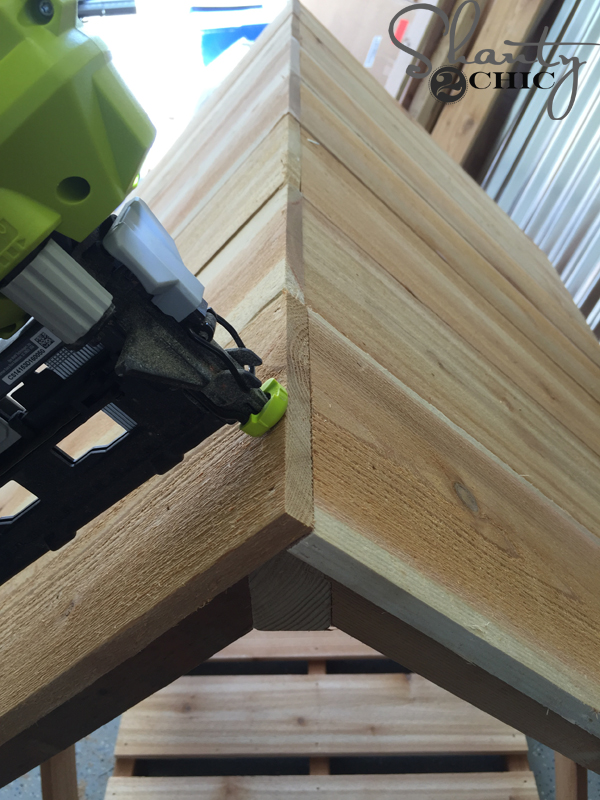
Follow up with the other side and use 1 1/4” finish nails and glue everywhere that the planks touch wood.
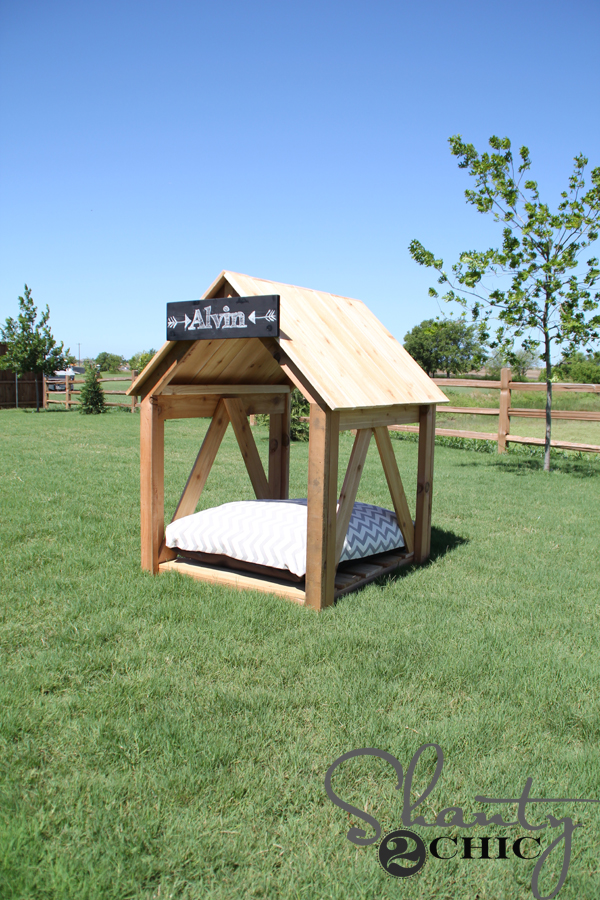
Add a chalk board sign and a cute and comfy pillow and your pooch will be the most pampered pet in your neighborhood!
Alvin LOVES his breezy dog house, the kids think it’s awesome and I love how cute it looks in our backyard! That’s a win-win-win right? 😉
***This giveaway is now closed. The winners have been emailed. Thanks for playing!
Speaking of winning….Want to build this for your pooch? How about a chance to win the tools that I used to build it? Our awesome friends at Ryobi are giving away these awesome tools to THREE lucky winners! All you have to do is follow the instructions in the box below! There are 3 chances to win too!
The first is to leave a comment on this post telling us what you would build with these awesome tools! There are two bonus entries to up your chances! Follow Ryobi and Shanty2Chic on Periscope! *What is periscope? It’s a new live video stream app that let’s viewers comment and ask questions in real time! We just joined and we love it so much 🙂 Whit shared a live dining room tour and I shared my Master bedroom. The videos are only available for 24 hours and then they are deleted but it’s a fun chance for us to share unedited live tours of our home, building tips and answer any questions you might have! It’s so fun and we would love for you to follow us!*
Tool prize:

12-INCH SLIDING COMOUND MITER SAW
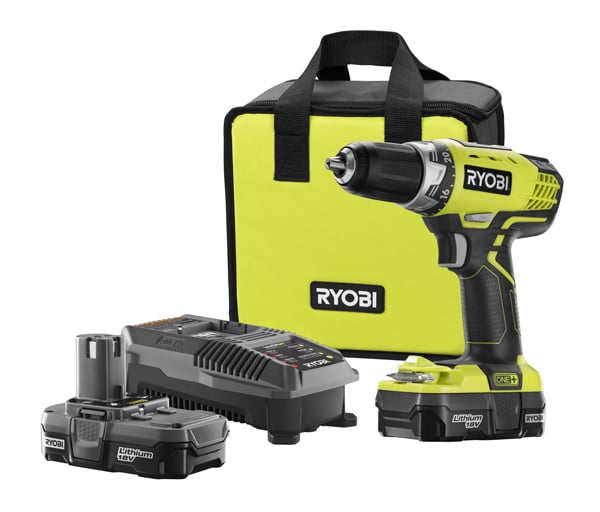
18-VOLT DRILL AND CHARGER COMBO

16-GAUGE FINISH NAILER
Now that’s a lot to step up your DIY game!! Just follow the instructions in the box below 🙂 Good luck!
a Rafflecopter giveaway

I would love to add the tools to my shop!
Need to build this for our dog, he is the same as yours and wants to be everywhere we are at. Just need to modify your plans to about twice the size since I don’t think our dog would fit in that dog house.
This doggie cabana is so cute. Almost makes me want to get a pet. Love it and would love to have those Ryobi tools.
I love this dog house and my dogs would too. I would totally make this with Ryobi tools!
Those tools would be so great! Just ordered a Ryobi Corner Cat Sander and would be so excited to add these to my collection! I would build a changing table for my 9 month old daughter and child on the way. Also, would love to do a large outdoor table for my patio! Pick me!! 😉
I found your website about 2 weeks ago and I am in love! I have never been a DIYer, but when I moved into a foreclosure about 3 years ago I had to become one! My boyfriend and I have built the Outdoor X table and are currently working on the matching benches. When we first started he was the main one using the tools, but I’m definitely getting the hang now and would love some of my own! Some upcoming projects from your site I would like to complete are the round side table and king size bed and matching night stands. (possibly even some dressers to go with!) Outside of your site, we need to complete some trim in our house since we just finished putting down a bunch of laminate flooring. Also, I love to put a pergola on our deck, so that might be in the future plans too!
You girls are awesome! I’m always inspired by your projects. After making many of your furniture pieces (so many options, love it), I think I’m ready to tackle built-in storage for my mudroom. I always read through your directions, even if I’m not planning on making the piece. I feel that all the tips are going to be helpful in planning and succeeding on my own custom projects.
I need to build a big girl loft bed for my daughter, so that 12″ sliding miter saw would come in very handy for that.
I want to build many projects! One that I’m dying to build is the rustic king size bed!
I would love to build the farmhouse coffee cabinet or a sofa table for my living room.
I would love to build an sofa/entryway table or a picnic table/ bench combo for a friend.
My husband would use them to build things for our 4 young grandsons, we are on a fixed income and these would be great to have.
Can’t wait to build a bed! 🙂
I would use both of them to build a new coffee table.
My fiance and I just bought our first house (YAY!) and we made the decision to build all of our furniture…which has resulted in us quickly turning into DIYers. Right now I would say building a bed frame to get the mattress off of the ground 🙂