Table of Contents
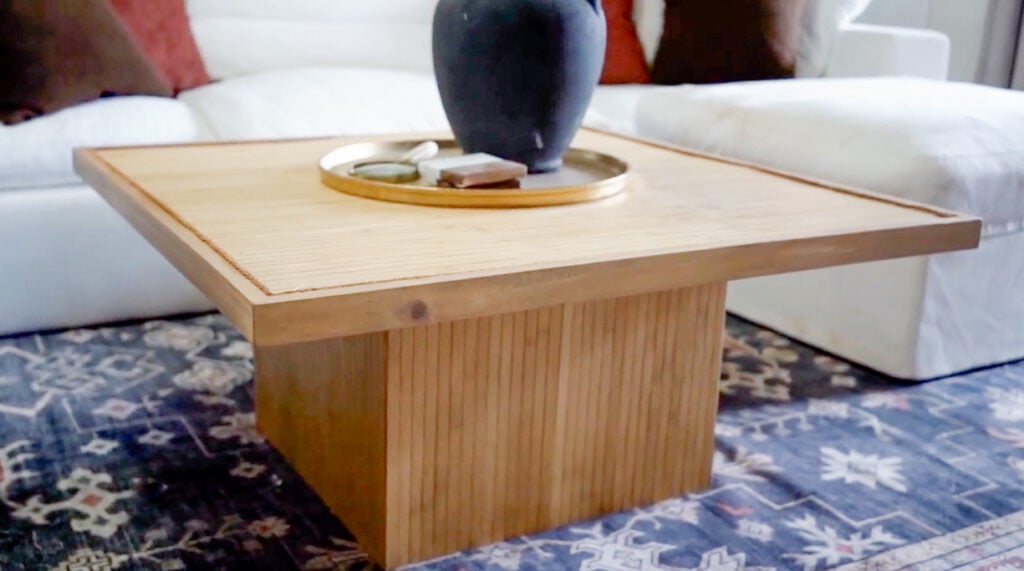
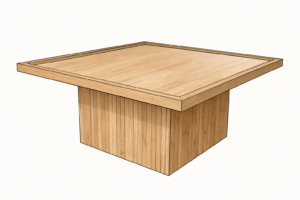
How to Build a DIY Coffee Table
I recently got a new couch… and somehow went months without a coffee table 😂 So it was time to finally build one. This DIY modern square coffee table is simple, budget-friendly, and perfect for beginners. I wanted something oversized for a larger living space but still easy to build—and this one checks all the boxes. The pole wrap completely transforms the base, so you don’t have to stress about perfection along the way.
Check out the how-to video below!
Tools
- Kreg 720 Pro Pocket-Hole Jig
- Kreg Rebel Pocket-Hole Joiner
- Drill
- Miter Saw
- Table Saw
- Pin Nailer or Brad Nailer
- Clamps
- Tape Measure
- Sander
Materials
- (4) 2×4 boards @ 20″
- (4) 2×4 boards @ 17″
- (4) 2×4 boards @ 9″
- 3/4″ plywood or edge glued panel (36″ x 36″)
- 1×2 boards for trim (45° mitered corners)
- Pole wrap
- 1 1/4″ pocket hole screws
- 2″ pocket hole screws
- Wood glue
- Pin nails or brad nails
- Stain and top coat of choice
Cut List
- 2x4s:
- (4) @ 20″
- (4) @ 17″
- (4) @ 9″
- Table Top:
- (1) @ 36″ x 36″ (3/4″ thick)
- Trim:
- (4) 1×2 boards cut with 45° miters
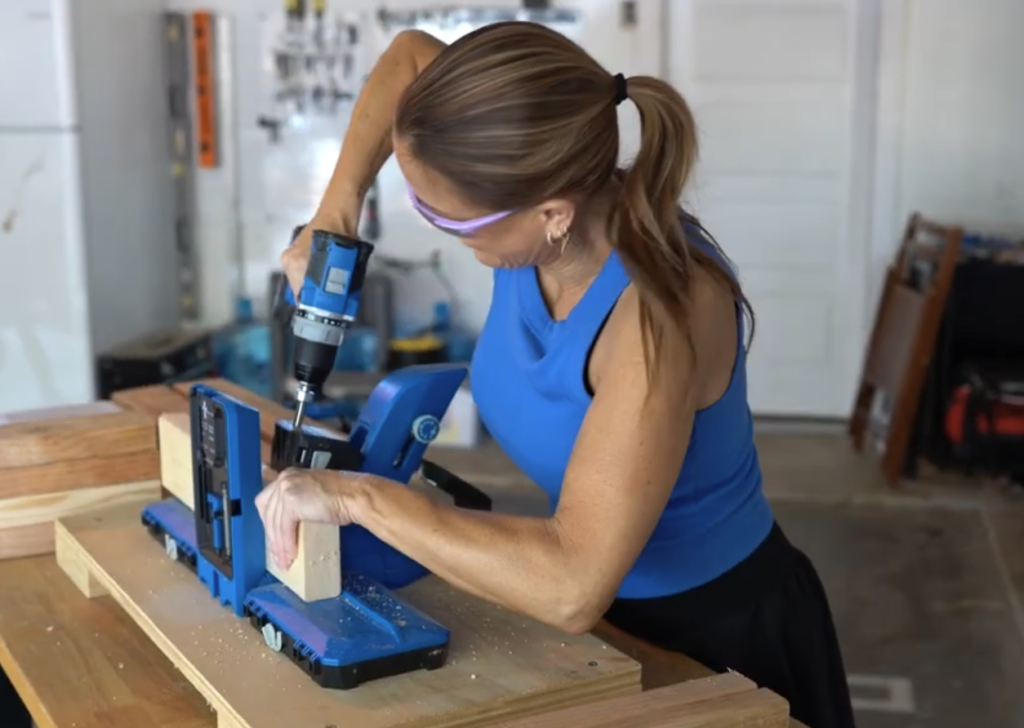
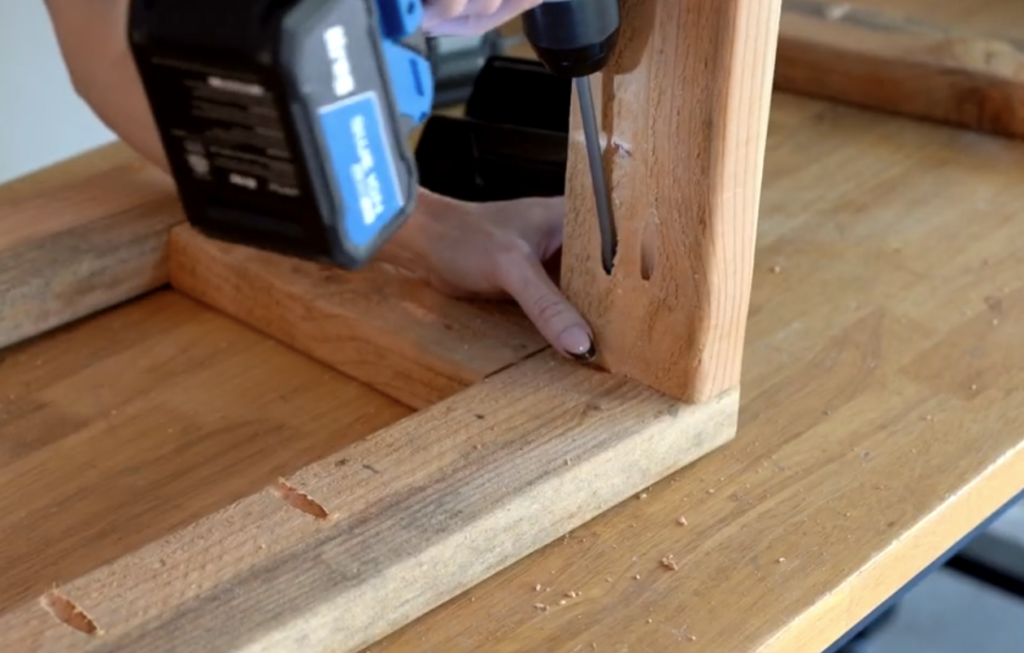
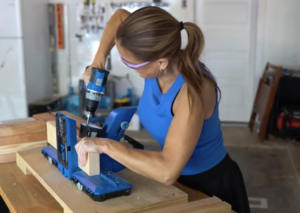
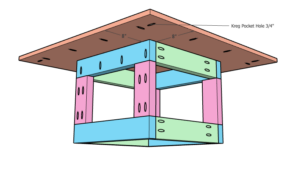
Step 1: Drill Pocket Holes
Start by drilling all of your pocket holes for the base pieces. Add pocket holes to both ends of all four 17″ boards, and don’t forget to add a couple facing up on each one so they can attach to the tabletop later. Drill pocket holes facing up on two of the 20″ boards, and drill pocket holes on both the top and bottom of all four 9″ boards. This base will be completely covered later, so don’t stress about which side looks best.
Favorite Tool: The Kreg Rebel Pocket-Hole Joiner
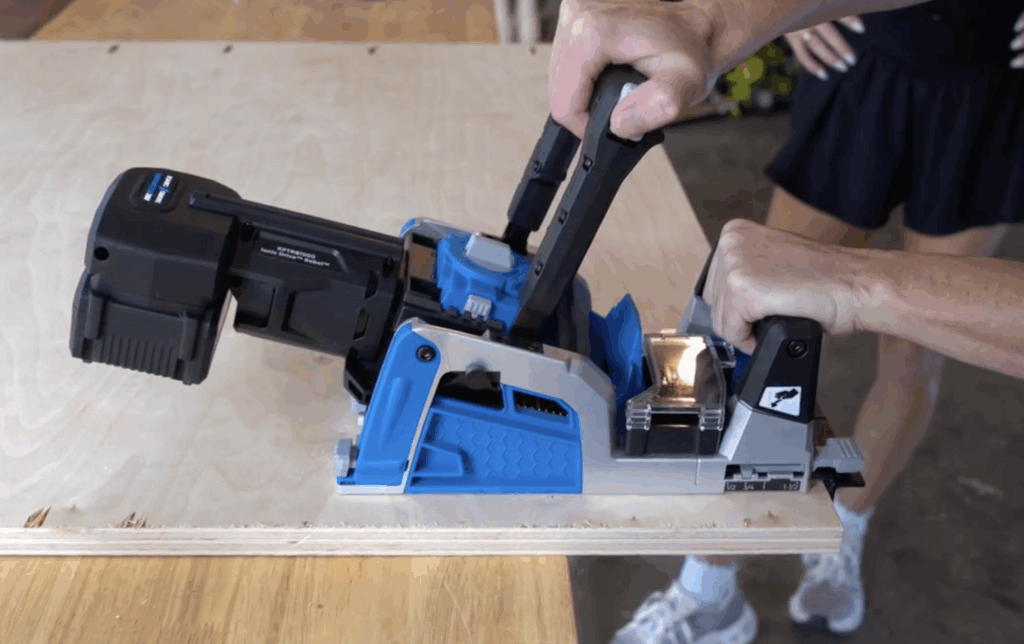
Y’all, meet our new obsession! The Kreg Rebel Pocket-Hole Joiner!
We’ve been long-time fans of the Kreg Foreman, but this little guy is a total game changer. It’s like the Foreman’s younger, cooler cousin who’s ready to work anywhere.
The Rebel is battery powered, totally portable, and small enough to sit right on your workbench. That means no more wrestling big boards through a machine, you can just bring the jig to your project. It’s fast, easy, and drills those perfect pocket holes every single time.
We love that it still has the built-in material stops and depth settings we’re used to (we set ours to ¾″ for this build). Just pull the lever, drill, and boom…pocket holes for days.
If you’re looking to up your DIY game or want a setup that doesn’t take over your whole shop, the Rebel is definitely worth checking out.
Compact, powerful, and totally Shanty-approved. 💪
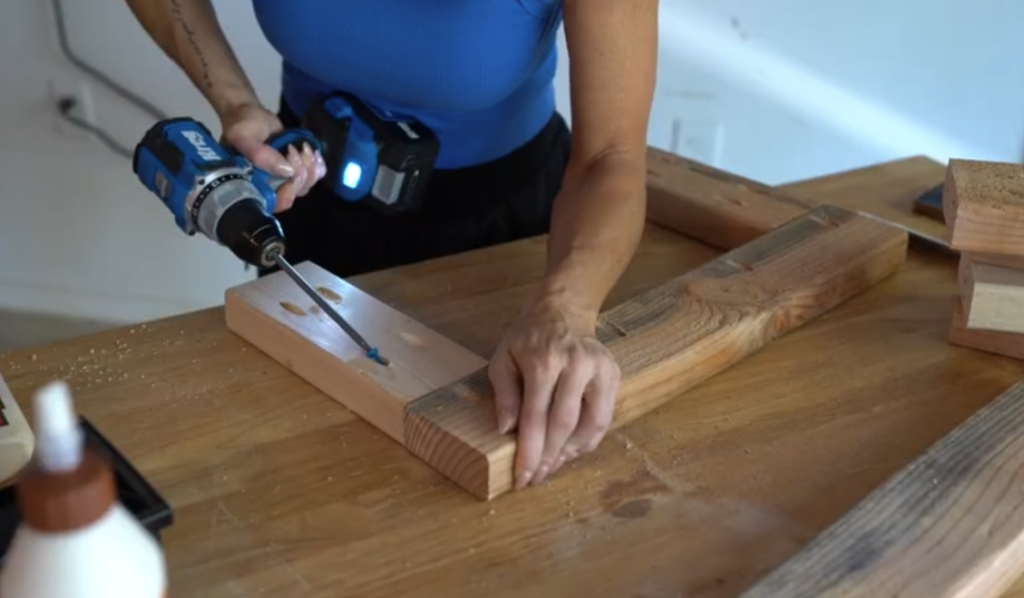
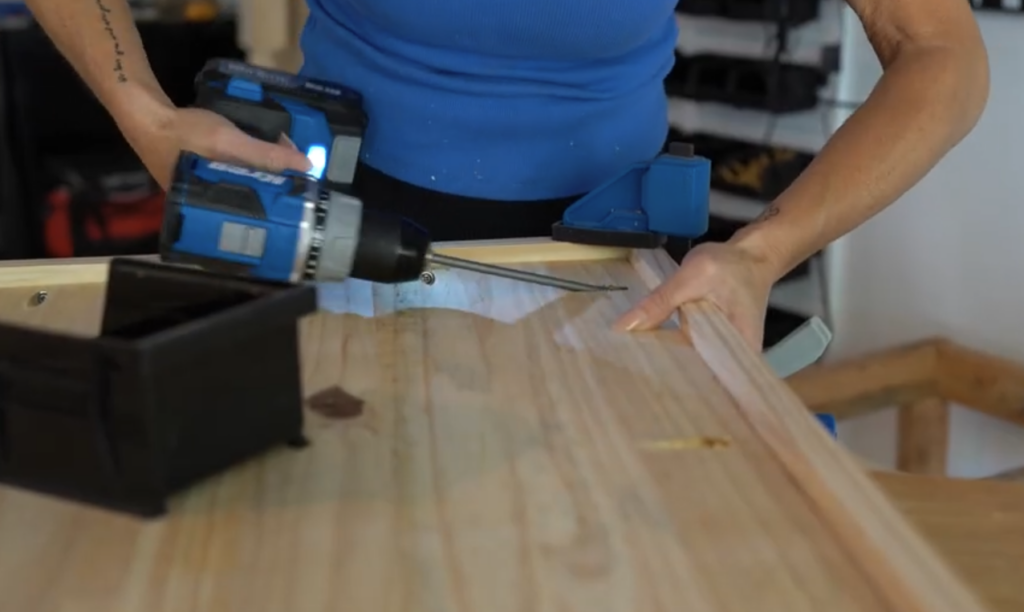
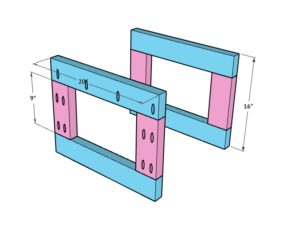
Step 2: Build the Side Frames
Next, build two identical side frames. Each frame uses two 20″ boards and two 9″ boards. Place one 20″ board at the top and one at the bottom, then attach the 9″ boards between them to create a rectangle. Make sure the top board is one of the pieces with pocket holes facing up so you can attach it to the tabletop later.
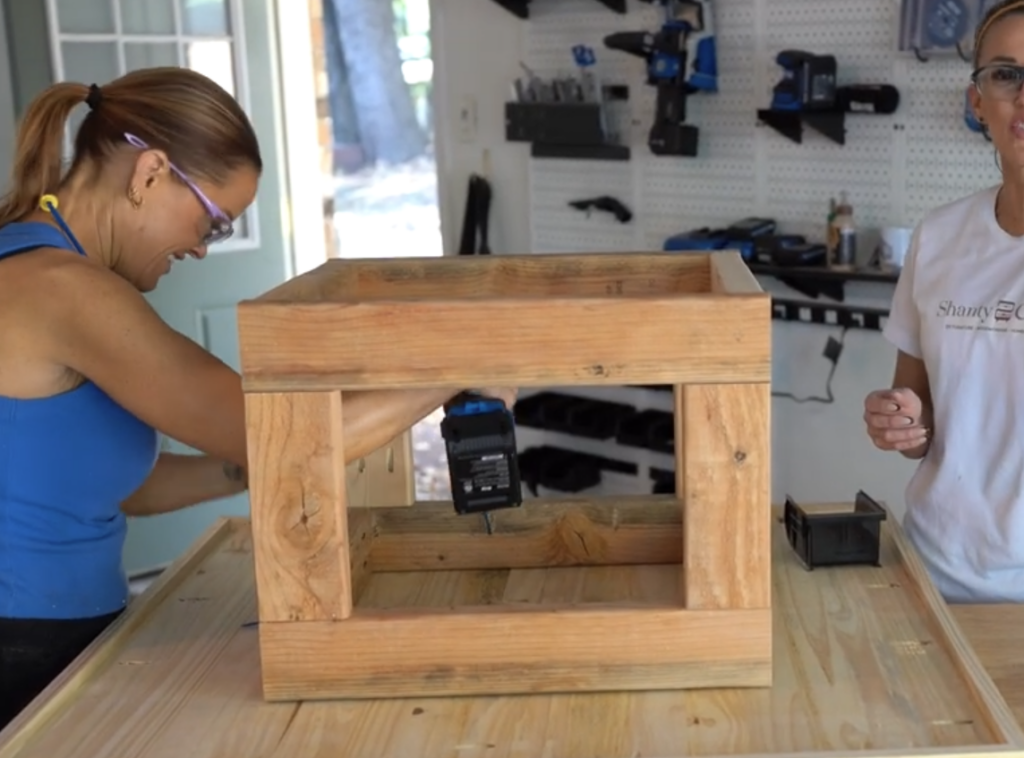
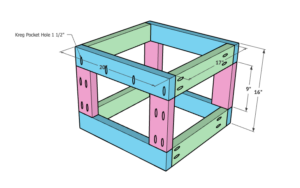
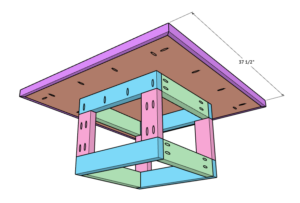
Step 3: Assemble the Base
Now connect your two side frames using the four 17″ boards. Attach two at the top and two at the bottom to create the full base structure. The pocket holes can face outward since they’ll be hidden once the wrap is added.
Step 4: Build the Tabletop
For the tabletop, cut your material down to 36″ x 36″. If you’re using two panels to save money, cut each one to 18″ wide and join them together with pocket holes to create the full top.

Step 5: Add the Trim
Cut your 1×2 trim pieces with 45° mitered corners so they form a square around the tabletop. Attach them using wood glue and 1 1/4″ pocket hole screws. This step really cleans up the look and gives the top a more finished, custom feel.
Step 6: Attach the Base
Center the base underneath the tabletop, spacing it about 8″ in from each side. Once it’s positioned, attach it from the inside of the base using 2″ pocket hole screws.
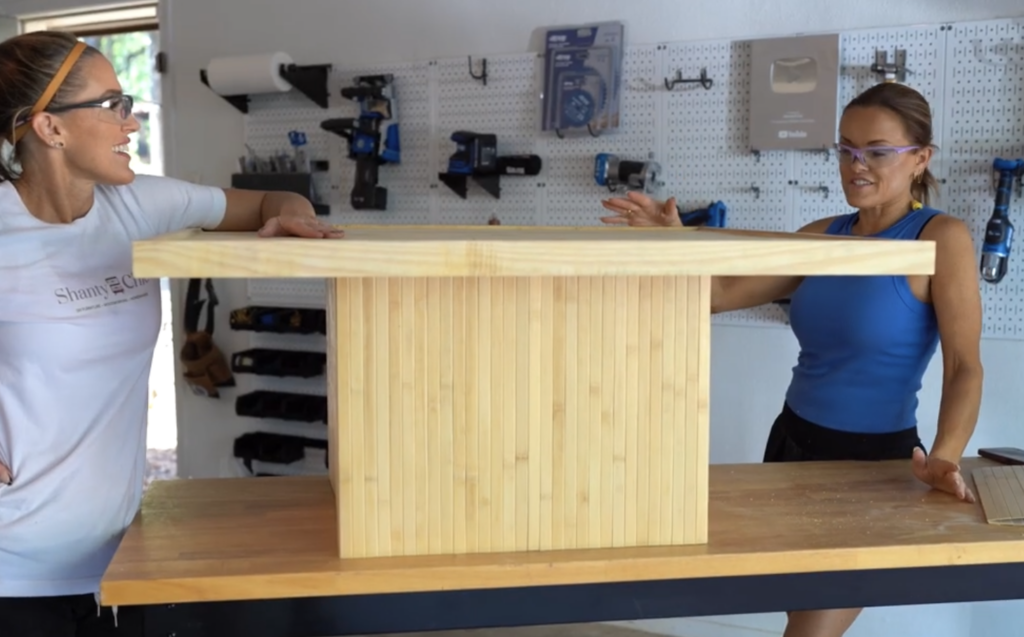
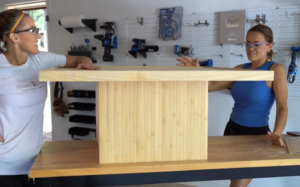
Step 7: Add the Wrap
This is where the transformation happens. Apply wood glue to the outside of the base, then wrap all four sides with your pole wrap. You can find the pole wrap I used HERE! Secure it with pin nails or brad nails and trim the seam for a clean, seamless look.
Finishing
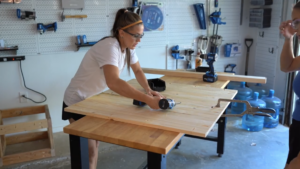
Fill any nail holes if needed, sand everything smooth, and finish with your stain and top coat of choice. The wood tones really bring out the texture of the wrap and give the table that high-end look.
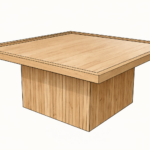
DIY Modern Square Coffee Table
Tools
- Kreg 720 Pro Pocket-Hole Jig
- – Kreg Rebel Pocket-Hole Joiner
- Drill
- Table Saw
- Miter Saw
- Pin Nailer (or Brad Nailer)
- – Clamps
- Measuring tape
Supply List
- 4 2×4 boards at 20"
- 4 2×4 boards at 17"
- 4 2×4 boards at 9"
- 3/4" plywood or edge-glued panel cut to 36" x 36"
- 1 x2 boards for top trim mitered at 45° on each end
- Pole wrap
- 1 1/4" pocket hole screws
- 2" pocket hole screws
- Wood glue
- Pin nails or brad nails
- Stain and top coat of choice
Instructions
- Drill pocket holes in all of the 2×4 pieces for the base. Drill pocket holes on both ends of all four 17″ boards, plus two pocket holes facing up on each board to attach the base to the tabletop later. Drill two pocket holes facing up on two of the 20″ boards. Drill pocket holes on the top and bottom of all four 9″ boards.

- Build two identical side frames using two 20″ boards and two 9″ boards for each frame. Position one 20″ board at the top and one at the bottom, then attach the 9″ boards between them to form a rectangle. Make sure the top 20″ board is one of the boards with pocket holes facing up.

- Attach the two side frames together using the four 17″ boards. Secure two 17″ boards at the top and two at the bottom to complete the base. The pocket holes can face outward since they will be covered later.

- Cut the tabletop to 36″ x 36″. If using two panels, cut each panel to 18″ wide and join them together with pocket holes to create the full top.

- Cut the 1×2 trim boards with 45° mitered corners to fit around the tabletop. Attach the trim using wood glue and 1 1/4″ pocket hole screws.

- Center the base underneath the tabletop, spacing it about 8″ in from each side. Attach the base to the top using 2″ pocket hole screws from inside the base.

- Apply wood glue to the outside of the base, then wrap all four sides with pole wrap. Secure the wrap with pin nails or brad nails, then trim the seam as needed for a clean fit.

- Fill any nail holes if needed, sand the entire piece, and finish in the stain and top coat of your choice.

Notes