
Hey friends! Happy Friday! To keep up with all of our projects from beginning to end, be sure to follow w us on Instagram!
Many of you know that I have 5 kiddos. My youngest (and by far craziest) little guy turned two a few months ago. I have been avoiding putting him in a big boy bed because I knew that basically meant the end of my life. 😉 I did have to follow through when he recently mastered the crib escape.
I just built his older sister a new bed, and I knew her old Pottery Barn inspired bed I built her would go perfectly in his room. I set it all up and decided to design him some fun storage nightstands to go with it. Here is how they turned out!
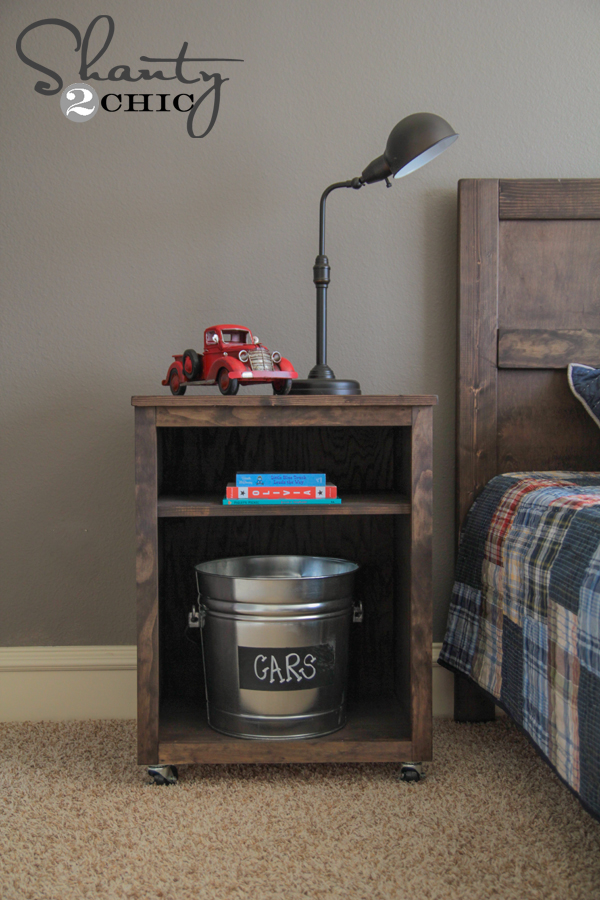
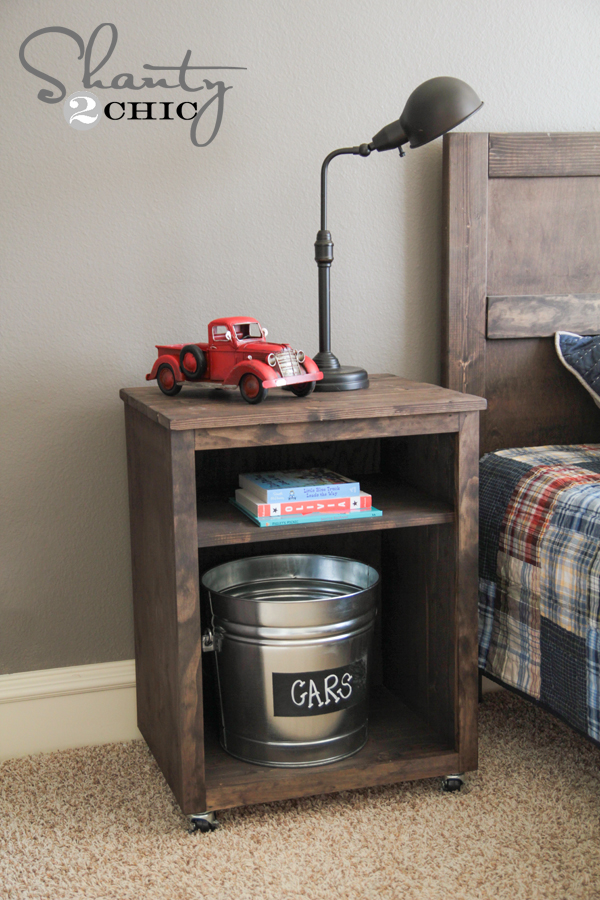
How cute are those? These are so simple and cheap to build!
Let’s get started!
DIY Nightstand Wood List
1 4×8 sheet of 3/4″ Purebond Hardwood Plywood ripped into 16″ boards (you can also use 16″ x 8′ pine project panels, but the cost will be higher
1 – 1 x 2 x 8 pine board
2 – 1 x 4 x 8 pine board
1/4″ hardwood plywood for the back (optional)
I opted to use project panels for these nightstands. I was in a huge hurry when I picked up my supplies, and I didn’t want to wait and have my wood ripped down. It made the cost higher, but I do like how they turned out. I do prefer using hardwood plywood when I can.
Start by making your cuts!
I used my Ridgid miter saw for this part. From the 16″ boards, you will have 2 sides at 26″ each.
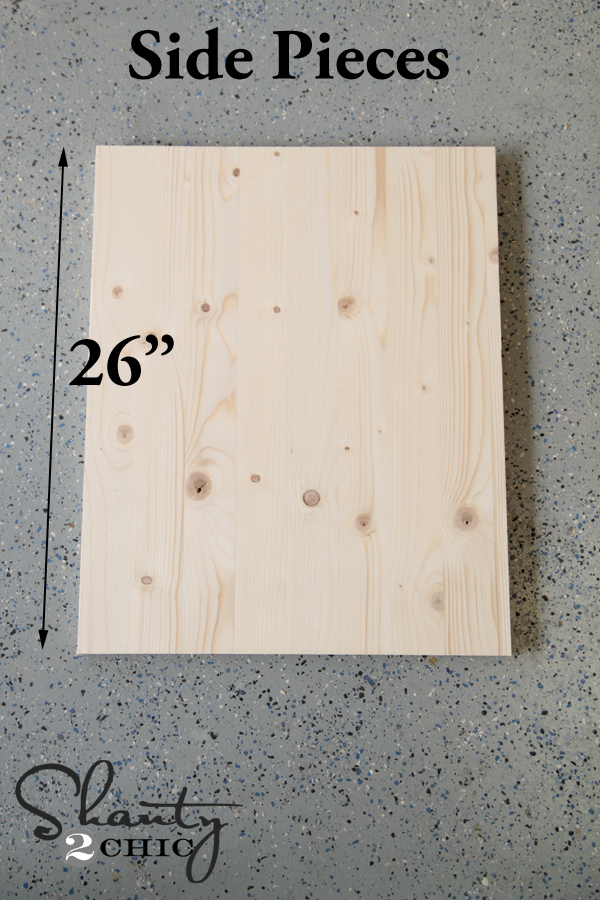
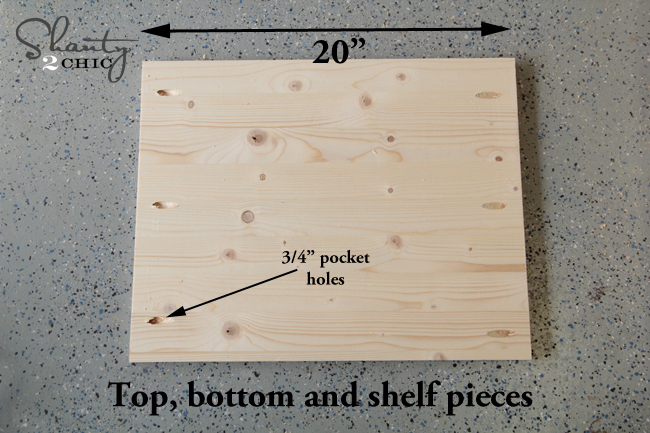
You will also have 3 pieces at 20″ each that will be your top, bottom and shelf pieces. I used my Kreg Jig to add 3/4″ pocket holes on one side of each of these pieces.

This is what those 3 pieces should look like now…
Now to assemble! I used a bit of Gorilla wood glue and 1 1/4″ pocket hole screws to attach my shelf pieces to my sides. Here is how I lined them up!
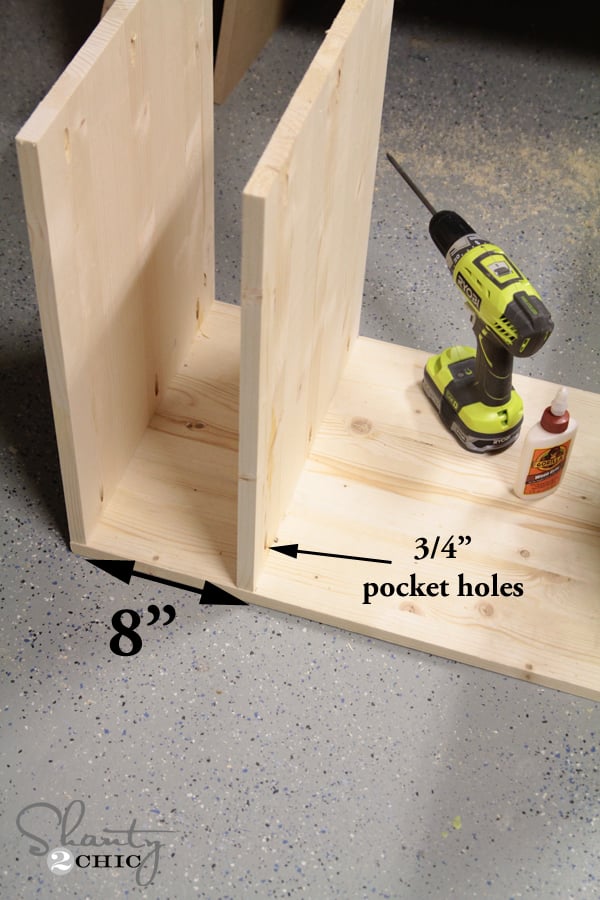
When you have all 3 pieces attached it should look like this.
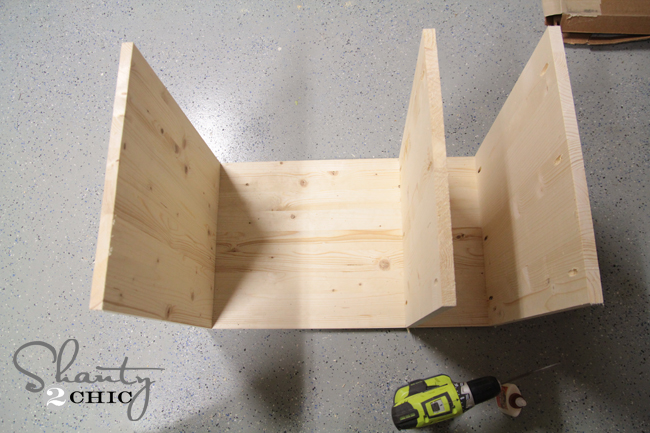
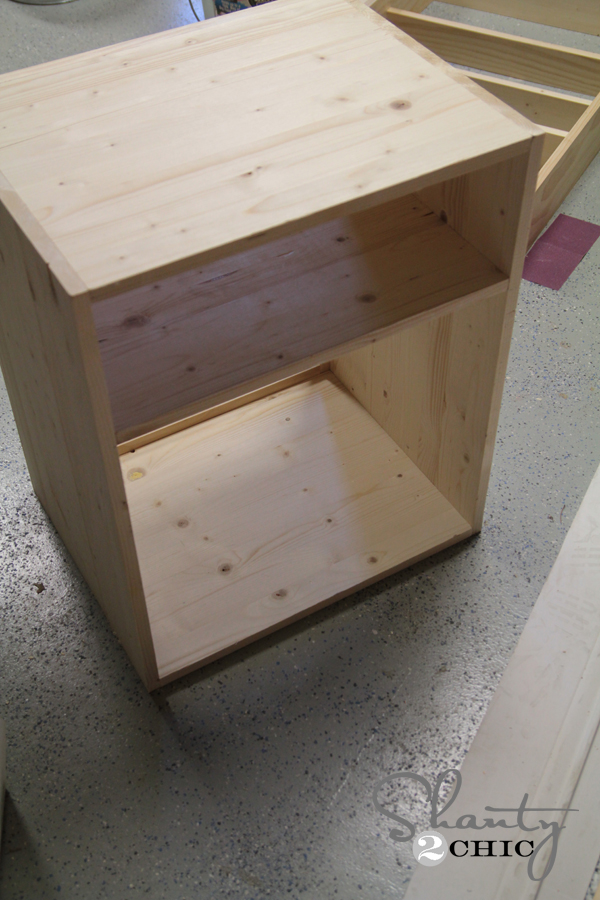
Next, I flipped the whole thing over and attached it to my other side piece the exact same way… Easy peasy! Here it is ready for trim!
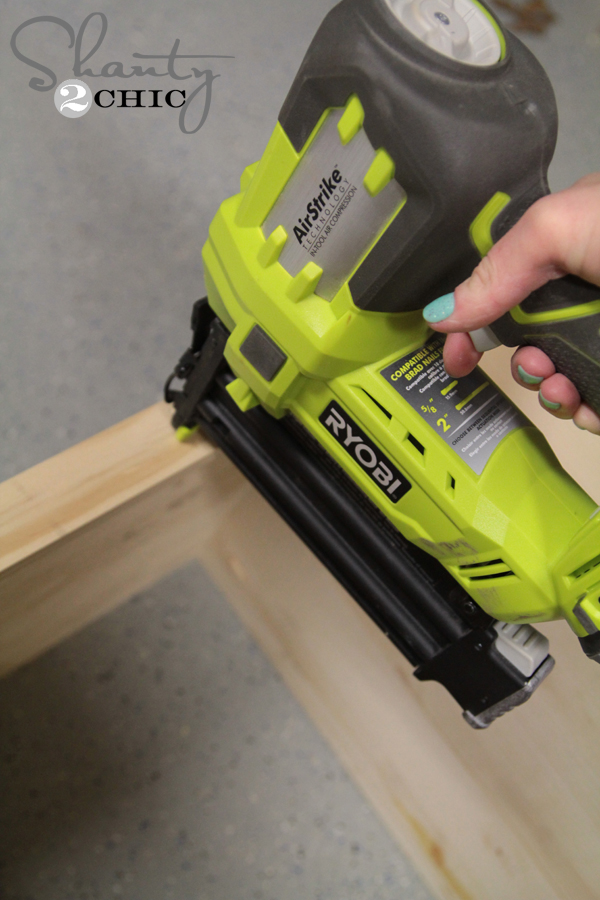
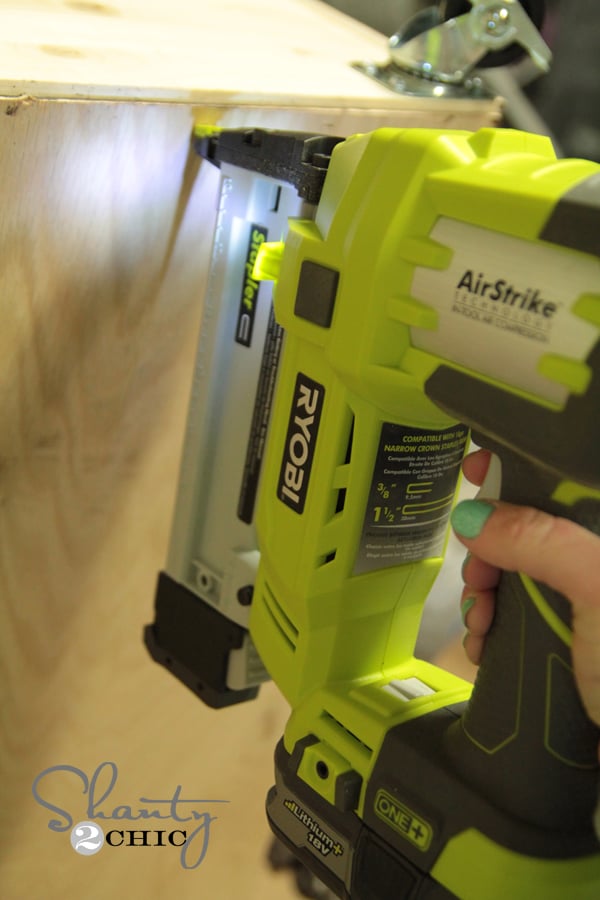
For the trim I used my Ryobi Airstrike Nail gun and wood glue to attach each piece. I can’t tell you enough just how easy and awesome this tool is. It’s easier than using a hot glue gun people! You just stick it where you want your nail and shoot a nail in… Bam. That easy. Get one. You will thank us 😉
I did my side pieces first like this. I used the 1×2 board for this part.
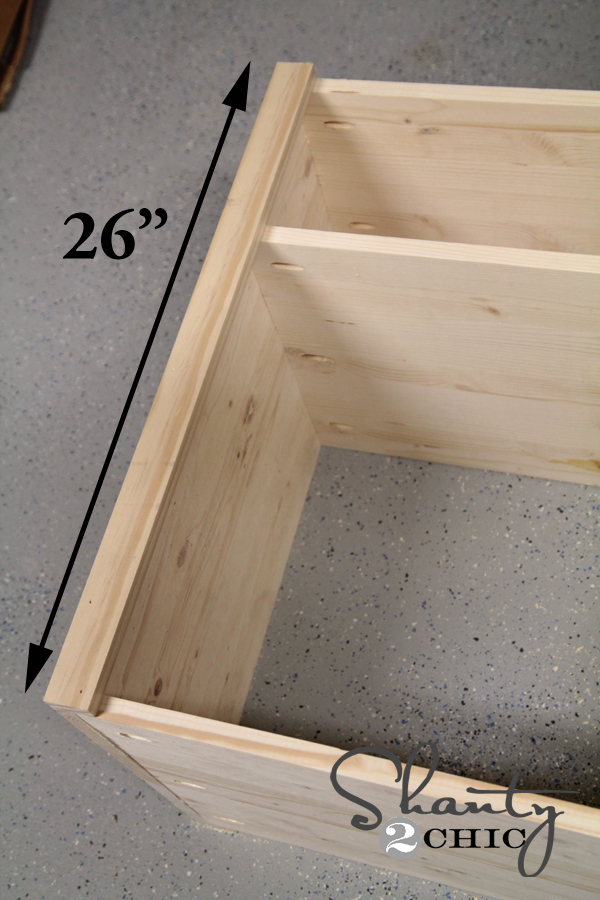
Both sides attached…
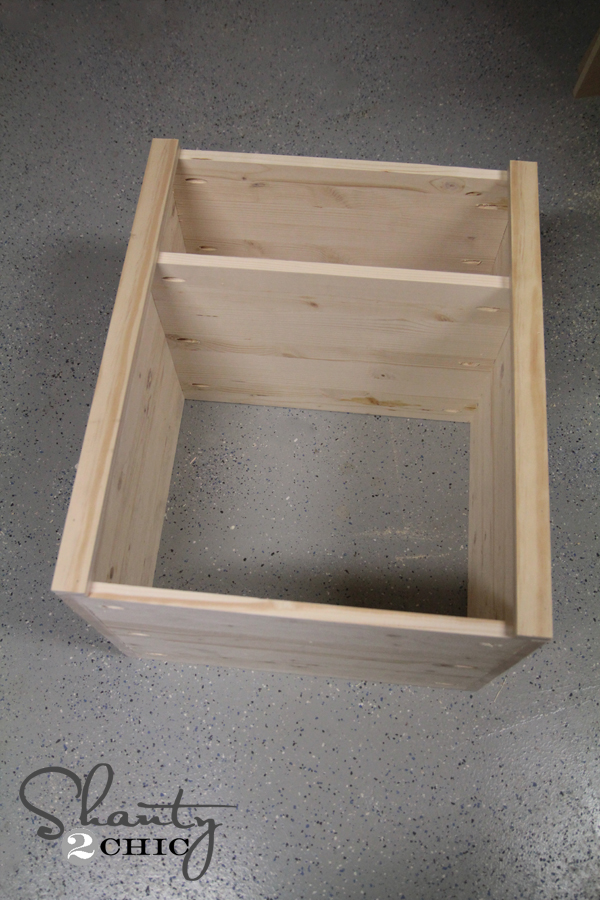
Now for the top and bottom pieces!
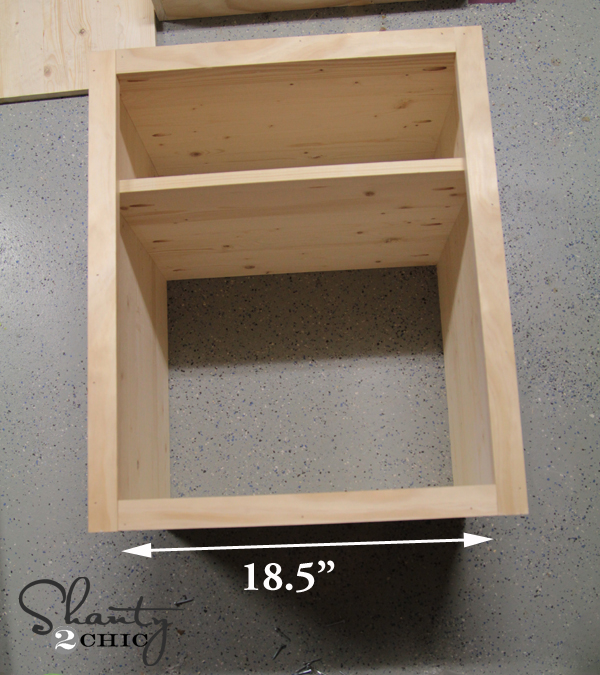

Almost done! Here it is ready for the planks on top!
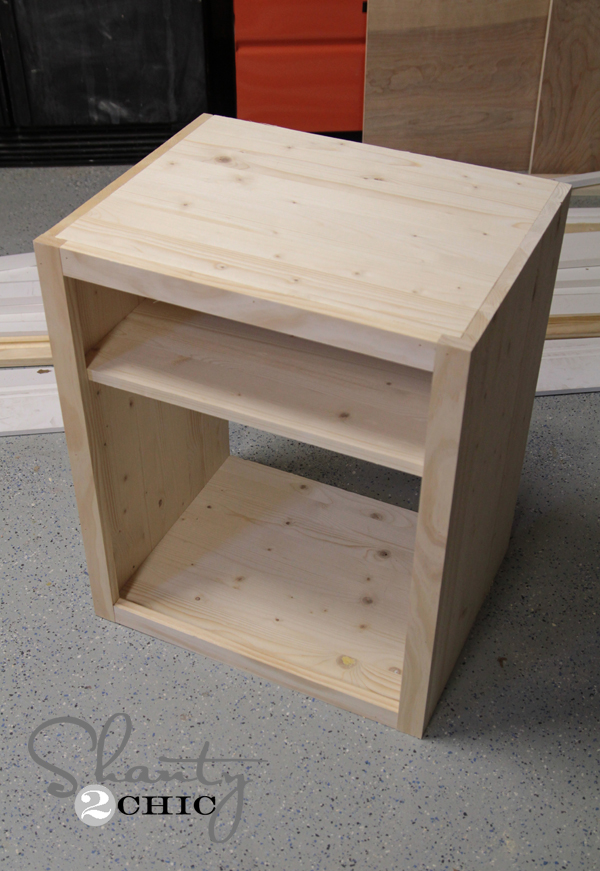
I decided to plank the top of these to dress them up a bit. I used the 1×4 board for this part. You can save more money and use furring strips too… I love how they look planked. For each table, I used 5 cuts at 22″ each.
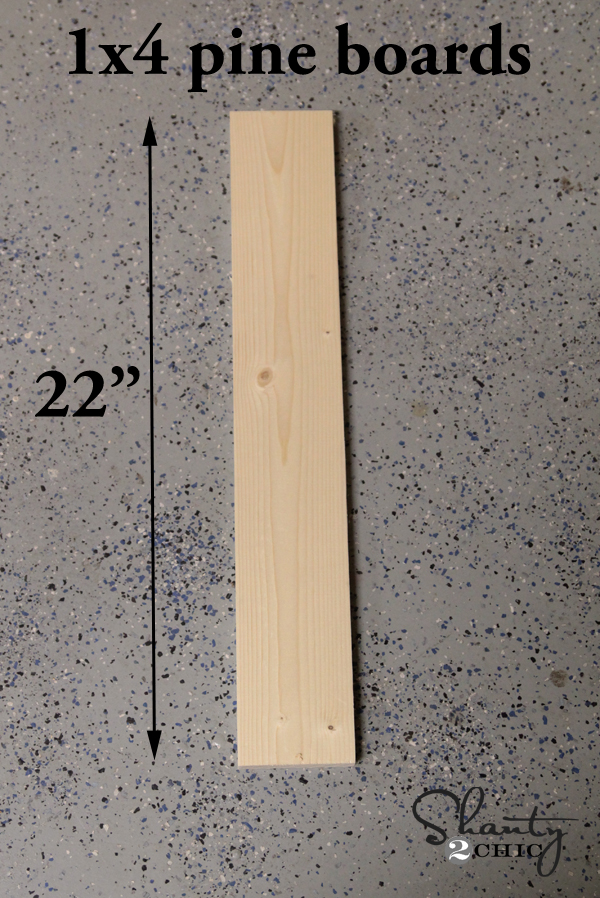
Before attaching them, I used my Ryobi Corner Cat sander to round each of my edges on each board. I feel like it gives them a “I didn’t make this in my garage” look… Don’t you think?
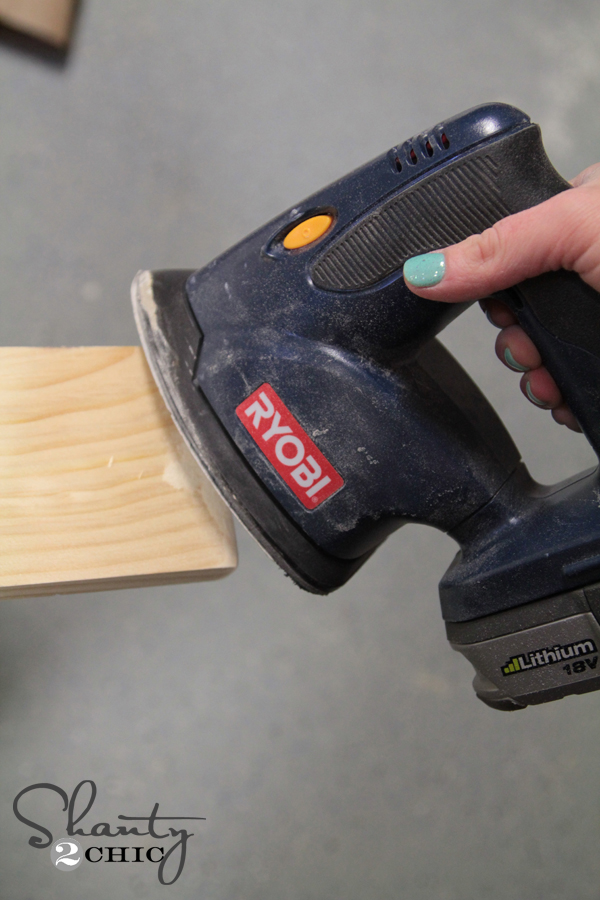
See how they are a bit rounded now?

Again, I used my nail gun and wood glue to attach each plank. These have about a 1/2″ hangover all the way around the table.

My next step was stain! I used the same color I used on the Pottery Barn knockoff bed for these. It’s Rust-Oleum Ultimate Wood Stain in Kona. Oh Kona… How I love you.
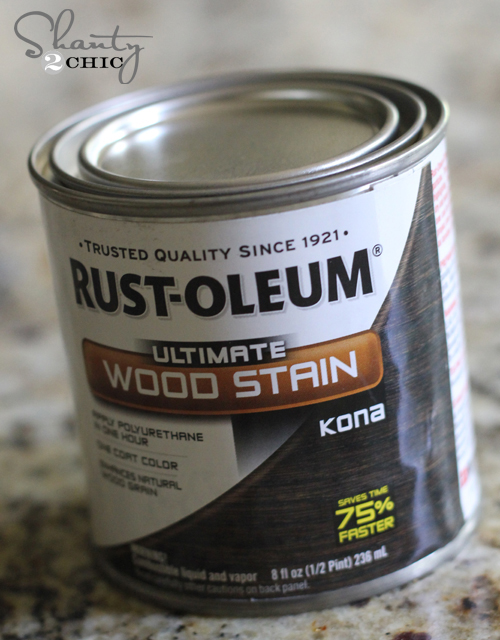
Staining is SIMPLE. It’s even easier than painting! All you do is use a brush to wipe on a little bit at a time. I do one side at a time and this is my favorite staining brush…
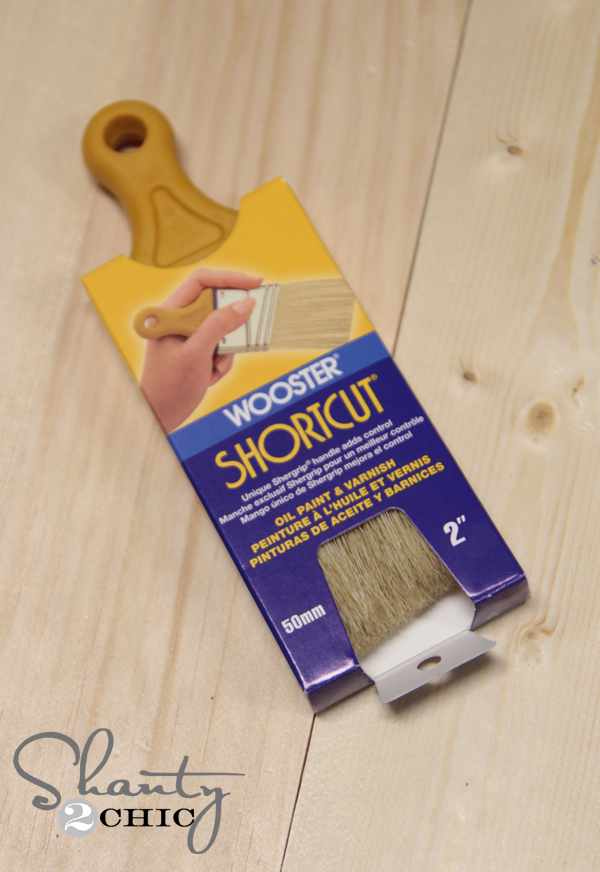
It’s a Wooster Shortcut brush and it fits into tight spaces, doesn’t drip and it fits my hands well. Once you have applied the stain to one side, just use a wiping cloth or old shirt to wipe all of the excess off. That’s it! That’s why I love this brand of stain too… It only takes one coat and it dries in under an hour… Woohoo!
After the stain dried, I added 2″ locking casters to the bottom of the tables. I love the look of wheels on furniture! You can find the super cheap at the hardware store.

I also used my new cordless staple gun to attach my 1/4″ wood to the back. This is optional! You can also leave it open for a different look!
That’s it! My final step was setting them up! What do you think??
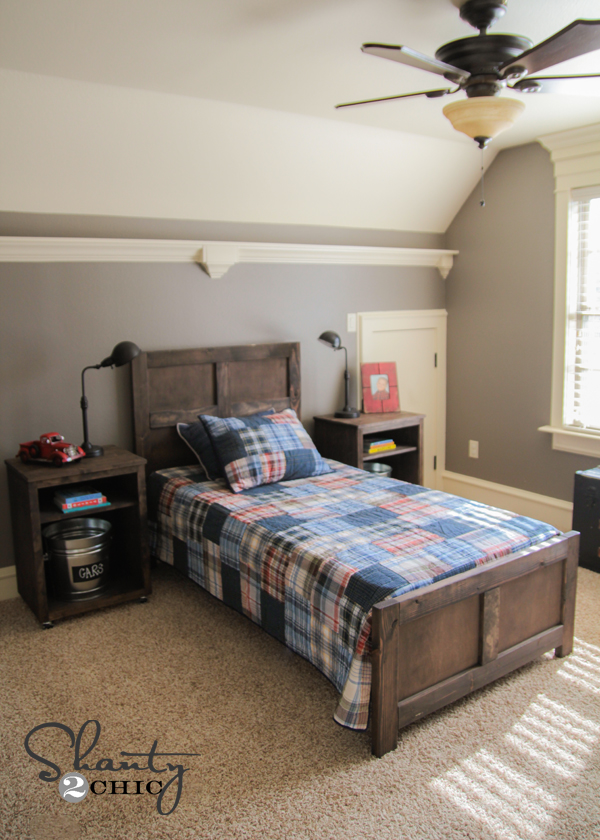
Thanks so much for stopping by! You can make these for under $5o a piece which definitely fit my budget. Wish me luck on keeping him in his bed… I need it 😉
I would LOVE for you to share and pin these with your friends!
And for those of you that may ask…
Wall Color – Seine by Valspar
Bedding – Pottery Barn Teen
Metal Buckets – Lowe’s in the paint section
Hope that covers it!
~Whitney


I love this DIY nightstand project! The step-by-step instructions are super clear, and I can’t wait to try my hand at making one for my bedroom. The design is stylish, and it looks like it can fit in with any decor. Thanks for the inspiration!
I absolutely loved this DIY nightstand tutorial! The step-by-step instructions were super easy to follow, and I can’t believe how great it turned out. The design adds such a stylish touch to my bedroom. Thanks for the inspiration, Shanty 2 Chic! Can’t wait to try more projects!
I love this DIY nightstand project! The step-by-step instructions were so clear, and I can’t wait to try it out myself. What color did you use for the finish? It looks amazing!
I absolutely love this DIY nightstand project! The design is so chic and fits perfectly with my bedroom decor. Thanks for the detailed instructions and tips—I can’t wait to get started on making my own!
I absolutely love this DIY nightstand project! The design is both stylish and functional, and I can’t wait to try it out in my own bedroom. The step-by-step instructions are super helpful. Thanks for sharing your creativity!
I love this DIY nightstand project! The design is both stylish and functional, and I appreciate the detailed instructions. Can’t wait to try this out in my own home!
I love this DIY nightstand tutorial! The step-by-step instructions are super clear, and I can’t wait to try it out for my own bedroom. The design is both chic and functional—just what I needed. Thank you for sharing!
I absolutely love this DIY nightstand project! The design is so chic and perfect for any bedroom. I can’t wait to try this out using reclaimed wood for a rustic touch. Thanks for the clear instructions and inspiration!
I absolutely love this DIY nightstand tutorial! The design is so chic and functional. Can’t wait to try it out and add my personal touch. Thanks for sharing such clear instructions!
I love this DIY nightstand project! The step-by-step instructions are super clear, and I can’t wait to try it out in my own bedroom. The design is so stylish and perfect for adding a personal touch to my decor. Thanks for the inspiration!
I absolutely love this DIY Nightstand project! The step-by-step instructions are so clear and easy to follow. I can’t wait to try making one for my bedroom! The design is simple yet stylish – perfect for my decor. Thanks for the inspiration, Shanty 2 Chic!
I absolutely love this DIY nightstand project! The design is both stylish and functional, and it looks like something I can actually tackle at home. Thanks for the detailed instructions and tips; I can’t wait to get started!
I absolutely love this DIY nightstand project! The step-by-step instructions are clear and easy to follow. Can’t wait to try it out and add my personal touch! Thank you for sharing!
I absolutely love this DIY nightstand idea! The step-by-step instructions are so easy to follow, and the end result looks stunning. Can’t wait to try this out in my bedroom. Thanks for sharing your creativity!
I absolutely love this DIY nightstand project! The step-by-step instructions are so easy to follow, and the end result looks amazing. I can’t wait to try it out for my bedroom makeover! Thanks for sharing such an inspiring idea!