
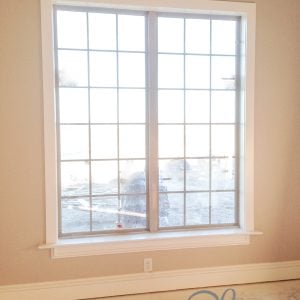
I love the look of wood-cased windows, and once our stepdad showed me how to case an existing window, I couldn’t believe how simple the process was. I ended up doing a lot of the windows myself, using plywood and MDF to give our basic window openings a much more finished look.
Even better, I was able to case every window in my house with just a few sheets of plywood and MDF for under $300 at the time.
Table of Contents
Why I Love This DIY Window Casing
This is one of those projects that makes a big difference without requiring a complicated build.
- Uses just 1/2″ plywood and 1×4 MDF
- Works with the existing window opening
- Uses simple straight cuts
- Each window can be cut to fit its exact opening
- The finished trim can be painted to match the rest of the room
Our step-dad, a.k.a. our builder, taught me how to do the first one. After that, I was able to tackle many of the other windows myself.
Supplies:
For the casing, I used 1/2″ PureBond plywood to line the inside of the window opening and 1×4 MDF boards for the trim around the front.
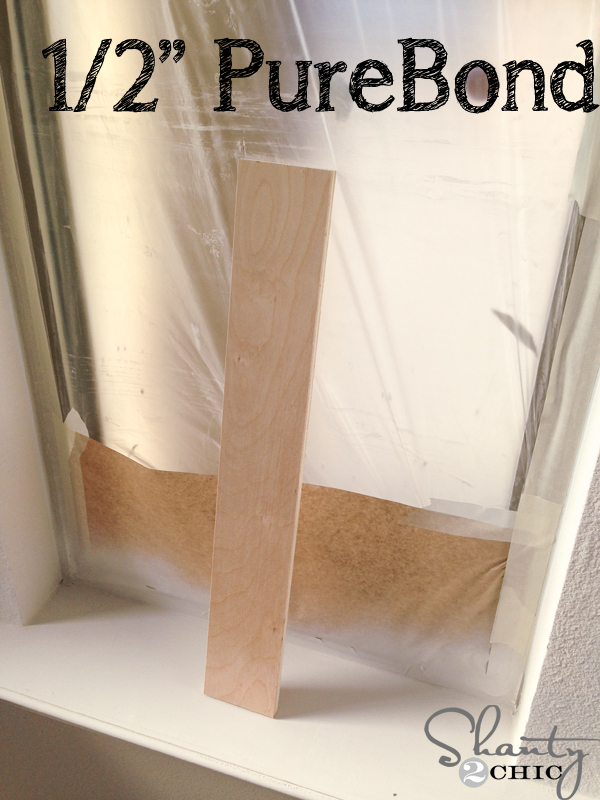
You will also need:
- 1/2″ PureBond plywood
- 1×4 MDF boards
- Wood glue
- 2″ nails
- 1 1/4″ brad nails
- Wood filler
- Sandpaper
- Paint
Tools
- Tape measure
- Table saw for ripping the plywood
- Saw for cutting boards to length
- Finish nailer
- Brad nailer
Now, let’s get to the window!
How to Case an Existing Window
The complete How-To Card is below, but I’ll walk you through how I installed the window casing first.
Measure the Window Opening
Start by measuring the depth of the drywall around the window. Rip the 1/2″ PureBond plywood to this width.
And don’t measure one window and assume the rest are the same. Measure every window individually because the openings may vary slightly.
For the top piece, measure the width of the window opening and cut the plywood to fit.
If your plywood has one smoother edge, position that edge toward the front. If both edges are rough, give them a quick sanding first.
Install the Top Plywood Piece
Position the top piece inside the window opening.
The front edge of the plywood should sit flush with the front edge of the window opening.
Attach it using 2″ nails.
Add the Side Pieces
Measure each side of the window from the top piece down to the sill.
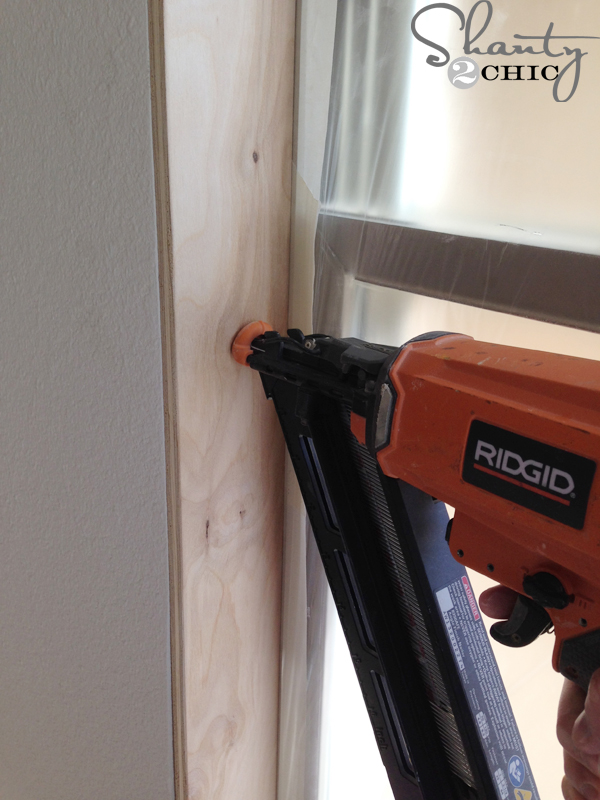
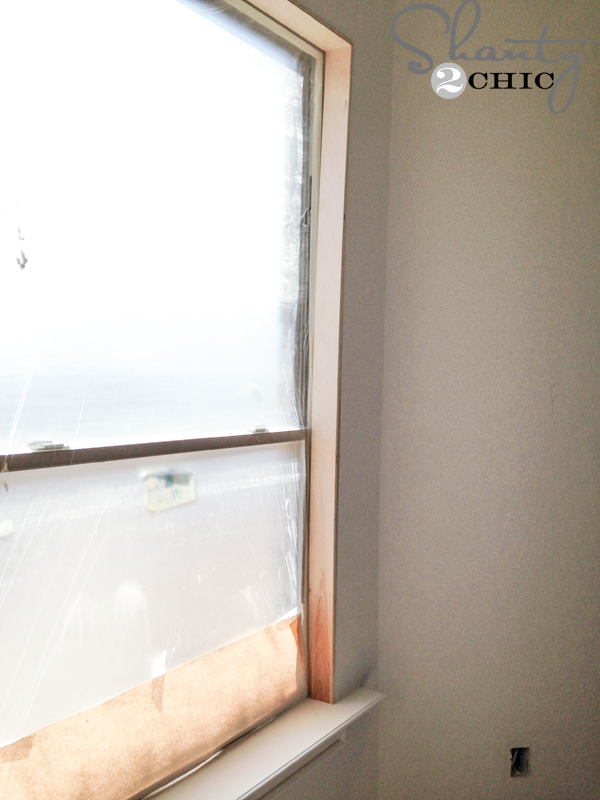
Cut two plywood pieces to fit those measurements and nail them into place.
I used my RIDGID nailer and aimed the nails toward the center of the plywood, adding about five nails along the length of each board.
Once all three plywood pieces are installed, you’re ready for the MDF casing.
Trim Cut the Side Trim
Measure from the top of the window opening down to the window sill on each side.
Cut two pieces of 1×4 MDF to fit.
I like measuring these pieces individually instead of assuming both sides are exactly the same.
Attach the Side Casing
Add a thin line of wood glue along the front edge of the 1/2″ plywood.
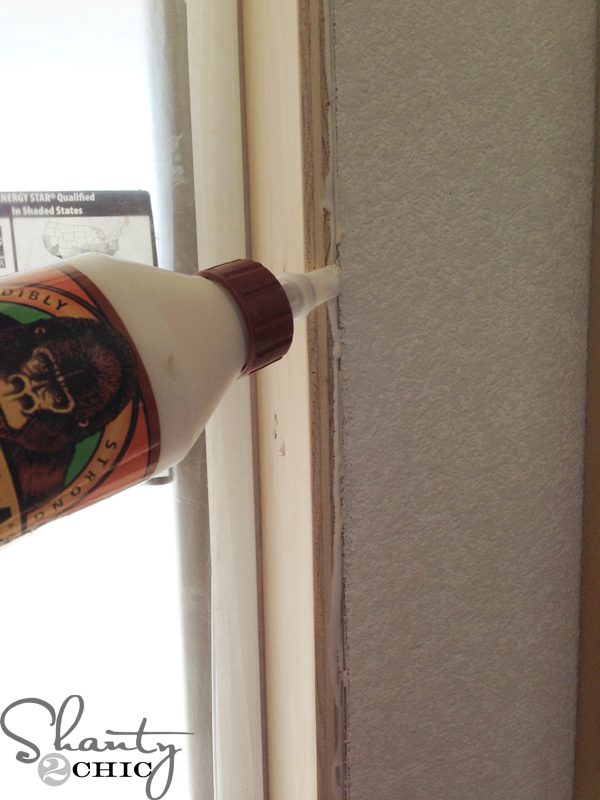
Position the MDF over the plywood, leaving a small amount of the plywood edge exposed along the inside of the window. This creates the little reveal you see around the finished casing.
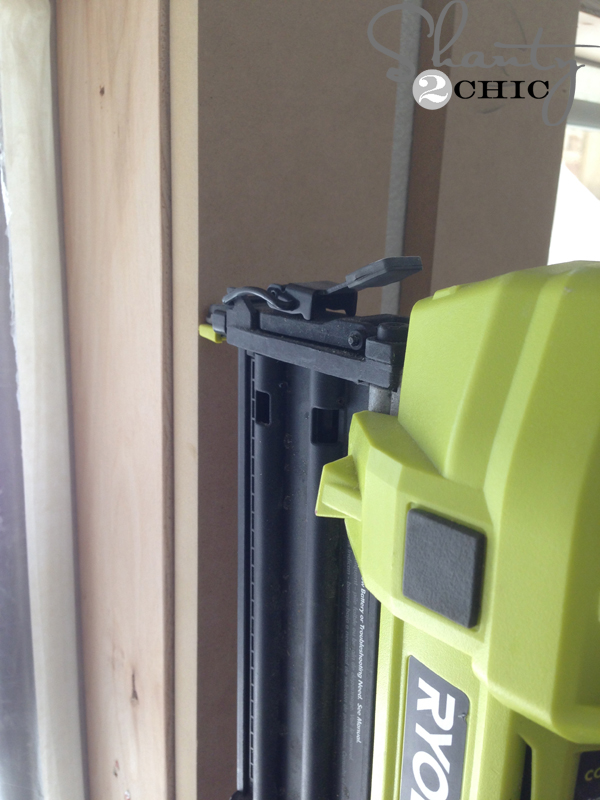
Attach the MDF with your nailer.
I used my Ryobi AirStrike Nailer for mine.
Add the Top Piece
With both side pieces installed, measure across the top from the outside edge of one MDF board to the outside edge of the other.
Cut the top 1×4 MDF board to that measurement so the ends sit flush with the side trim.
Add wood glue and attach it with 1 1/4″ brad nails.

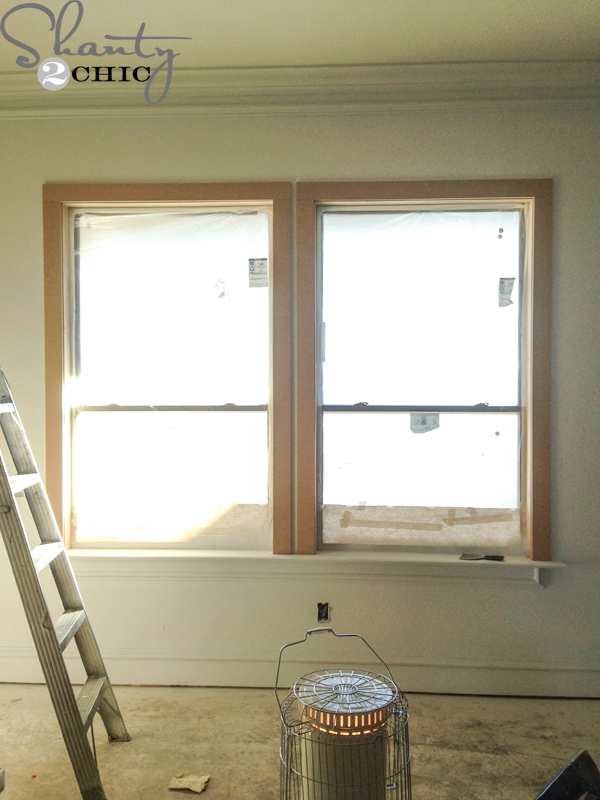
And that’s the casing!

Another picture of the exposed edge of the plywood.
Fill the Nail Holes and Paint
Before painting, fill all of the nail holes with wood filler.
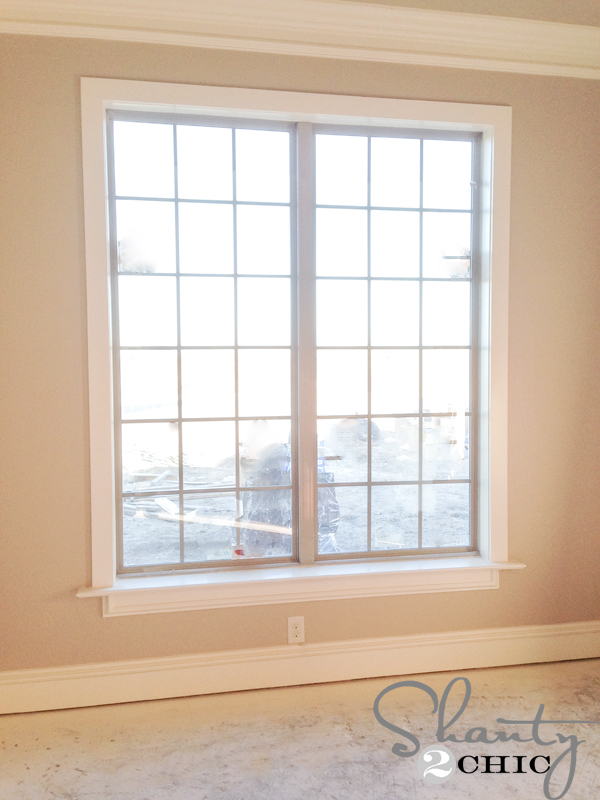
Once the filler is dry, sand everything smooth and paint the new window casing to match your room.
Such a simple update and such a huge difference!
Expert Tips
A few things made this project much easier for me:
- Measure every opening separately. Even windows that look identical may have slightly different measurements.
- Cut the plywood to fit the drywall depth. This is what gives you a clean surface inside the window opening.
- Keep the plywood flush at the front. Check this before you nail each piece in place.
- Cut the MDF after the plywood is installed. You’ll get more accurate final measurements.
- Don’t cover the entire plywood edge with the MDF. Leaving that small reveal gives the finished casing more depth.
Frequently Asked Questions
The plywood needs to be ripped into narrow strips that match the depth of your window opening, so a table saw makes this part much easier. If you don’t own one, you may be able to have the plywood ripped at your home improvement store. Just make sure you measure the window opening carefully first.
This tutorial works with the type of existing window openings shown here, but windows can be constructed differently. Pay attention to your existing sill, jambs, drywall, and window frame before cutting your pieces. For a completely different window setup, check out our Adding Trim to a Window and Hiding a Half Circle tutorial. We used a different trim method there to work around the existing window design.
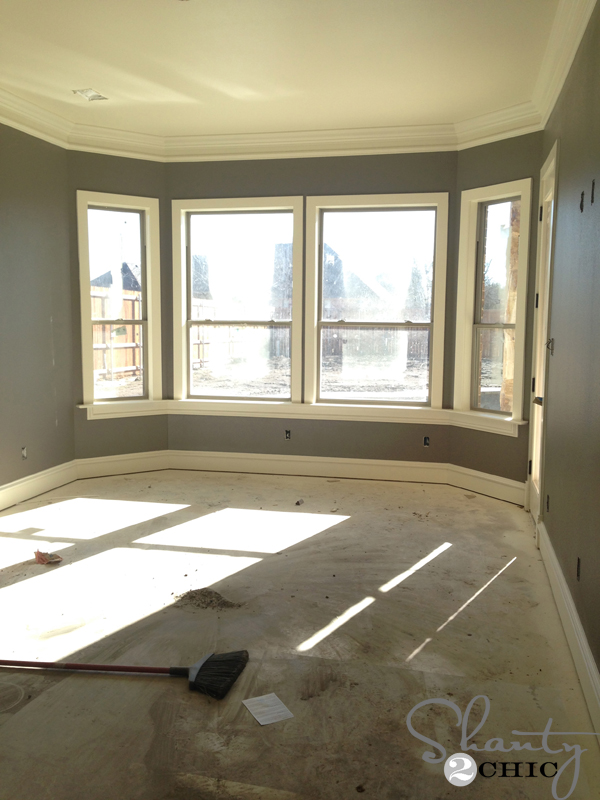
More windows cased!
More DIY Trim Projects
Once you see how much trim can change a room, it’s hard not to start looking for the next spot to tackle! If you have unfinished openings around your home, our How to Case an Opening in Your Home tutorial shows another way to get that chunky, finished look. You can also see how we handled a completely different window shape in our half-circle window trim makeover.
I love how much more finished these windows look with such simple materials. Once our step-dad showed me how the first one went together, I was able to keep going through the house and do many of them myself.
If you case your windows using this tutorial, we would love to see them! Tag us on Instagram and use #shanty2chic so we can check out your project.
Happy Building!
🛠️ Printable Tutorial
How to Case a Window with DIY Wood Trim
Tools
- Table Saw
- Miter saw or suitable saw for straight cuts
- Finish Nailer
- Brad Nailer
- Tape Measure
- Sandpaper or sanding block
- Painting supplies
Supplies
- 1/2" PureBond plywood amount depends on window dimensions
- 1×4 MDF boards amount depends on window dimensions
- 2" finish nails
- 1 1/4" brad nails
- Wood glue
- Wood filler
- Paint
Instructions
- Measure and cut the plywood. Measure the depth of the window opening and rip 1/2″ plywood to fit. Measure each window individually.
- Install the top plywood piece. Cut the plywood to fit across the top of the opening. Position the front edge flush with the drywall and secure it with 2″ nails.
- Install the side plywood pieces. Measure and cut both sides to fit between the top piece and window sill. Secure them with 2″ nails.
- Cut the MDF side trim. Measure from the top of the window opening to the sill. Cut two 1×4 MDF boards to fit.
- Attach the side trim. Apply wood glue to the plywood edges. Position the MDF boards, leaving a small plywood reveal along the inside, and nail them in place.
- Install the top MDF trim. Measure the full width across the installed side trim. Cut the top MDF board to fit flush with both outside edges. Attach using wood glue and 1 1/4″ brad nails.
- Fill and paint. Fill the nail holes with wood filler. Let dry, sand smooth, and paint the finished casing.
Notes
- Times are estimates for one window, assuming the existing sill stays in place. Actual drying time depends on the products used, and additional coats may take longer.
- Estimated Cost: Varies by window size and materials. The original project cost under $300 to case multiple windows throughout the house, using prices at the time.
- Measure every window separately. Openings may vary even within the same room.
- Use the smoothest plywood edge toward the front for a cleaner finish.
- Keep the plywood flush with the front edge of the window opening.
- Leave a small, consistent plywood reveal inside the MDF trim.
- Check that the existing window frame and sill allow room for the casing without interfering with window operation.
- Confirm suitable nailing locations and avoid concealed wiring, plumbing, or window components. The original tutorial does not specify the framing or nailer settings.
- Allow wood filler and paint to dry according to their product instructions.