If you are a beginning woodworker, this is the DIY Planked Headboard project for you!!!! If you aren’t, it’s a great quick and easy project that will give you a lot of bang for your buck 🙂
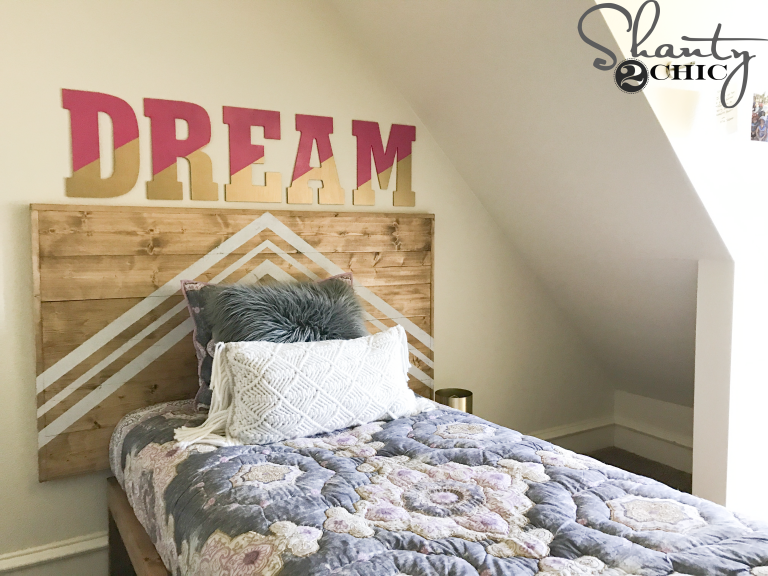
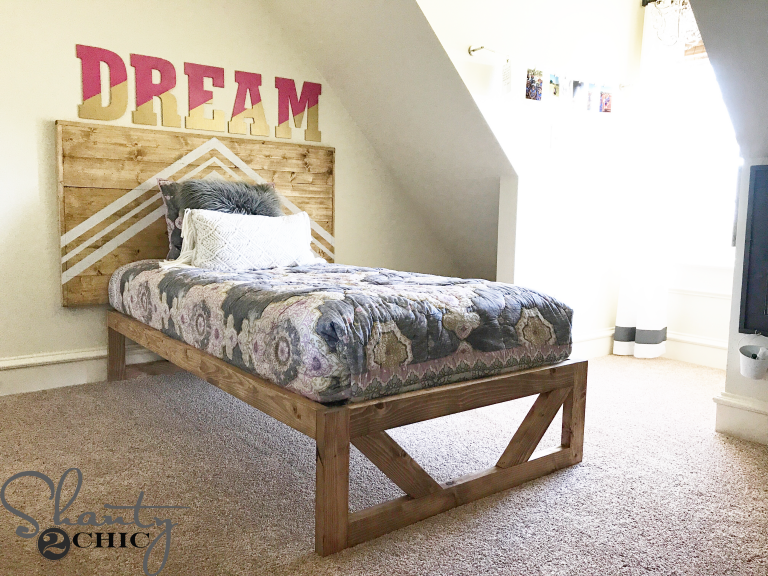
My daughter wanted a “big girl room makeover” and she knew mom would be on board because A. I love any excuse to design and build a new bed and B. I love any excuse to decorate a room! Her room is a bit tight so a design with space saving features was a huge goal. Big girl room screams Rustic Modern/Boho to me right now, so I got busy designing the headboard! I opted for a headboard that would attach to the wall to save space and I designed it to be wider than the bed frame to give a more modern look.
Come build this DIY Modern Planked Headboard with us! Just click HERE or the image below to watch!
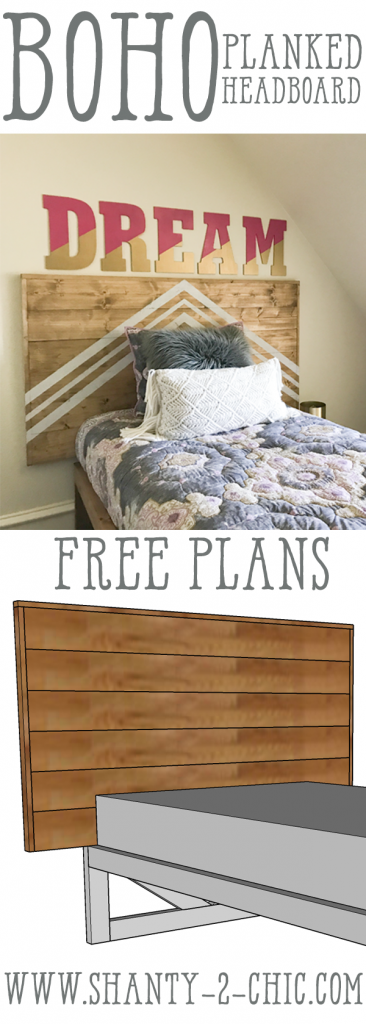
DIY Planked Headboard – Free Plans
How easy and fun was that! Don’t forget to download the FREE Printable Plans HERE and you can follow along in the how-to tutorial below!
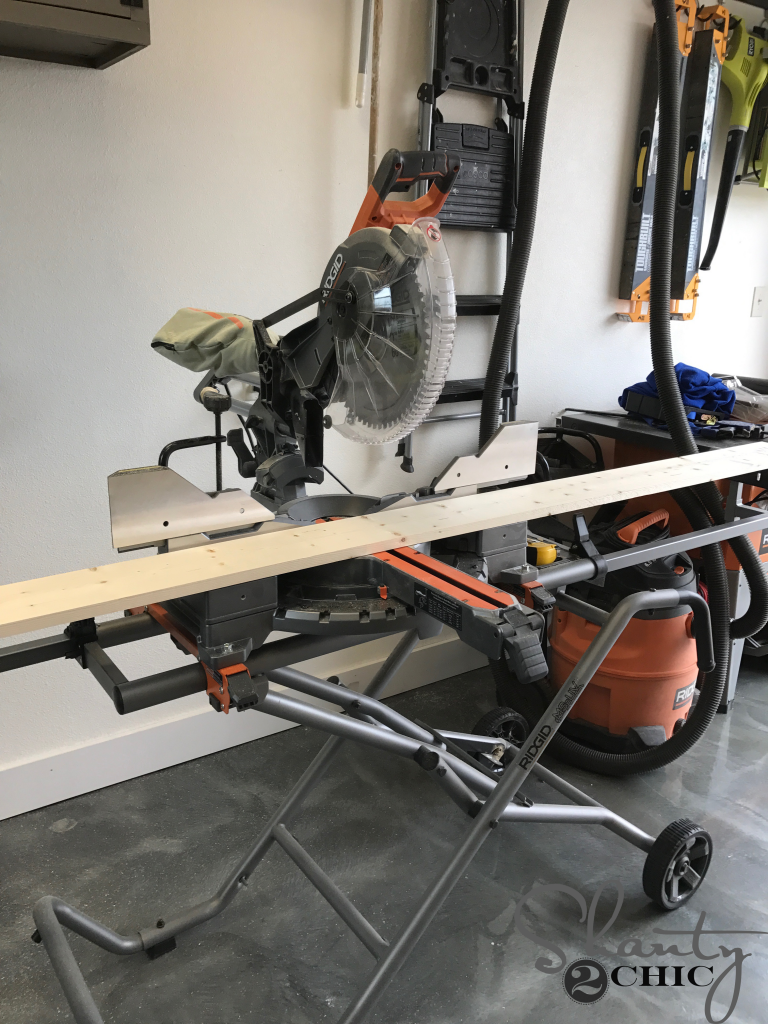
To begin, I cut all of the headboard planks to size. Note: I ripped two 1x2x6 from a 1x4x6 to save money.
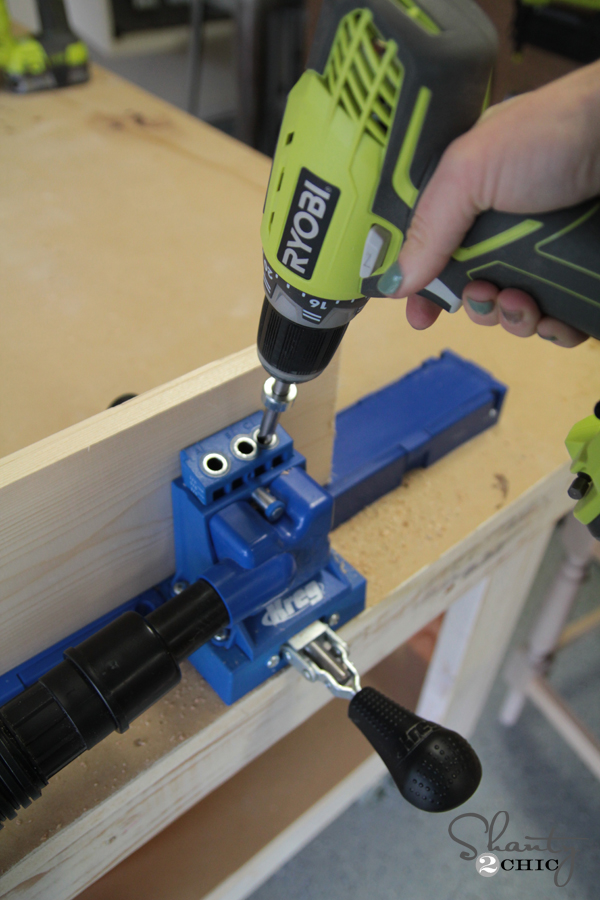
Then, I used my Kreg Jig to drill 3/4″ pocket holes into five of the six planks.
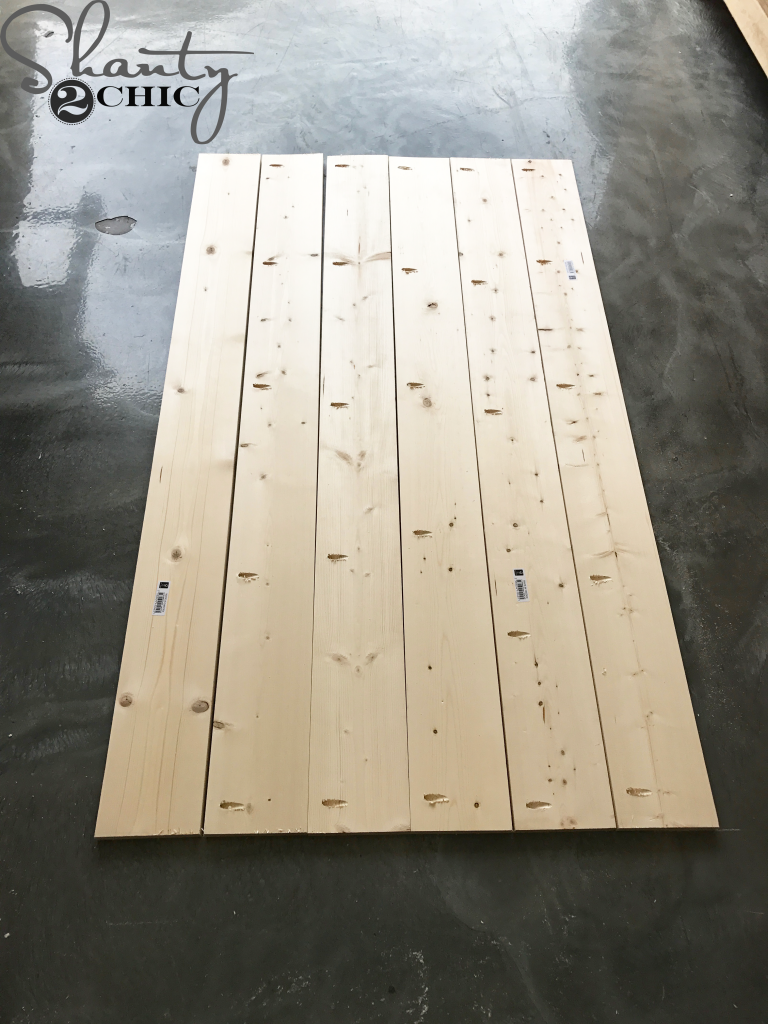
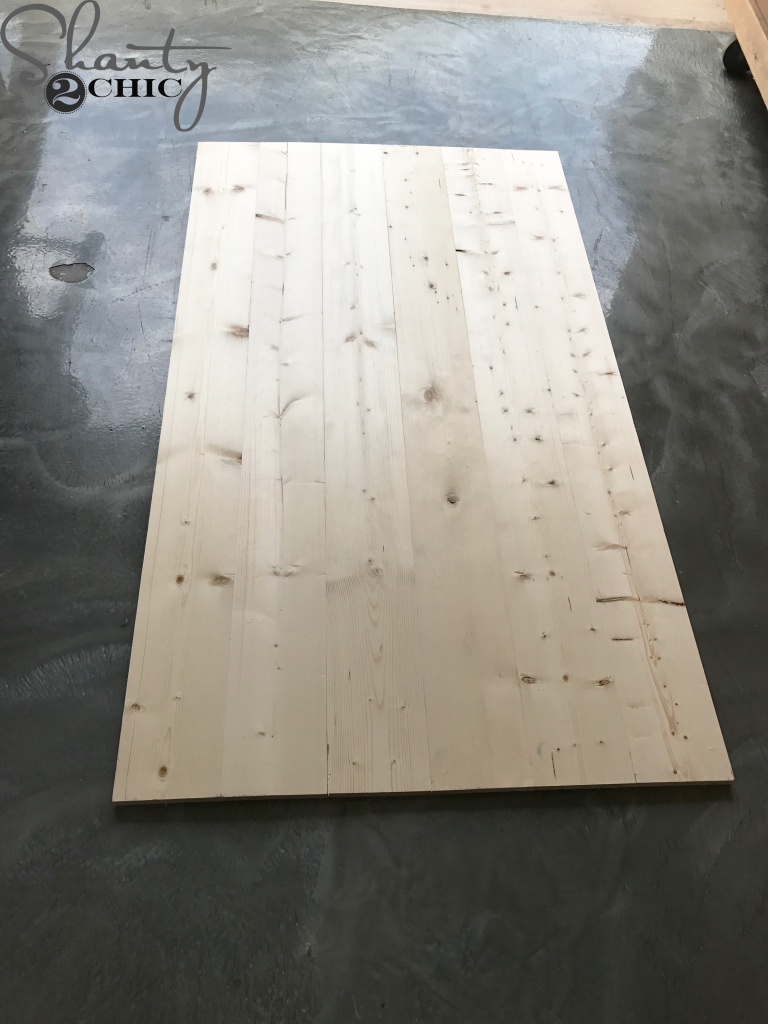
Here are the planks with the pocket holes.
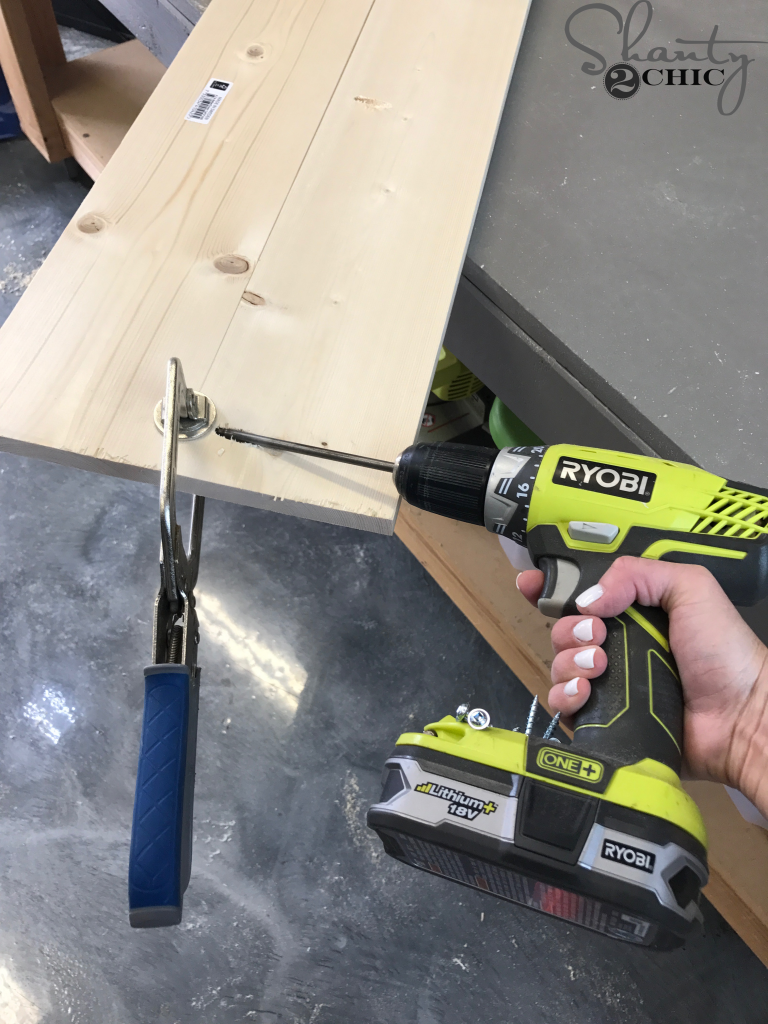
DIY Planked Headboard – Kreg Face Clamp
I attached the planks together with 1 1/4″ pocket hole screws. Tip: I like to use a Kreg Face Clamp at each pocket hole joint to give the planks a smooth finish.
Once all of the planks are attached, I measured from the top of the headboard to the bottom and cut the side trim pieces to size.
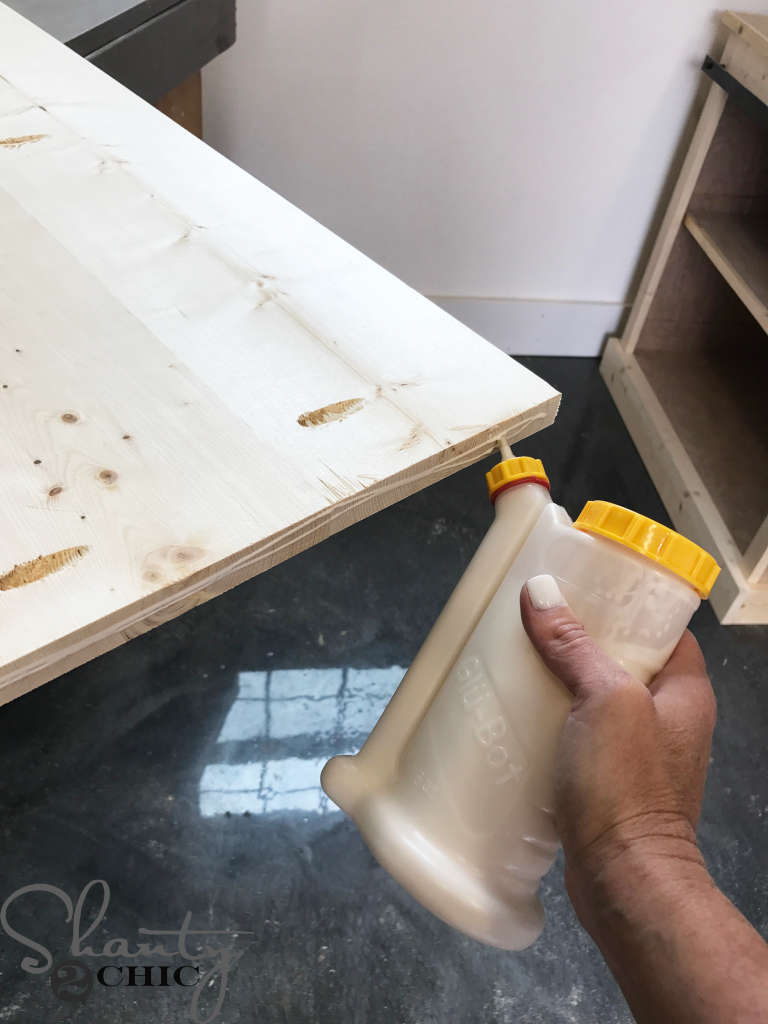
Next, I ran a line of wood glue down each end of the planks
and used my 18 gauge brad nailer, with 1 1/4″ brad nails, to attach the side trim pieces. The front of the trim pieces should be flush with the front of the planks.
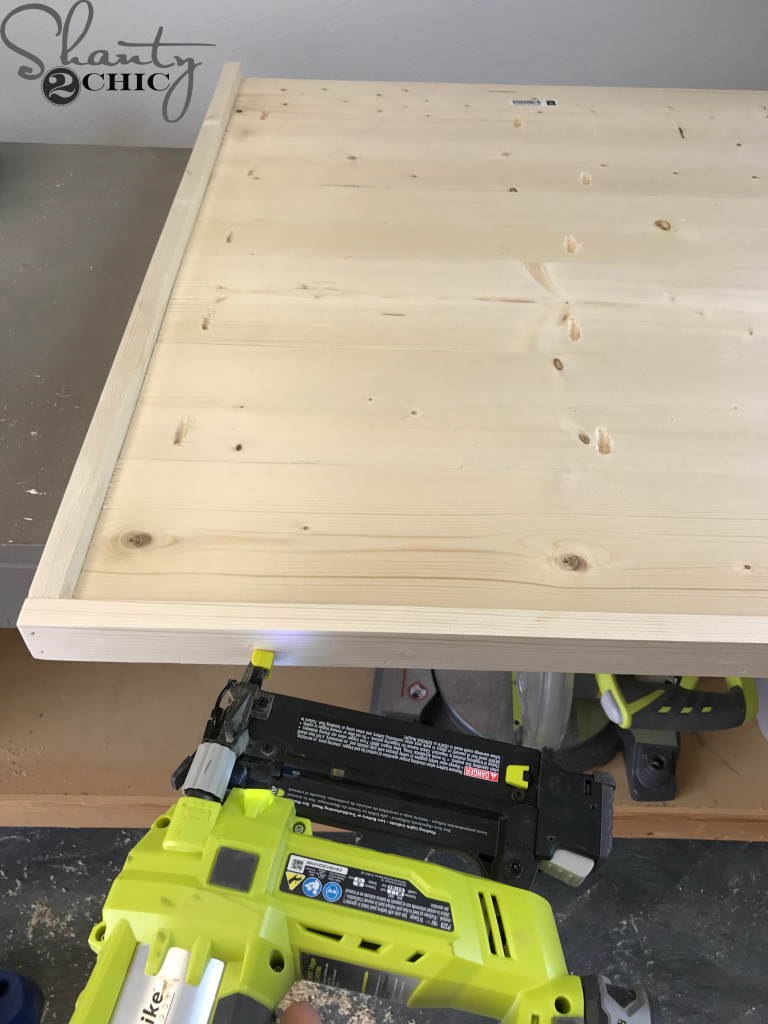
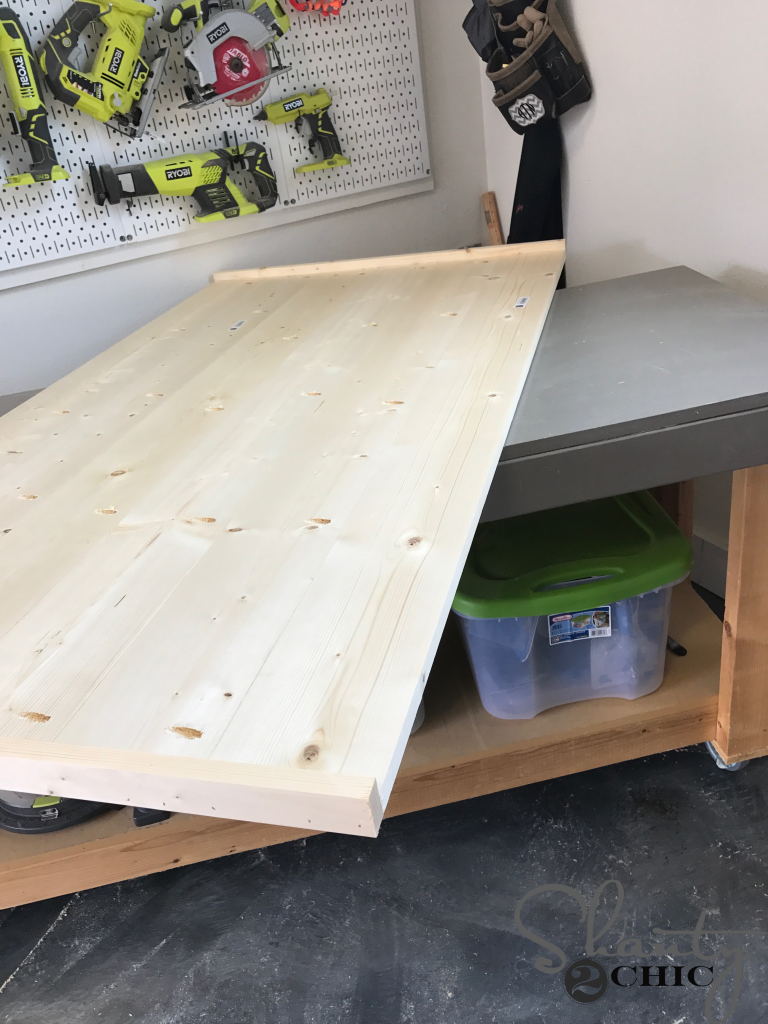
Then, I measured from one end of the side trim, to the other and cut the top trim piece to size. I attached it to the top of the headboard with 1 1/4″ brad nails and wood glue.
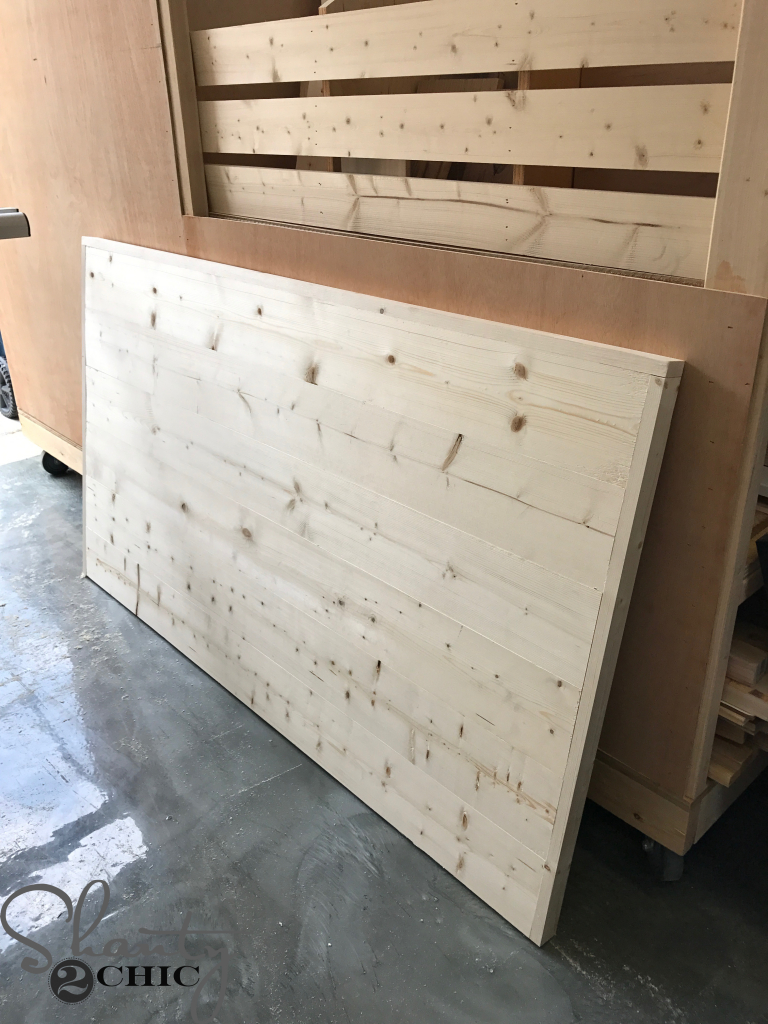
That’s it for the headboard assembly!
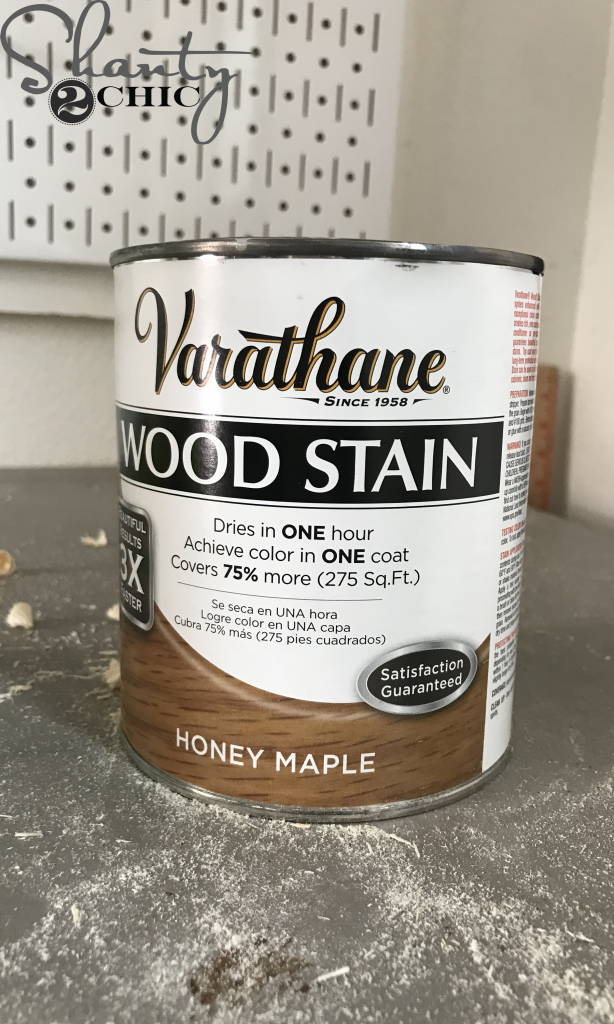
DIY Planked Headboard – The Stain
I applied one coat of Honey Maple Stain by Varathane to the entire headboard.
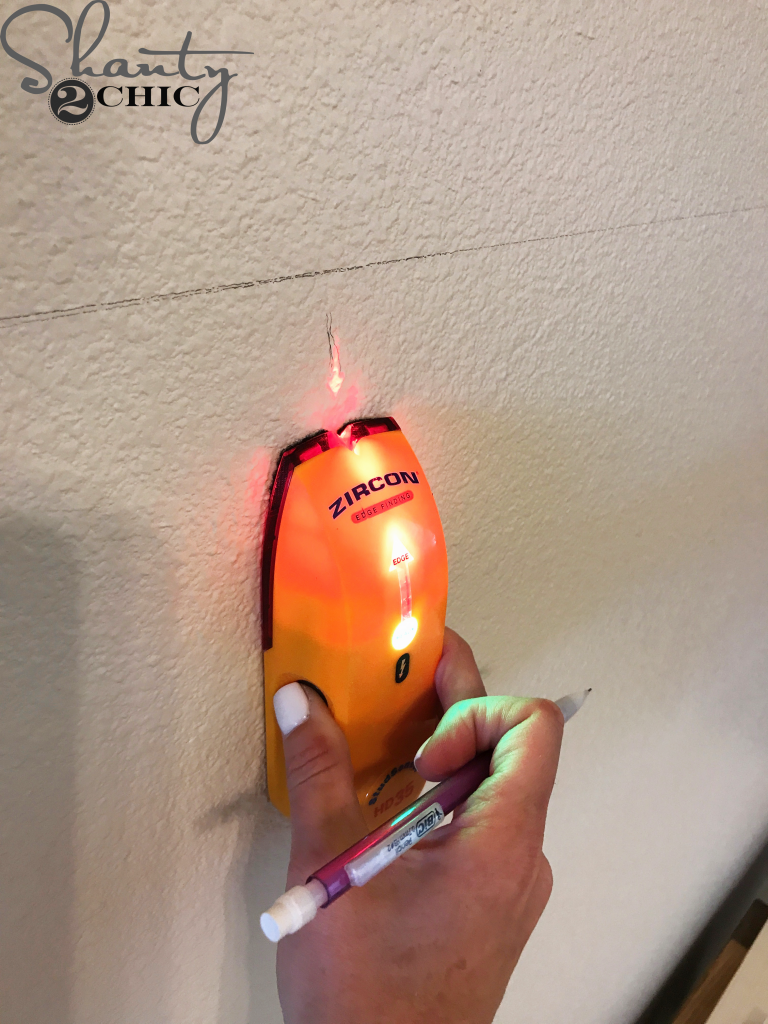
While the headboard was drying, I got busy prepping the wall to hang the headboard. I marked exactly where I wanted my headboard to hang on the wall and marked two studs that fell within that space.
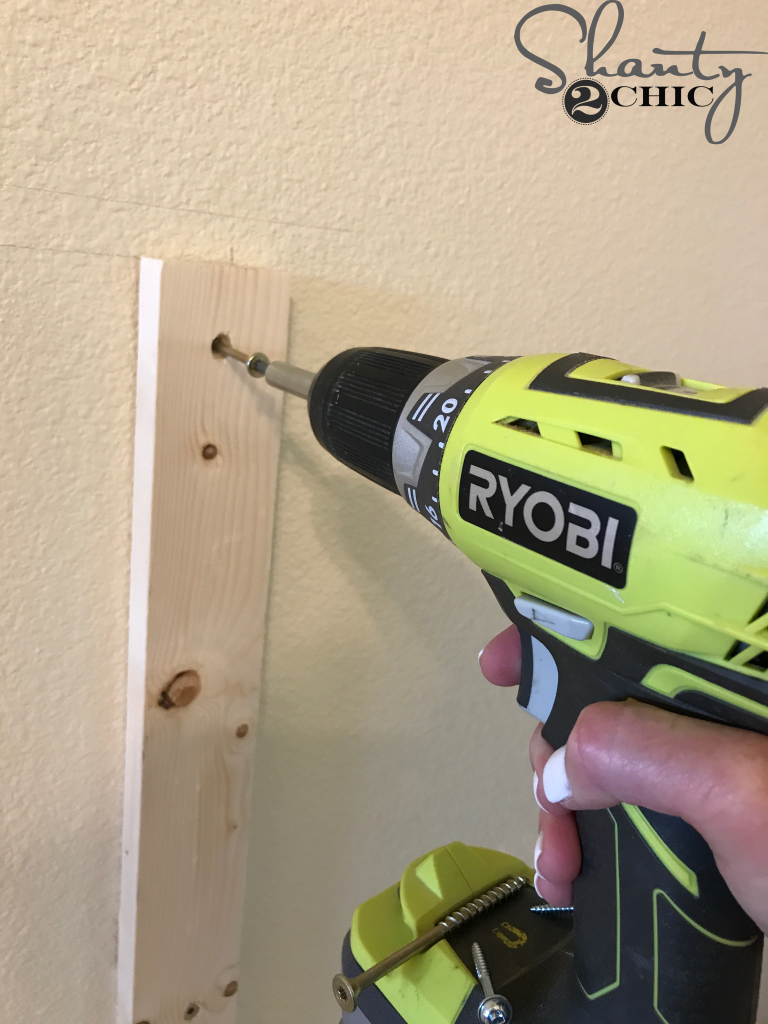
Then, I attached the two 1×4 cleats to the studs behind the wall. I used three 3″ Spax screws per cleat, one at the top, middle and bottom of each board.
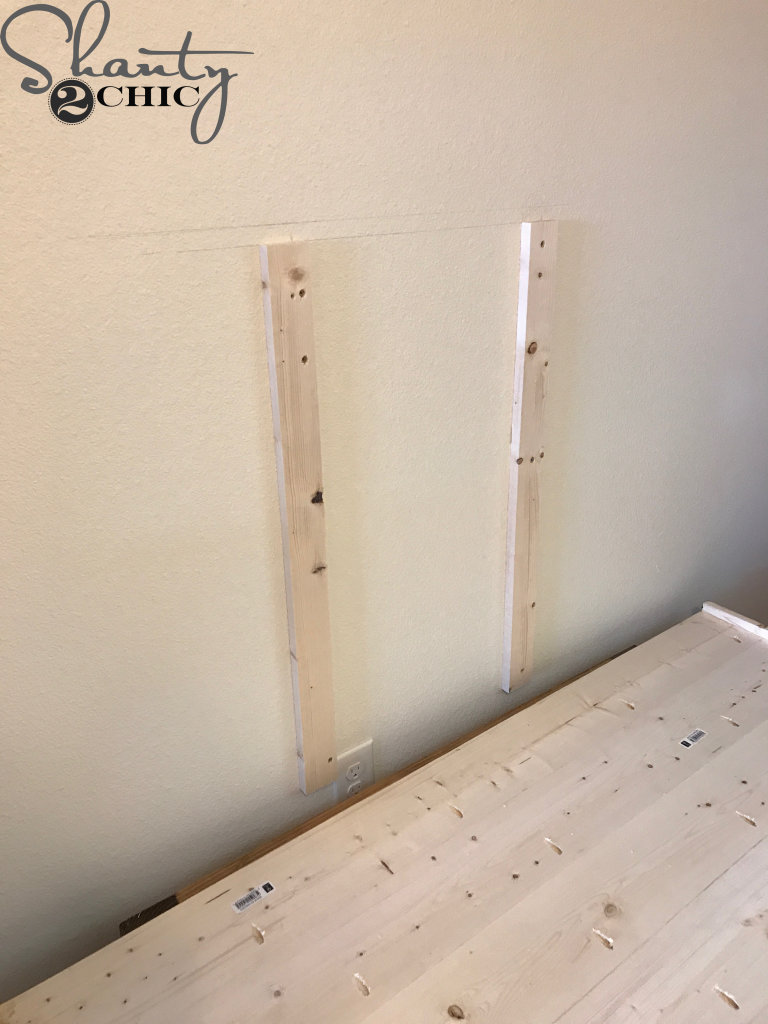
Make sure that both of the cleats are level with each other, so that they headboard will sit level on the wall.
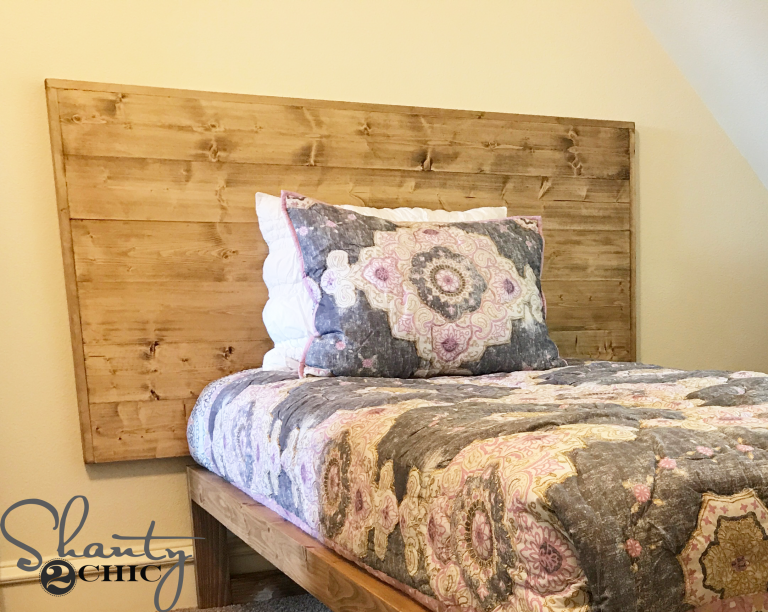
When the stain was dry, I hung the headboard on the cleats. I secured it with 1 1/4″ brad nails from the front of the headboard and into the cleats.
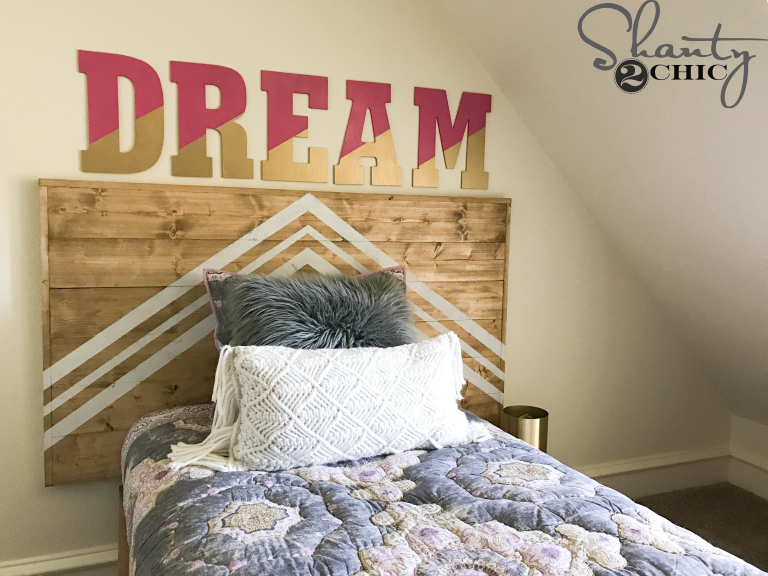
That was it!! I did paint a fun design on the headboard, to give a more custom modern look! You can see how I did that on our Youtube channel HERE!
Next week, we will be sharing how we built the bed frame! Make sure to subscribe to our Youtube channel so you don’t miss it!
Want more info on the other items in this room? Just click the links below!
For more info on the letters on the wall and the curtains – watch our video!
Thanks so much for stopping by!
Happy Building!


⭐?????⭐?
⭐?
⭐?
I built my own using the plans at www. WoodworkPlans.info – highly recommended you check those out too. They are detailed and super easy to read and understand unlike several others I found online. The amount of plans there is mind-boggling… there’s like 16,000 plans or something like that for tons of different projects. Definitely enough to keep me busy with projects for many more years to come haha
Head on over to www. WoodworkPlans.info if you want to learn more – click the pink link above for some more plans! Best of luck on your building adventures!
⭐?⭐?
⭐?
✌✌✌✌✌✌✌✌✌✌✌
Awesome post! Could I have more textures and concepts for my headboard? Please share it with me!
How would you attach headboard to frame and not wall? Than