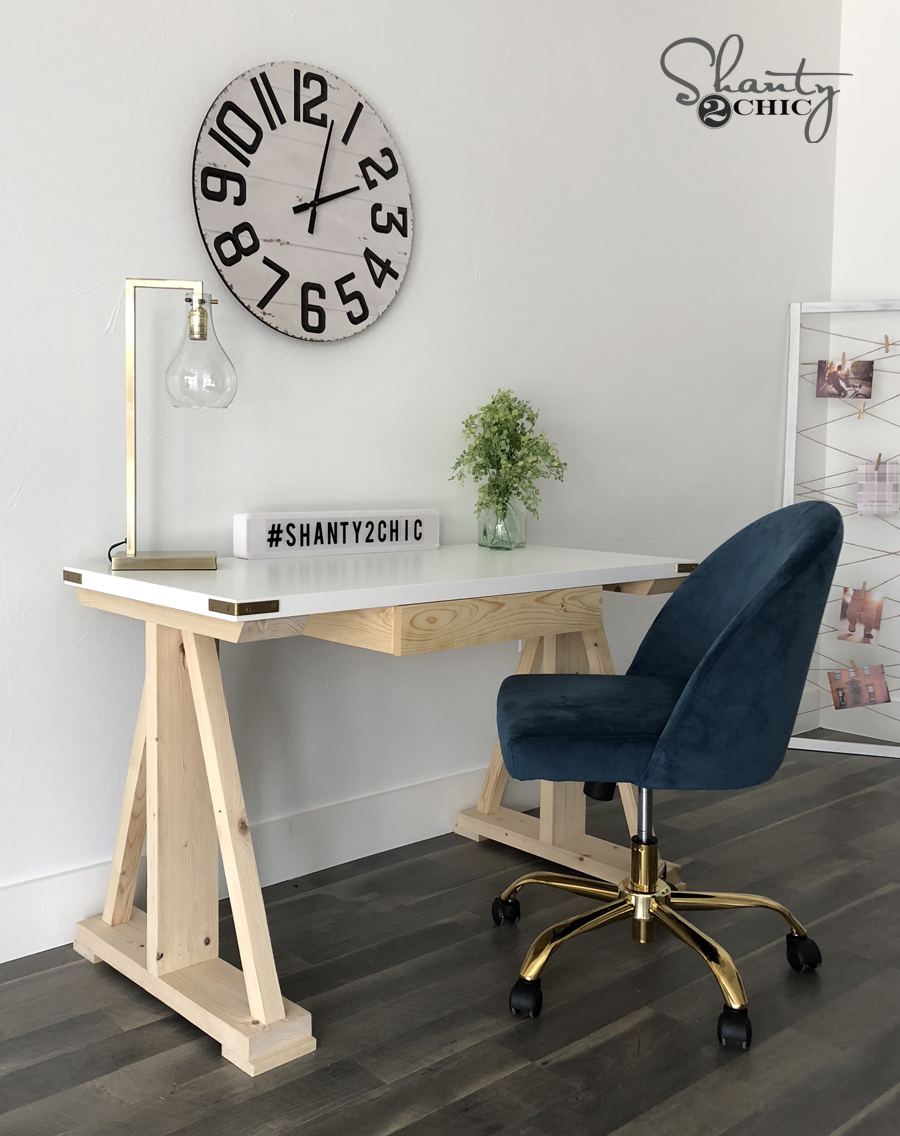
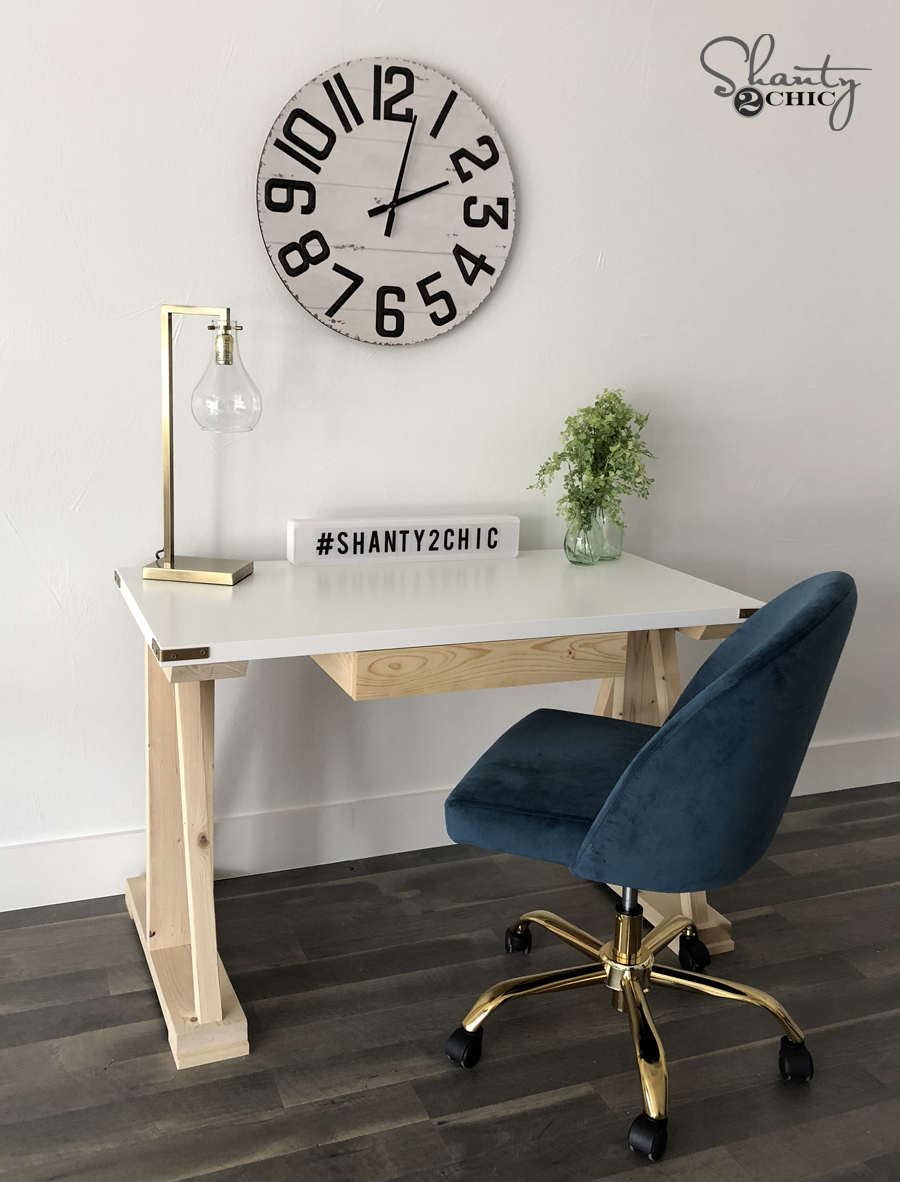
Hey guys! As many of you may know, Ash and I just moved into our first office space and studio! This has been the most exciting step for our brand, and also pretty darn fun to decorate! We needed desks, and knew that a writing desk for each of us would fit the bill. So, we designed the cutest DIY rustic modern writing desk! The entire thing can easily be built for under $80! Before we get started, be sure to check out our video tutorial on YouTube HERE or by clicking below!
You can download and print the FREE PLANS by clicking HERE!
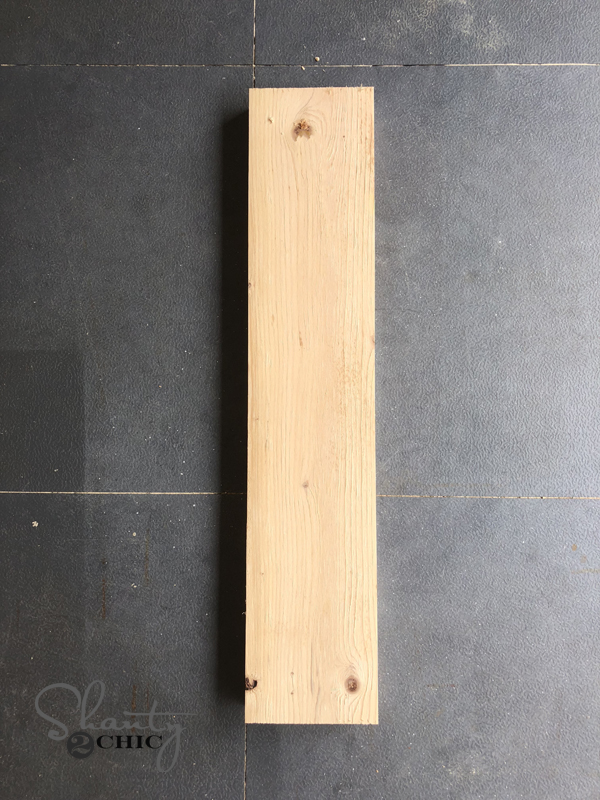
The first step to building this desk is to build 2 leg assemblies. These are 2×6 boards that we cut down to 5” wide each. You don’t have to rip yours down, but be sure to note overall changes in size from the width difference.
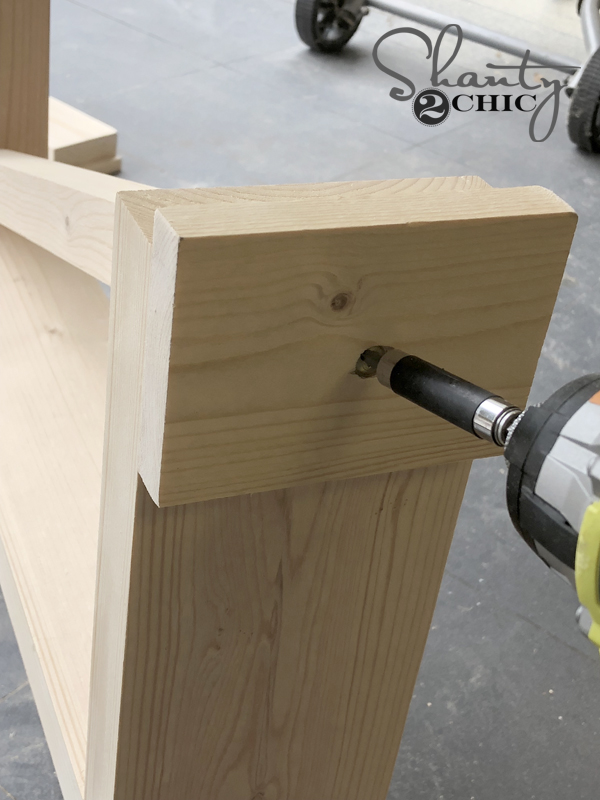
Attach the bottom and top boards to the vertical board using wood glue and 2.5” Spax screws.
You want the vertical board centered on both top and bottom boards. The top board has sides cut at a 30˚ angle.

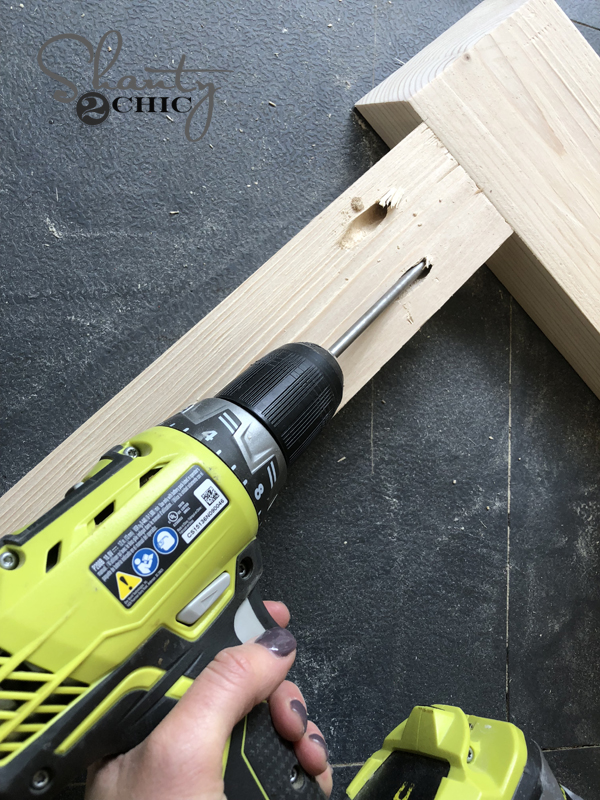
Next add your foot pads. These are 1×6 boards that we cut to 5” squares. They help stabilize the desk, and they are also cute! Attach each foot pad using wood glue and 1.25” Spax screws.
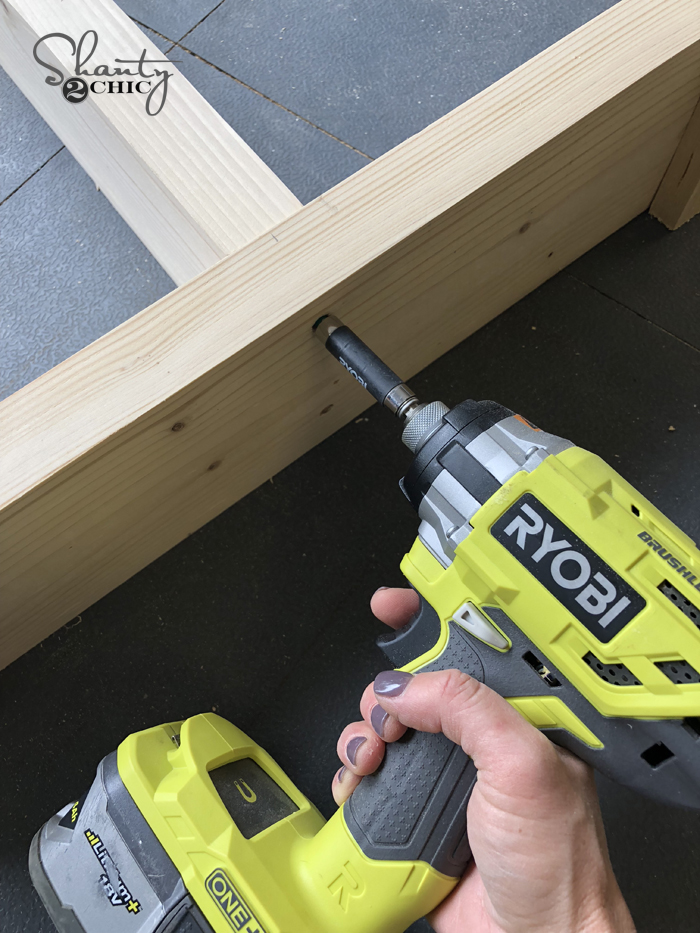
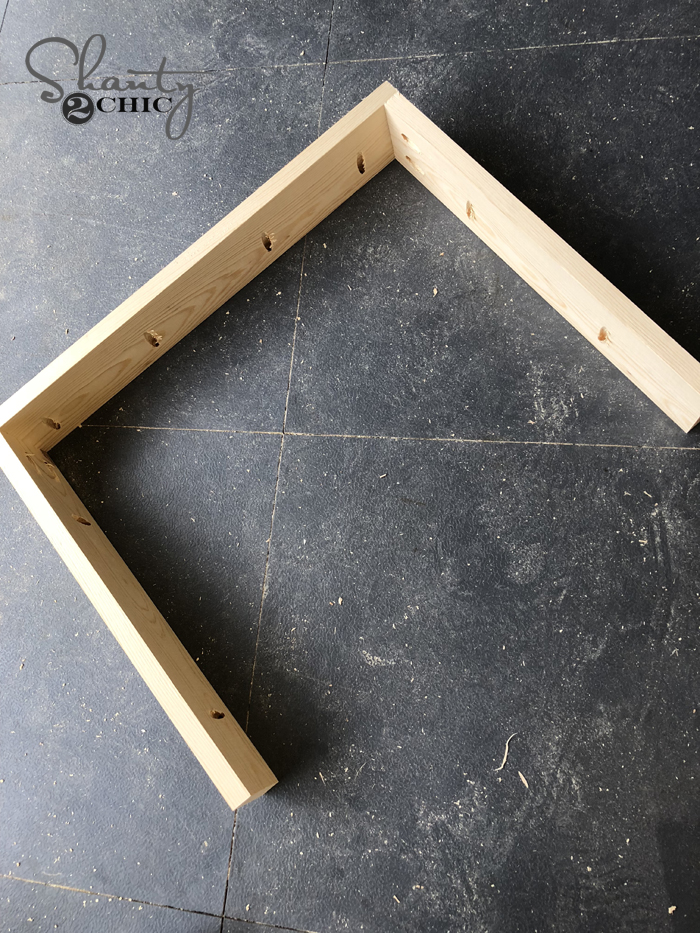
Attach the decorative horizontal pieces next. The easiest way to get these cuts perfect is to line them up on the leg assmebly and mark exactly where you want to cut on the board. Attach these boards using wood glue and 2.5” Spax screws through the top and bottom boards and into the diagonal pieces. You will need to drive the screws in at an angle so they don’t pop out.

Now attach both leg assemblies together using 2.5” pocket hole screws through 1,5” pocket hole on the runner board. Make sure to line up the runner as noted so that you leave room for your drawer assembly.
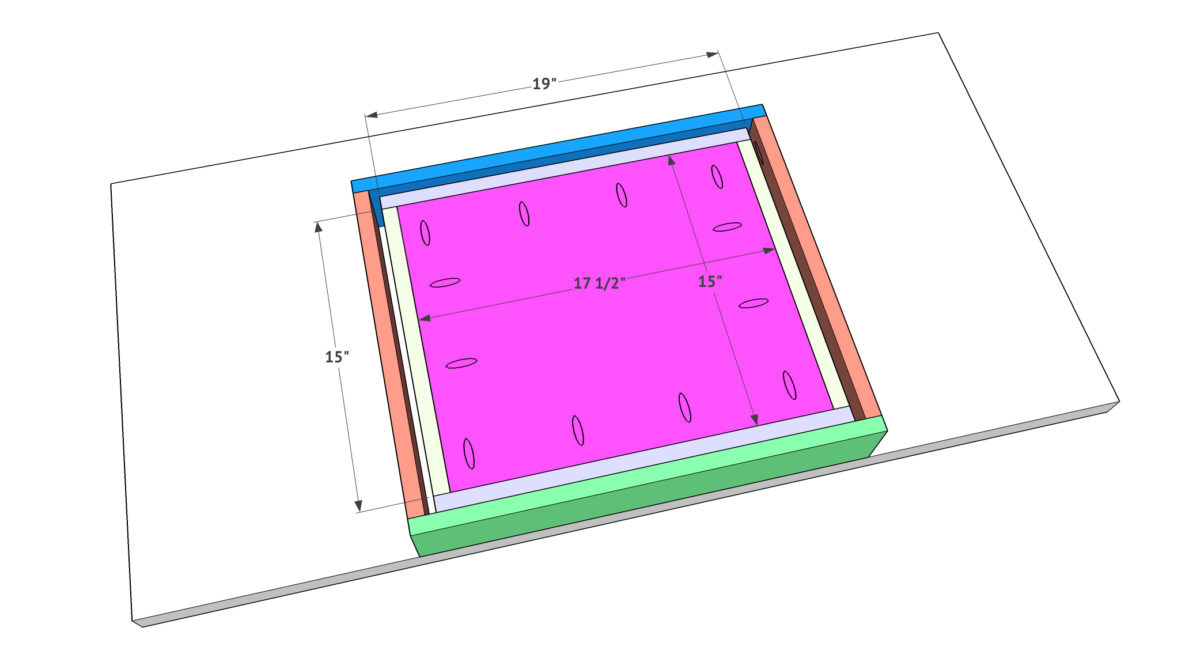
Moving on to the top! We used a white desktop from Ikea for our office, but you can easily use a project panel too like we did in the video. Turn the desktop upside down and work on the bottom to build the frame that will house the drawer. Attach them together and also to the desktop using wood glue and 1.25” pocket hole screws.
Now build the drawer. We used 3/4” plywood ripped from the same board we use as our drawer base, but you can also use a 1×4 board. You want a half inch spacing on each side if you use the same slides we did, but if you use different ones be sure to note how much spacing they require. Attach the drawer sides using wood glue and 1.25” pocket hole screws through the 3/4” pocket holes.

Attach the drawer base to each side using 1.25” pocket holes and wood glue. Once that is done, you can attach your drawer slides. Be sure to check out our video for details on how we attach ours. Finally, add the drawer front to the front of the drawer using wood glue and 1.25” nails.
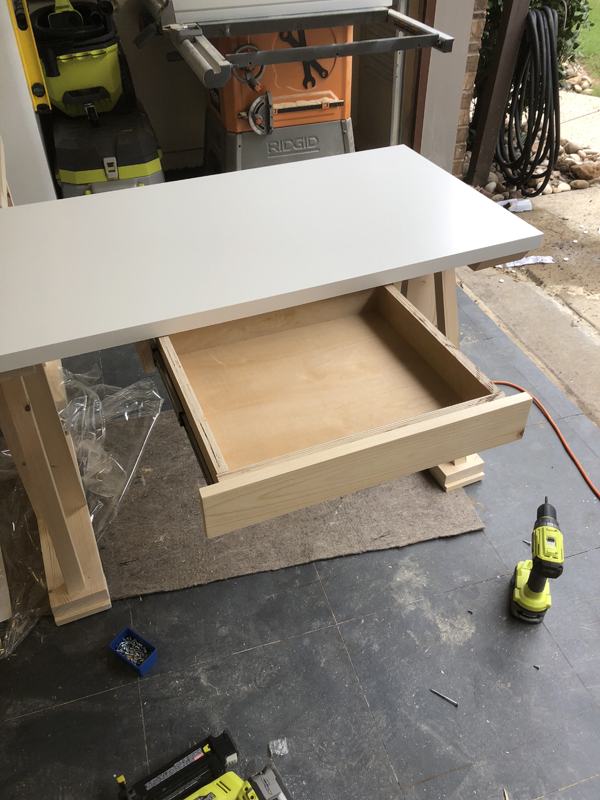
The final step is attaching the base of the desk to the desktop. We laid the upside down and attached the base to the top using wood glue and 2.5” Spax screws through the tops of the legs and the runner and into the tabletop.

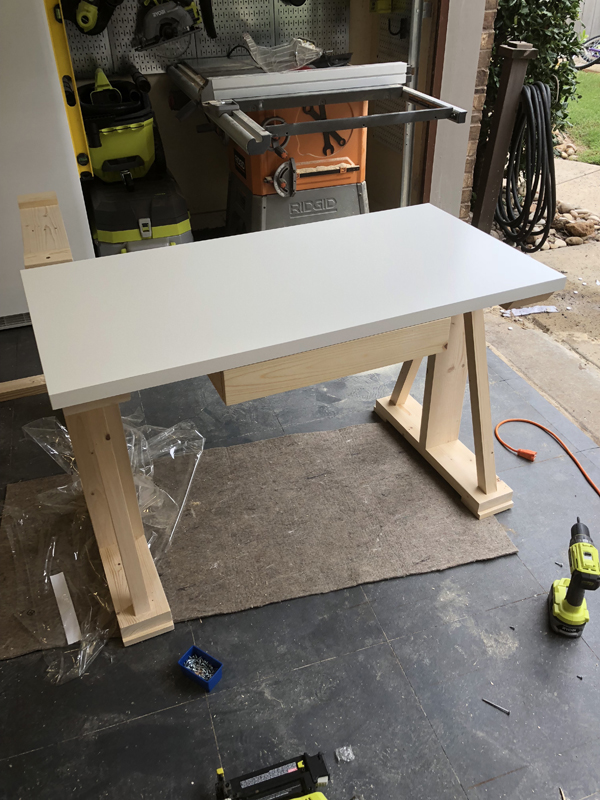
That’s it! You are ready for paint or stain!
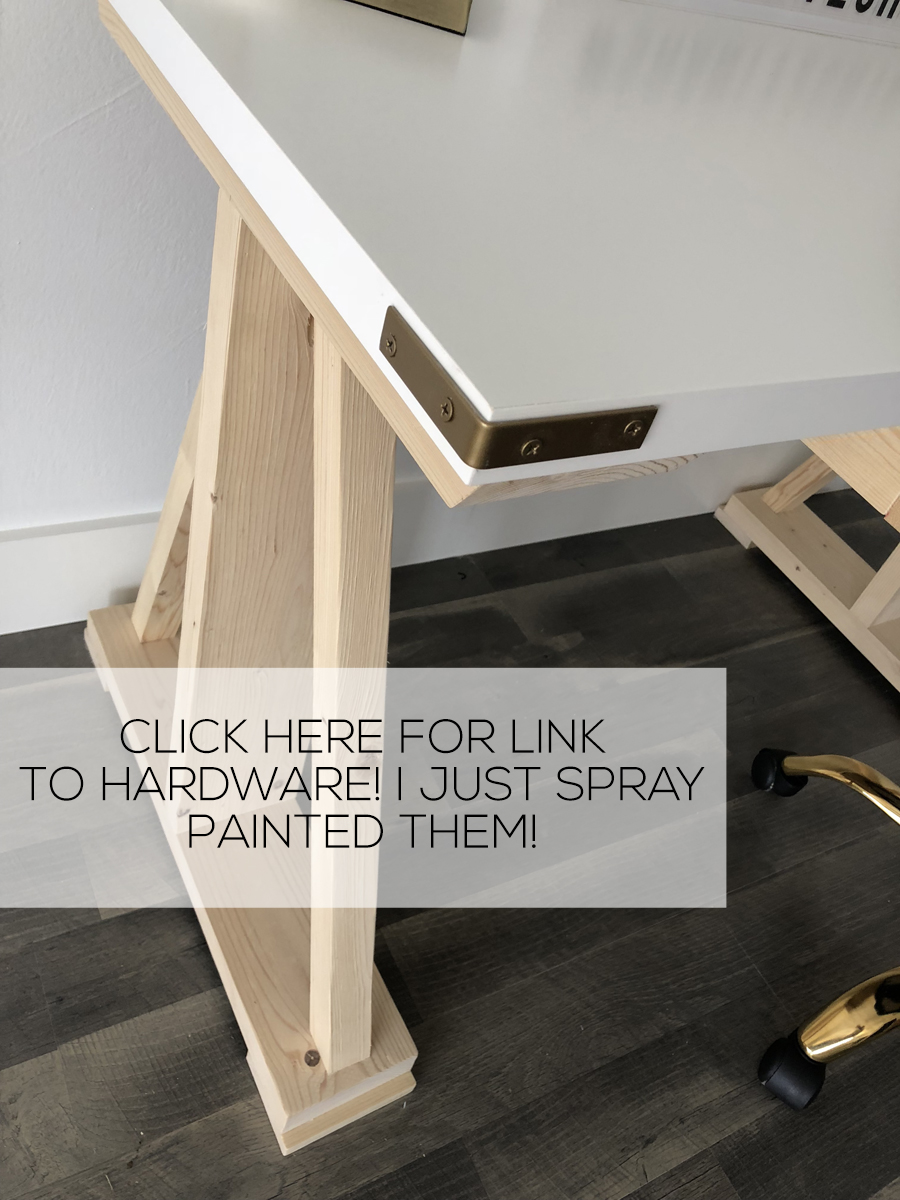
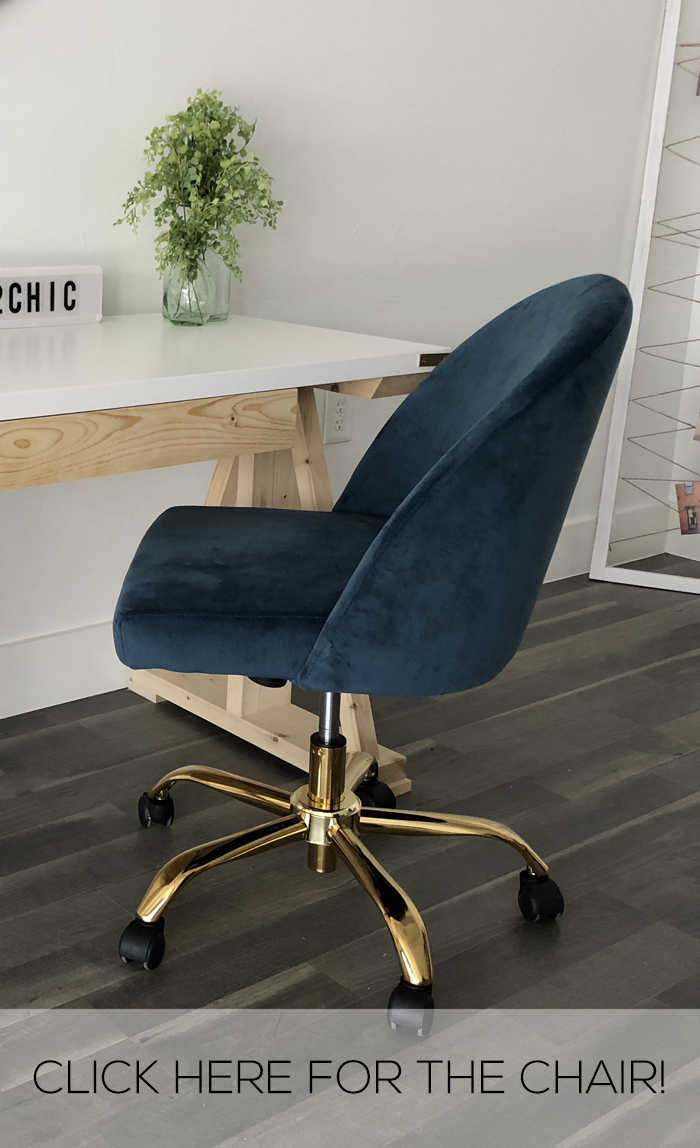
Be sure to check the video or website for links to all the products we used to dress ours up! Also, be sure to share your builds with us on social media using #shanty2chic!
And… Check out how cute they look in the new office!


how can i buy this product via credit card i pakistan
make your own using the pictures and video
What angle did you cut the “decorative” 2x2s, looks like 30 degrees.
Did you figure out the angle measurements for the 2×2’s?
Where do you find the 24 inch x 48 inch laminated top? I have searched IKEA and Home Depot and the web. Very nice desk, thank you!
I believe it’s the linnmon desk top from ikea. They are very durable, sleek and affordable. The hardware adds a great touch!
There is a link for them on the YouTube video as well as the drawer slides.
Amazing ideas, very clear and easy steps to follow on each project