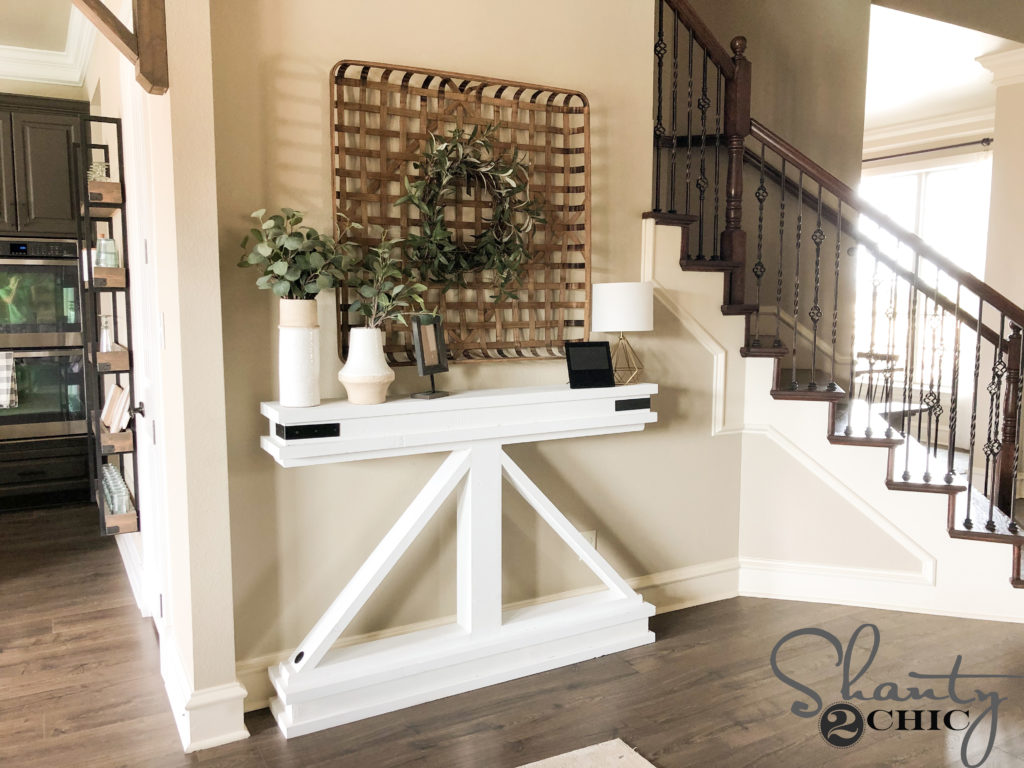
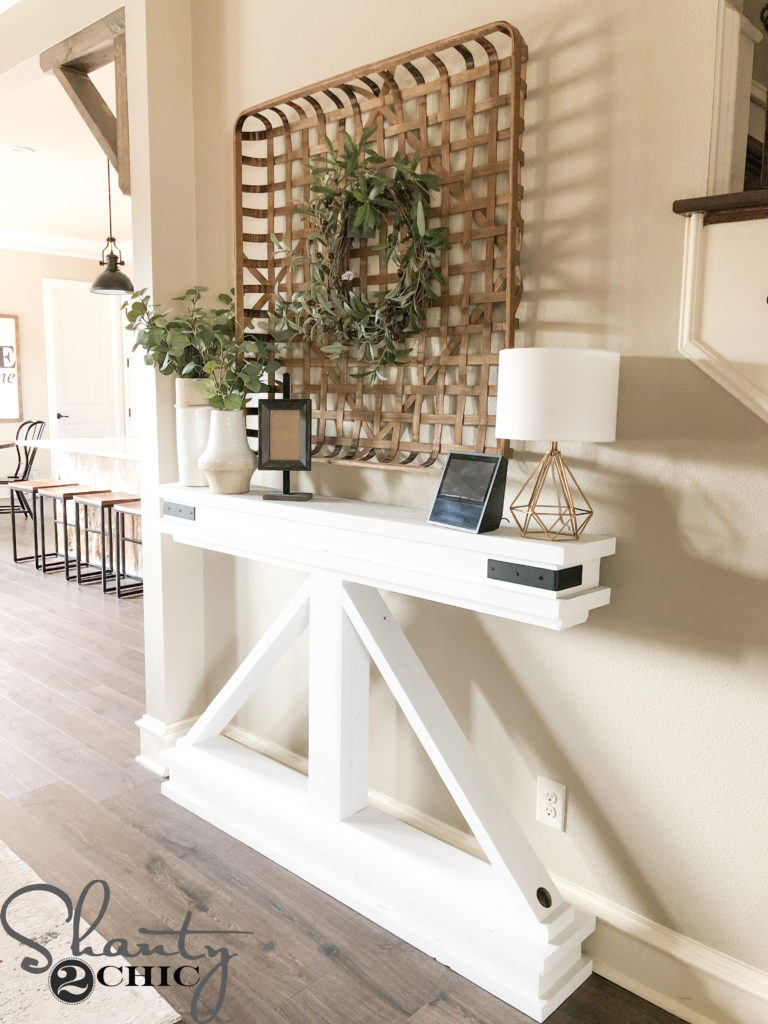
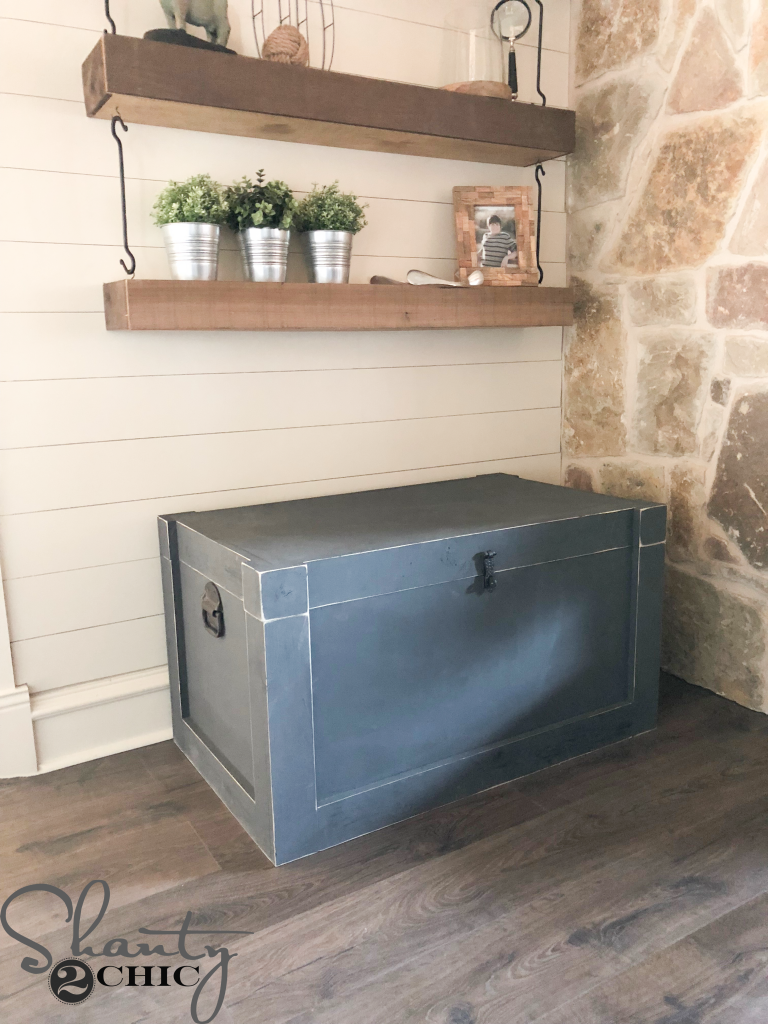
I have LOVED the first Narrow Console Table that I built for this space in my living room, over 5 years ago! As my style has become more Modern Farmhouse, I have been wanting to come up with a new piece, while keeping the same narrow size and design.

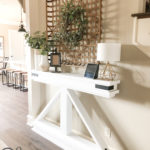
I LOVE my new DIY Narrow Console Table even more than the first! I didn’t think that could even be possible! So, come build this DIY Narrow Console Table with us! Just click the play button below to watch!
Table of Contents
Step 1:
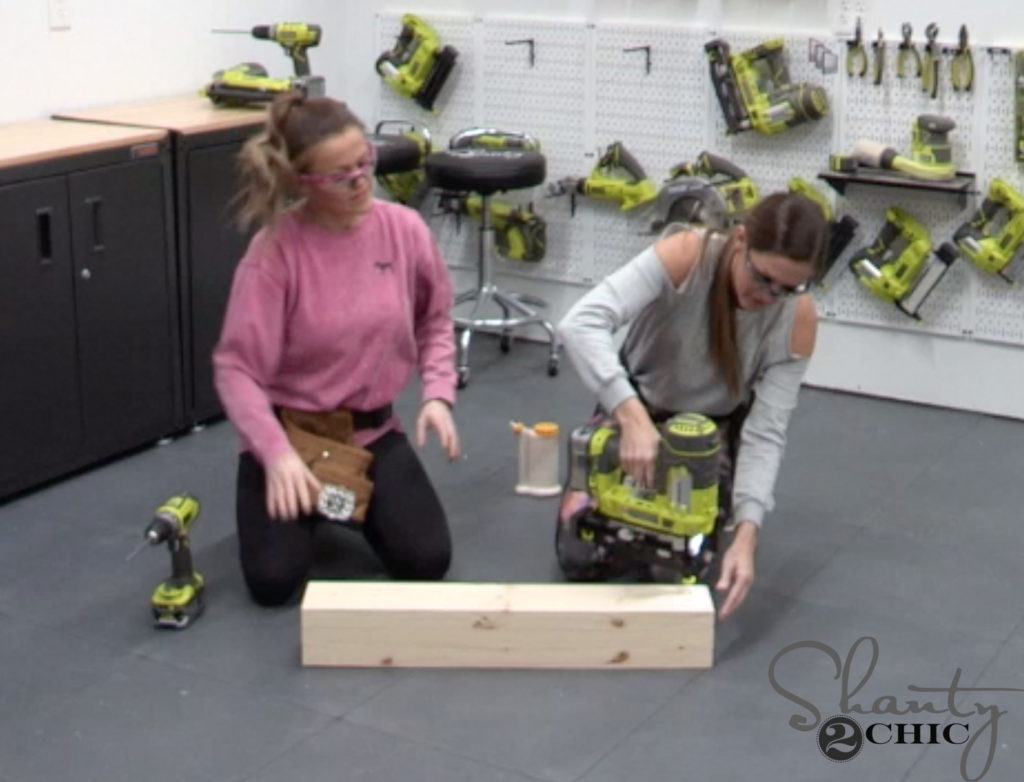
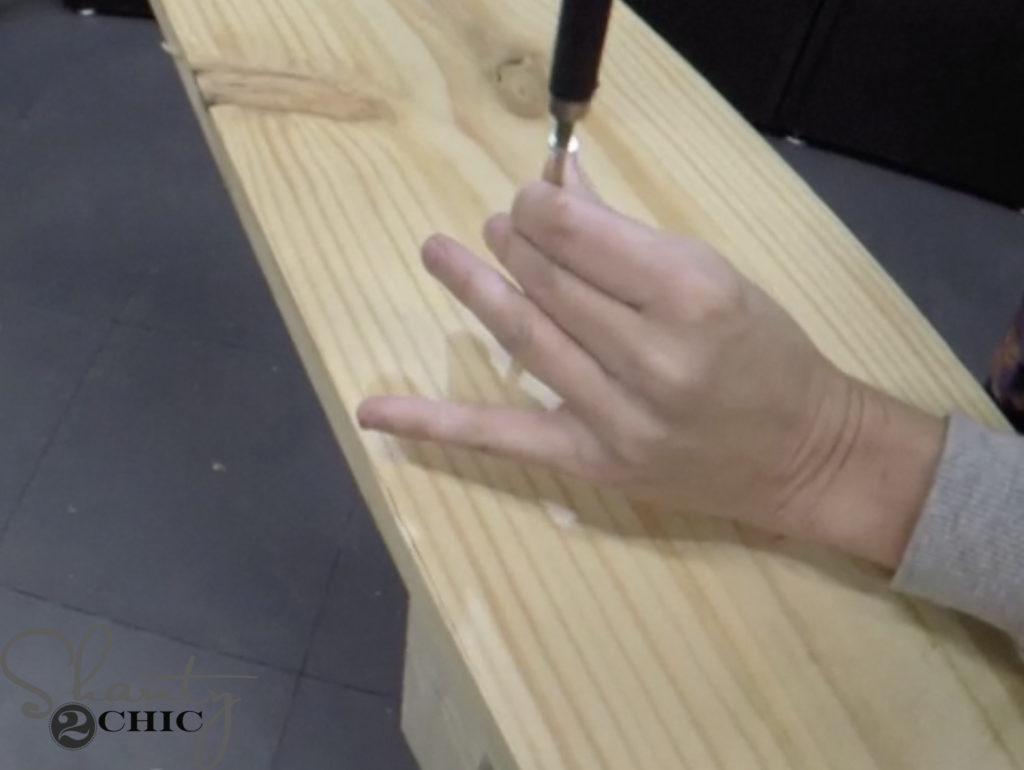
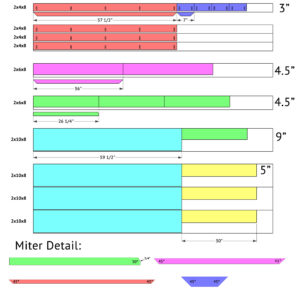
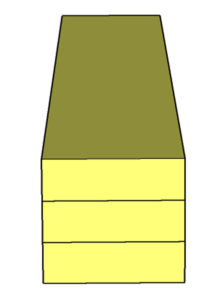
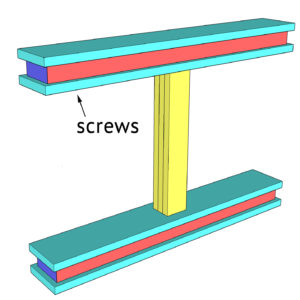
We cut the leg pieces to size. Then, we stacked them together and attached them with wood glue and 2 1/2″ finish nails.
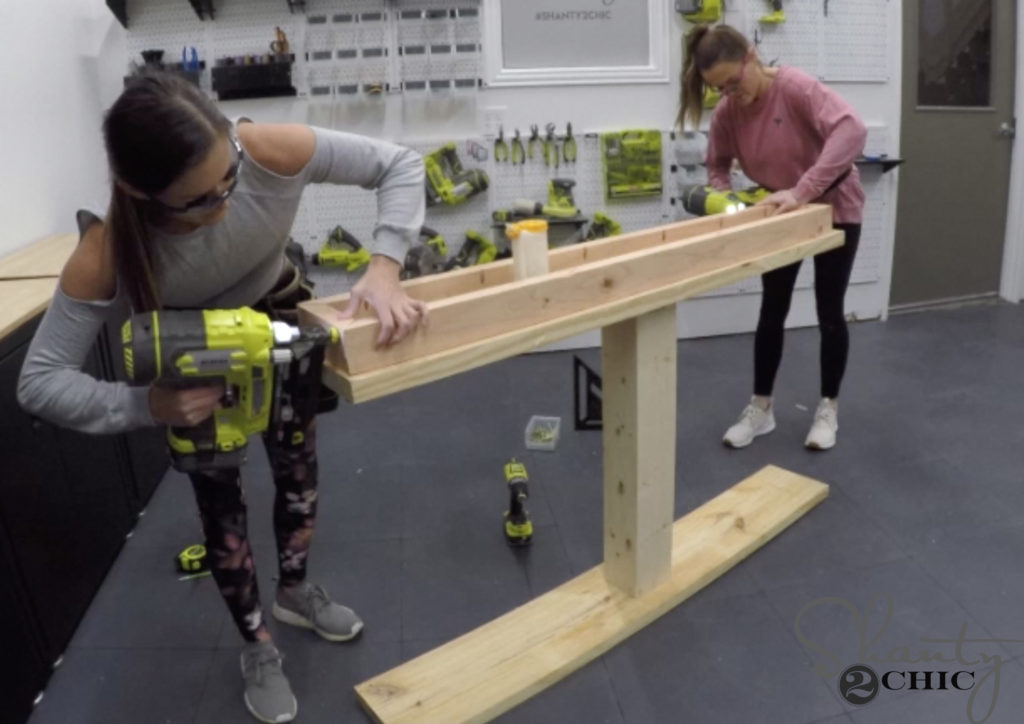
Step 2:
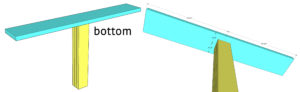
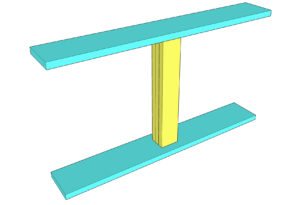
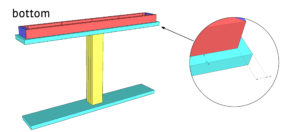
Next, we cut the horizontal base planks to size, centered and attached one plank to the bottom end of the leg assembly. We used wood glue and 3″ wood screws, from the bottom of the plank, into the leg assembly.
Step 3:
It was time to flip the console over and attach the top base plank to the other end. We attached this plank the same was as we did in step 2.
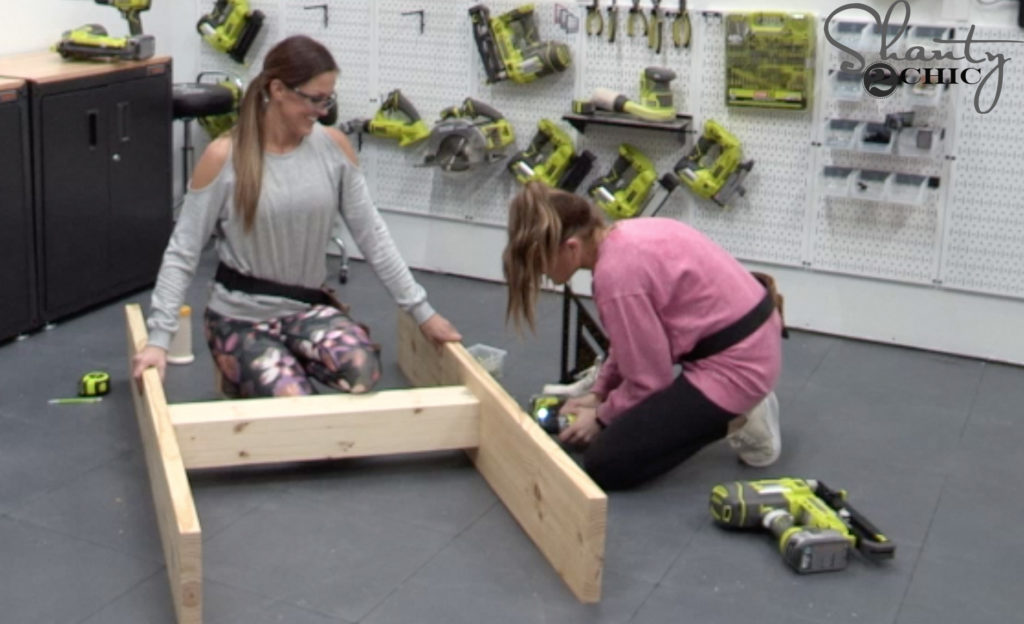
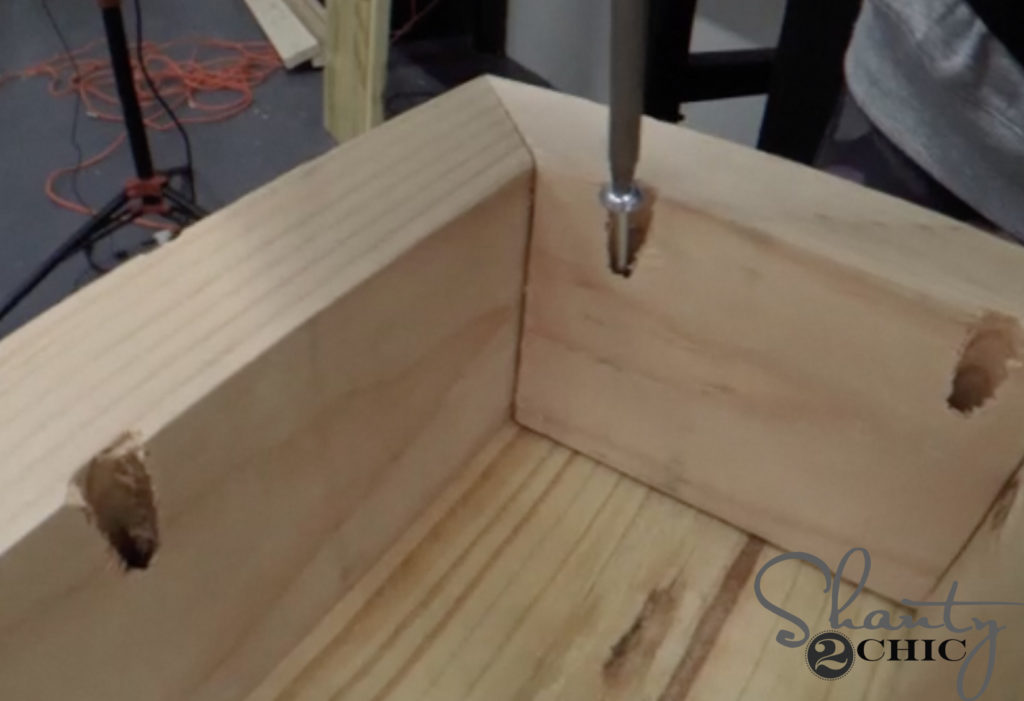
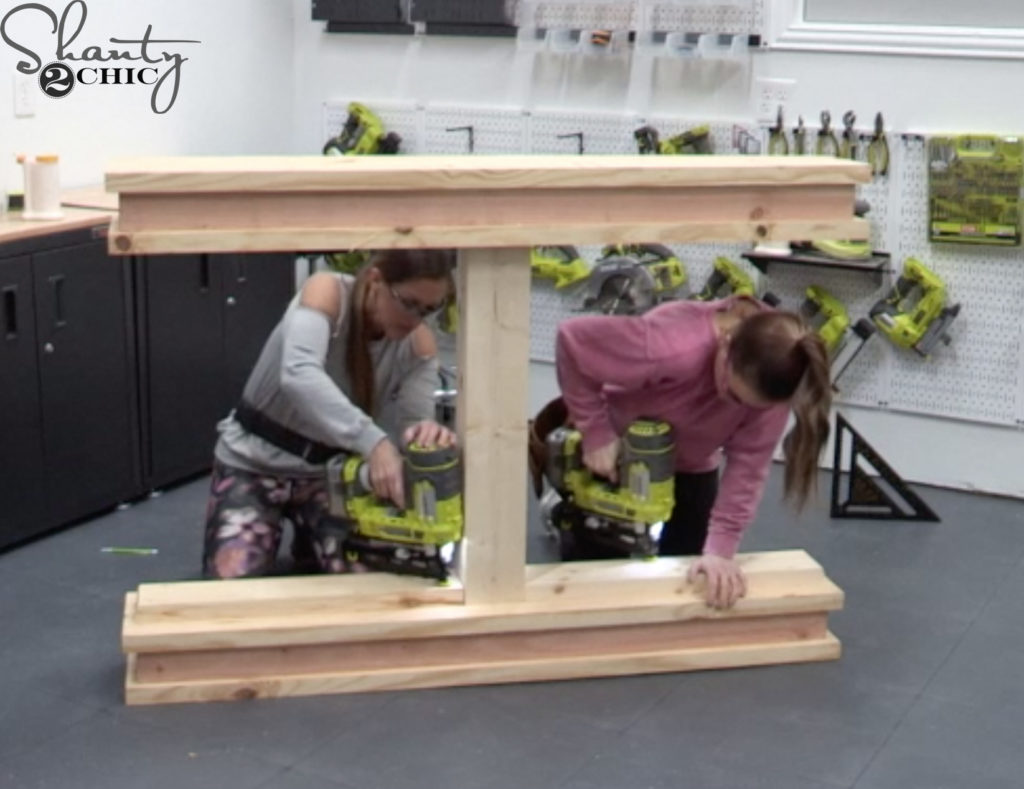
Step 4:
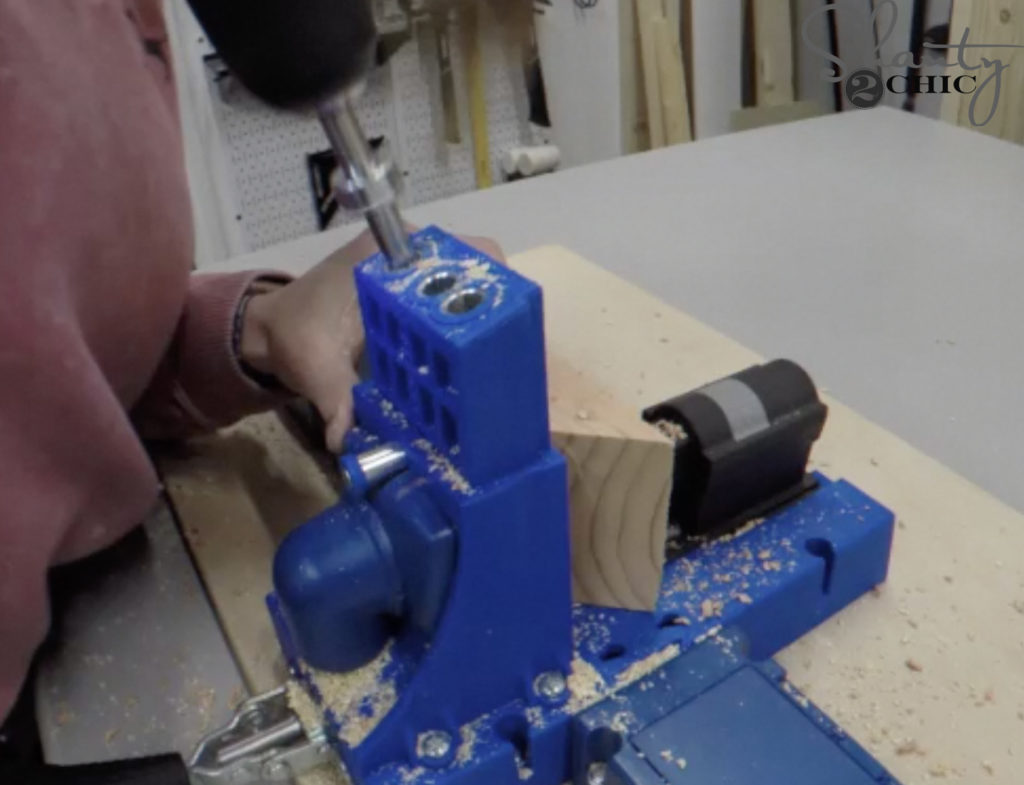
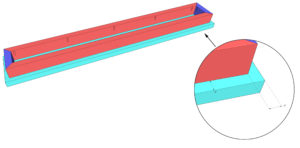
With the main base of the console table assembled, we moved on to the aprons. We cut the apron pieces to size. Then, we used our Kreg Jig to drill 1 1/2″ pocket holes into one edge of each piece.
We attached the pieces together with 2 1/2″ finish nails and wood glue. Note: make sure all of the pocket holes are facing the same was when you are assembling the aprons. Build two aprons.
Step 5:
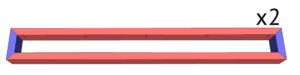
Now it was time to attach the aprons. We flipped the console upside down. Then, we centered the apron on the bottom of the bottom plank and attached it to the plank with 2 1/2″ pocket hole screws and wood glue.
Step 6:
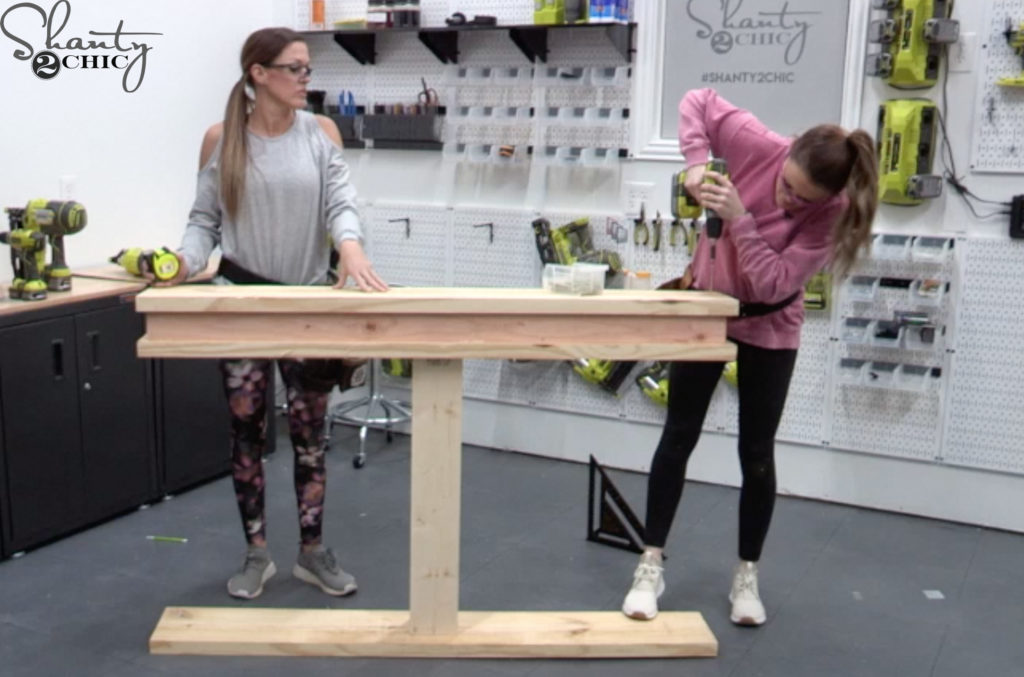
Next, we centered another plank on top of the bottom apron. To attach we used 2″ wood screws and wood glue, from the top of the plank and into the apron.
Step 7:
With one apron attached, we moved to the other. This was the same process except we were attaching the apron to the remaining plank. We centered and attached the other apron to the remaining plank with 2 1/2″ pocket hole screws and wood glue.
Step 8:
To attach this apron/plank assembly, we centered the apron on the top of the console and attached it with 2″ wood screws, from the bottom of the top plank and into the apron.
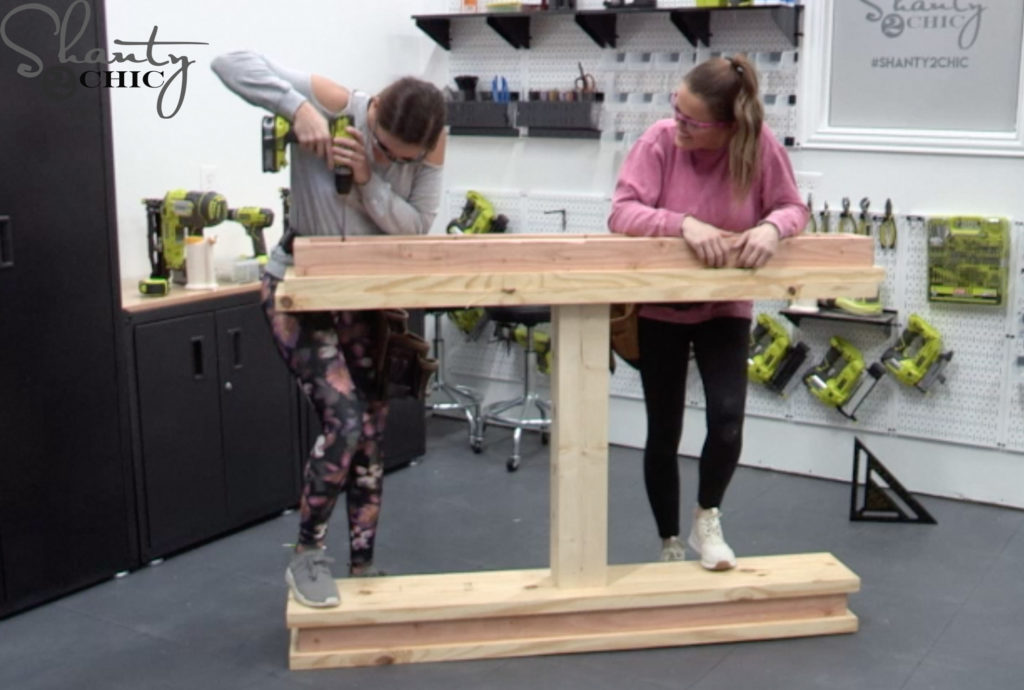
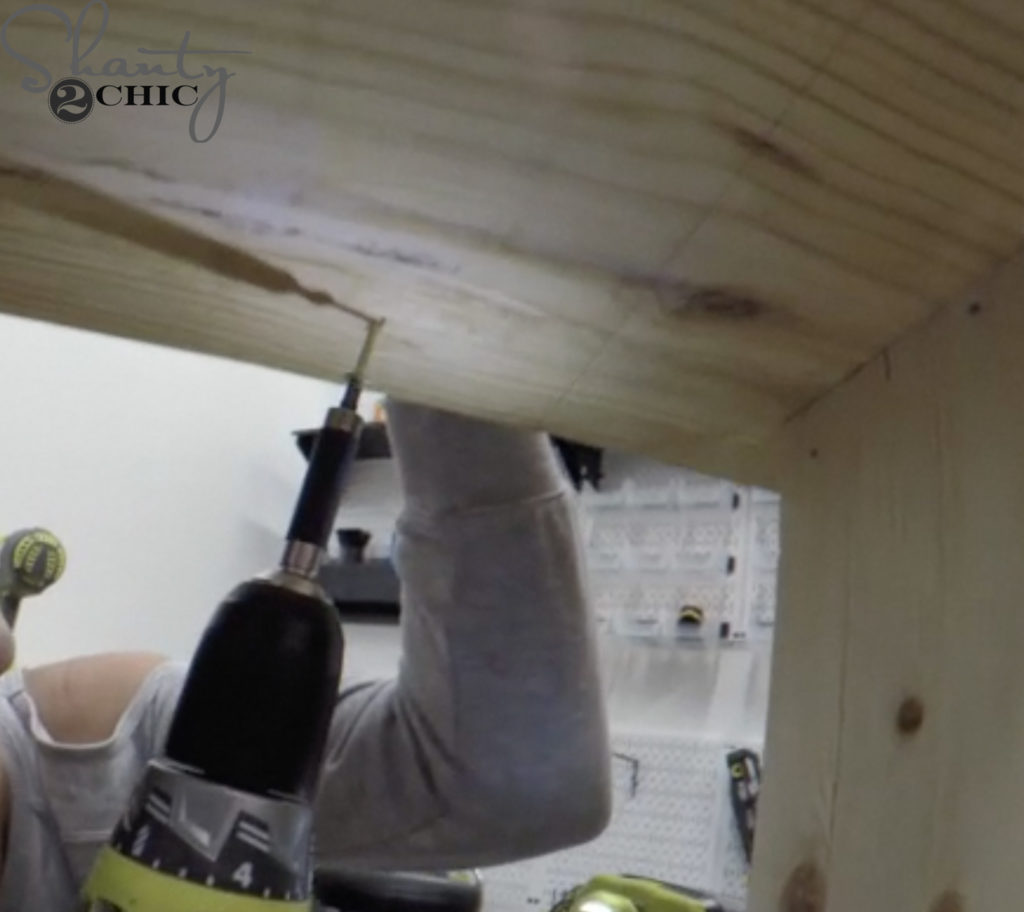
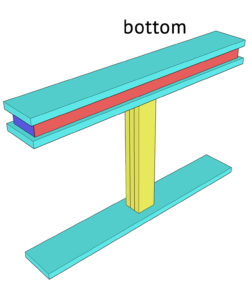
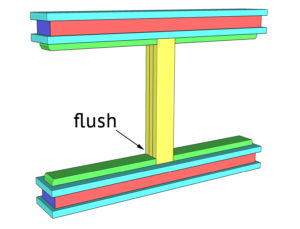
Step 9:
With the aprons attached, it was time for the trim pieces! We cut the horizontal pieces to size and attached them to the top and bottom bases with 2 1/2″ finish nails and wood glue. The truss pieces should be flush with the leg base.
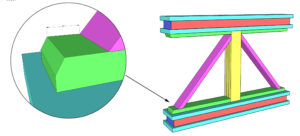
Step 10:
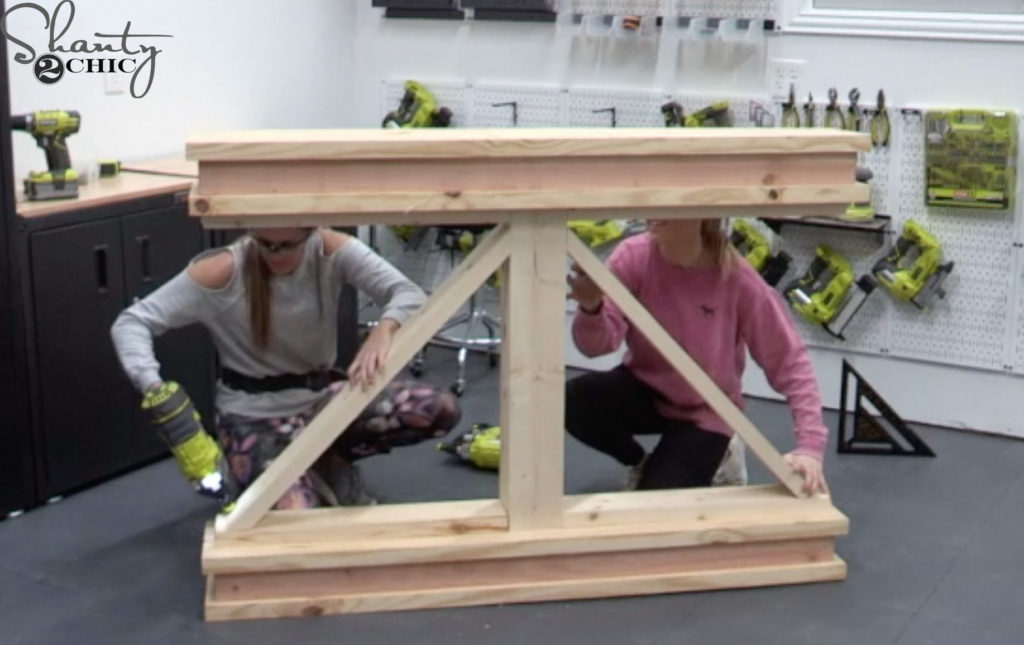
Finally, we measured and cut the angle truss pieces to size. Then, we attached them to the table base with 2 1/2″ finish nails and wood glue.
The Finish:
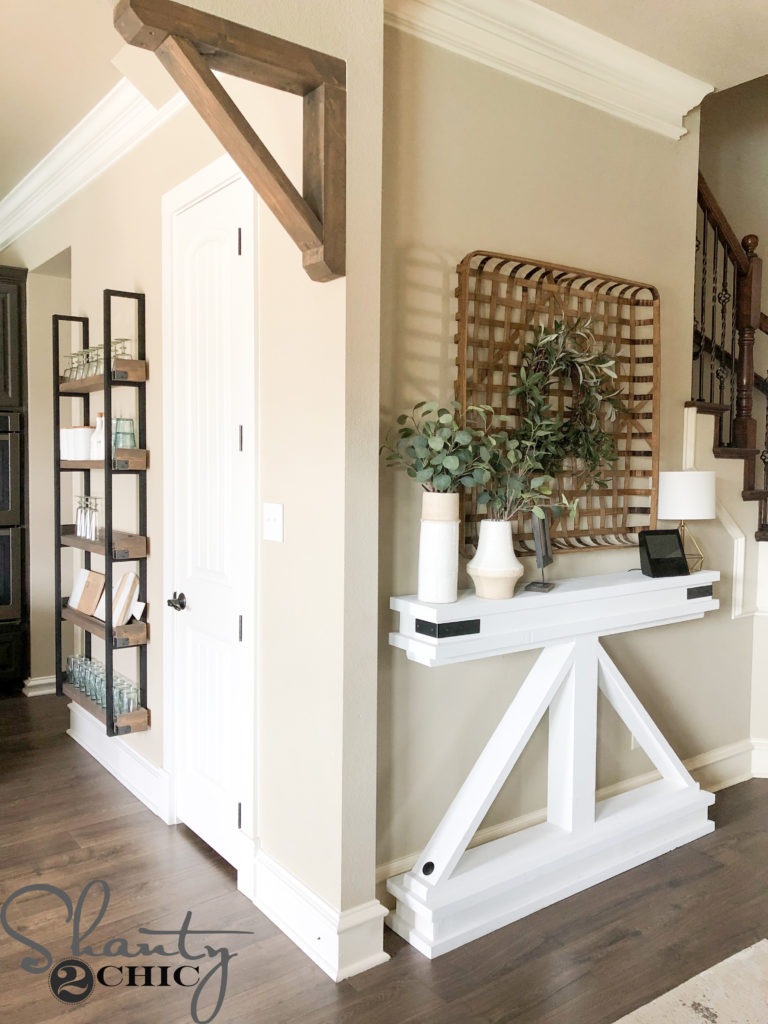
It was time for the finish! We filled any nail holes with wood filler, gave it a coat of paint and then we added metal hardware to our console to customize it.

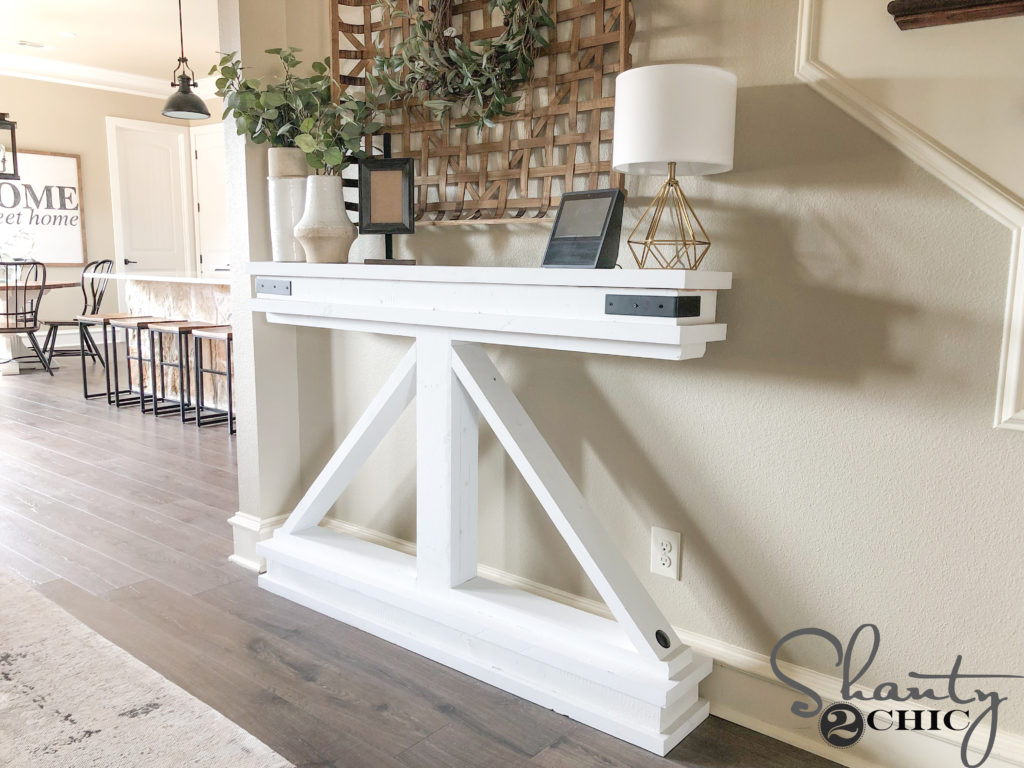
We love how this Narrow Console Table turned out! It is such a bang for your buck project, too! We were able to compete this project for about $60 in lumber and about 60 minutes of time!
Have fun with it and make it your own! Be sure to share your builds with us on social media and use #shanty2chic so we can share them too!
Happy Building!
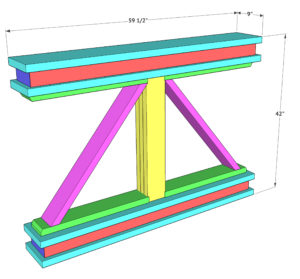
Narrow Truss Console
Supply List
- 4 2x4x8 Framing Lumber
- 2 2x6x8 Framing Lumber
- 4 2x10x8 Framing Lumber
- 2 1/2″ Pocket Hole Screws
- 3″ Wood Screws
- 2″ Wood Screws
- 2 1/2″ Finish Nails
- Wood Glue
- Decorative Hardware Link in Post on Our Site
Instructions
- Cut List

- Cut the leg pieces to size. Stack them together and attach with wood glue and 2 1/2″ finish nails.

- Cut the horizontal base planks to size. Center and attach one plank to the bottom end of the leg assembly with wood glue and 3″ wood screws, from the bottom of the plank, into the leg assembly.

- Flip the console over and attach the top base plank to the other end, the same way.

- Cut the apron pieces to size. Drill 1 1/2″ pocket holes into one edge of each piece. Attach the pieces together with 2 1/2″ finish nails and wood glue. Note: make sure all of the pocket holes are facing the same way when assembling. Build two aprons.

- Flip the console upside down. Center the apron on the bottom of the bottom plank and attach it to the plank with 2 1/2″ pocket hole screws and wood glue.

- Center another plank on top of the bottom apron and attach it to the apron with 2″ wood screws and wood glue, from the top of the plank and into the apron.

- Center and attach the other apron to the remaining plank with 2 1/2″ pocket hole screws and wood glue.

- Center and attach the apron to the top of the console with wood glue and 2″ wood screws from the top of the plank and into the apron.

- Cut the horizontal truss pieces to size and attach them to the top and bottom bases with 2 1/2″ finish nails and wood glue. The truss pieces should be flush with the leg base.

- Measure and cut the angle truss pieces to size. Attach them to the table base with 2 1/2″ finish nails and wood glue.

- Fill any nail holes with wood filler, give it a good sanding and add a finish! We added metal hardware to our console to customize it. Have fun and make it your own! Make sure to share your builds with us on social media and use #shanty2chic so we can share them too! Happy Building!


This is a very practical and well-designed project. A narrow console table is perfect for tight spaces like entryways or hallways, and I like how the design maximizes functionality without taking up much room. The clean lines make it easy to fit into different interior styles. It’s always inspiring to see space-saving furniture ideas alongside broader interior and material trends here: https://plywoodbazar.com/
A smart and versatile DIY build.
The Ryobi nailer that you posted states that it is compatible for up to 2” nails, but the plans for this table says to use 2.5” nails. Are you using a different gun or am I reading it wrong? Thanks!
I love it! What color are the walls and trim? I have been looking for the perfect color and have t had any luck yet.
Brilliant! These must be trending I’ve seen so many recently but this one has to be my favourite. It just looks so intriguing, I love the style. Great content! Jamie.
Would you be willing to share what brand and color paint is on the walls behind the furniture?
Where did you find those vases? I love the shape. Thanks!
Love the compact size and style of the table! Love it!
Love the small gold geo lamp! Is that cordless/battery operated? If so, where can I buy that? ? thanks!