Learn how to build this DIY Square Coffee Table with free plans by Shanty2chic!
This project is sponsored by Minwax. All opinions are mine.
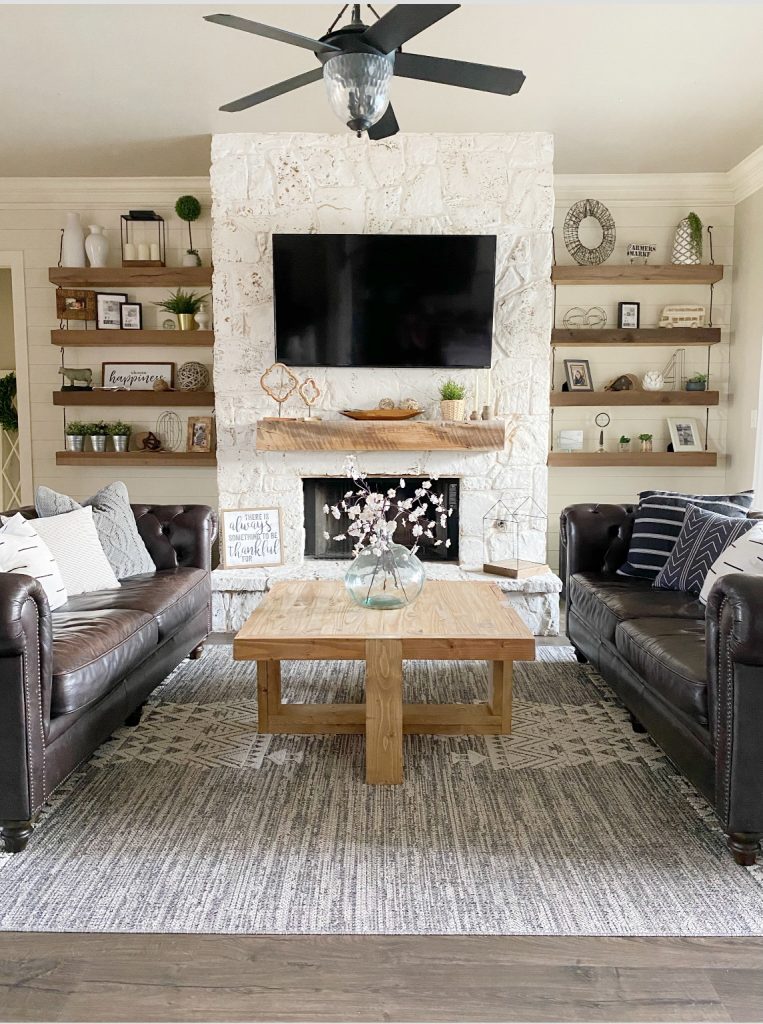
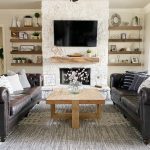
I am still on a mission to revamp rooms in my house by building new furniture! I’m working on the living room and starting with a new coffee table. My previous table was chewed up pretty bad by our puppy so it’s a great one to start with! We teamed up with Minwax to design and build this coffee table and I’m in love with the stain combo and the new finish I used to protect it!
Let’s get building!
How to build a DIY Square Coffee Table
Tools:
- Table Saw (optional)
- Miter Saw
- Drill
- Kreg Jig
- Brad Nailer
- Sander
Supplies:
- 5 – 2x6x8 Pine or Framing Lumber
- 2 – 2x4x8 Pine or Framing Lumber
- 2 – 1×24″x48″ Project Panel
- 1 1/4″ Pocket Hole Screws
- 2 1/2″ Pocket Hole Screws
- 1 1/4″ Brad Nails
- 2″ Brad Nails
- Minwax Wood Finish in Classic Gray
- Minwax Wood Finish in Golden Oak
- Minwax Soft Touch Finishing Wax
- Wood Glue
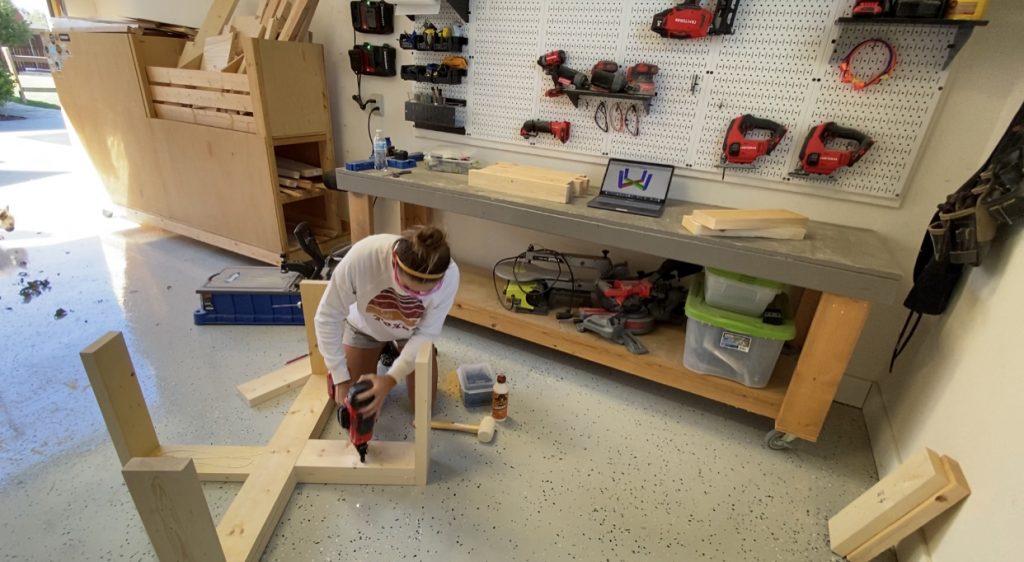
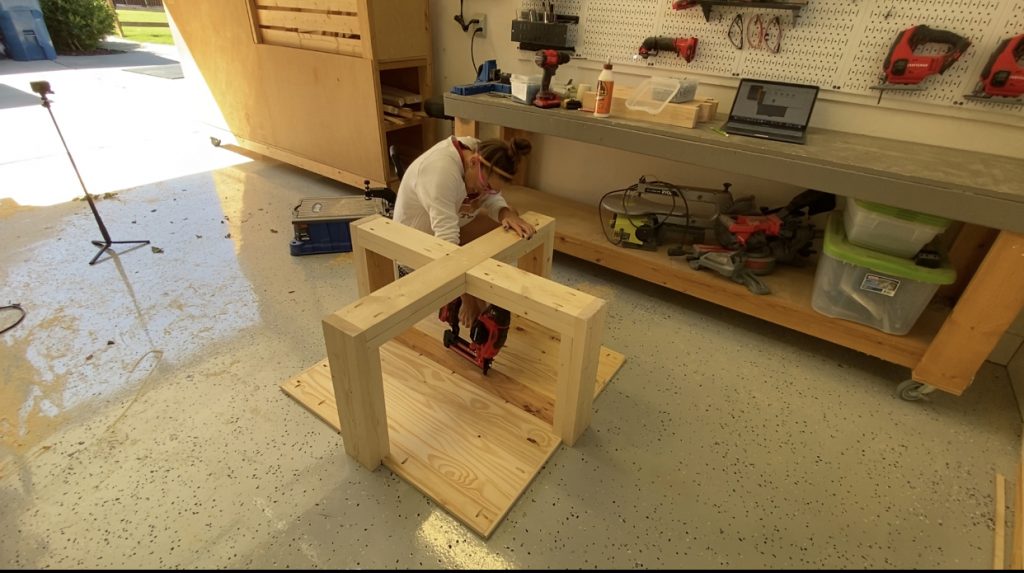
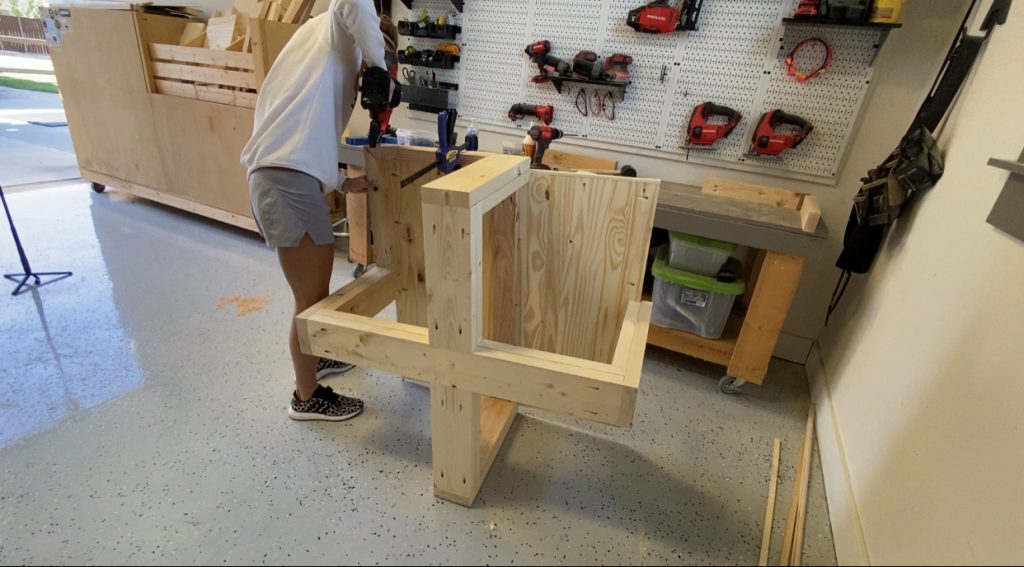
Building the Base
Step 1
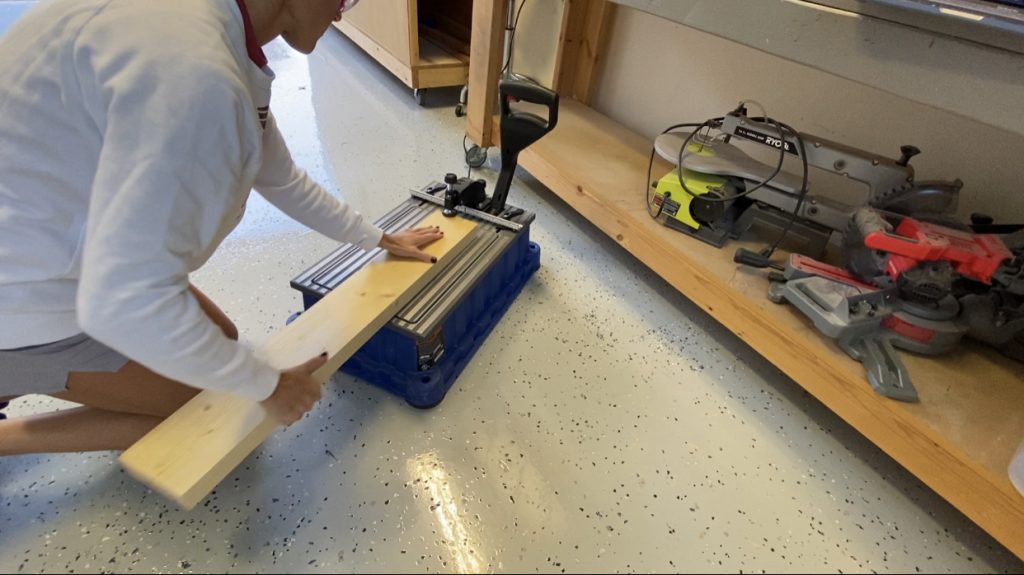
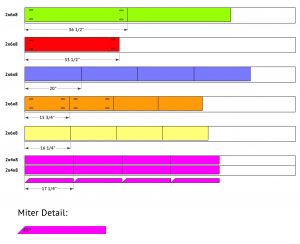
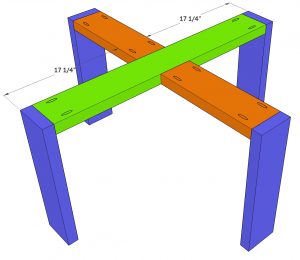
Cut the leg pieces to size and drill 1 1/2″ pocket holes according to the cut list.
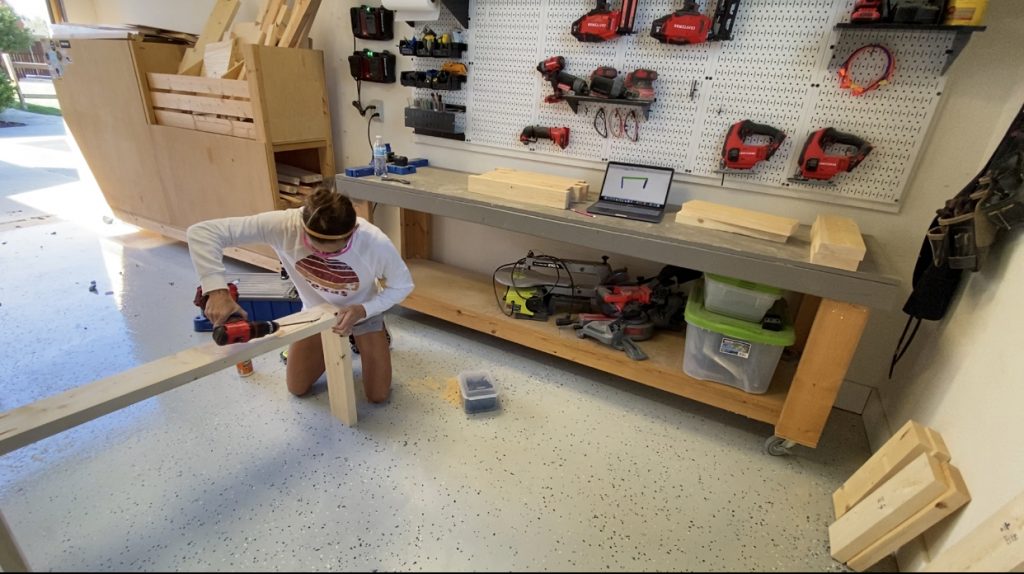
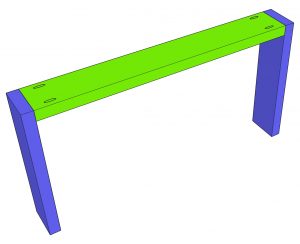
Attach the bottom runner to two legs with 2 1/2″ pocket hole screws and wood glue.
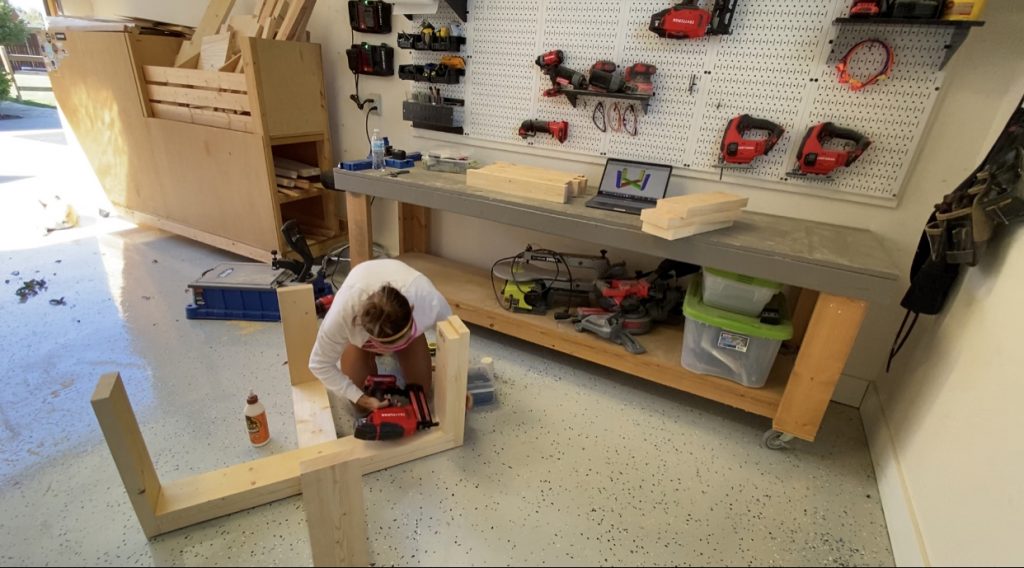
Step 2
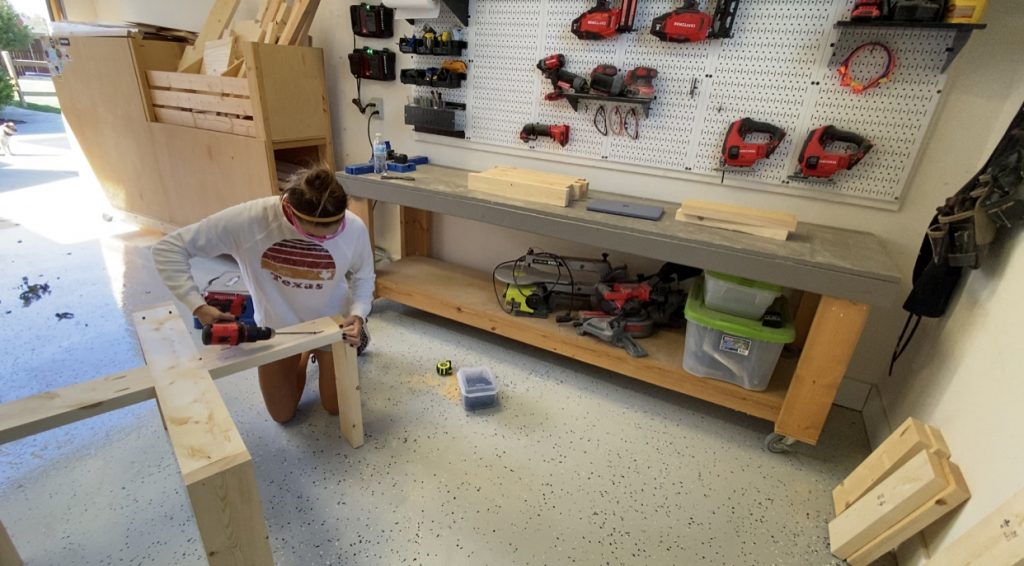
Attach the two bottom short runners to a leg and attach the short runners to the center of the long runner with 2 1/2″ pocket hole screws and wood glue.
Step 3
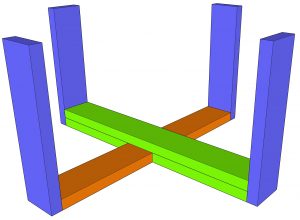
Flip the table base right-side-up and attach the second long runner to the top of the bottom runner with 2″ brad nails and wood glue.
Step 4
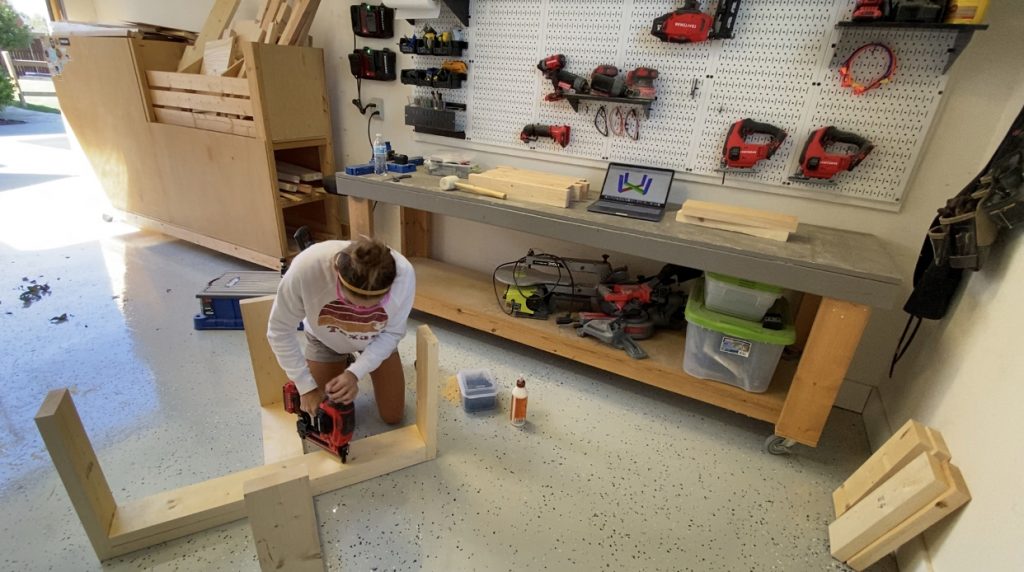
Attach the second short runners to the top of th ebottom short runners with 2″ brad nails and wood glue.
Step 5
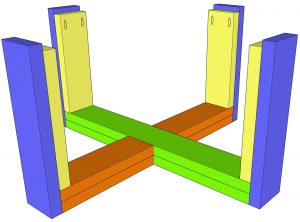
Attach the short legs to the long legs with 2″ brad nails and wood glue. The bottom of the short legs should be flush with the top of the long runner.
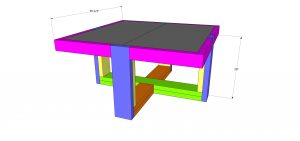
Building the Table Top
Step 1
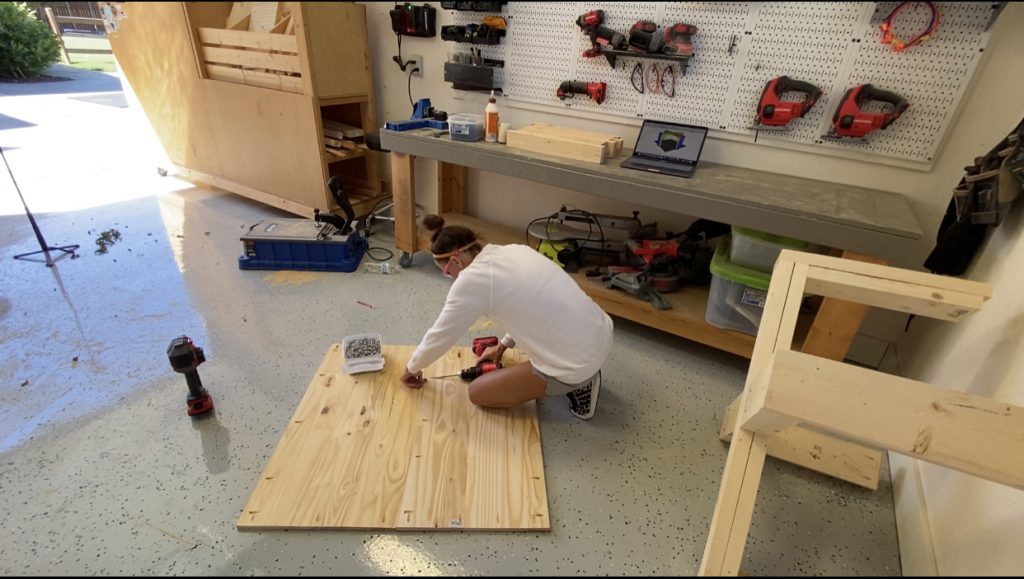
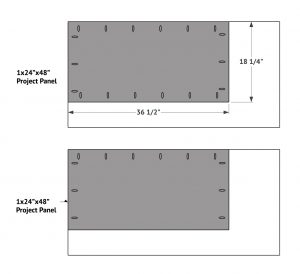
Cut the top project panels to size and drill 3/4″ pocket holes around all edges of one and 3 edges of the other. Attach them together with 1 1/4″ pocket hole screws and wood glue.
Step 2
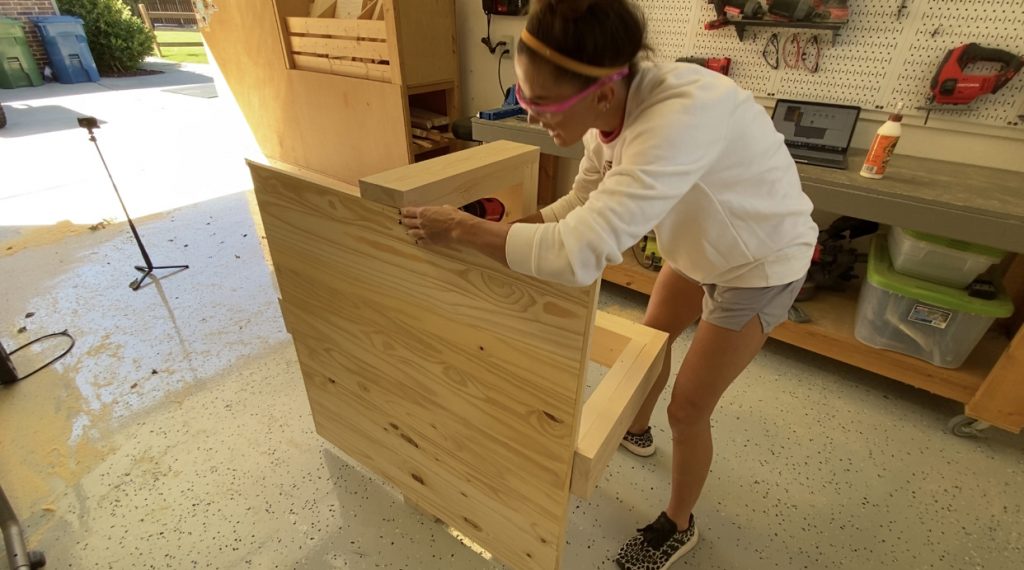
With the tabe top upside down, flip th ebase upside down on top of it, so that the short legs are resting on the top of the table top. Attach the table top to the short legs with 1 1/4″ pocket hole screws and wood glue.
Step 3
Cut the support piece to size and drill 1 1/2″ pocket hole screws at both ends. Attach it over the table top seam, to the legs with 2 1/2″ pocket hole screws and wood glue and attach it to the table top with 2″ brad nails.
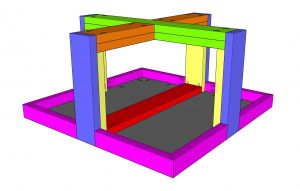
Table Top Trim
Step 1
Measure and cut the trim pieces to size and drill 1 1/2″ pocket hole screws to each square end. Attach them to the table top with 1 1/4″ pocket hole screws and attach them to the table legs with 2 1/2″ pocket hole screws and wood glue. Add a few 2″ brad nails and wood glue at the corners to join the 45° angles together.
The Finish!
Step 1
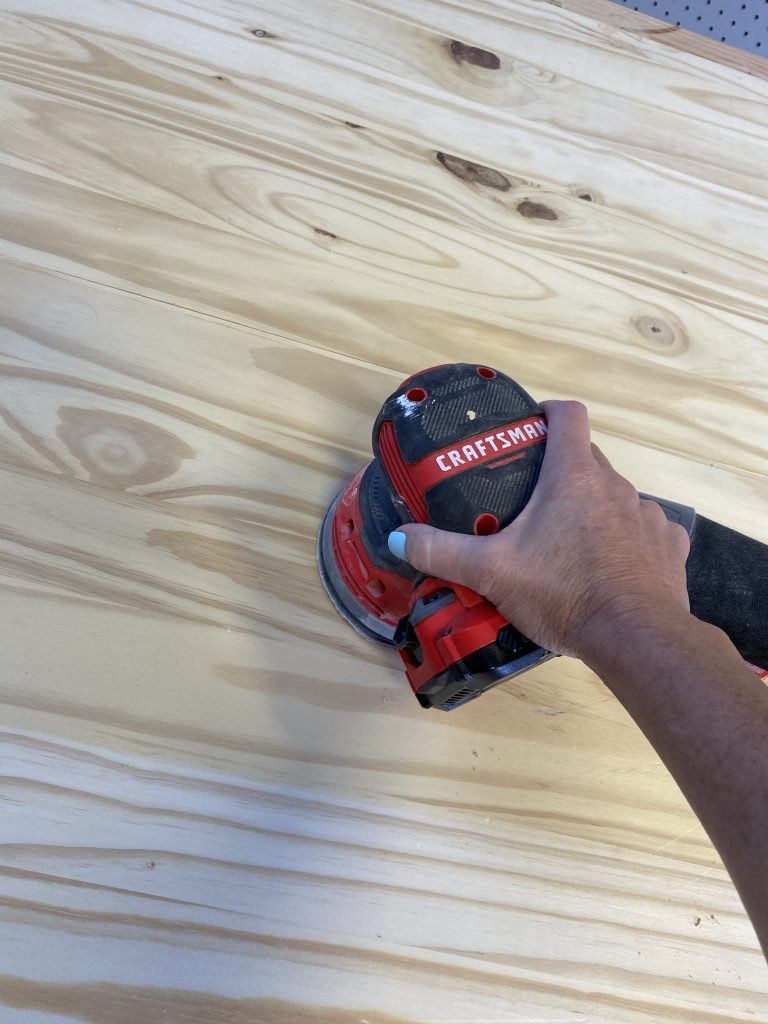
Once the table is built, fill any exposed pocket and nails holes with wood filler and sand it down with 80-grit sandpaper followed by 120-grit and then 220-grit. Once the sanding was done I used a Minwax pre-stain wood conditioner.
Step 2
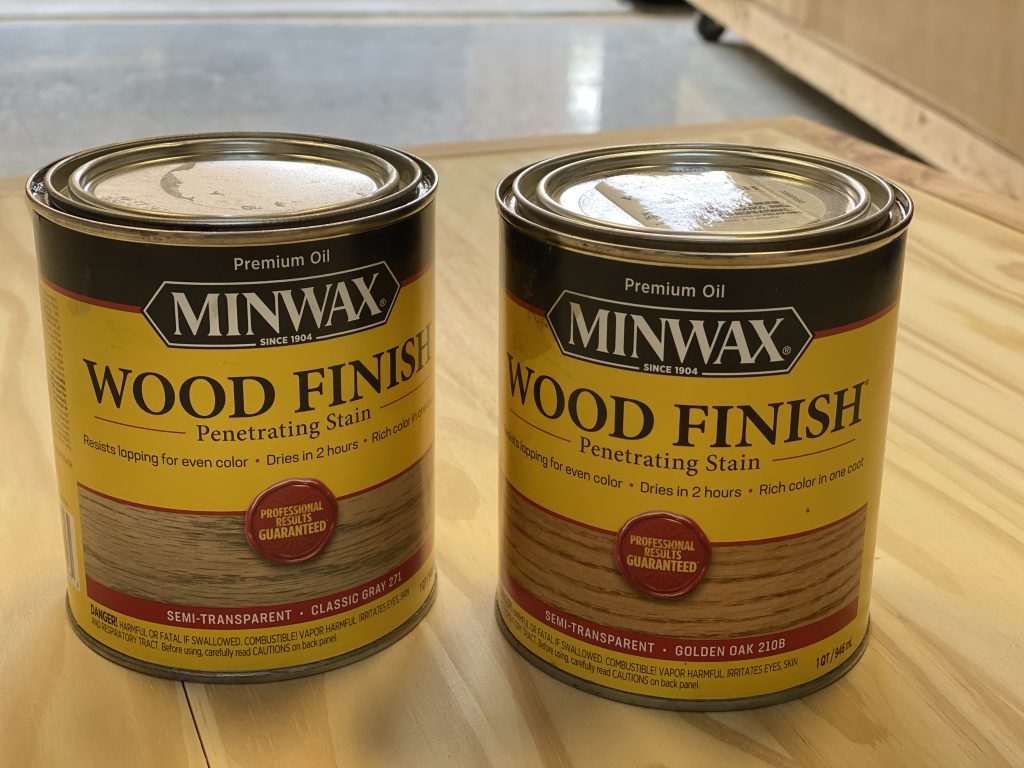
For the finish, I combined 2 parts Minwax wood finish in Golden Oak with 1 part Classic Gray.
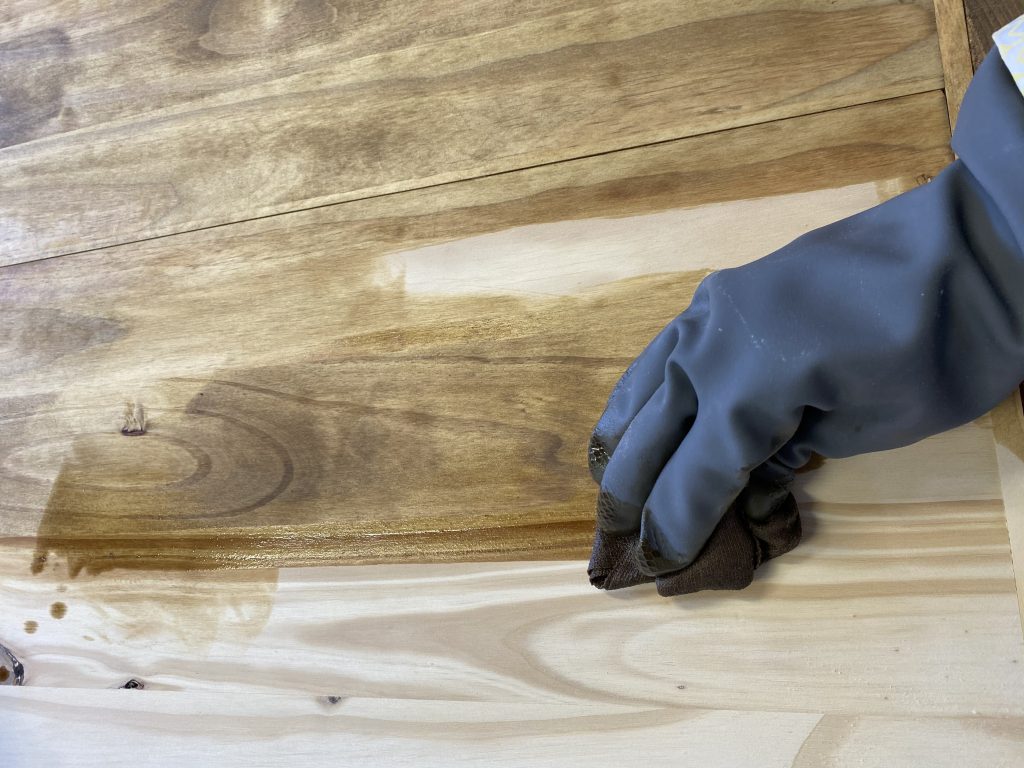
Their new Wood Finish line is so easy to use! Just wipe the stain with a rag. It only requires one coat and dries in a few hours!
Step 3
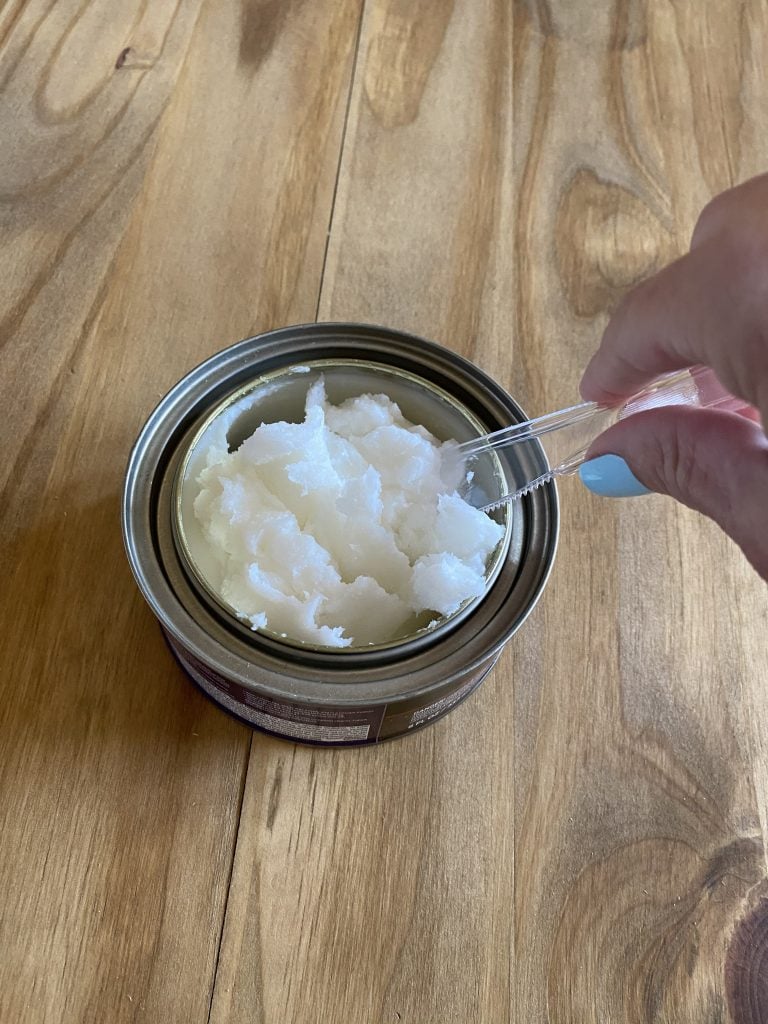
To protect the finish I tried a new product! Minwax Soft Touch Finishing Wax. This stuff is awesome and so easy to use!

Just open the lid and stir the wax.
Then, wipe the wax over the wood in a circular pattern.
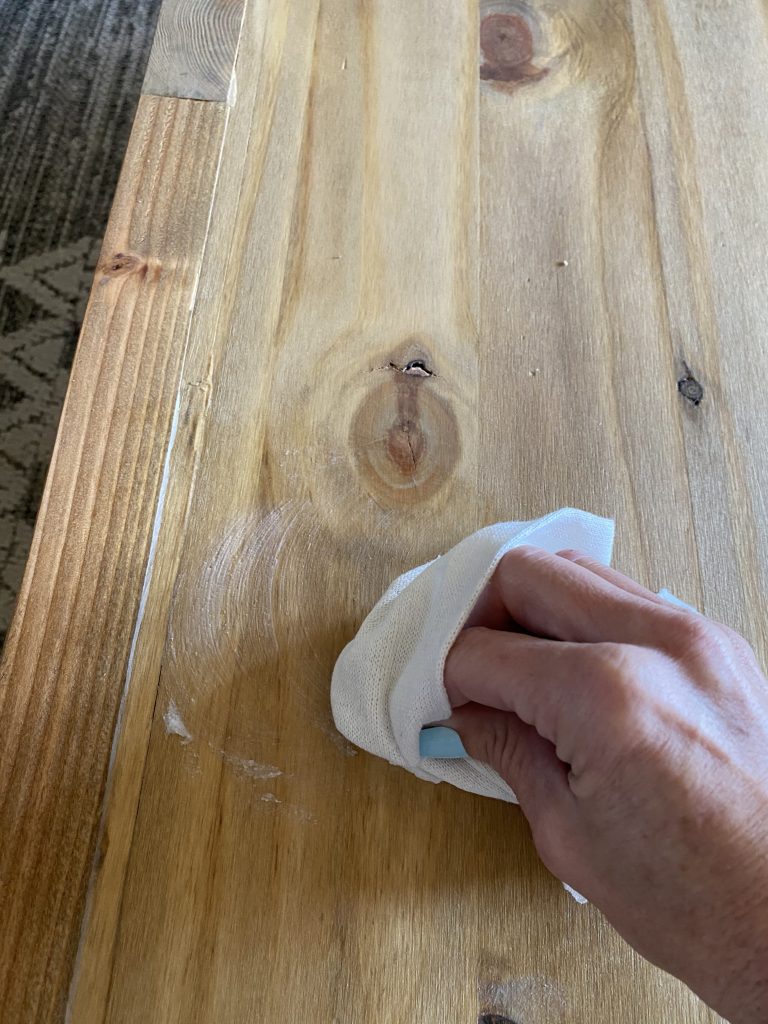
Let the wax sit for 5-15 minutes and buff it with a clean cloth. That’s it! I love the matte finish and it was literally no mess! It works on stained, painted and raw wood!
Click here to find a Minwax retailer near you!
Happy Building!
DIY Square Coffee Table
Tools
- Table Saw (optional)
- Miter Saw
- Drill
- Kreg Jig
- Brad Nailer
- Sander
Instructions
Cut List
- Cut List 1

- Cut List 2

Building the Base
- Cut the leg pieces to size and drill 1 1/2" pocket holes according to the cut list. Attach the bottom runner to two legs with 2 1/2" pocket hole screws and wood glue.
- Attach the two bottom short runners to a leg and attach the short runners to the center of the long runner with 2 1/2" pocket hole screws and wood glue.

- Flip the table base right-side-up and attach the second long runner to the top of the bottom runner with 2" brad nails and wood glue.

- Attach the second short runners to the top of th ebottom short runners with 2" brad nails and wood glue.

- Attach the short legs to the long legs with 2" brad nails and wood glue. The bottom of the short legs should be flush with the top of the long runner.

Building the Table Top
- Cut the top project panels to size and drill 3/4" pocket holes around all edges of one and 3 edges of the other. Attach them together with 1 1/4" pocket hole screws and wood glue.

- With the tabe top upside down, flip th ebase upside down on top of it, so that the short legs are resting on the top of the table top. Attach the table top to the short legs with 1 1/4" pocket hole screws and wood glue.

- Cut the support piece to size and drill 1 1/2" pocket hole screws at both ends. Attach it over the table top seam, to the legs with 2 1/2" pocket hole screws and wood glue and attach it to the table top with 2" brad nails.

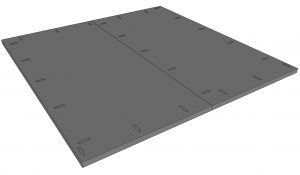
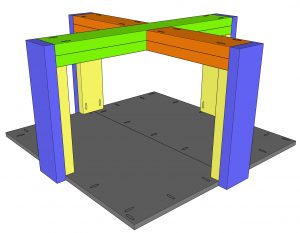
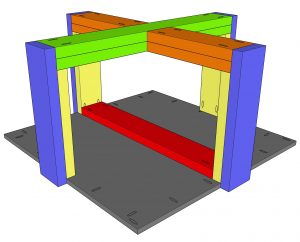
Table Top Trim
- Measure and cut the trim pieces to size and drill 1 1/2" pocket hole screws to each square end. Attach them to the table top with 1 1/4" pocket hole screws and attach them to the table legs with 2 1/2" pocket hole screws and wood glue. Add a few 2" brad nails and wood glue at the corners to join the 45° angles together.

The Finish
- Now just fill your pocket holes and nails holes with wood filler, sand it down and add a finish! Make sure to share your builds with us on social media and use #shanty2chic so we can share them too! Happy Building!

Find more DIY Coffee Table Plans that fit your skill level, style and size.


This square coffee table design looks clean and well-structured—great mix of simplicity and everyday functionality. For builds like this, maintaining a flat surface and strong joinery is essential for long-term durability. The choice of core material also plays a big role in how well the piece holds up with regular use. Using well-engineered boards like quality plywood can help ensure stability and consistency over time. We’ve come across useful material insights on platforms like https://plywoodbazar.com/
for similar furniture and interior applications. Very practical and well-executed project!
I’d love to build this but can’t seem to find the link to the printable plans. Maybe I’m missing it?
There is no place to click to get to the plans?
Hello, do you have a printer friendly version of these plans? I love following you guys and all your projects 🙂
This table is simple and striking. Really like it. But I’m still curious as to why you no longer use Ryobi tools??