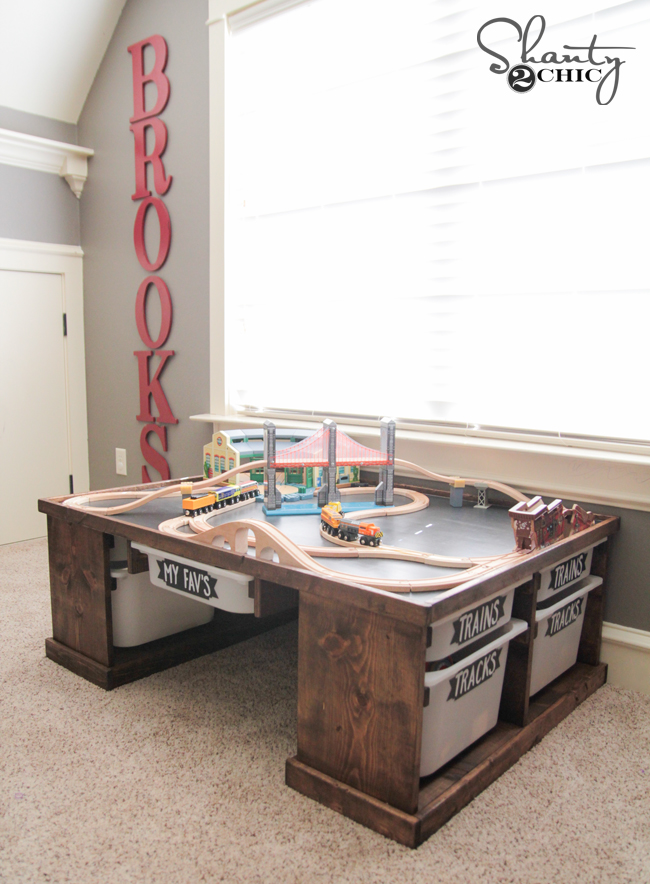
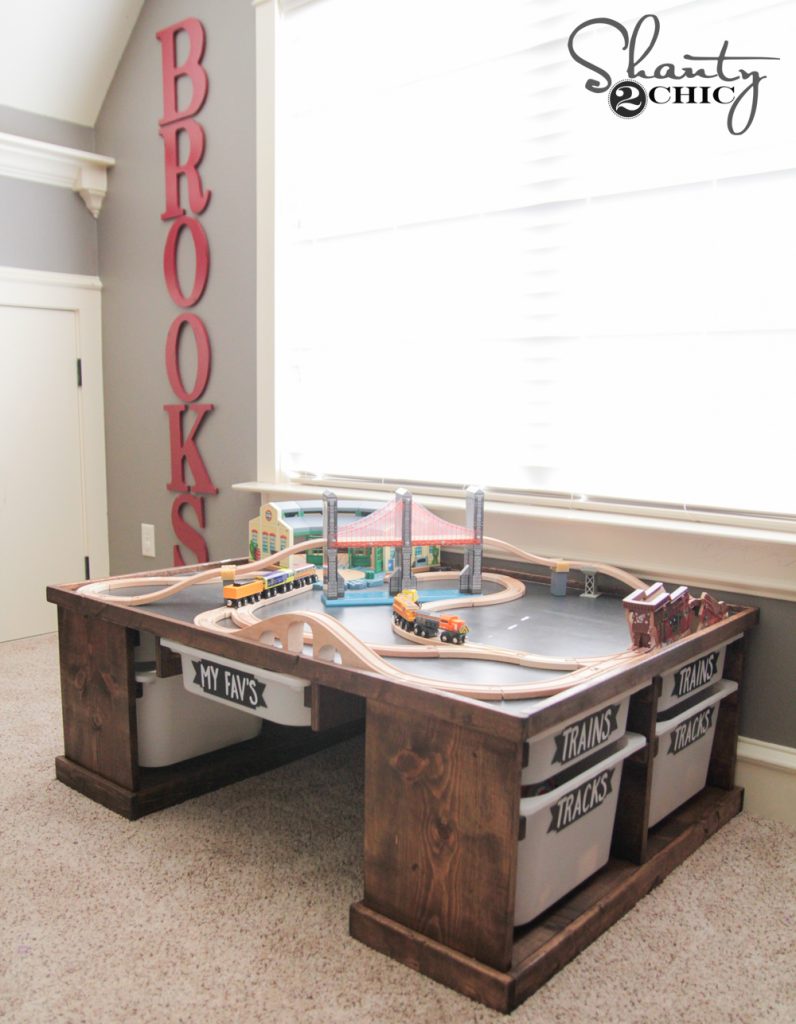
Hey hey friends! I set out on a mission a few months ago to build my now 4 year old the perfect train table to satisfy his love obsession. I am pleased to report that he has been using the train table now since his birthday in October and he LOVES it! Check out our new DIY Train or Lego Table! Just in time for Christmas!
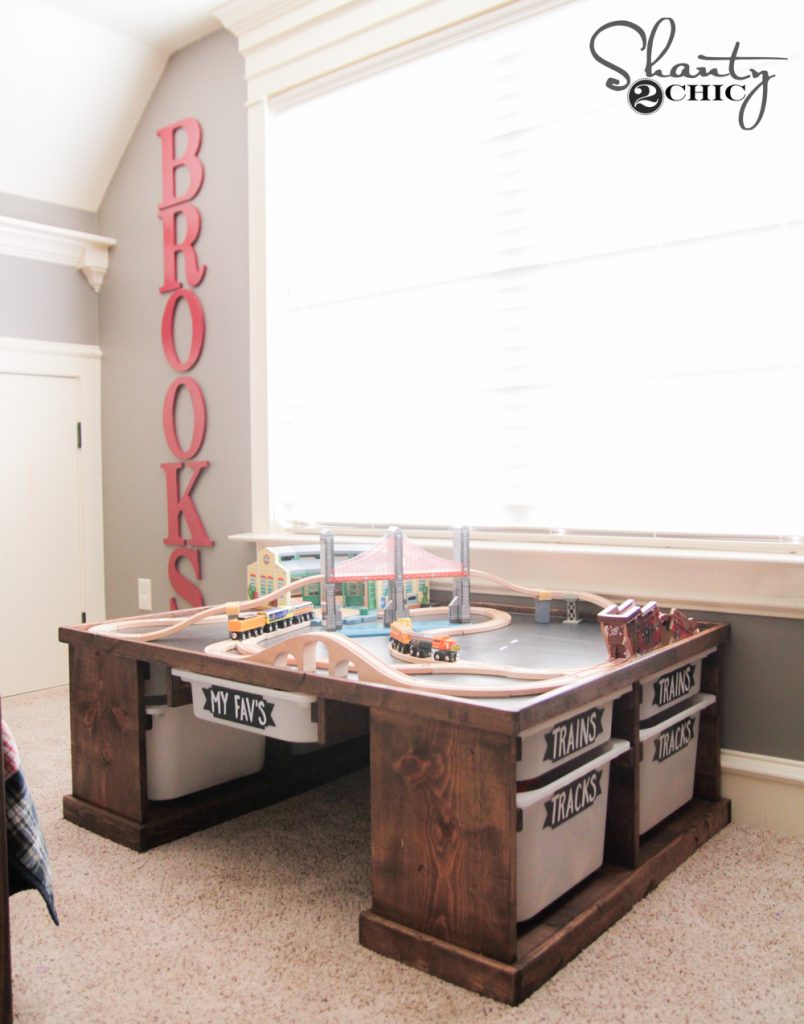
Too legit, right?? I designed this table to work with Ikea’s Trofast Storage boxes. I used the same boxes to design his toy storage unit and LOVE them. They hold up well and provide amazing storage for very little money. They come in a few different colors which allows you to customize a bit. The build of this table is so simple! I absolutely would recommend it as a beginners project with the help of a Kreg Jig![]()
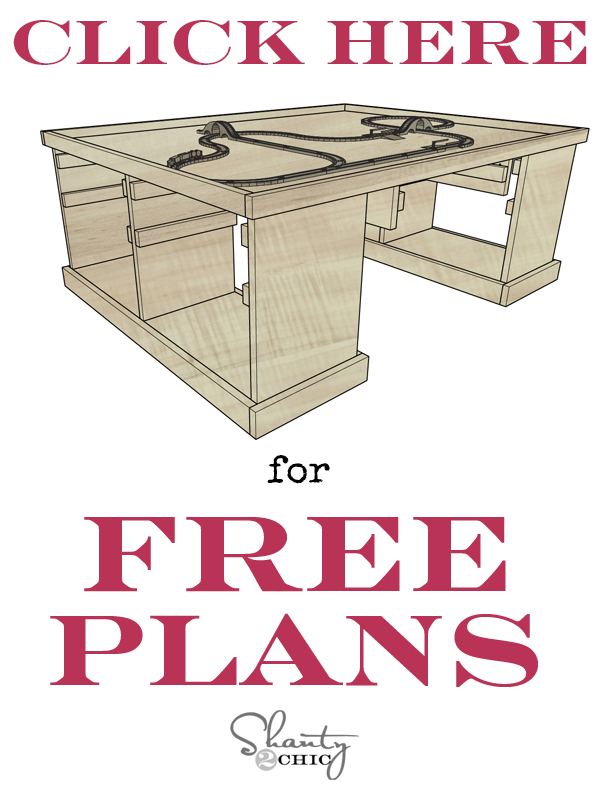
. As always, I will walk you through the build below, and you can download and print the free plans by clicking HERE or the button below!
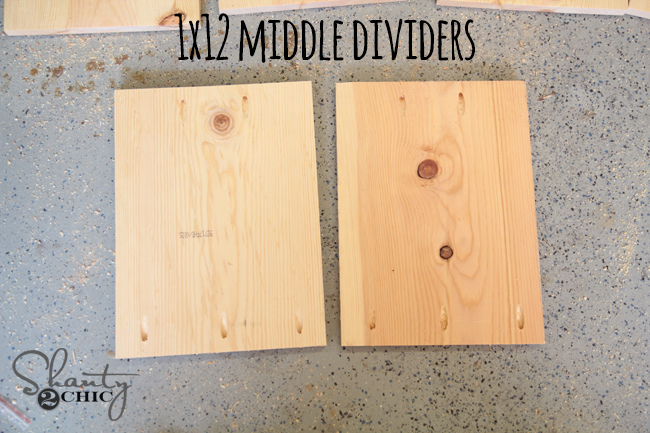
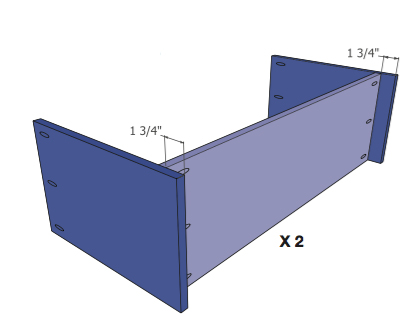
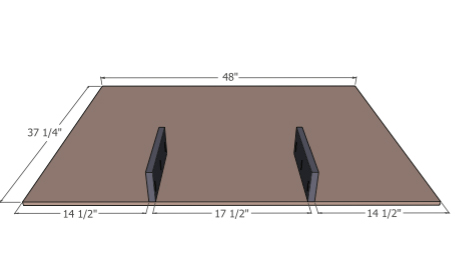
The bases are constructed using 1×12. You will first make your cuts for the base pieces as well as the sides and middle dividers. If your miter saw won’t make a 12″ cut, just make one pass and then flip your board to complete the cut.
After making my cuts, I added pocket holes. I made these using my K5 Kreg Jig![]()
Friends… Have you put this baby on your Christmas list? You need to. You will thank us.
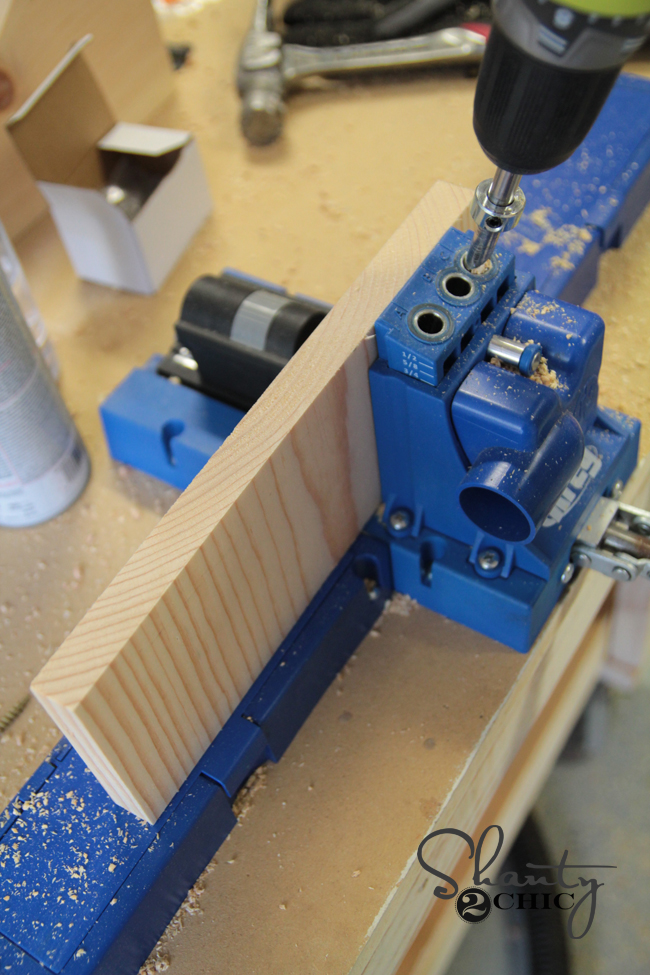
Most of the pocket holes you make will be 3/4″. There will be some adjusting for the holes that connect to the top of the table because the material for the top is only 1/2″ thick.


Once those pocket holes are made, I attached the sides to the bases. I used 1.25″ pocket hole screws for this part.

You will have two sides that look like this…
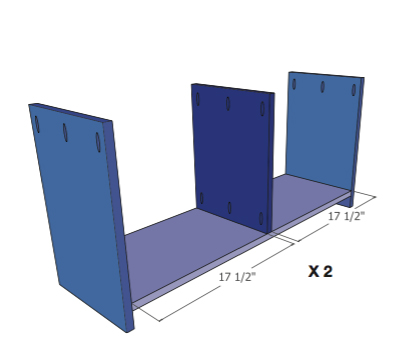
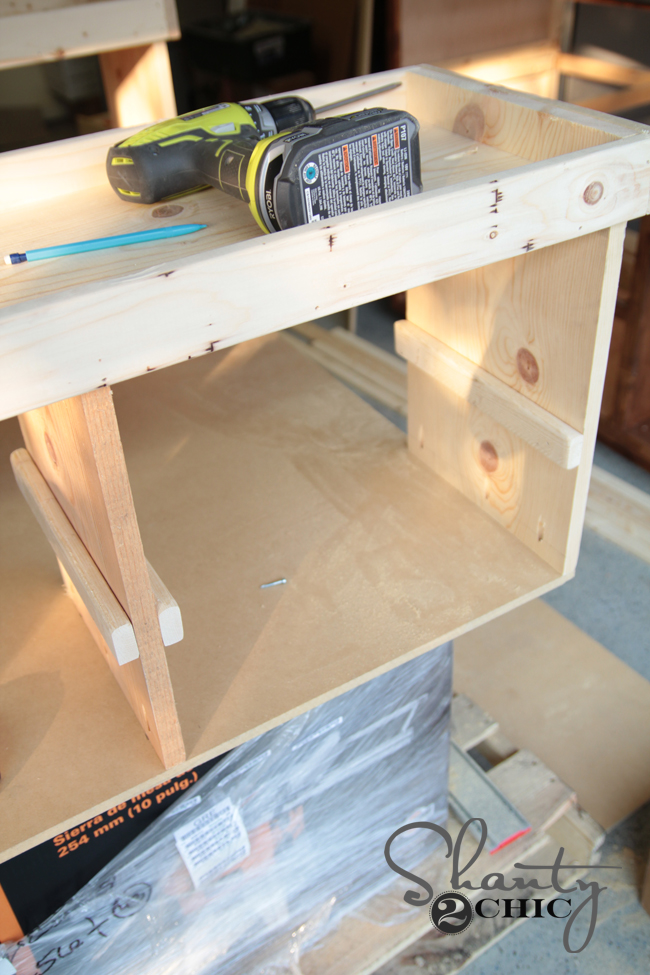
The middle dividers will be added next into the base piece. Make sure this is centered.
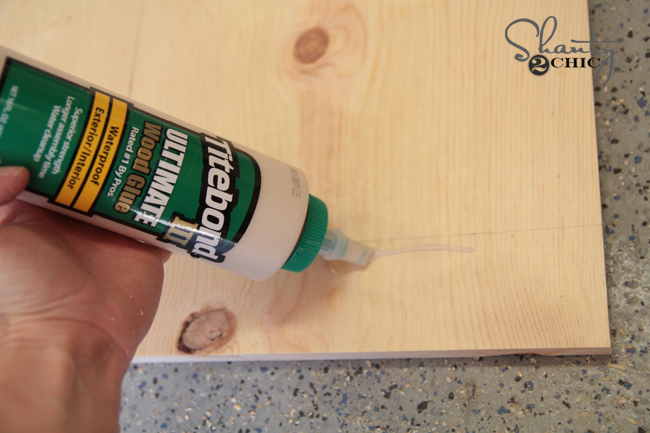
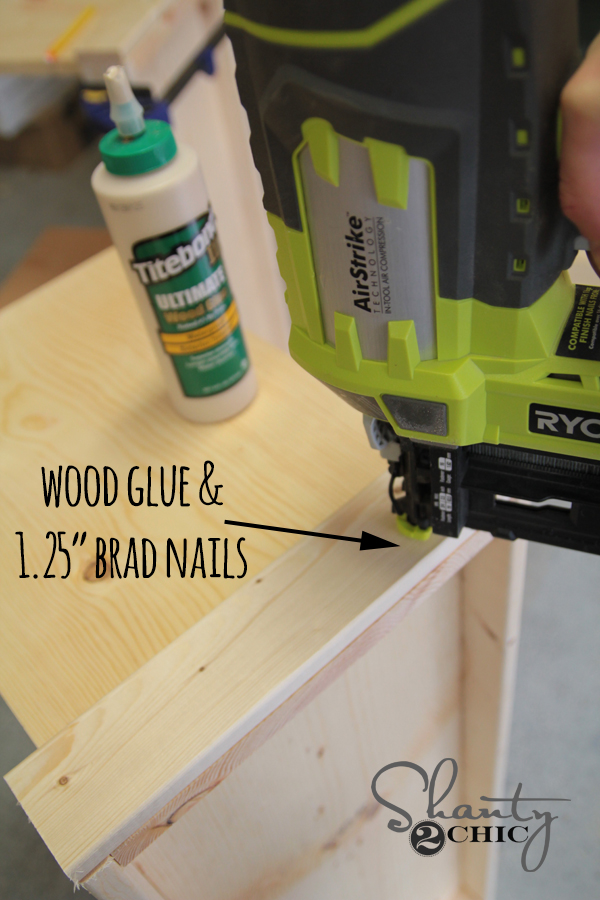
Next, I trimmed around the bottom of each base piece. I used wood glue and 1.25″ brad nails with my Ryobi Airstrike 18g brad nailer for this part.
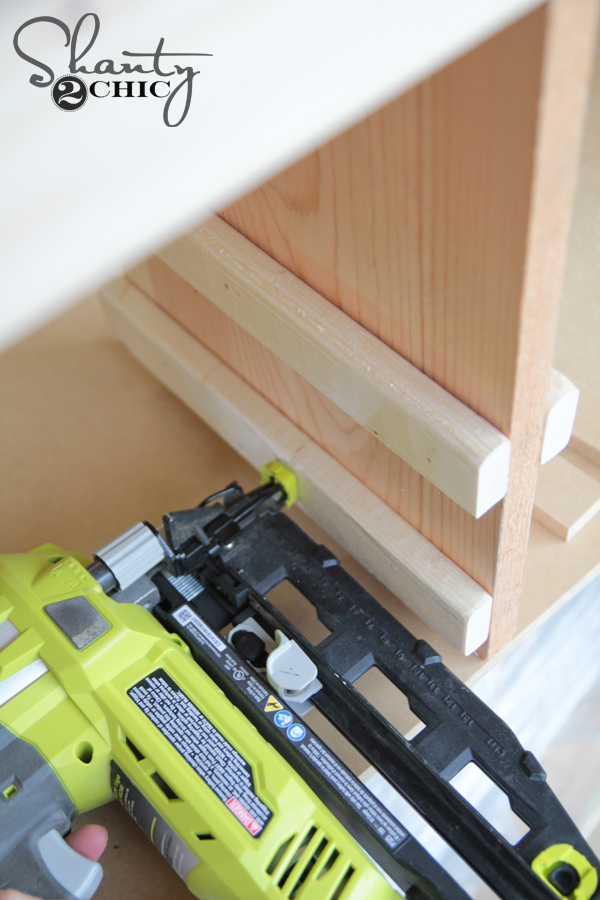
I added the cleats next. These are the 1×2 pieces that will hold the baskets in place. I used wood glue and nails on this part as well. The plans call for this part later, but I found that the 1×2 were easier to attach if I did them before attaching the bases to the top.
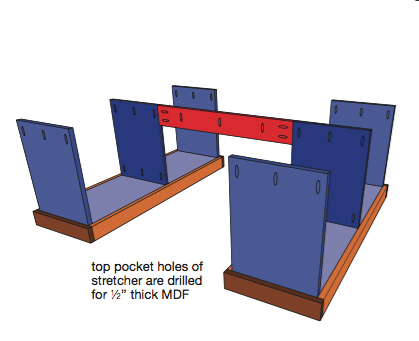
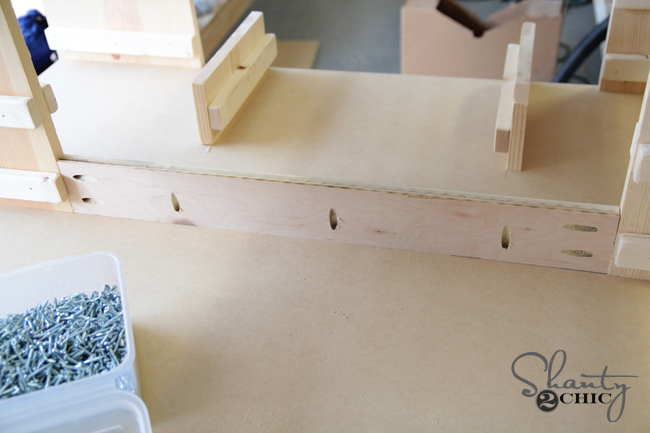
I attached a stretcher between both bases at this point using 3/4″ pocket holes and 1.25″ pocket hole screws. This will help support the top of the table as well as stabilize the two bases. It should look like this.
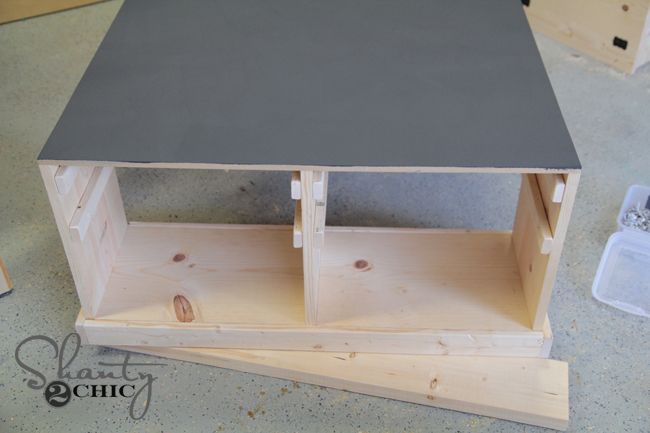
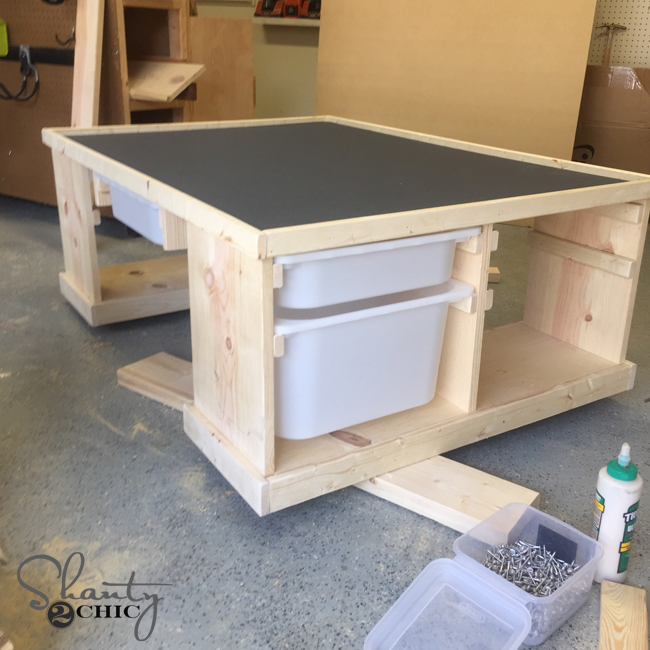
Now to add the top! I used 1/2″ MDF for the top of my table. Hardwood plywood is another great option. I loved how smooth the MDF was for him to play on. I laid the top down and put the base onto it to attach it with 1″ pocket hole screws. Do you like my handy workbench under it? I improvised 😉

I also added one more tub holder to the front of my table. I knew I would be putting my table up against a wall, or I would have done another one on the opposite side of the table. If you are putting your table in the middle of a room, I would totally suggest that for more under table storage.
Once that was all attached, I flipped the table upright and painted the top. I chose to use Rust-Oleum Chalked paint in charcoal. You can find it at Home Depot. Once it dried, I used Varathane Triple Thick Polyurethane over the top to keep it from scratching.
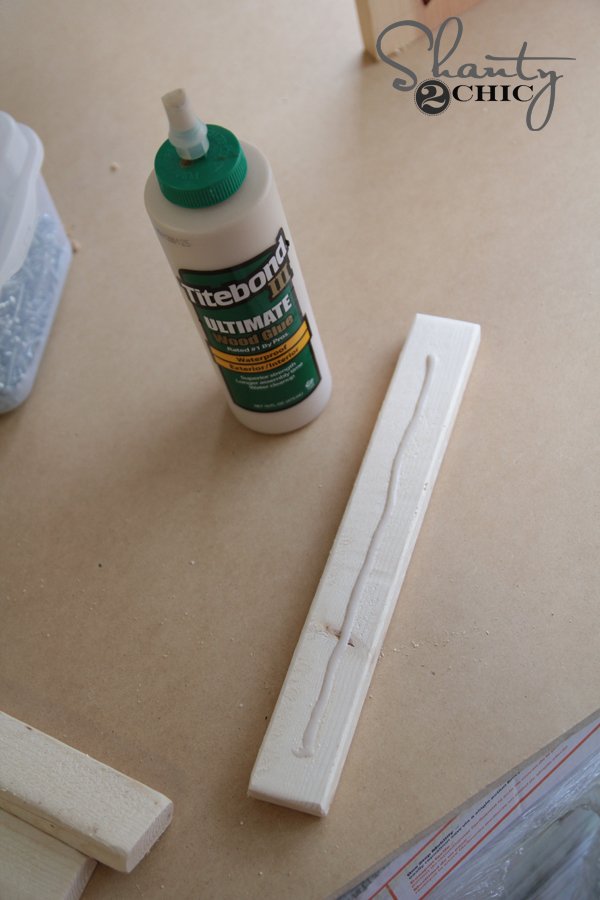
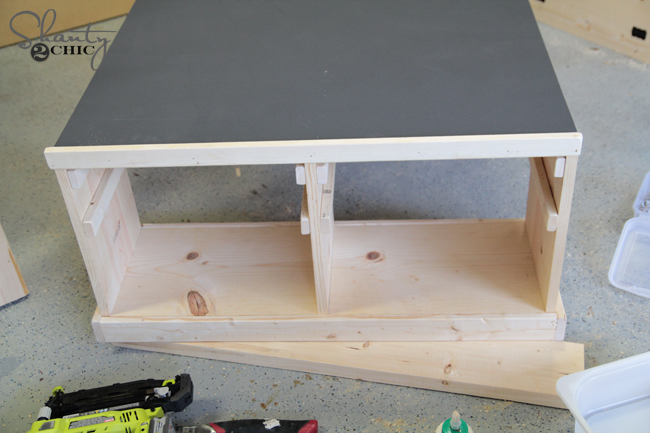
I added the trim pieces next. I used wood glue and 1.25″ nails to attach all of these.
Now to test it out with the baskets…. Perfection!
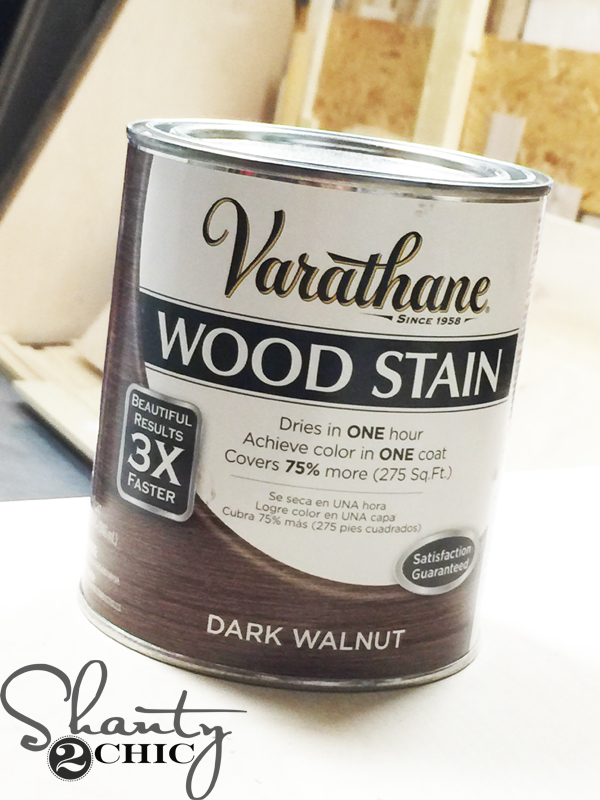
I stained the whole thing using Varathane Dark Walnut Stain from Home Depot to match the rest of his room.
I used my Silhouette Cameo to create the labels for the baskets. I LOVE this machine. Ive had mine for years and use it all the time. It’s one of my favorite inside “tools” 😉
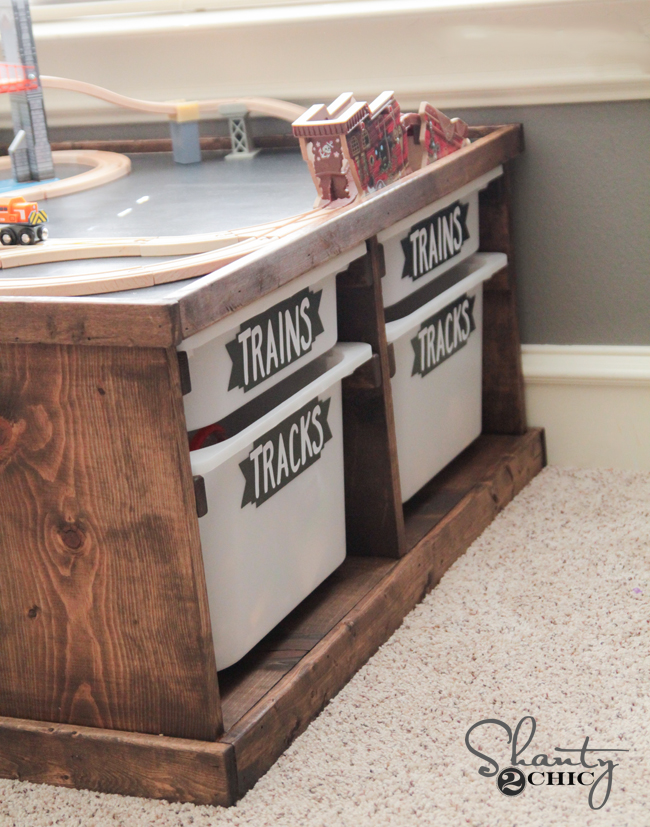
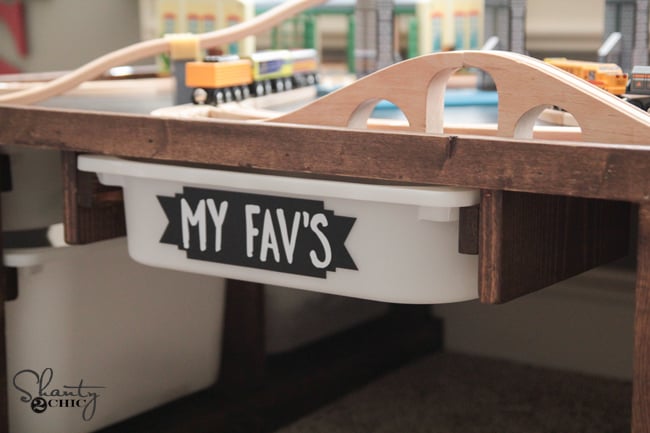
And here it is… All finished up!
Thanks so much for stopping by guys! Let me know if you have any questions at all and have fun building it!


So do the bins fit with the current design? Assuming I could just double up on the cleats to ensure the width is accurate.
What type of wood to use? It says white board but does that go by a different name? Pine? Poplar?
Hi There, this is a great design. Would you be comfortable sharing plans?
There’s so many different size trofast boxes/bins. Can anyone share which size boxes and how many of each to get for this table?
Measurements are wrong for the bins size. Not sure if Ikea changed the size, but new measurements and blue prints need to be posted. Lots of people making this mistake.