Hey friends!
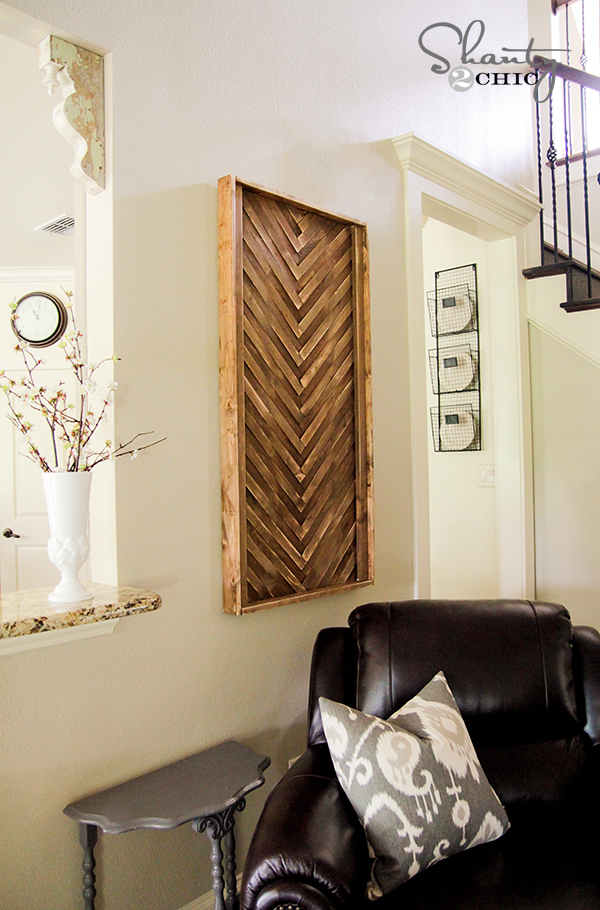
I hope you all had an awesome Memorial Day weekend! I had a great time with my fam, and also managed to throw a little something together for my living room! Here is my DIY Wall Art I made from wood shims!

How fun is that??
This is really simple!
I started with a 2′ x 4′ piece of plywood like this…
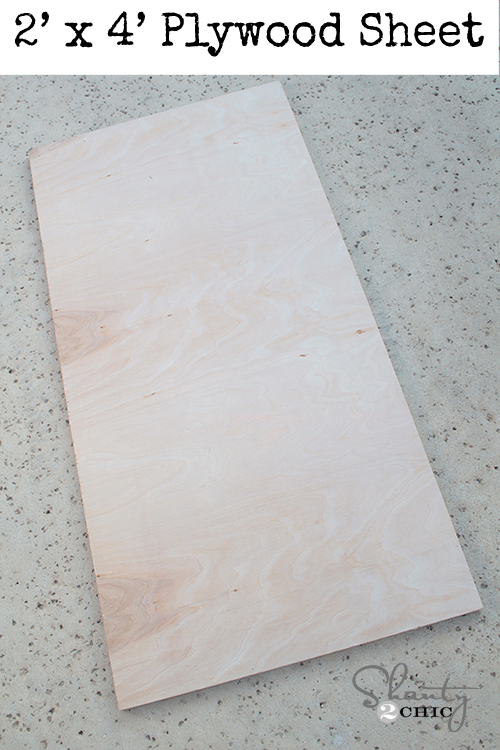
I kept mine this size and didn’t trim it down at all.
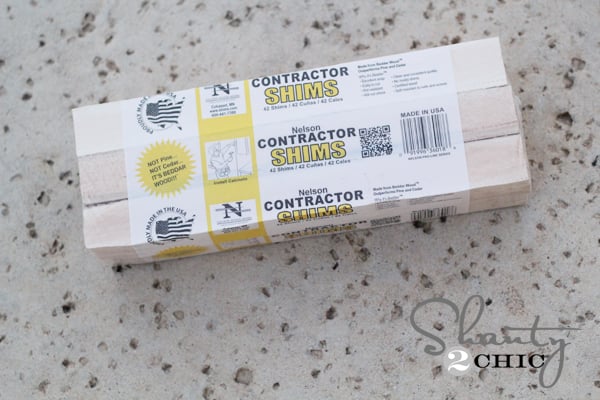
I bought a couple packs of wood shims from Lowe’s. ** There are two sizes of wood shims. The ones photographed are smaller shims, but I used the LONGER shims for this project. I somehow managed to forget a good photo, but this is what wood shims are and they can be found in the lumber or trim aisle.
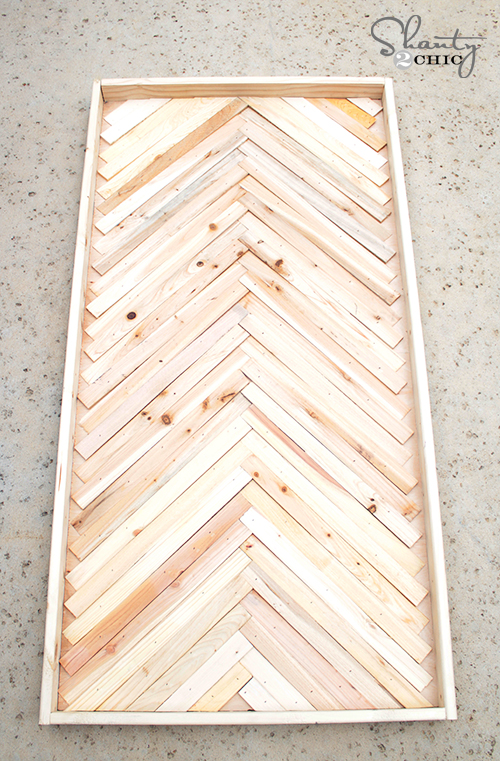
I drew a line down the center of my board to mark the middle. I laid my shims down like this and rotated the direction they went after every 2 shims. Shims are thicker on one end, so this gave it a really fun, textured look.
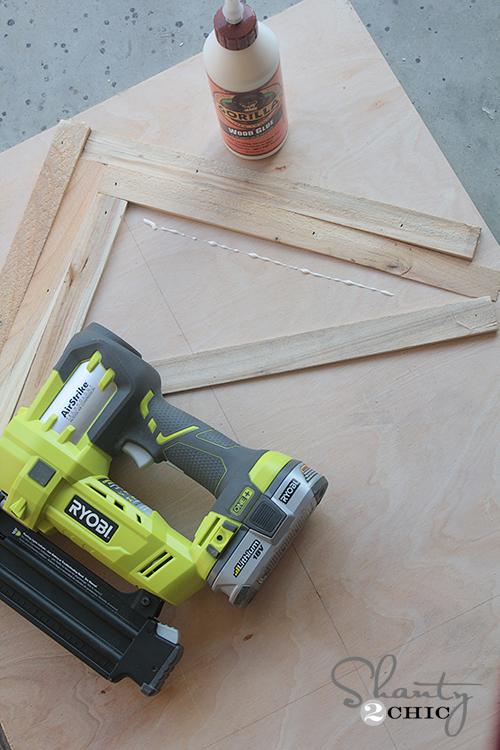
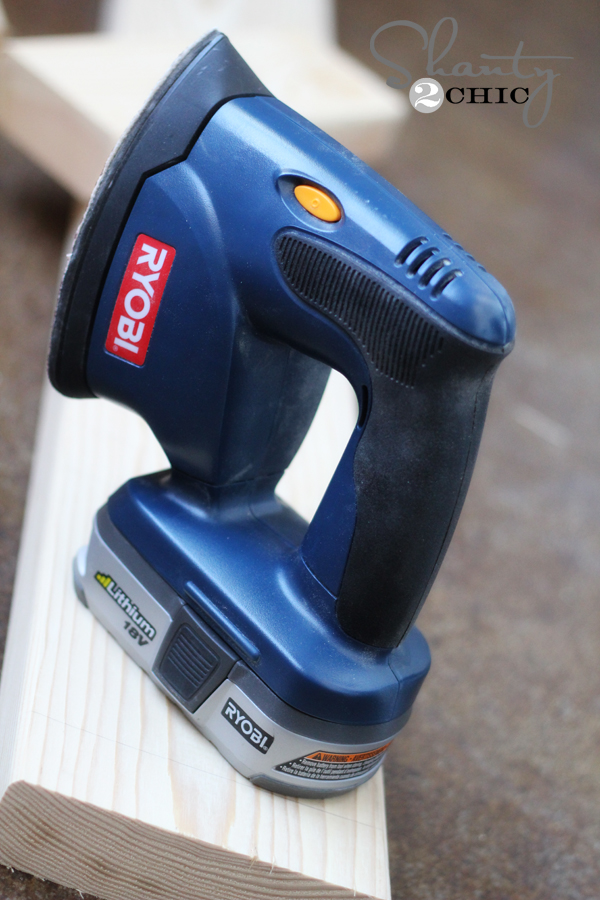
I used my Ryobi AirStrike Nailer and Gorilla Wood Glue to attach them to my board.
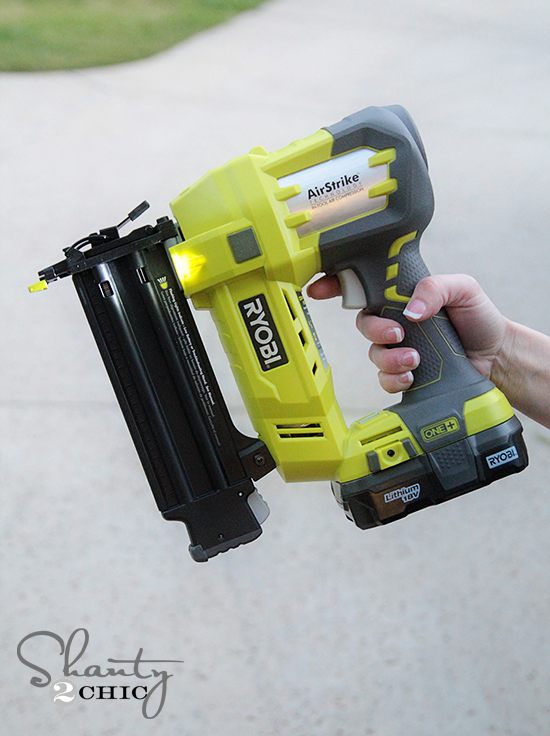 I LOVE LOVE LOVE this tool! It will shoot up to 2″ brad nails and you don’t have to hook it to an air compressor! Legit. Plus, it uses the same battery as my drill making it super convenient.
I ran the shims off the shorter edges like this. I wanted to make sure my whole sheet of plywood was covered.

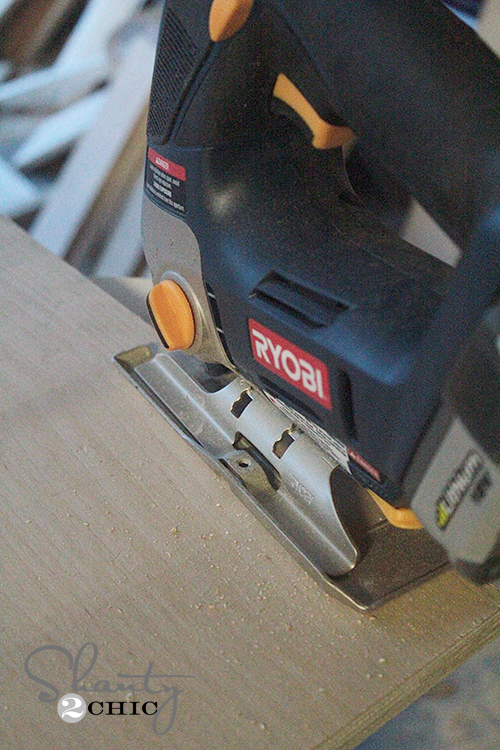
Next I used my Ryobi Battery Jig Saw to trim off my extra edges! This part was simple because I just followed the line of the plywood!
I used 1×3″ furring strips to trim my edges. I did the short sides first and then the longer sides.
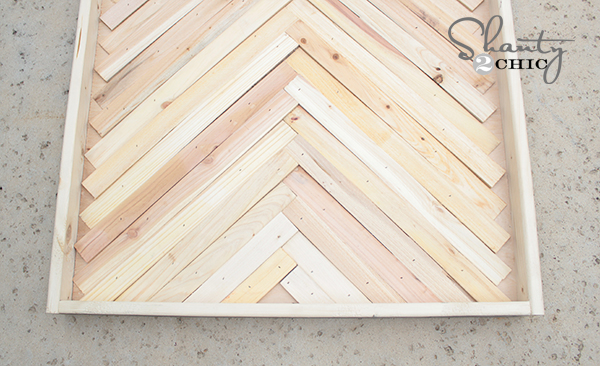
Closer shot…
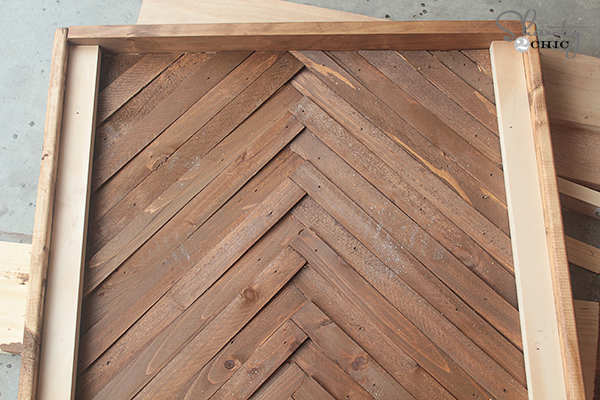
At this point I gave the whole thing a coat of one of my favs…
Rust-Oleum Ultimate Wood Stain in Early American

I knew it would be a booger to get into the gaps once I trimmed the top so I went out of order!
Finally, I added 1×2″ furring strips to the sides to cover my rough edges like this!
I stained those pieces and let them dry before I distressed it a bit! I use my Ryobi Corner Cat finish sander to distress the edges…
Once again… Another amazing tool that you need to add to your line up! This guy is GREAT for giving things a distressed edge in seconds. And… It runs on that same battery as the drill too! LOVE.
I added some D-Rings to the back of the finished art and hung it up! Make sure to add an anchor in the wall if you can’t attach to a stud.
Here are a few more pics!

Hope you LOVE it as much as I do! I would love for you to share and PIN this baby below!
Thanks so much for stopping by! Let me know if you have any questions at all!
~Whitney


I love this, it’s beautiful and elegant!
Thanks for the easy to follow and understand tutorial.
Working on this now! What size nails were used?? Thanks y’all!
Saw this awesome piece on pinterest and fell in love. Just finished Makin mine and I already want to make another one! So many fun options and easy to do! I was hoping to post a picture but it’s not letting me.
How did you attatch the trim? I have the whole thing done but I’m having trouble with the border. thanks
April and Stephanie, for the inner trim I nailed it from the front right on top of the shims. (I have a nail gun that I used). Not sure if just glue would hold it or not, I haven’t tried just glue. For the very outer trim I nailed that right into the inner trim pieces and also tried to nail it into my plywood. I think nailing it is necessary for strength. Hope that helps!
What size finish nails were used for this? Thanks!
What size finish nails were used for this project? Thanks!
What size nails for this project? Thanks!
You are a genius! I love it!
Would love to make an entry table top out of this with glass on top! Will have to get to get to work on that! Thanks for the inspiration! Love your blog!
Can you tell me how thick your plywood is? My husband thinks the nails would go through the back.
She said it shoots up to two inch brad nails, but that plywood would probably be at least 1/2” if not 3/4” thick, because you want to make sure it lays flat. Thinner plywood can warp. So, I’m sure it’s thicker plywood and shorter brad nails.
Trying this now and having some difficulties since the directions were so vague. First, for the people who mentioned it, you really can’t do this without all the power tools. My qualms – I don’t understand why there is a center line when the staggered pattern doesn’t really call for lining anything up against it. The most important thing is to keep a 45 degree angle to keep things centered. I measured a guide for that first and built off of it. Using cheap materials… shims, plywood and furring strips, you are frequently going to run into bent pieces. I am finding this project to be a lot of trouble.
Sorry for all the trouble Rachel… Good luck with your projects in the future! 🙂
No power nailer. Alternative?
Love it! Thanks for the great idea!
LOVE this!! Just saw it!
What size of nails did you use for this?